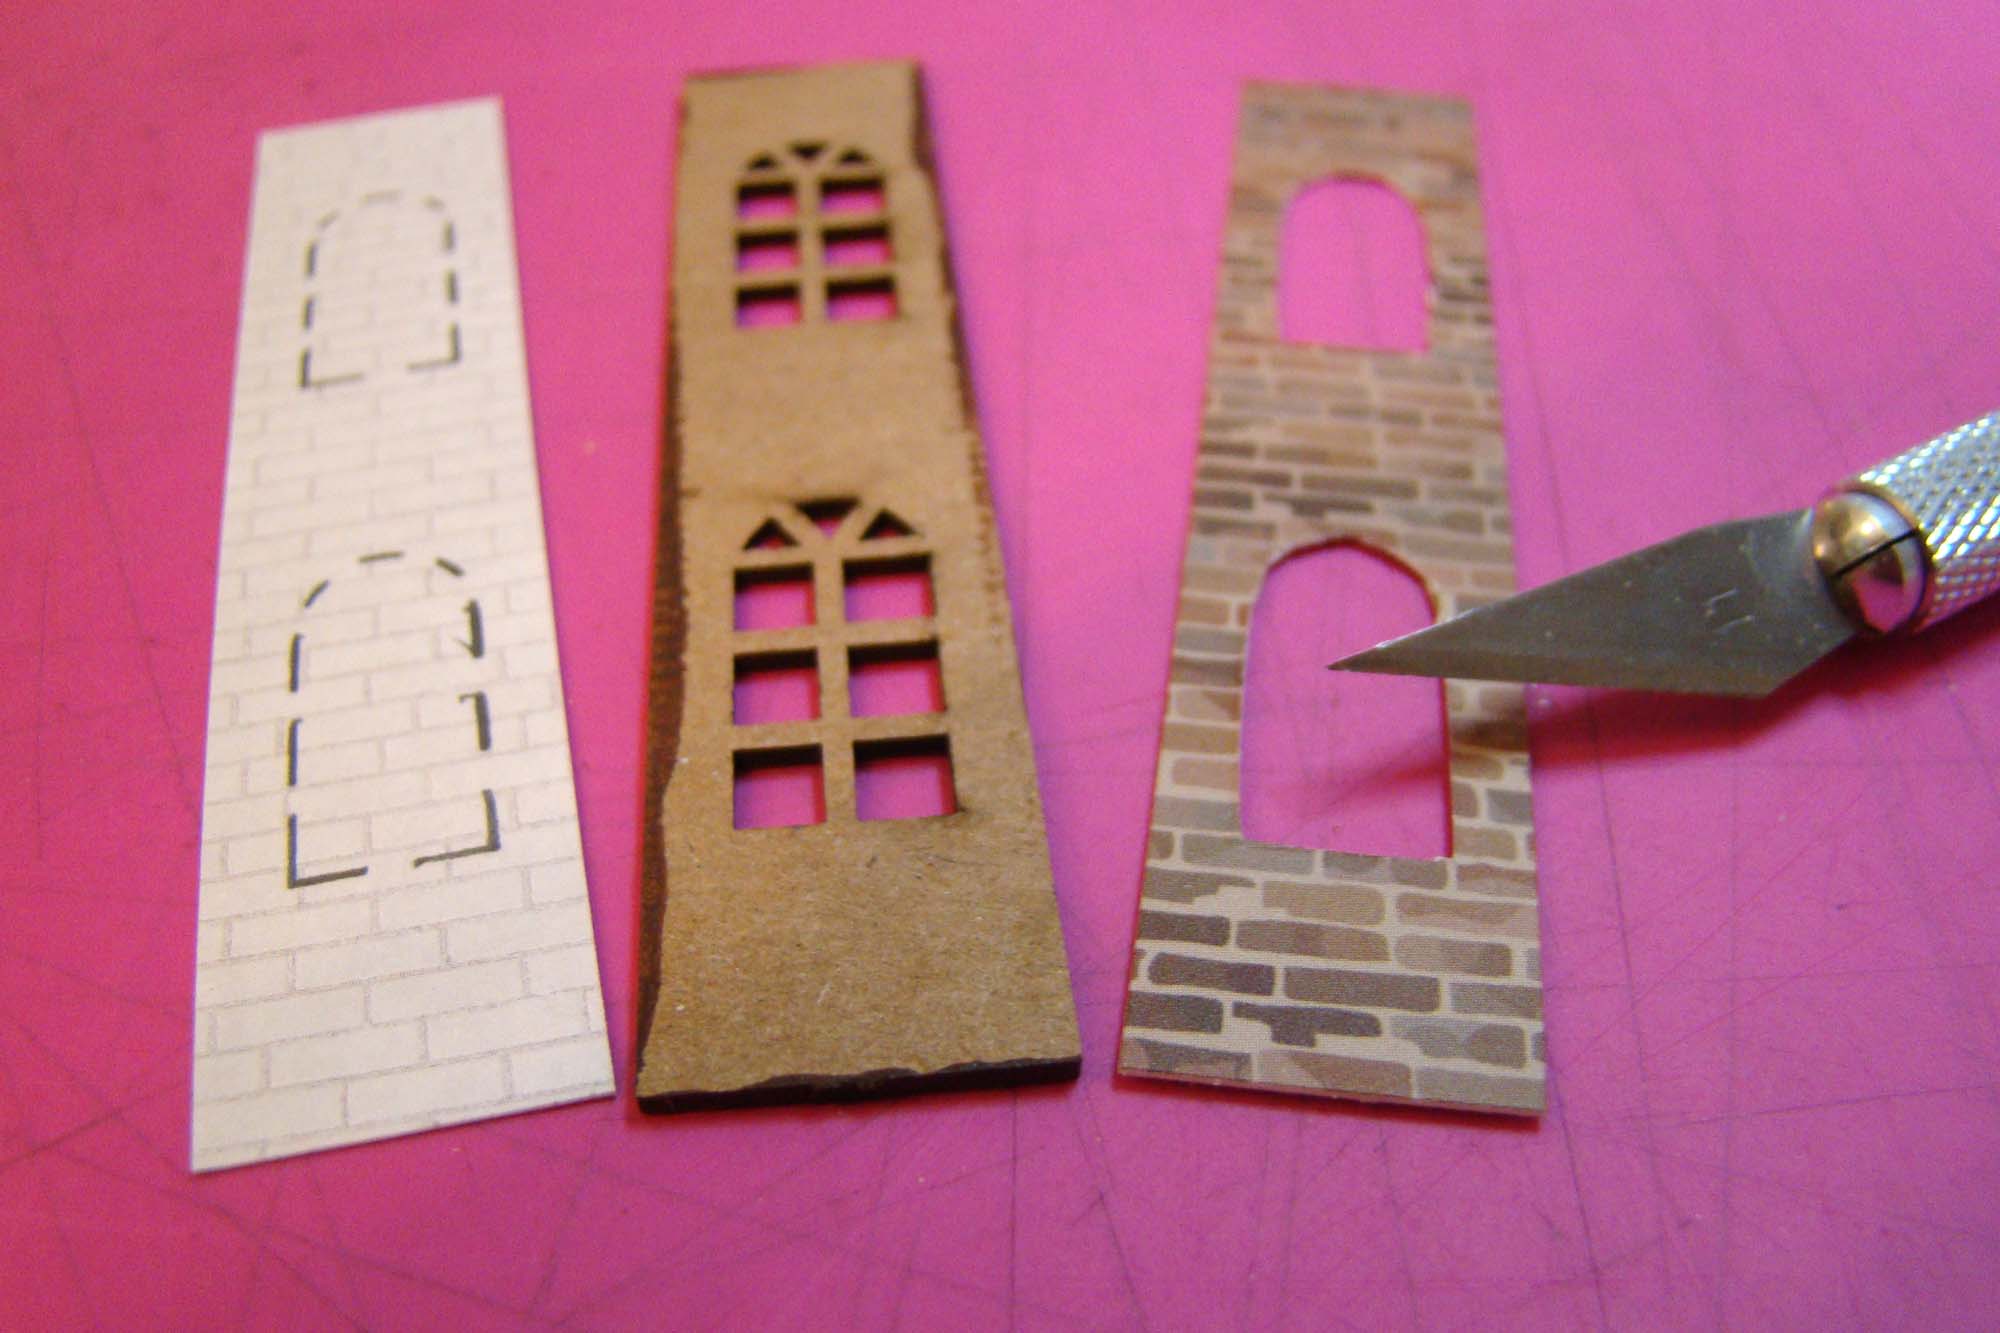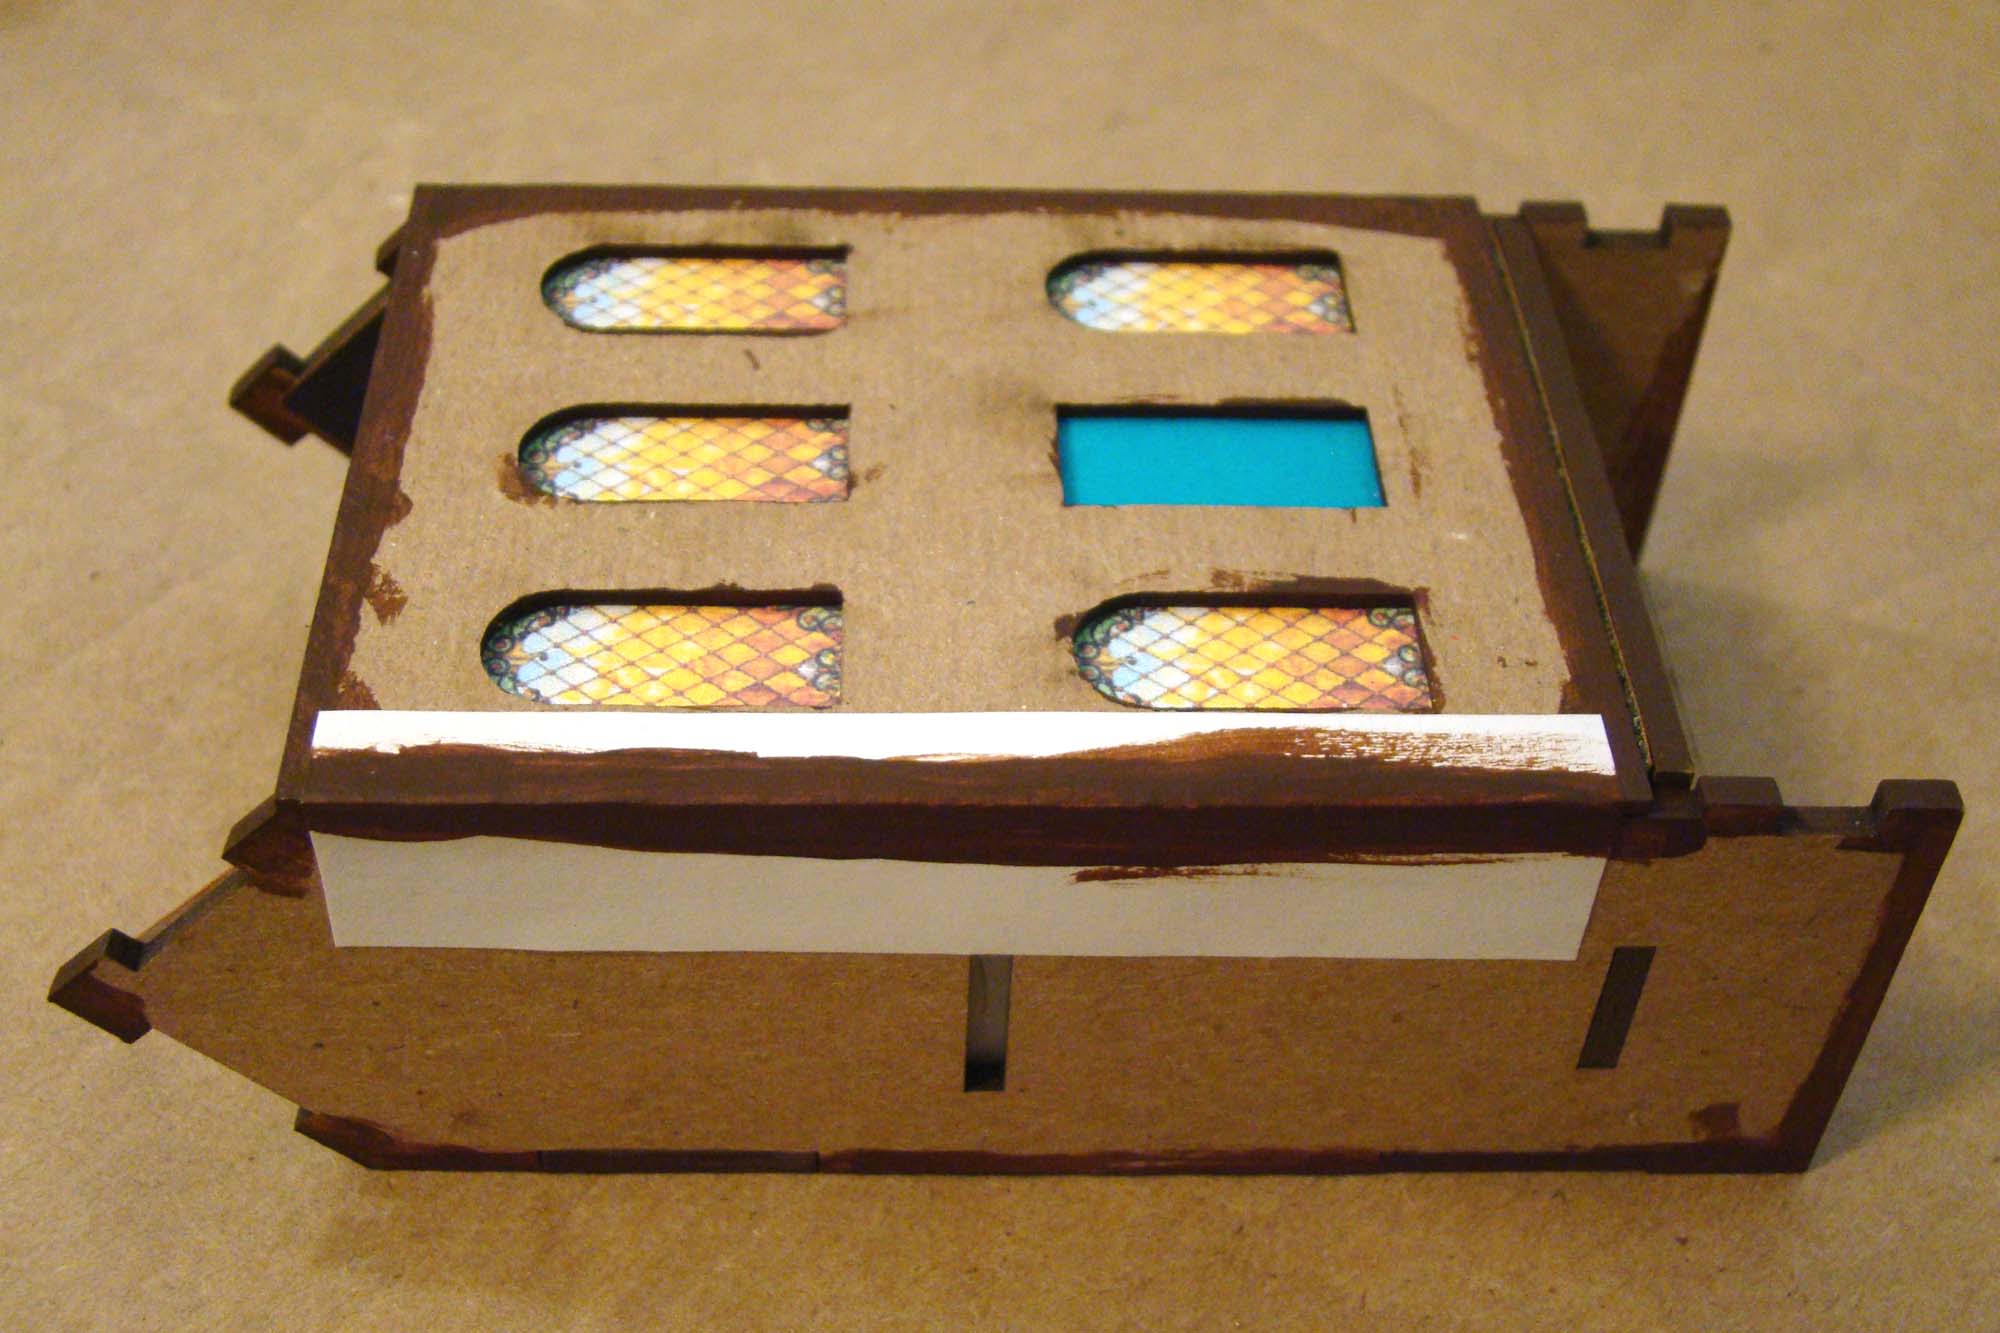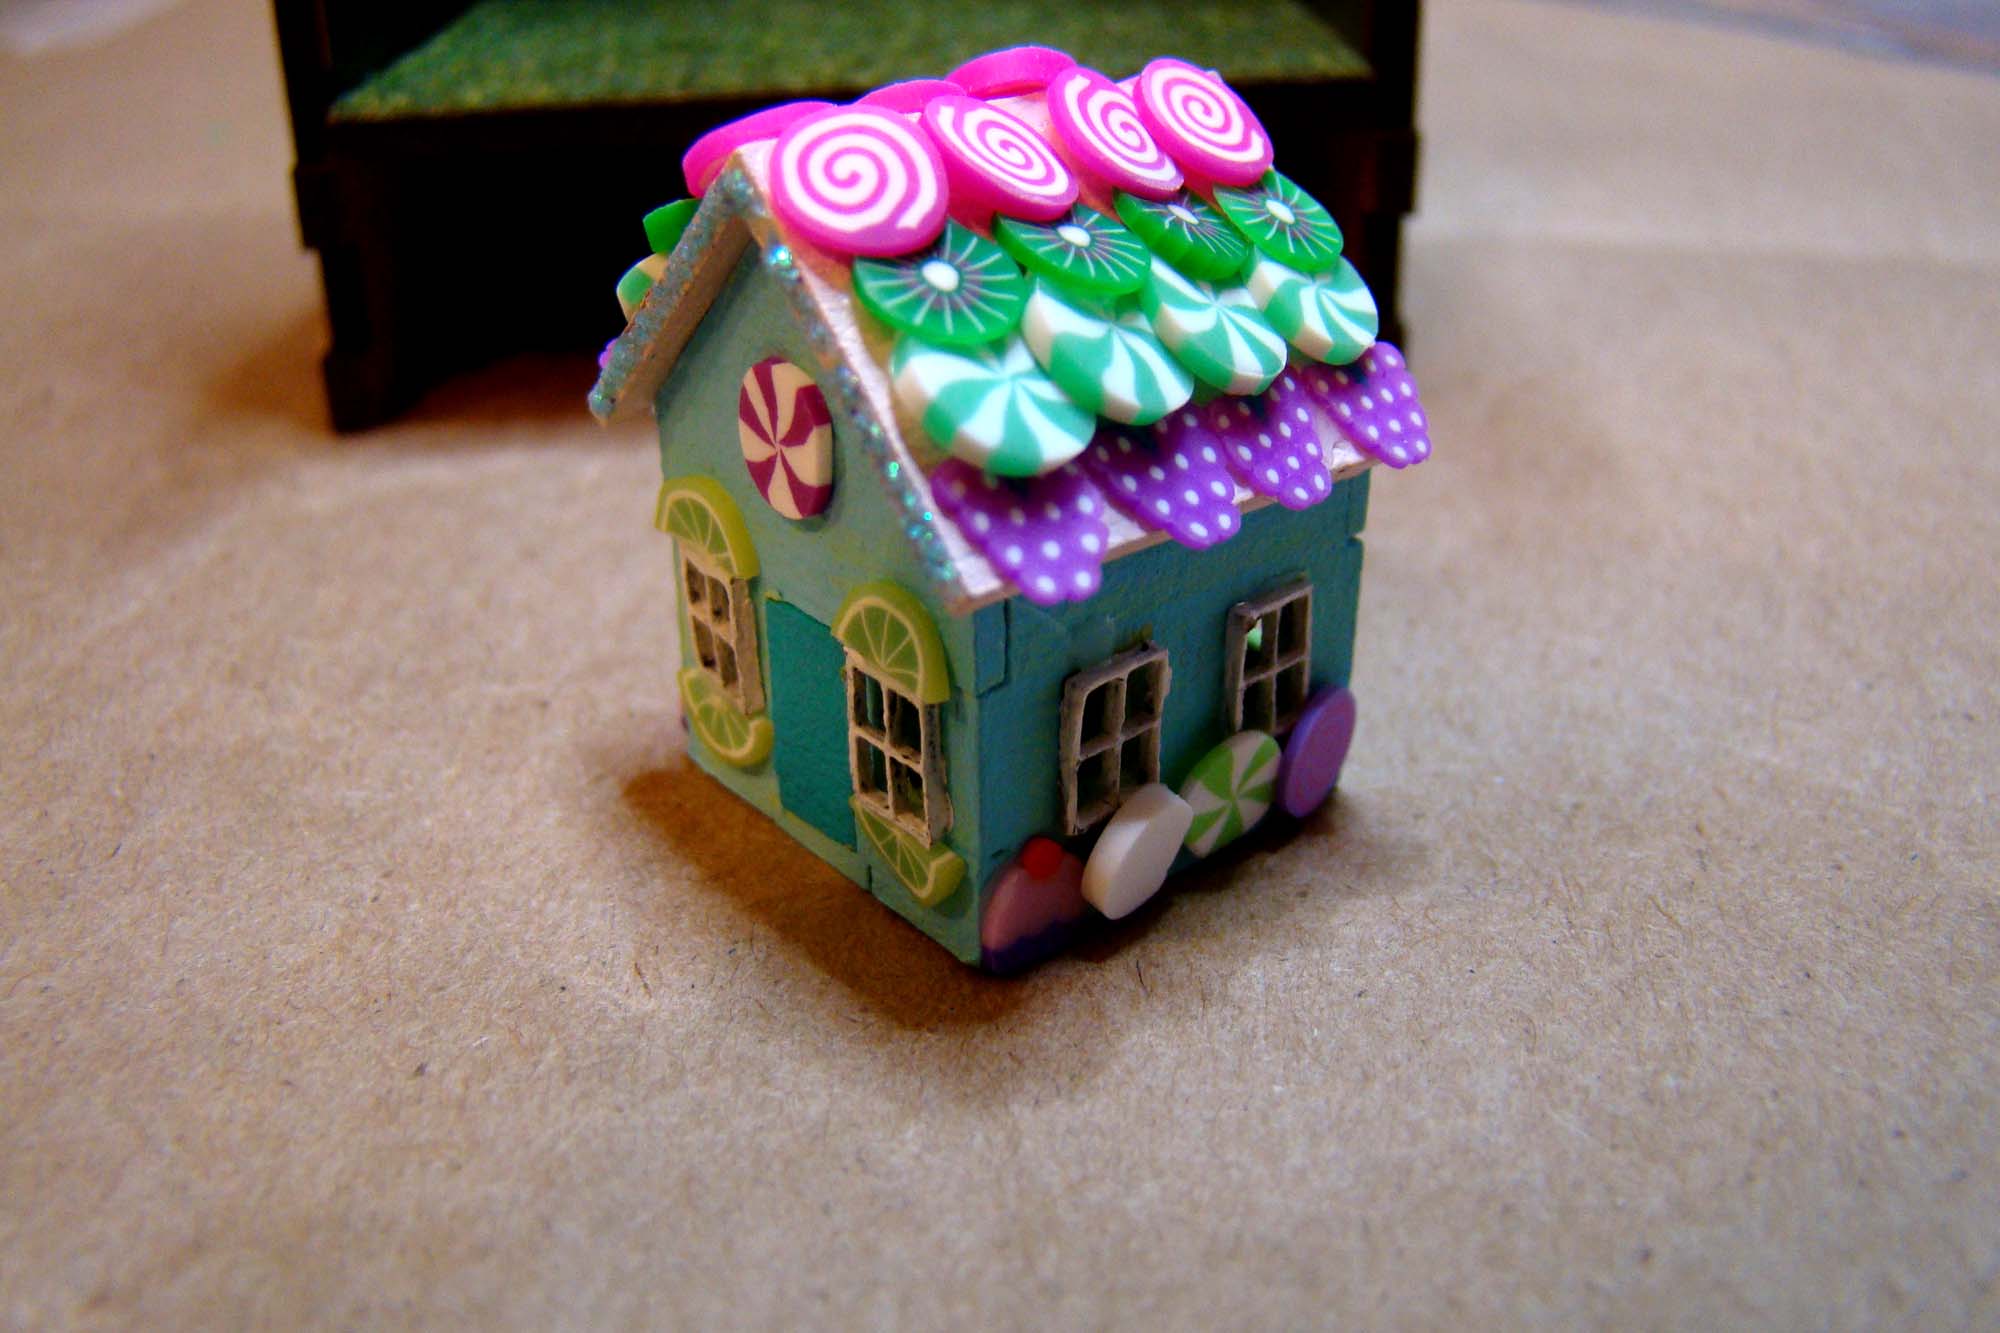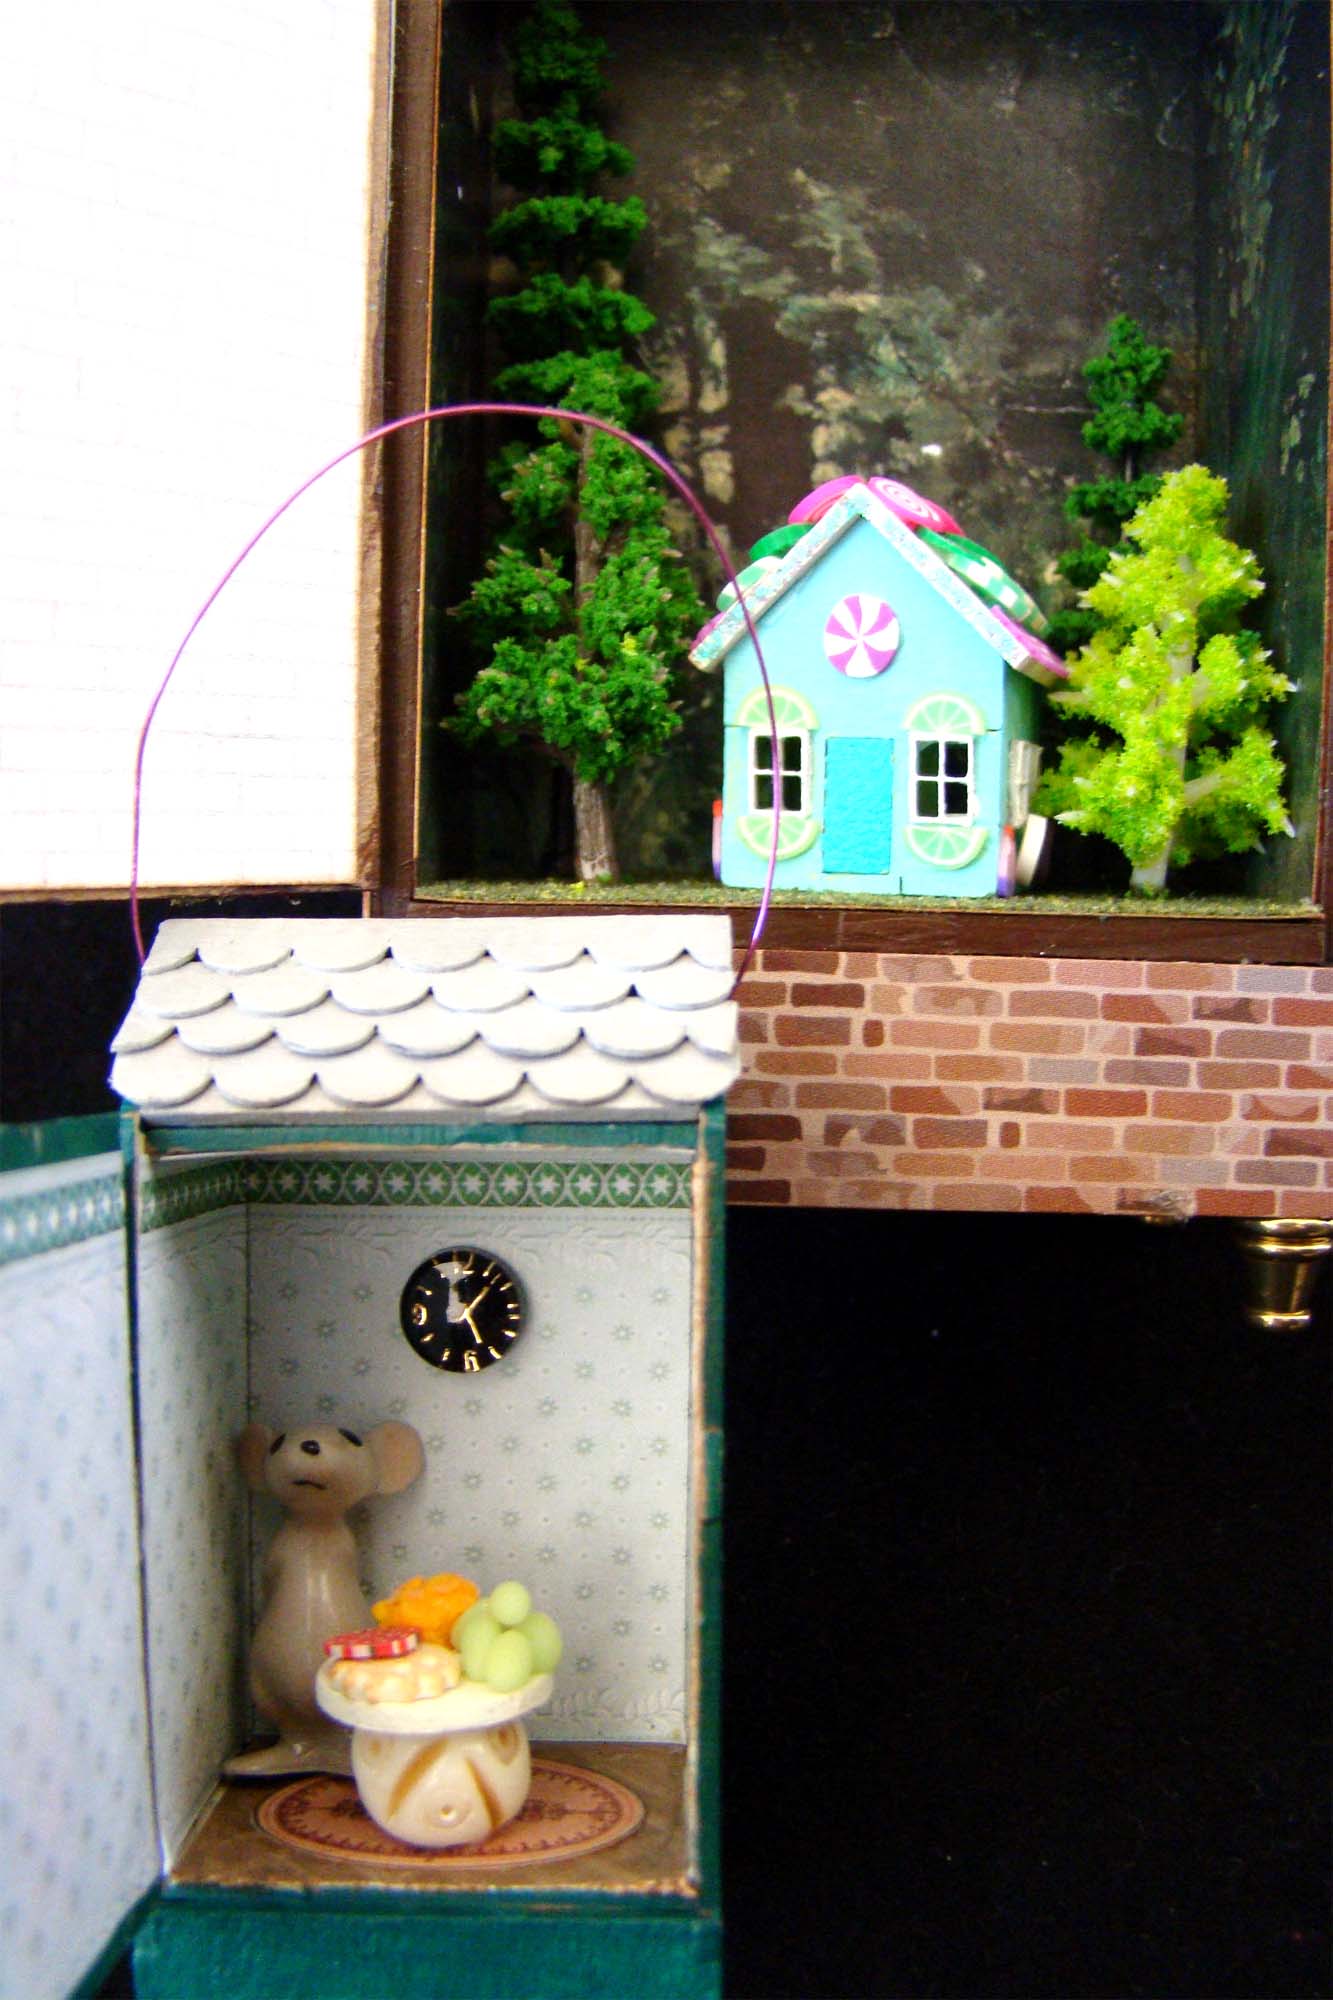
It’s cherry time around here, which means a busy day. We drove the 90 minutes with construction traffic to the orchard and came home with a lovely haul of bing and sour cherries.
The sour cherries were turned into Luxardo cocktail cherries plus a pint of sour cherry juice and the bing cherries went into a pie. Yay, pie!
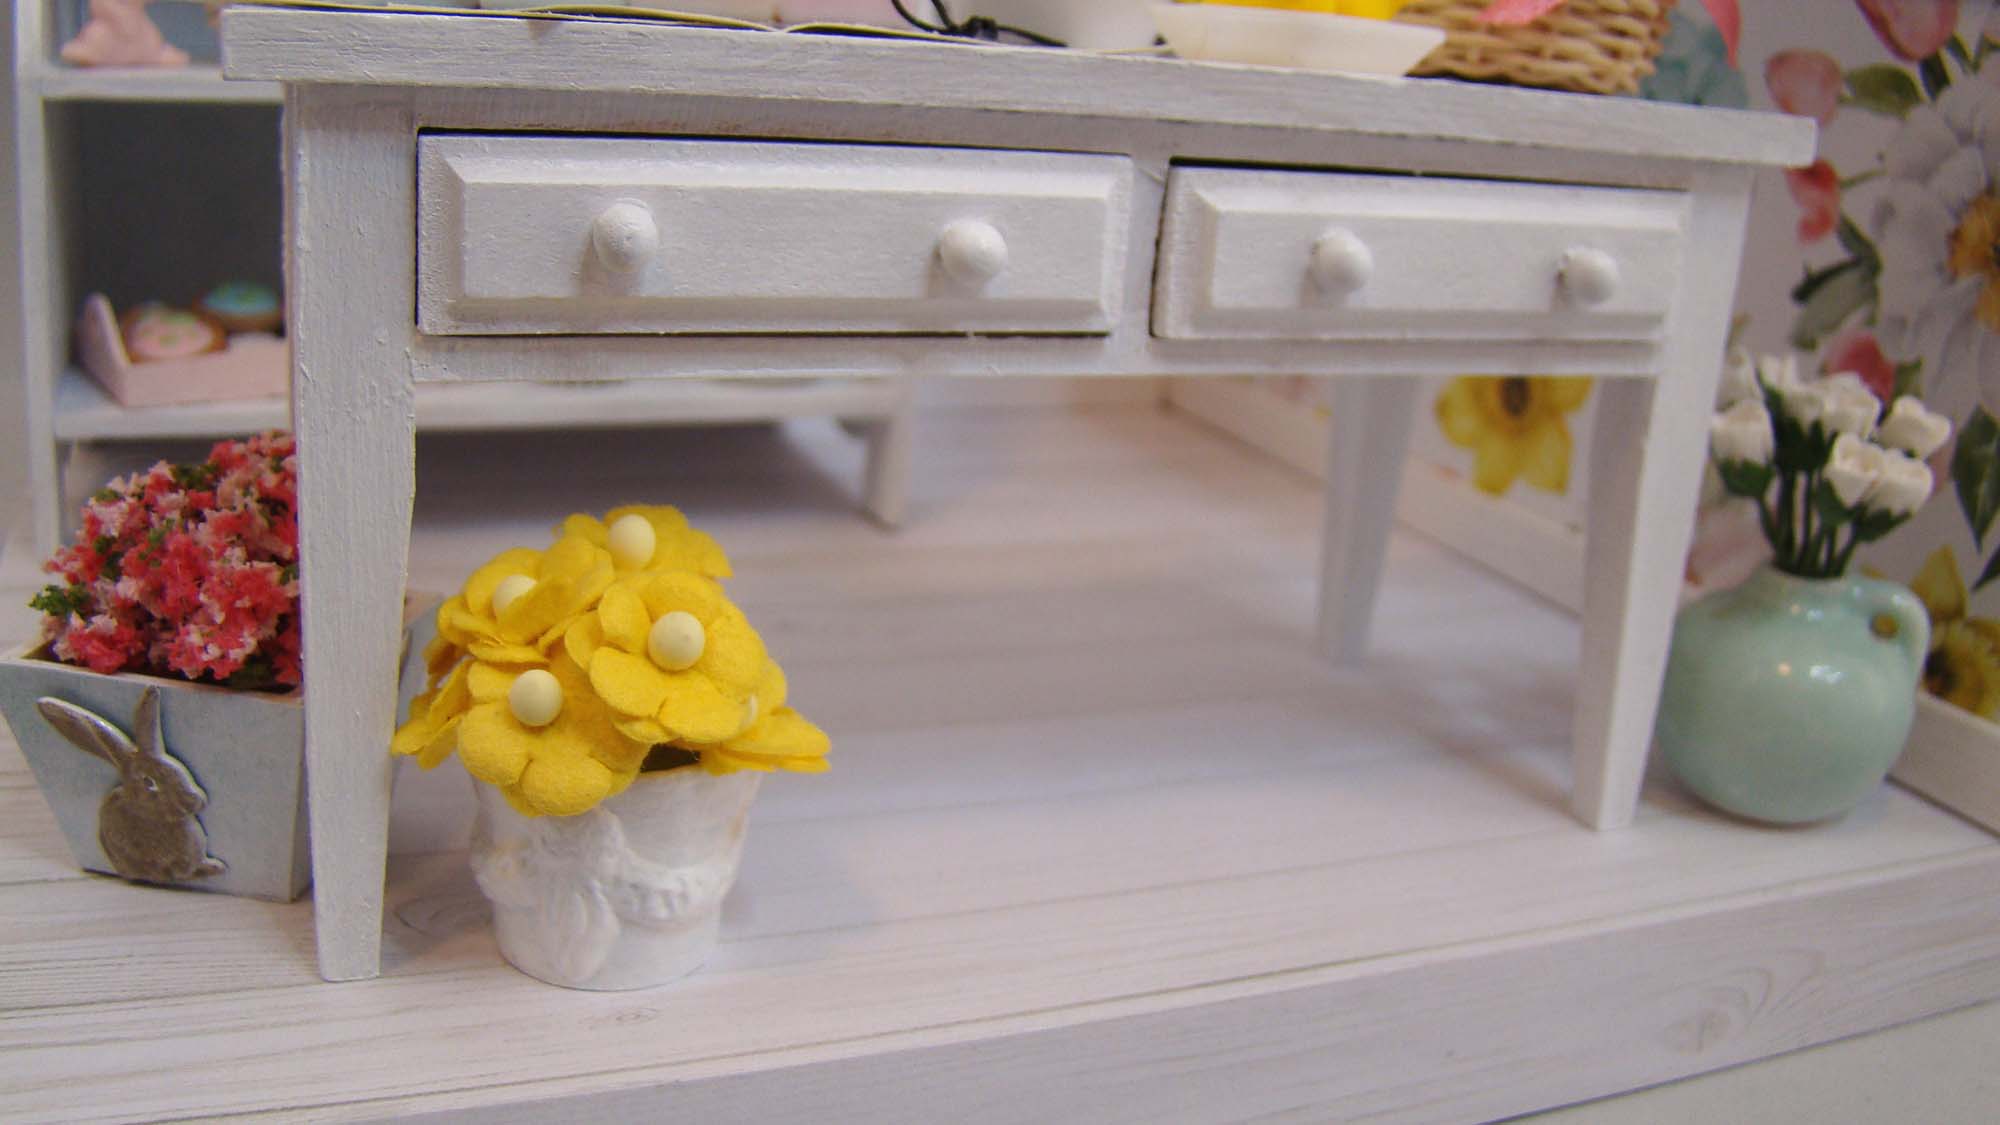
Alpha Stamps is decorating for Easter and I helped! This sweet little egg dyeing and Easter basket filling display uses the new Beauty in Bloom Custom 12×12 Paper Set and their 12×12 Elements Sheet and a lot of pretty little springtime items set inside a 7×7 Corner Room Box.
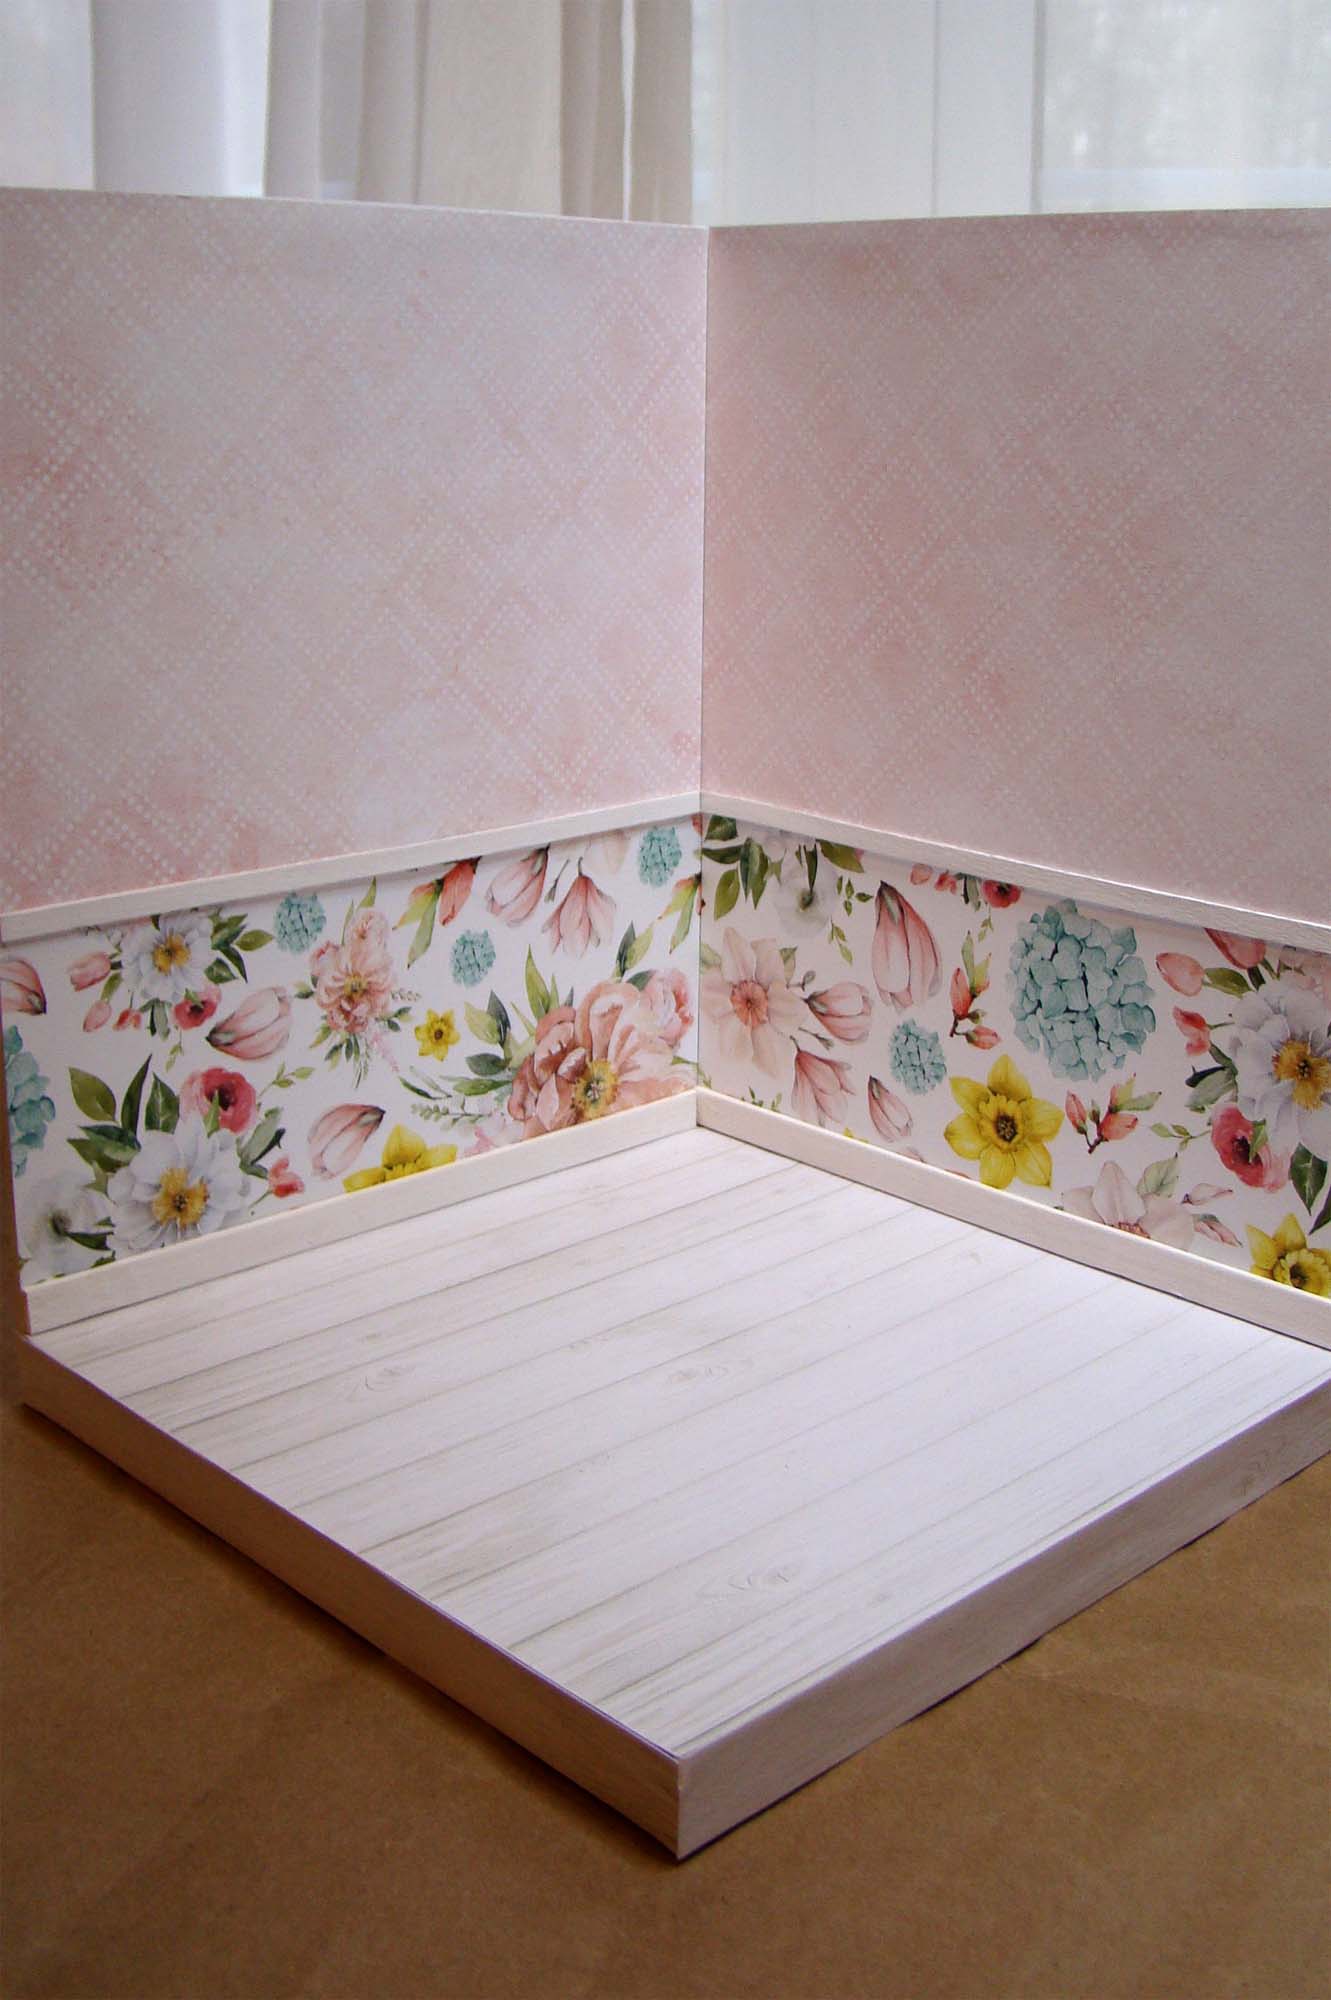
After assembling the room box using tacky glue, I painted the edges and corners with a white acrylic paint. Painting the corners helps camouflage any slight misalignments I might have when the paper gets glued on.
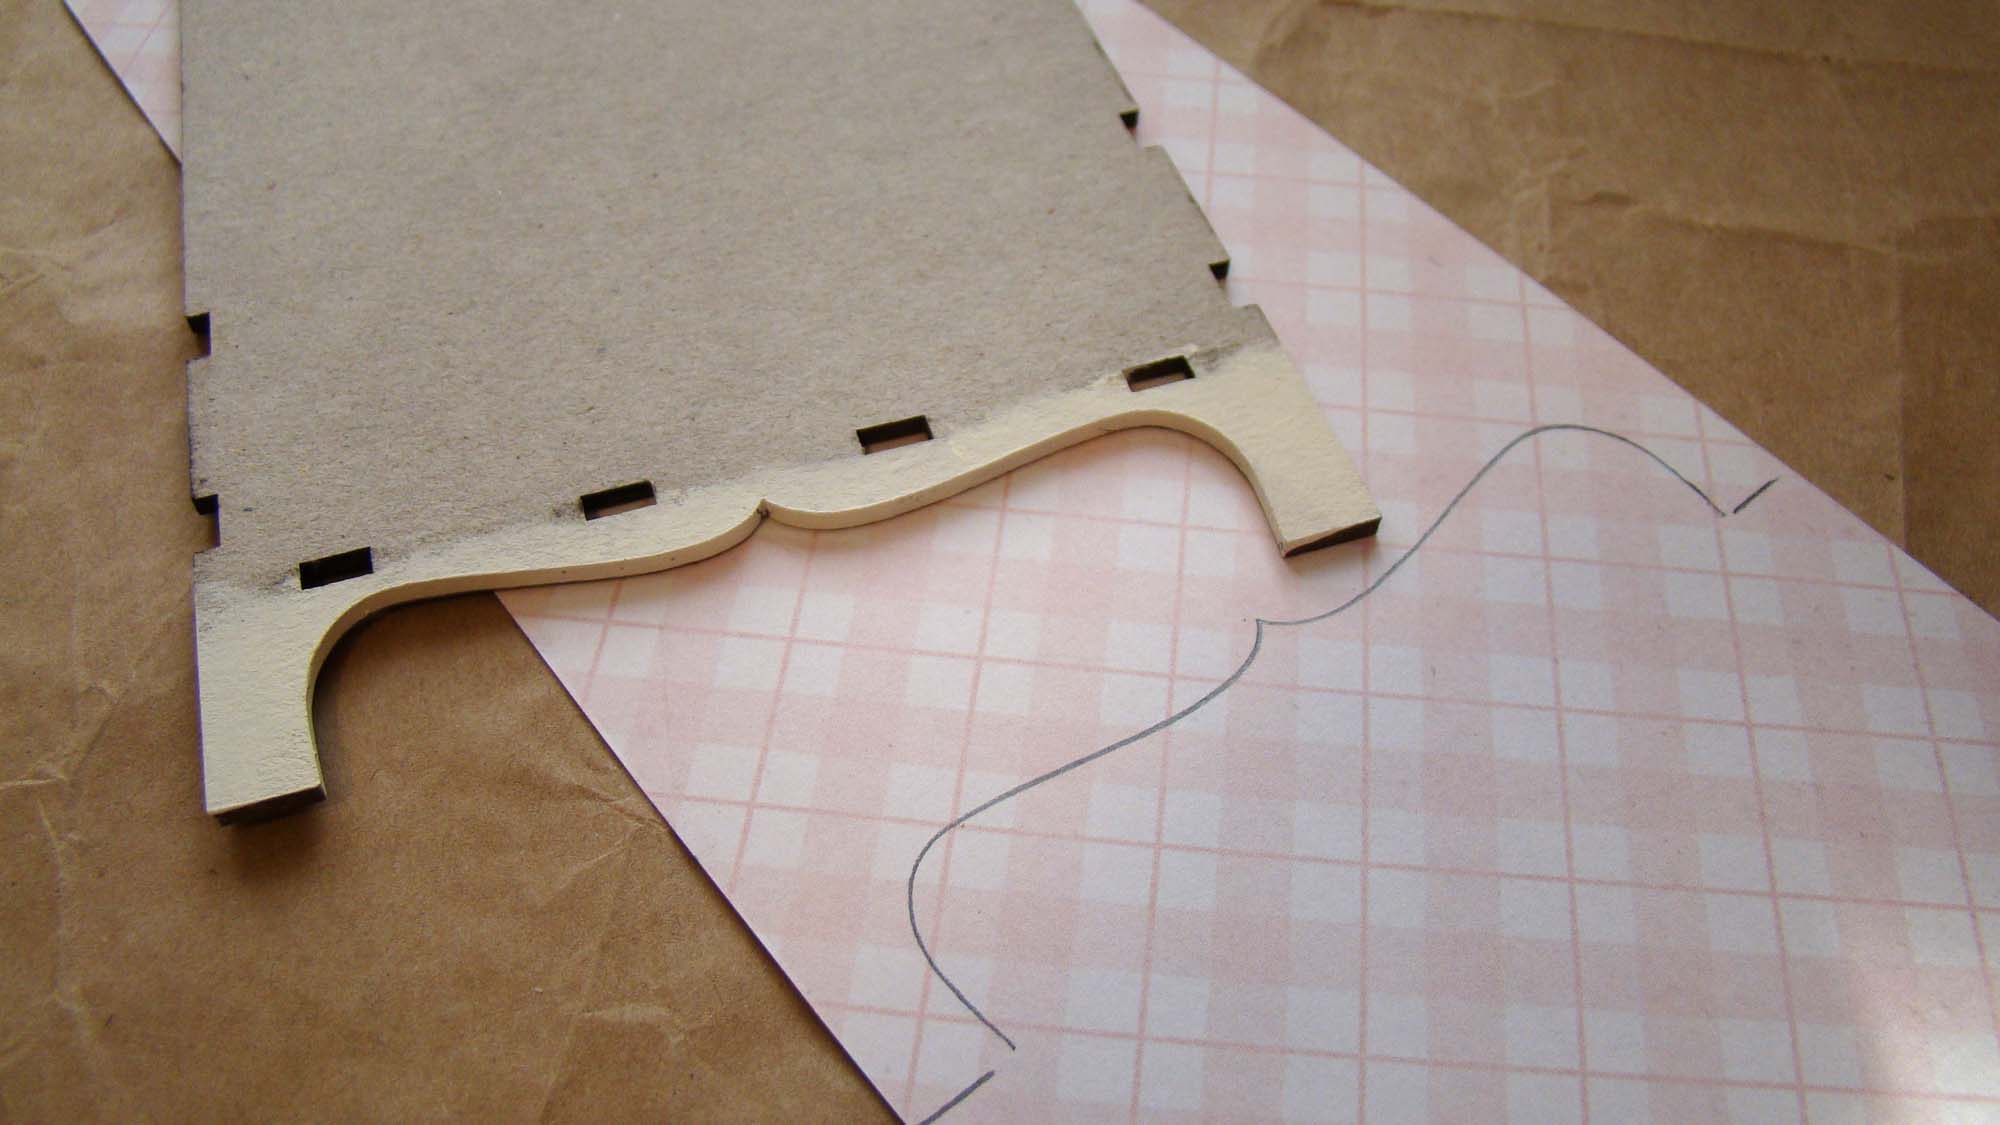
I used a Small Trinket Shelf Stand to display the finished baskets. It comes with a drawer that fits at the bottom. I chose to leave it out in order to give myself more room to display everything. Before assembling it, I used the rear wall as a template for the paper on the top shelf.
These Beauty in Bloom papers just scream springtime. The white wooden floor was a paper from my stash. The baseboards and chair railing are painted craft sticks.
The top shelf holds some charming bunny plates nestled between decorative pink flowers which are just plastic buttons with the shanks cut off. I added a Fancy Candy Jar with Candies and some demitasse cups made from White Plastic Cups & Saucers decorated with floral nail art decals.
Those sweet plates are made from Tiny Easter Bunny Stickers (so many cute ones to choose from!) and a Set of Plain White Plates.
I fell in love with the Bluejay Wooden Button except for, you know, the fact that it’s a button. I filled the holes with a piece of round toothpick painted blue and love how it came out.
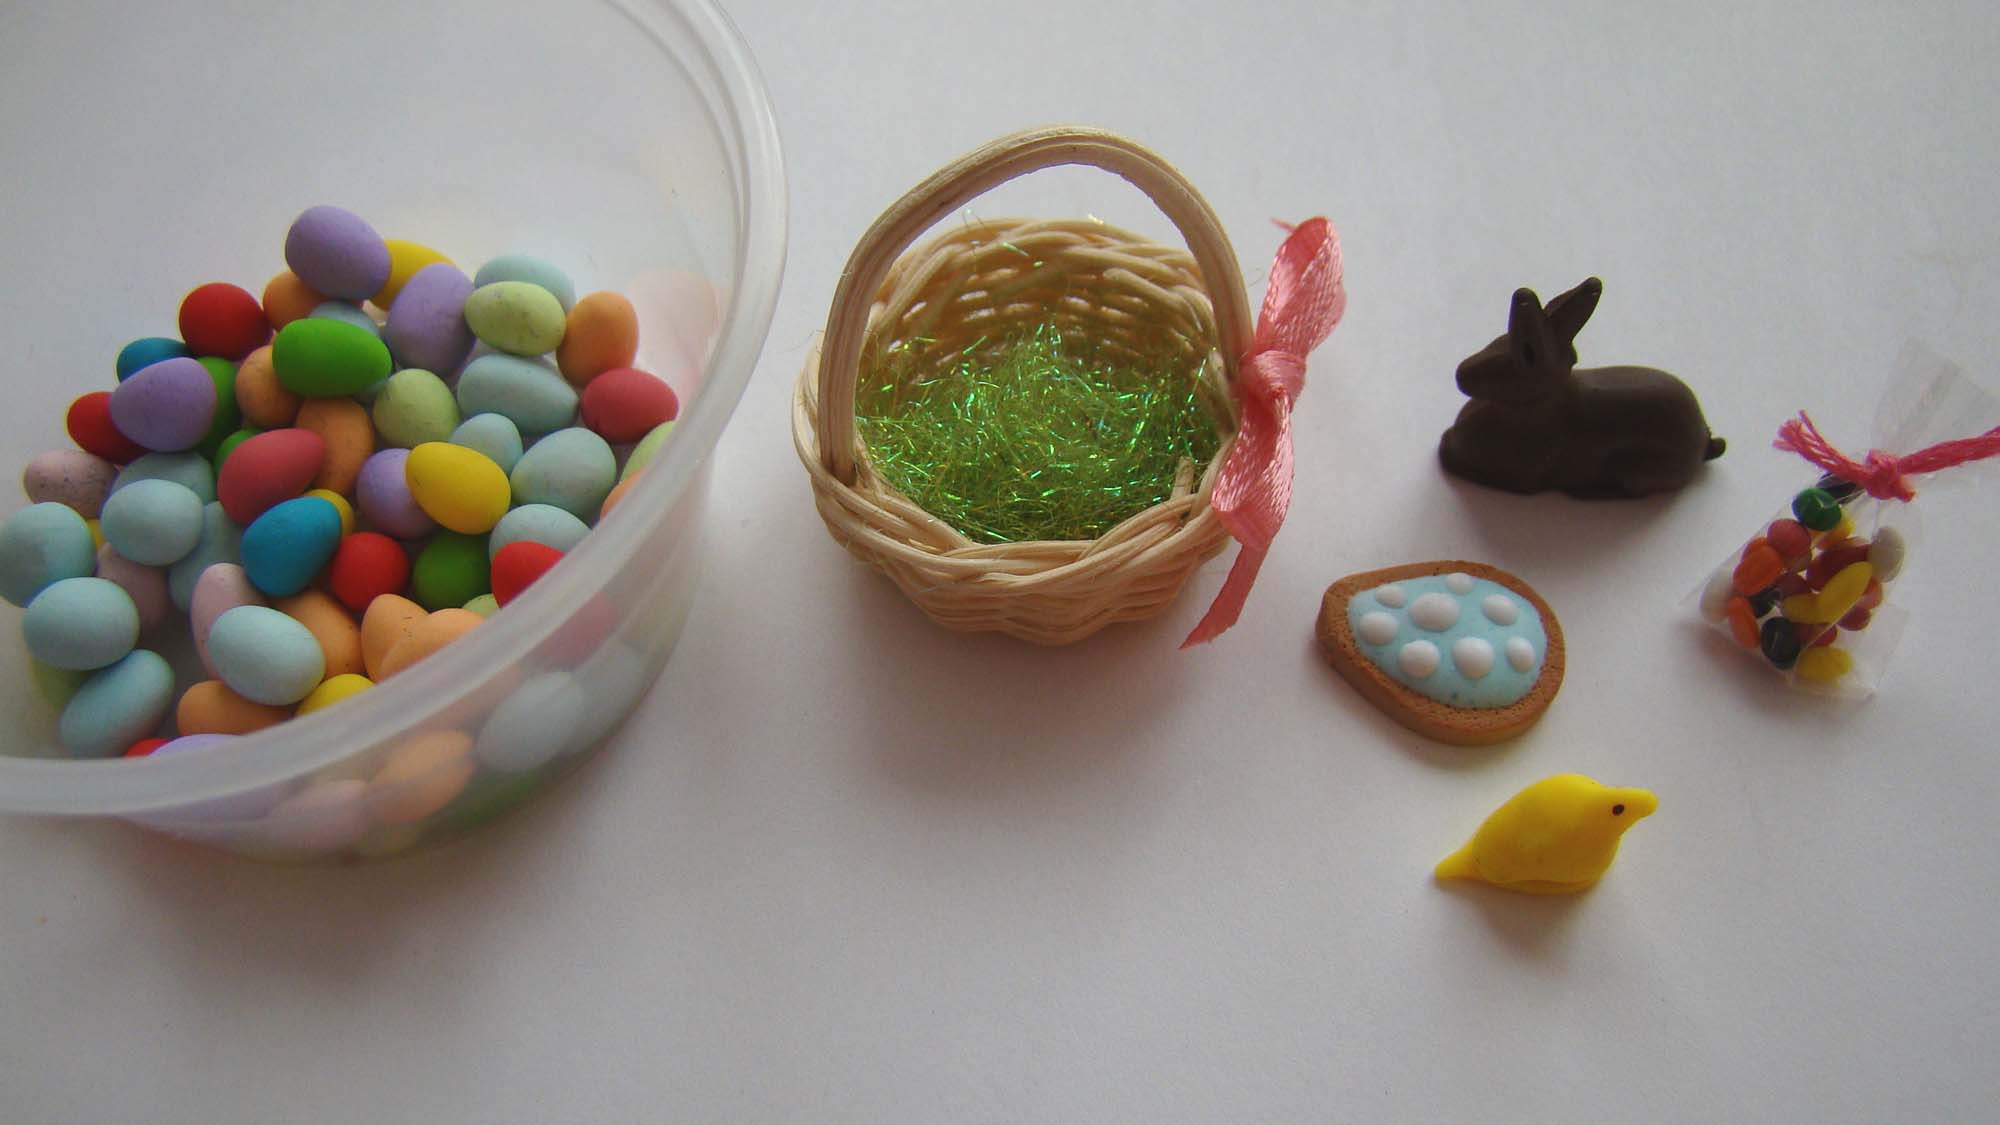
Filling the baskets was the most fun part of this project. Here’s one in process to show you the individual components. This is a Round Basket with Handle that holds a layer of Mini Easter Basket Grass, poly clay eggs, the brand new Mini Chocolate Bunny (how cute is this??), a decorated sugar cookie, a peep and a bag of jelly beans.
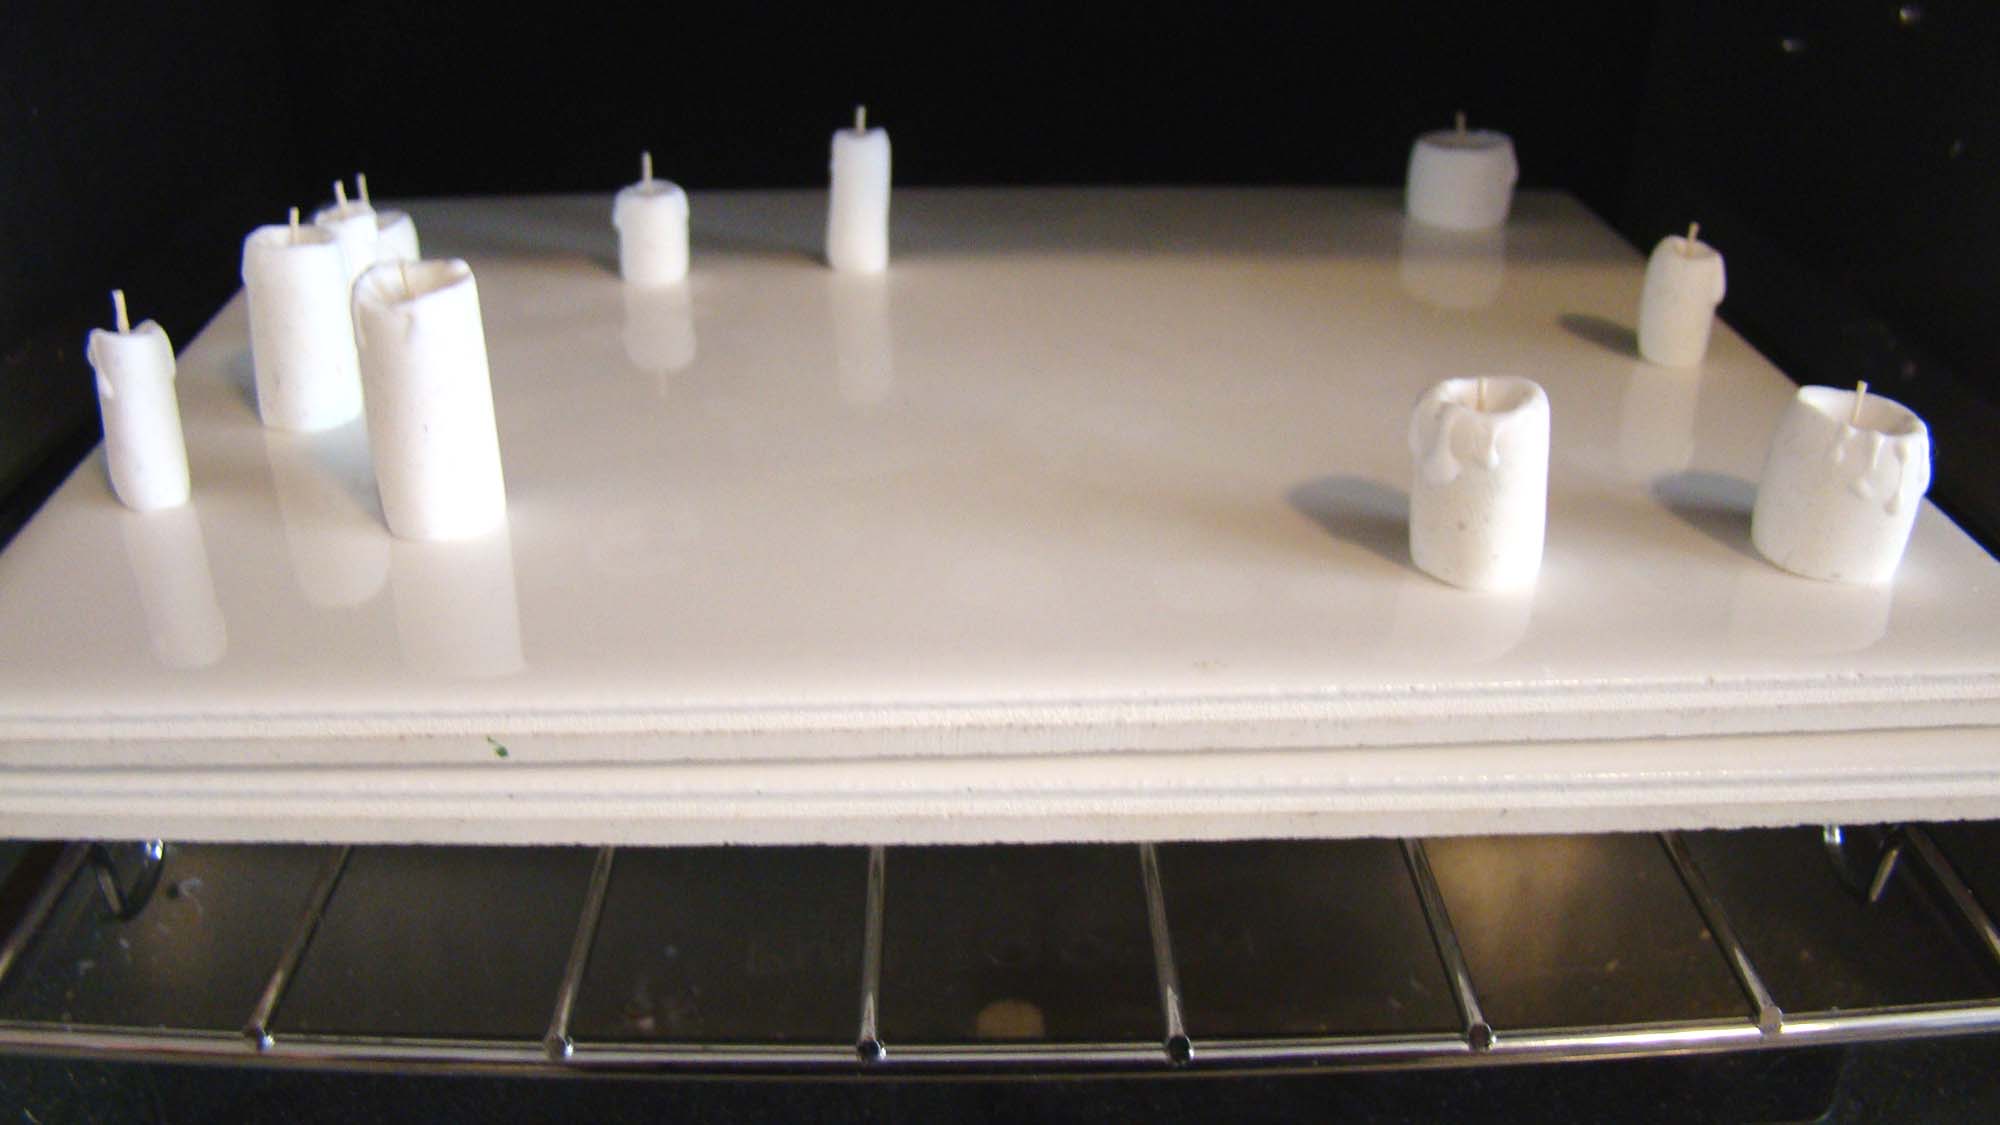
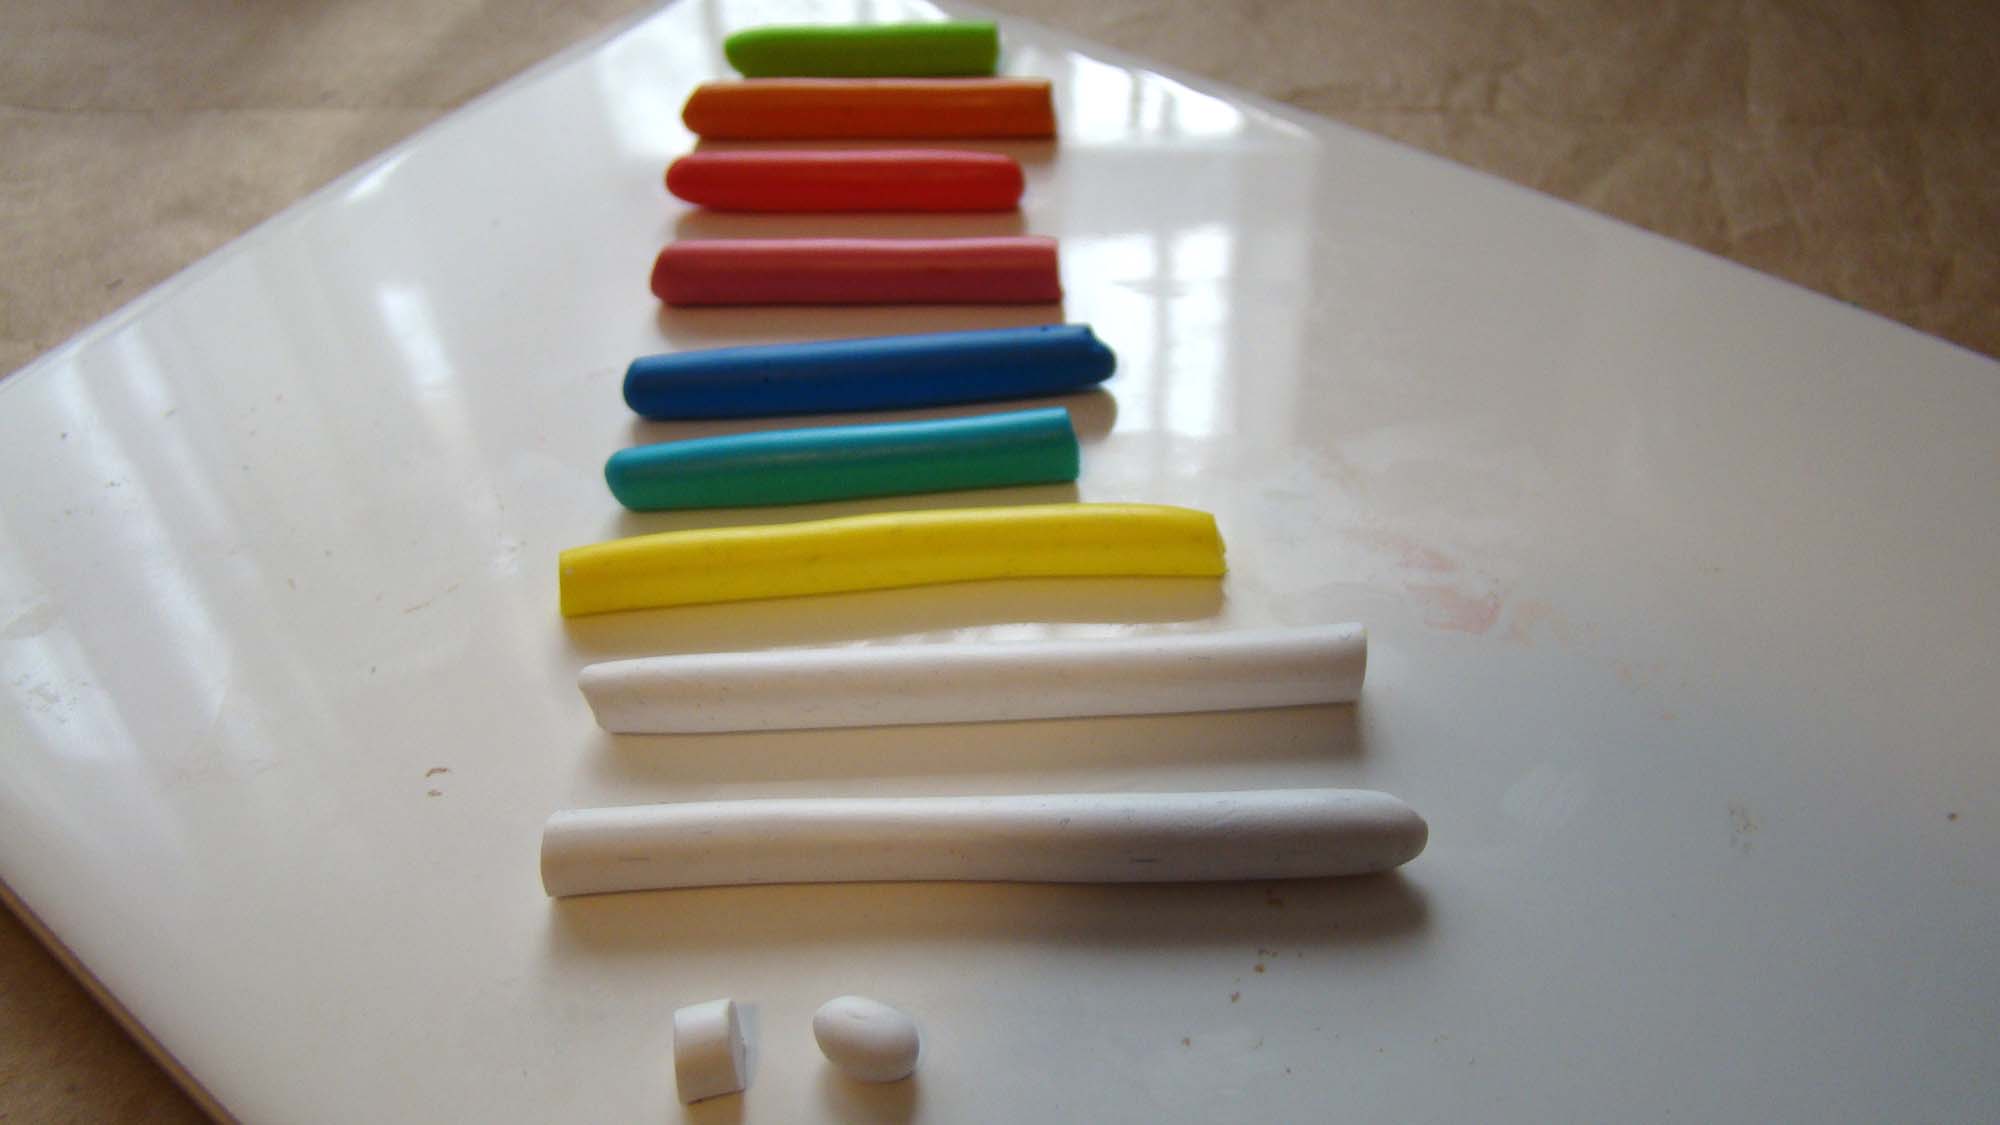
To make the eggs I started with rolling clay colors into ropes then slicing making equal sized slices that eventually got rolled into egg shapes in the palm of my hand. I used this same technique to make the jelly beans but on a much smaller scale!
Once the jelly beans got baked off, they were added to bags I fashioned from cellophane and double sided tape.
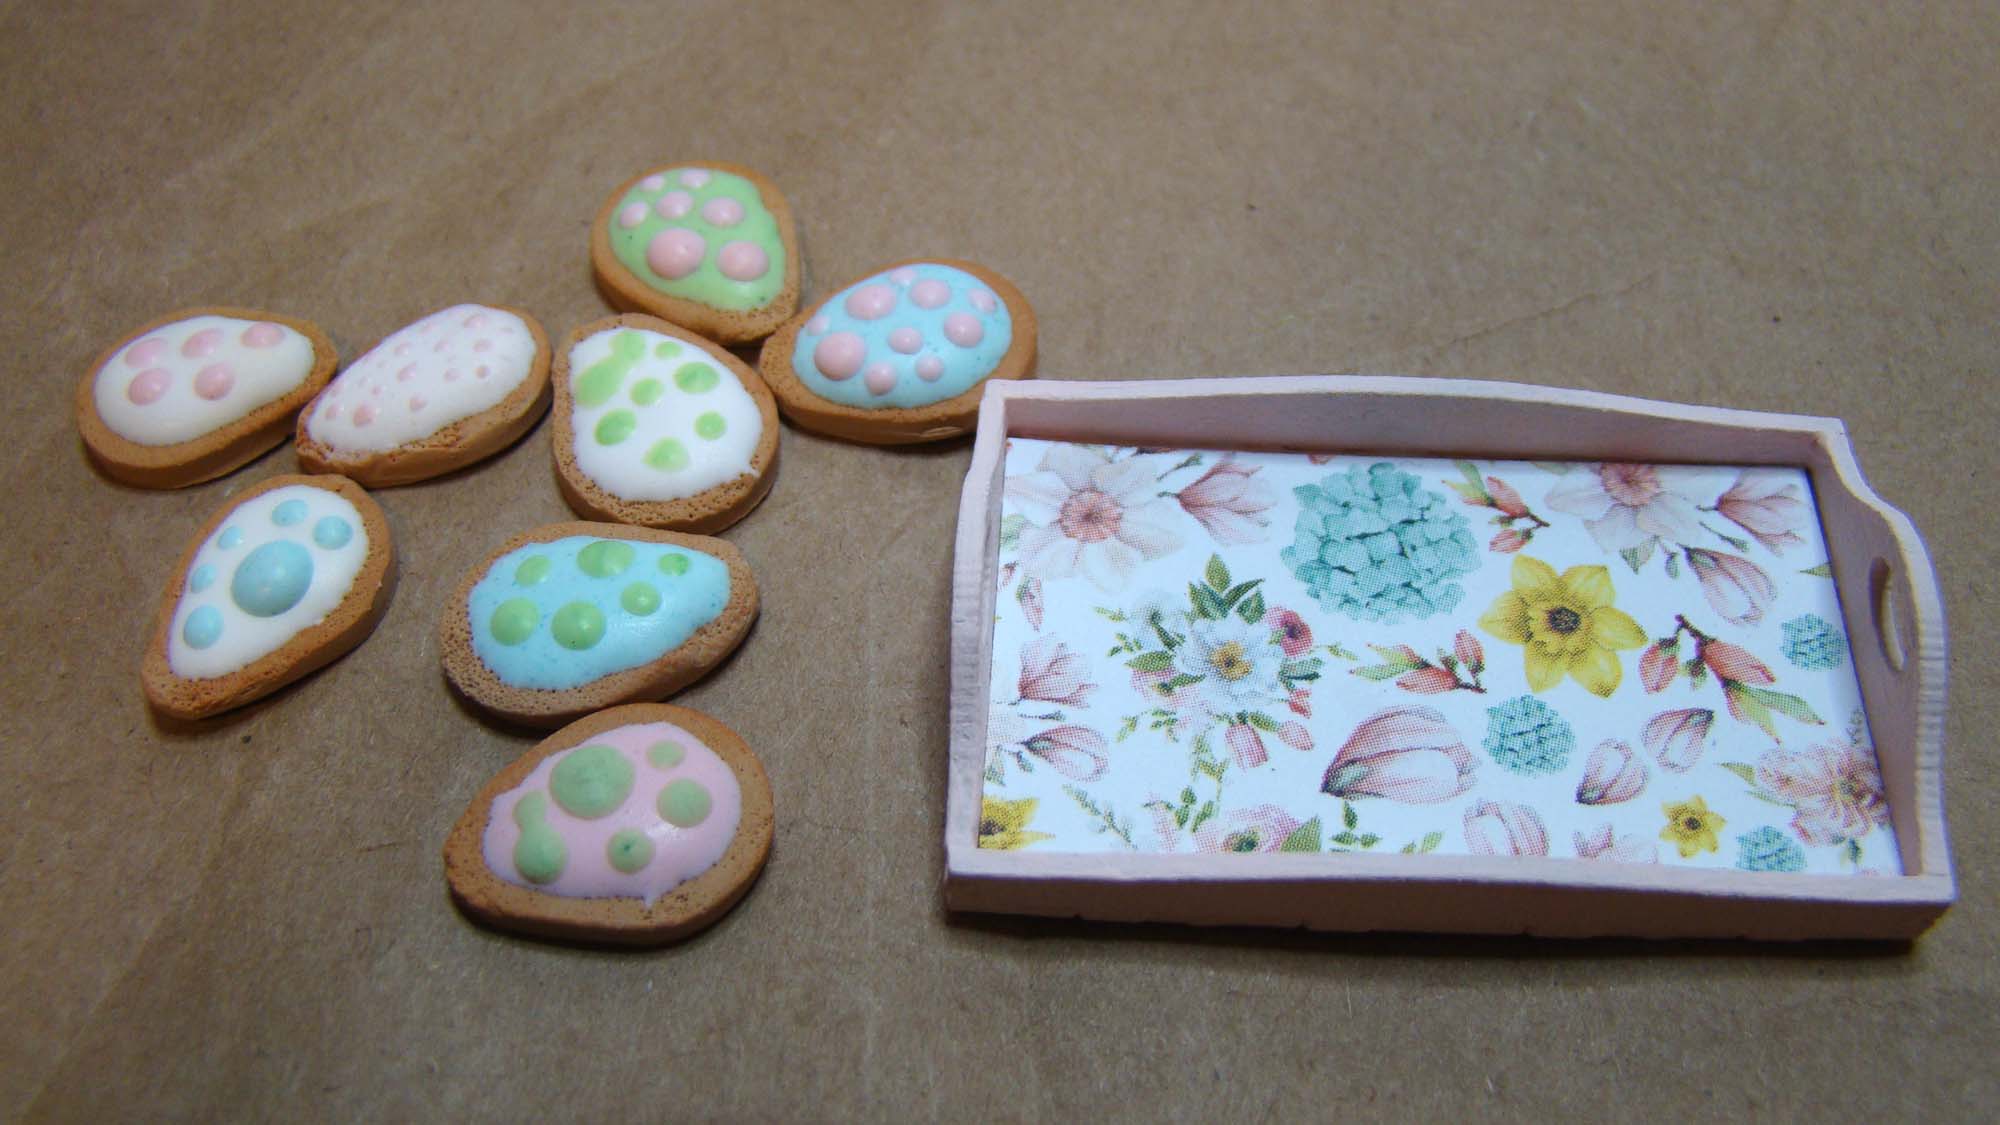
The sugar cookies are made from polymer clay. Left to right you can see the steps I took.
Egg shapes were cut from light brown clay
A toothbrush was used to texture the cookie surface and brown pastel chalk was added before baking 10 minutes.
Once baked, I added a coating of liquid polymer clay and baked it again, this time for 5 minutes.
Dots of liquid polymer clay colored with pastel chalk shavings were added with a toothpick and baked an additional 5 minutes.
The ones that didn’t end up in Easter baskets are displayed on a Tiny Tray with Handles.
To make the marshmallow peeps I took a close look at photos of real peeps and realized I could mimic their shapes with two small slices of yellow polymer clay molded as shown in the photo then squished together. After baking I added two tiny brown paint dots for eyes.
Here are all the filled baskets!
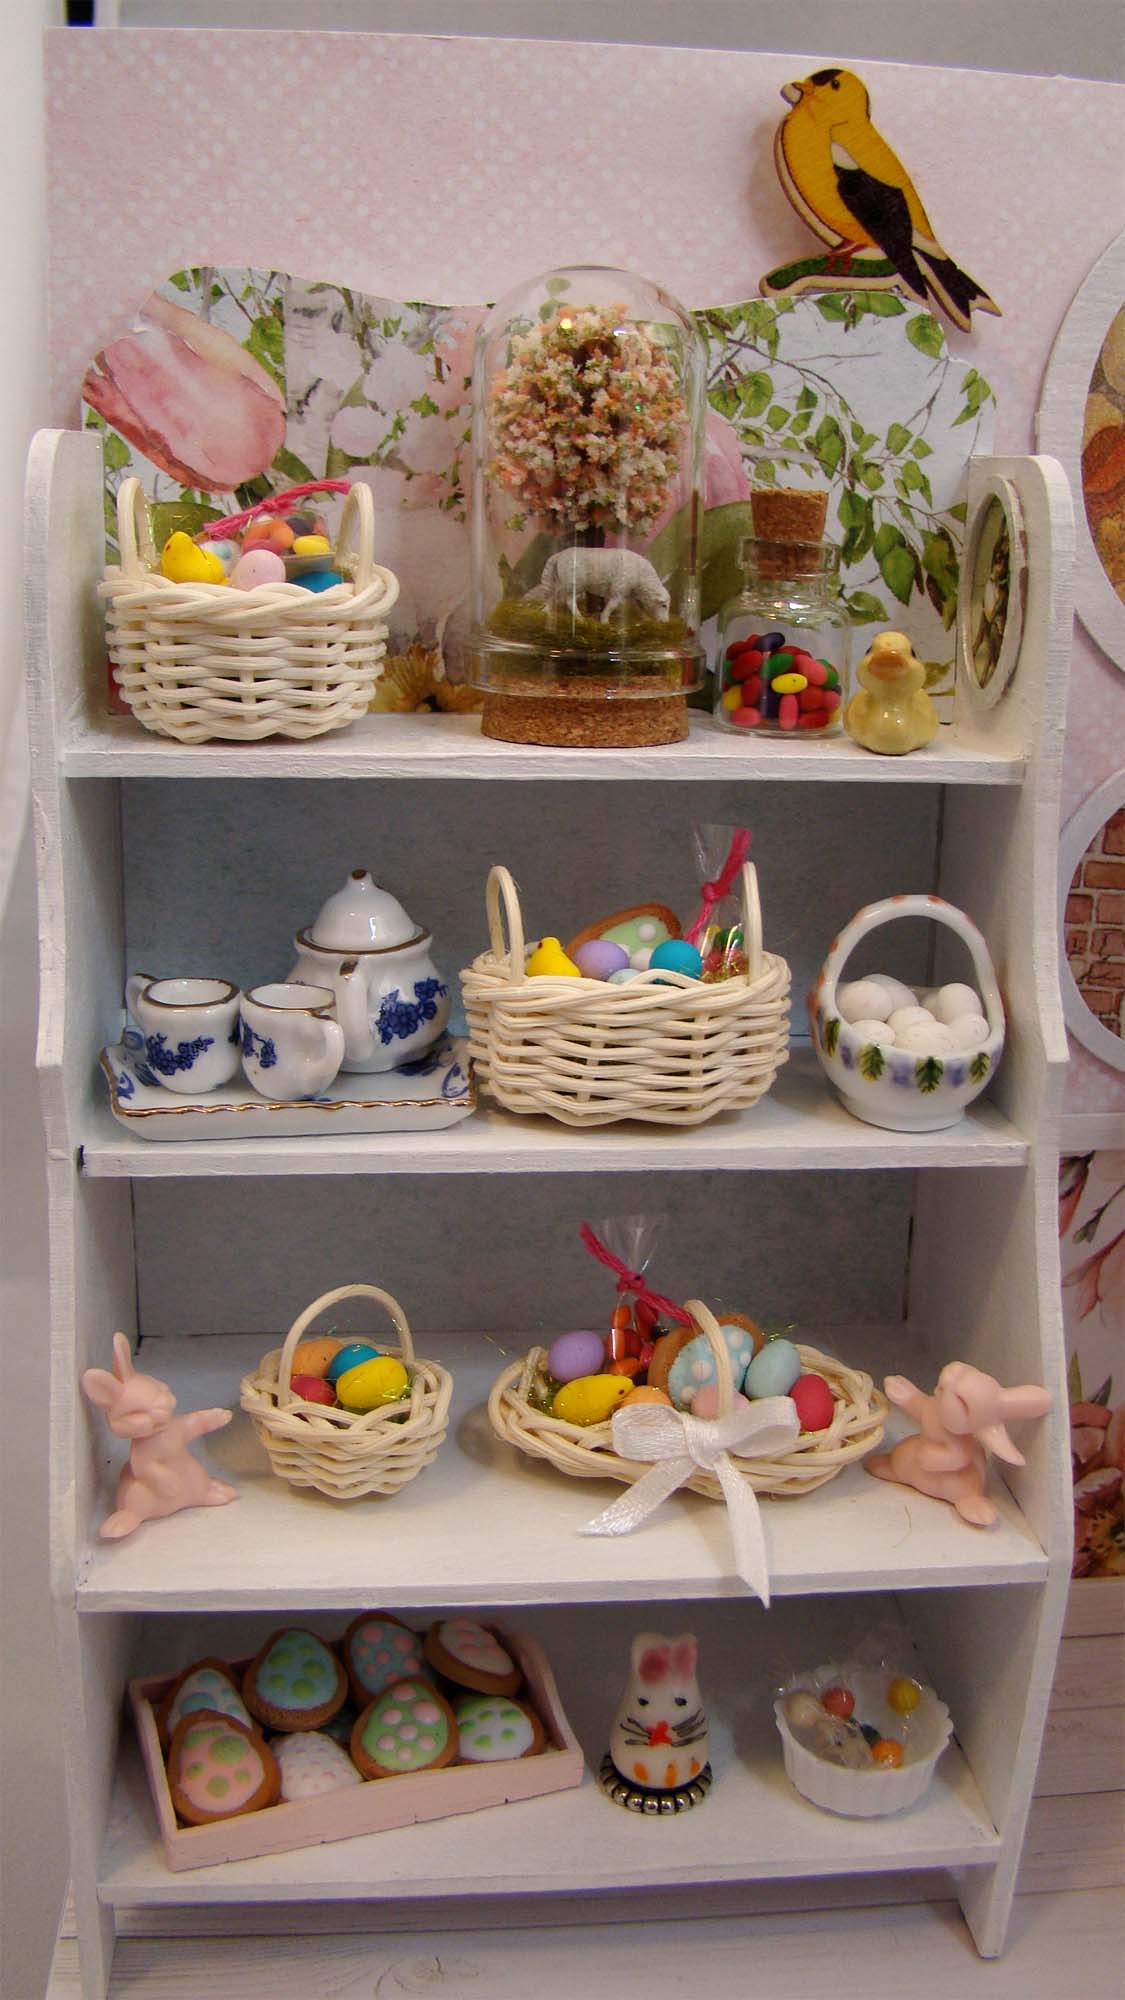
The Small Trinket Shelf Stand is crammed full of Springtime goodies.
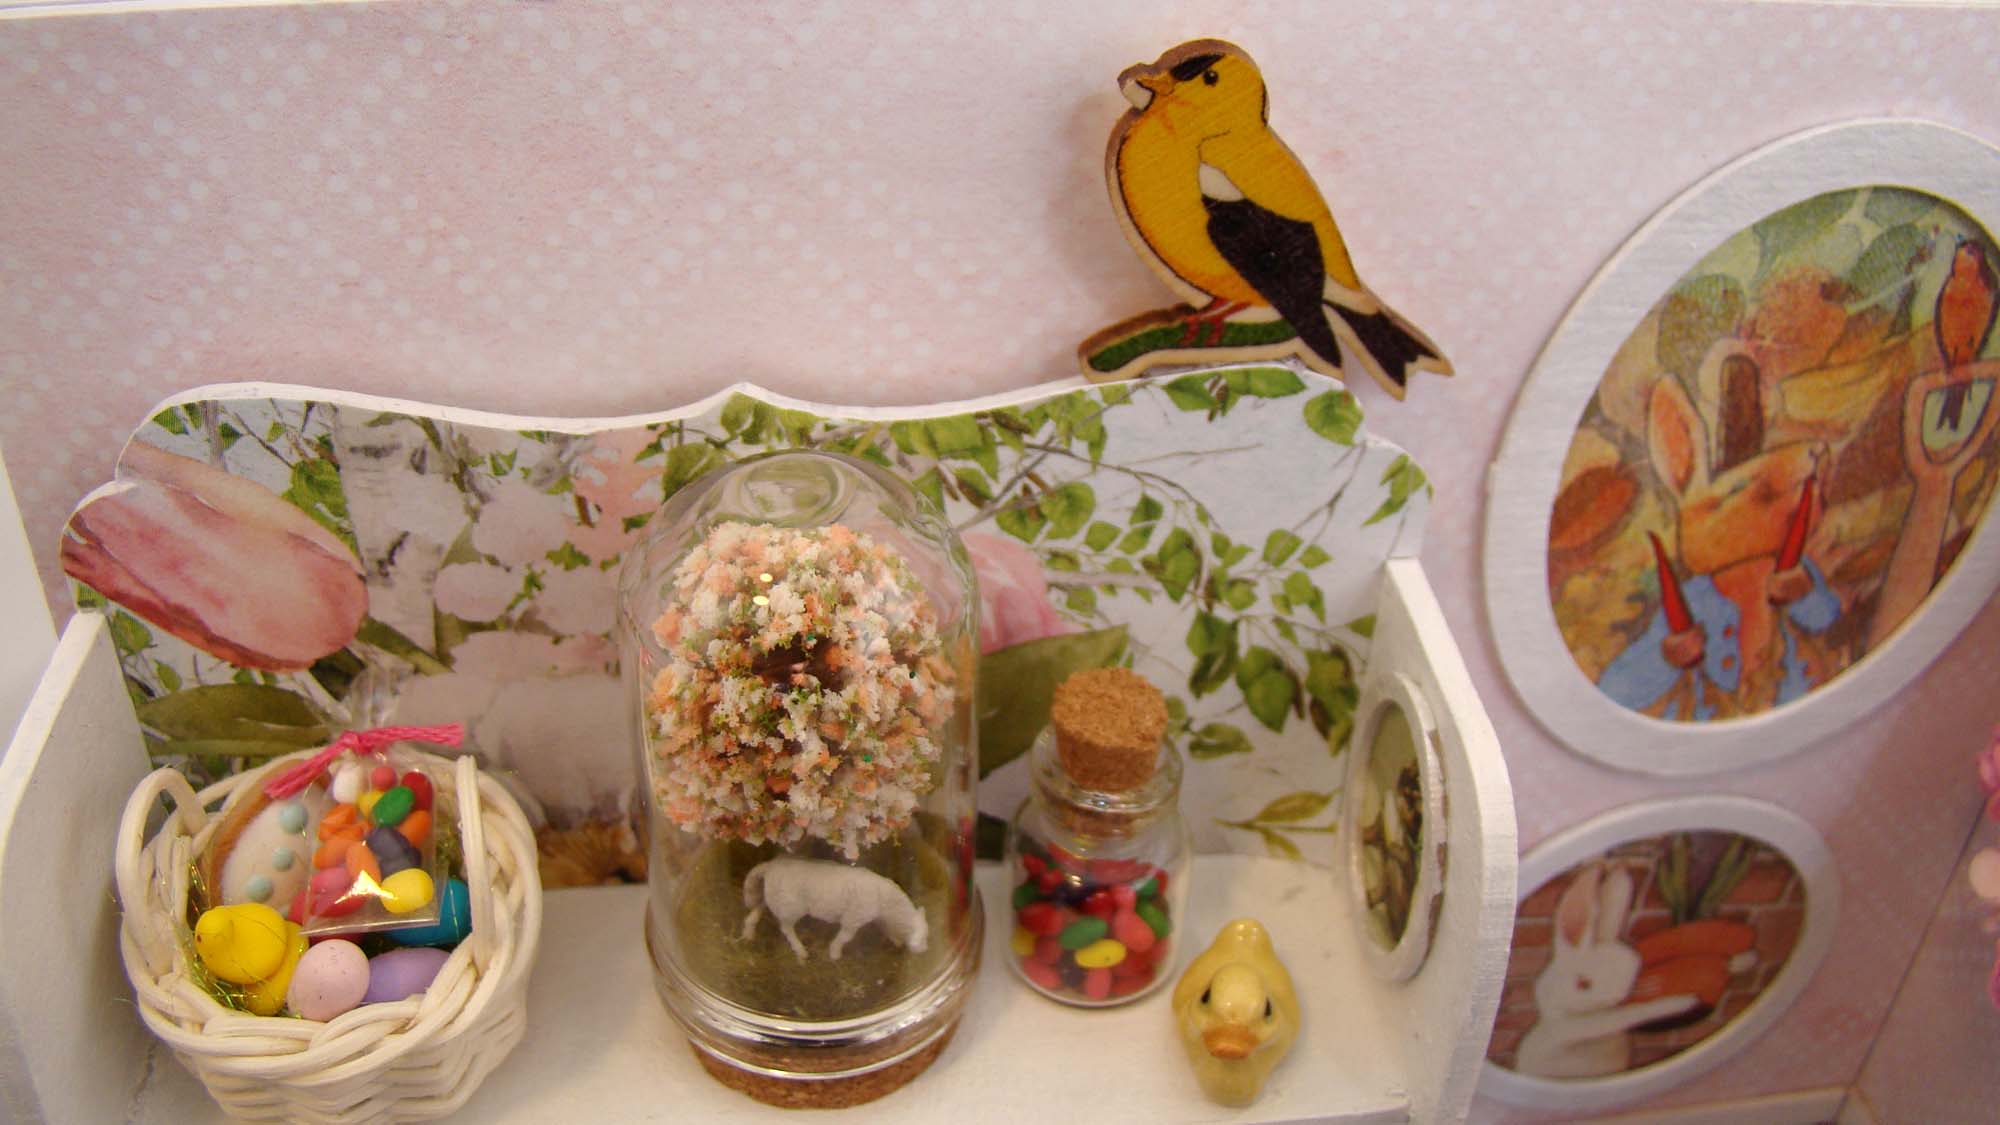
I used the same fill-in-the-button-hole technique on this Black and Yellow Finch Wooden Button as I used on the BlueJay. I picked up that sweet little porcelain Hagen Renaker duckling on my very first trip to Disney World about a million years ago.
My hope is that actual Easter egg dyeing could be this cute some day in real life! If you’d like to make your own you’ll find the supplies I used HERE.
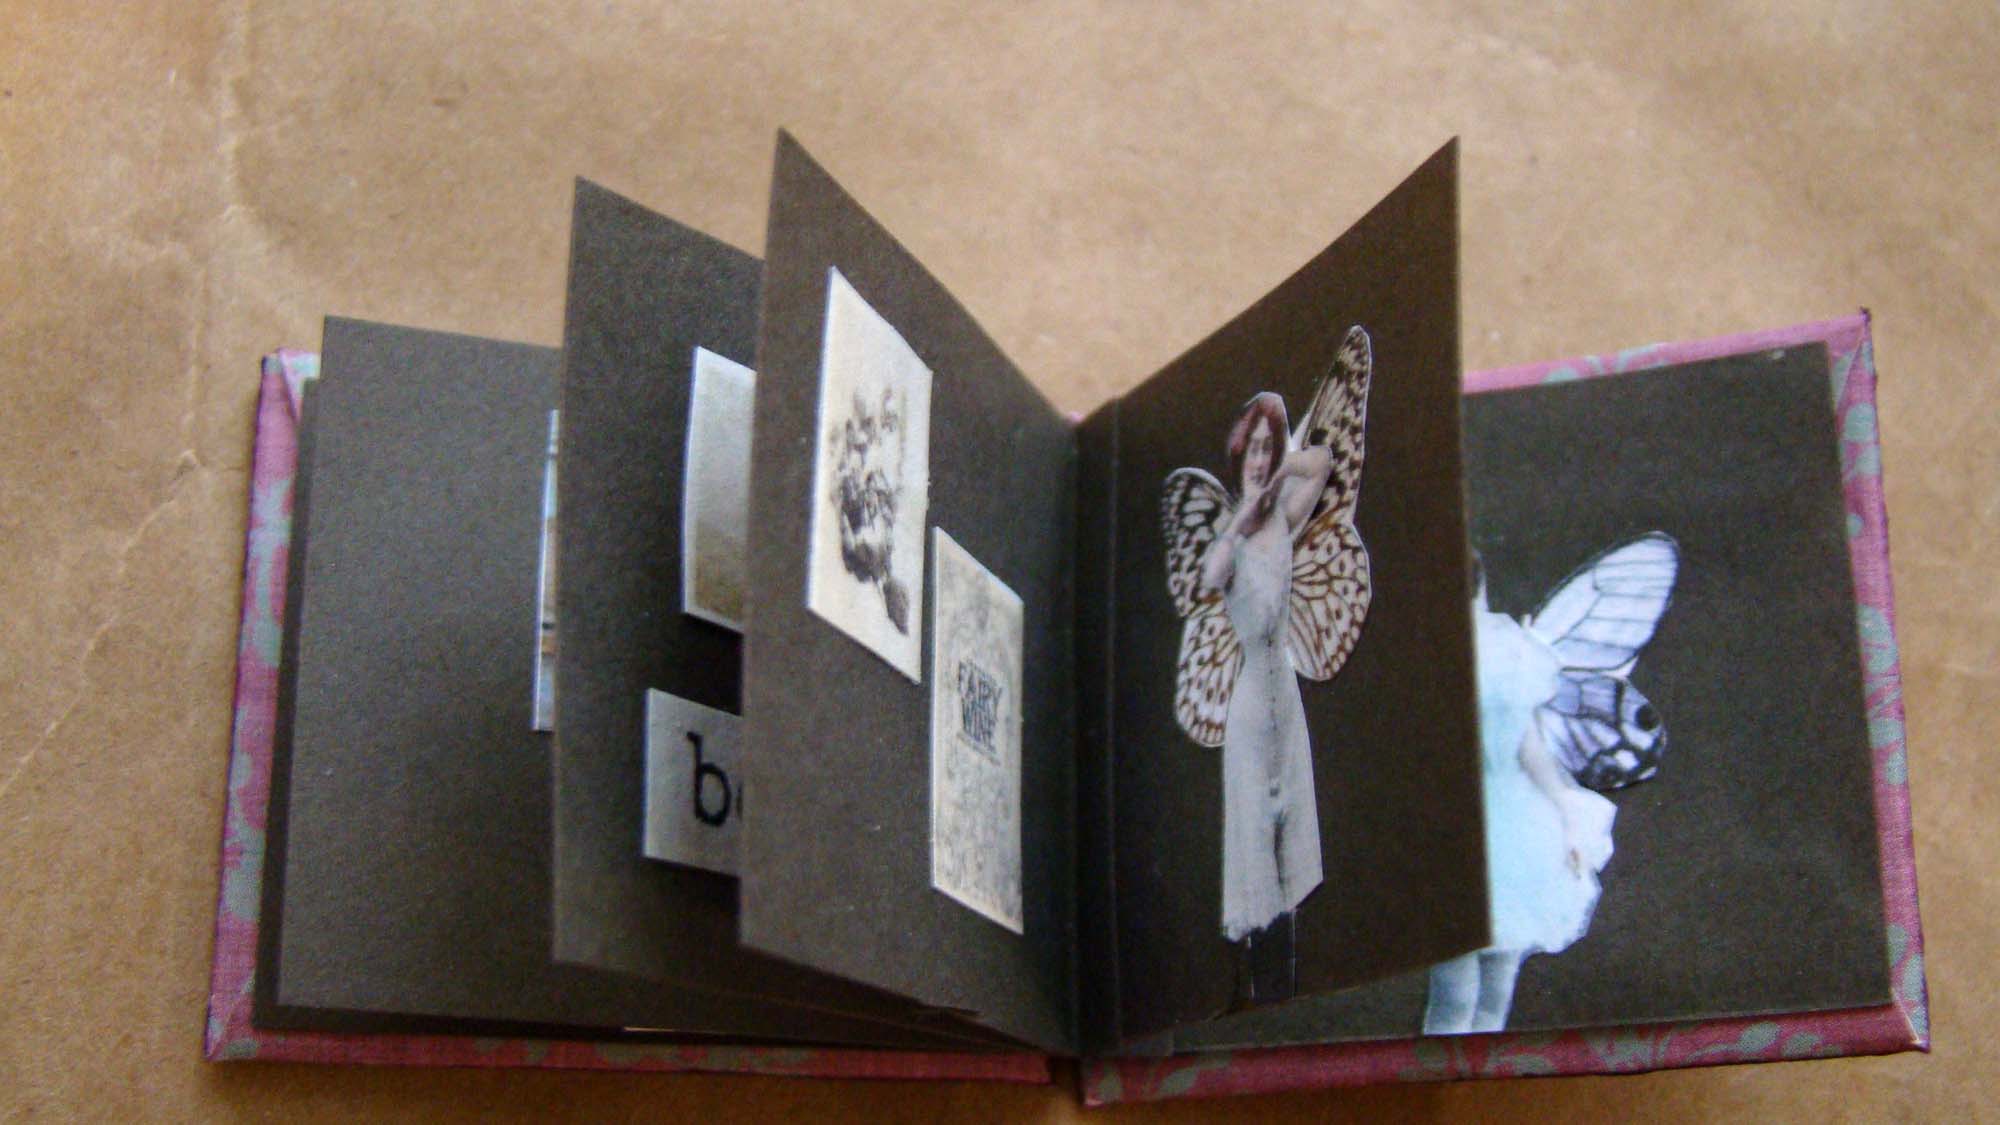
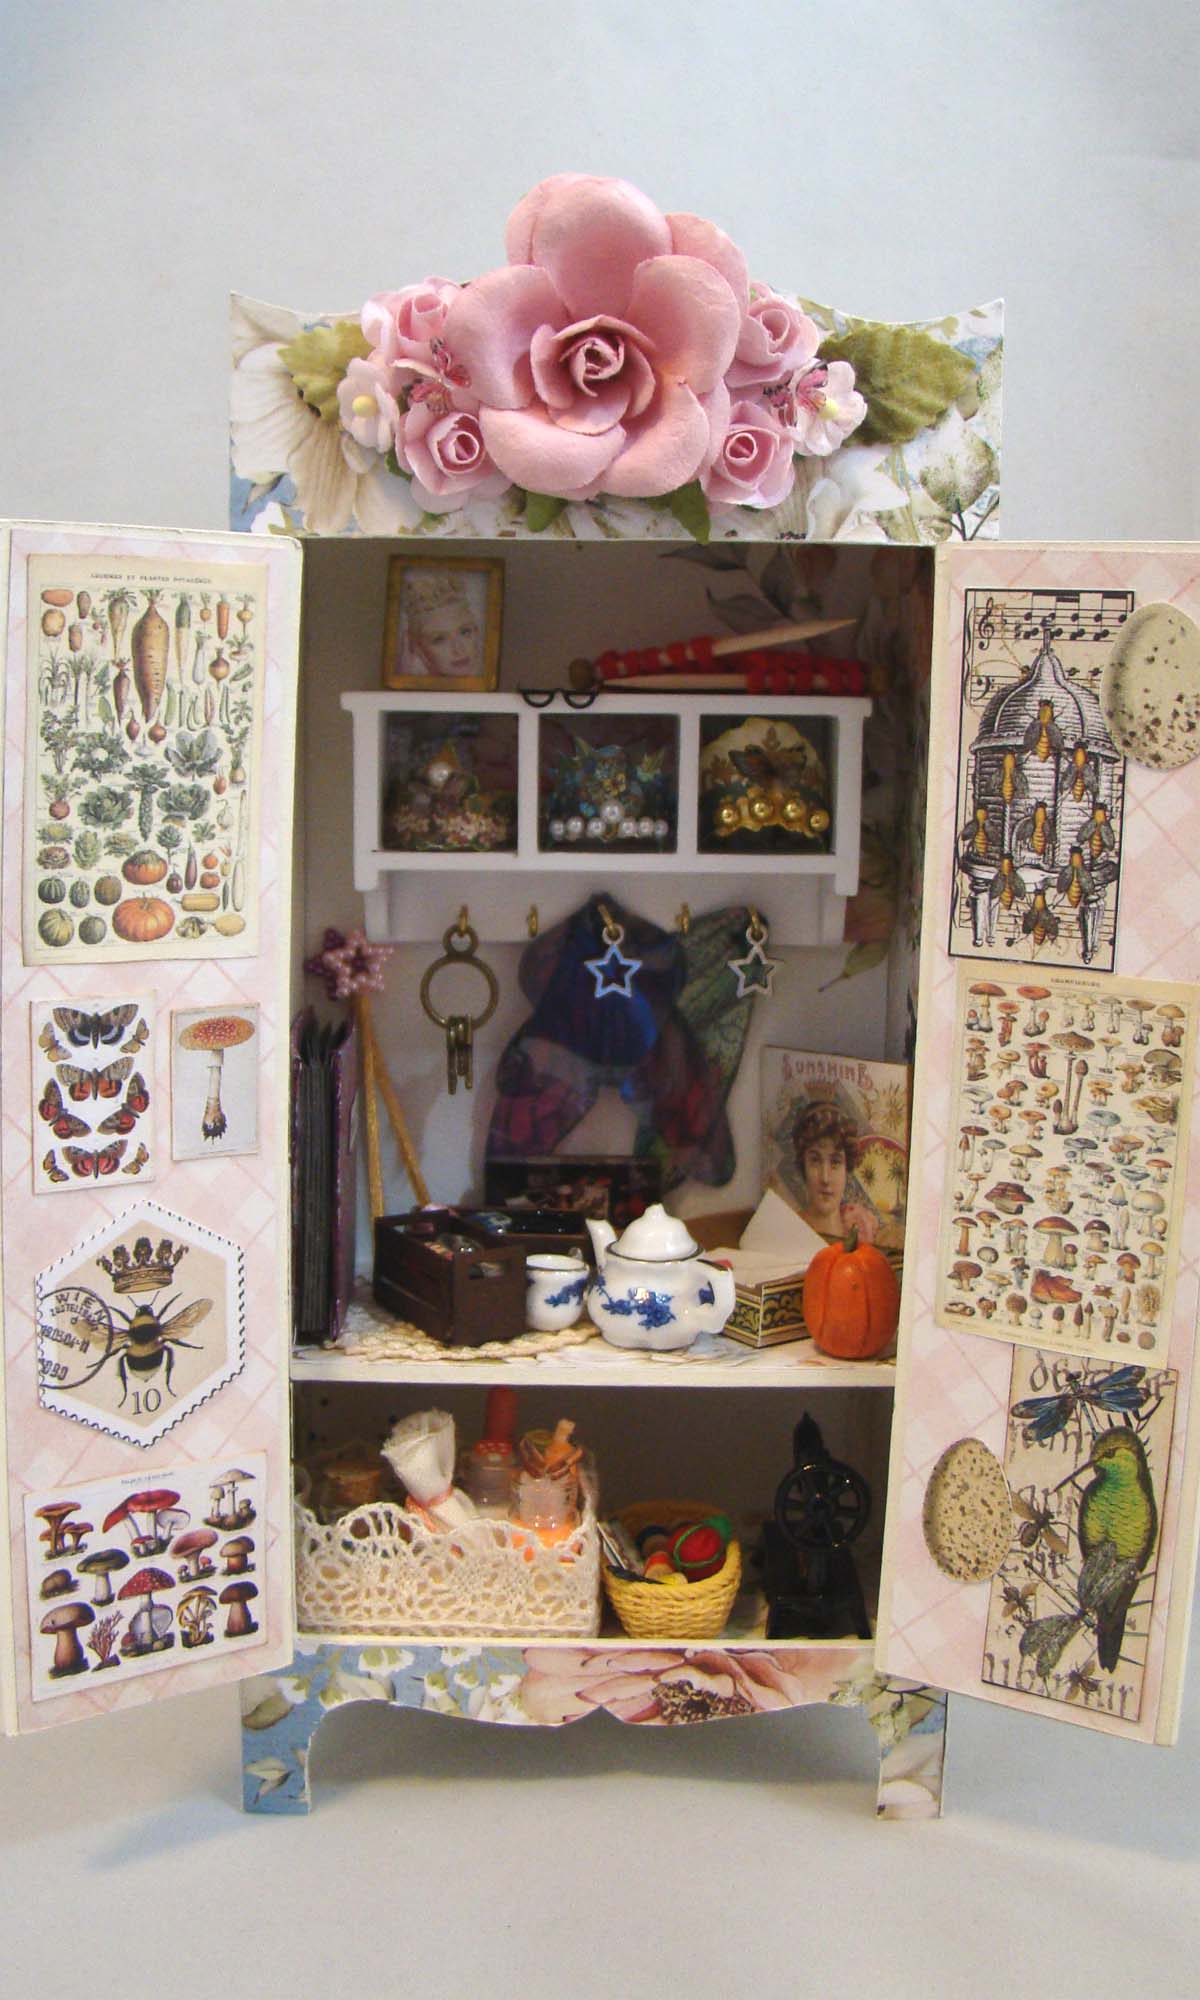
I have the sweetest project for Alpha Stamps to share today, a storage spot for a fairy godmother’s most important possessions made from the new Large Wardrobe with 1 Shelf and featuring Mintay’s Written Memories 12×12 Paper Set. This fairy godmother is a lover of nature, brandy and all things beautiful and is, of course, an expert seamstress and mender of torn things.
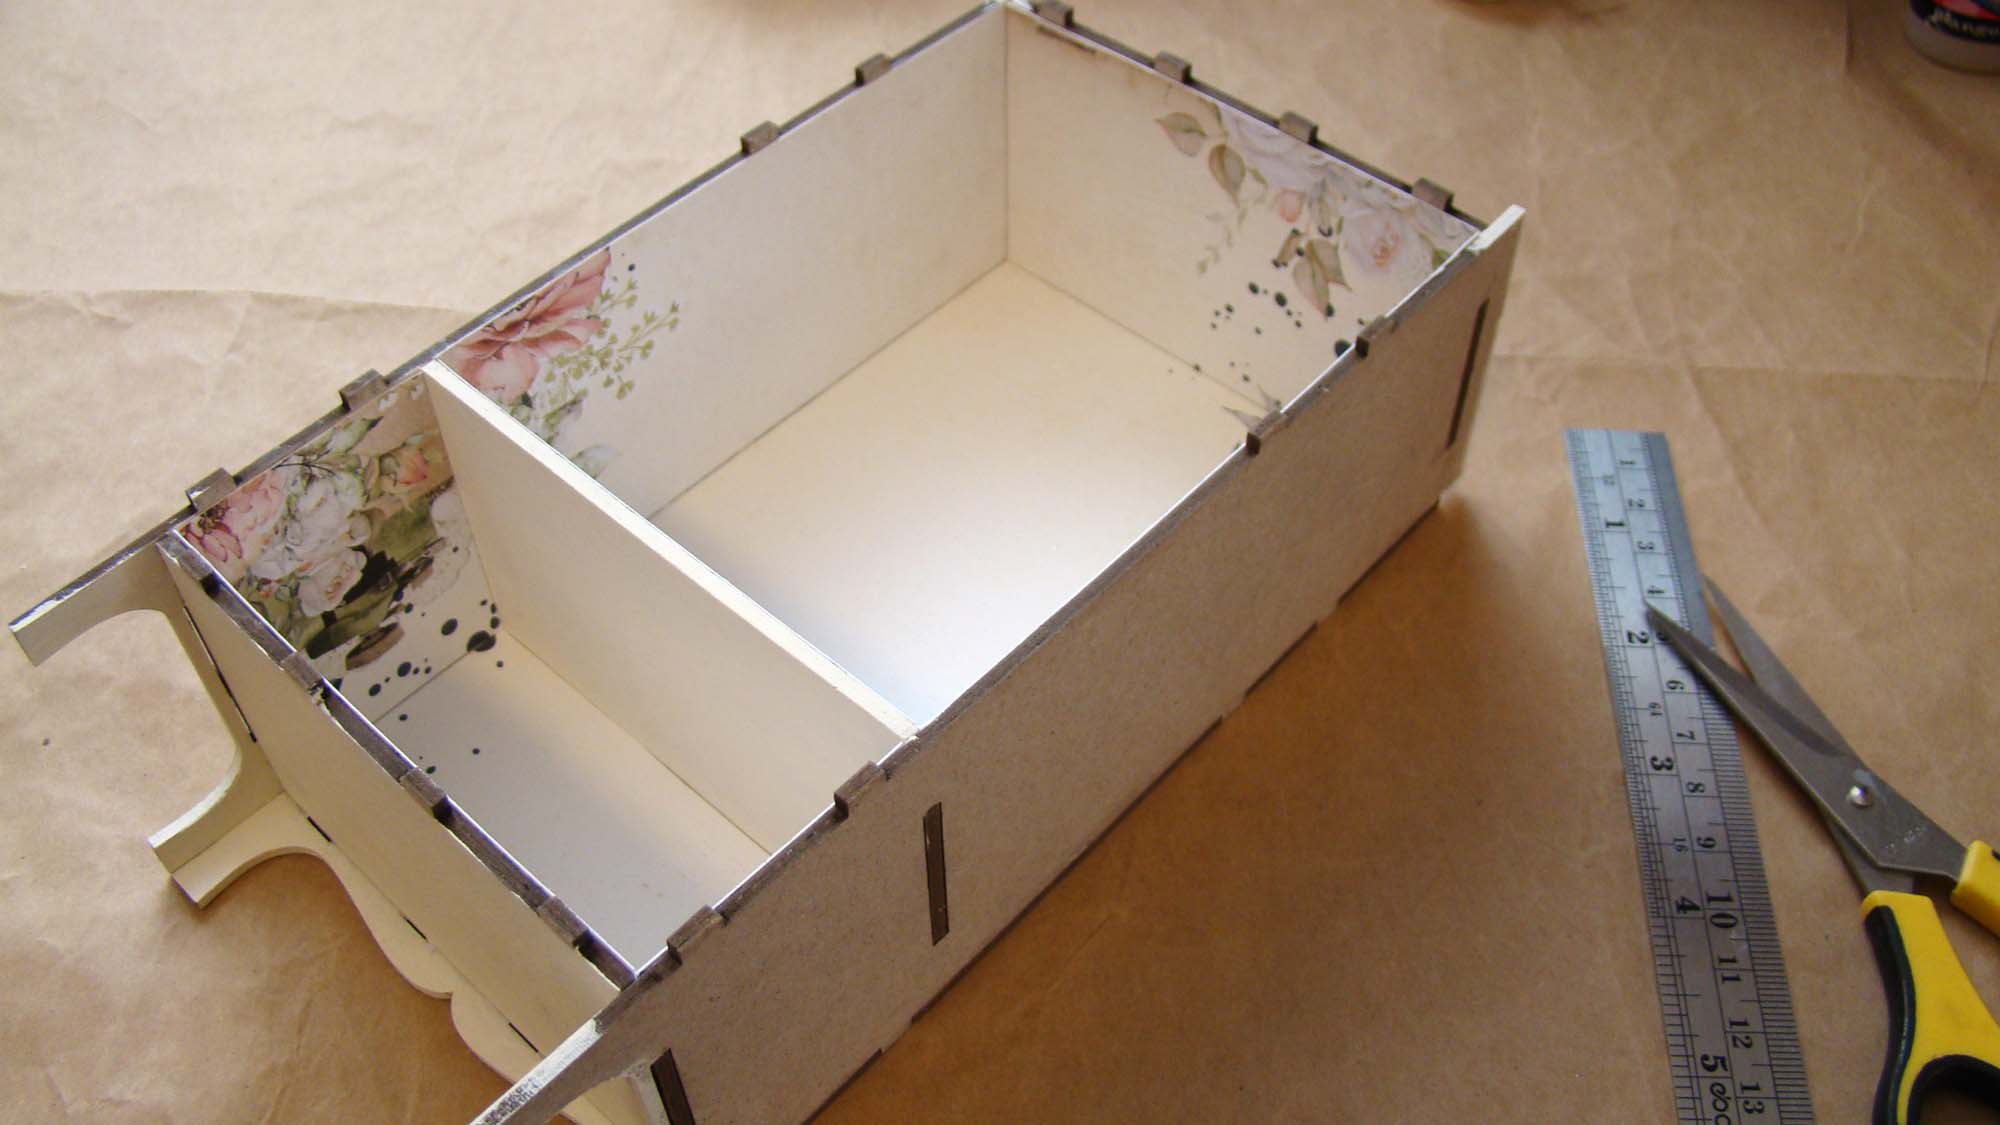
The cabinet is really easy to assemble using tacky glue. Before gluing the piece together I used the exterior rear wall as a template for cutting the cabinet’s curves in this beautiful paper.
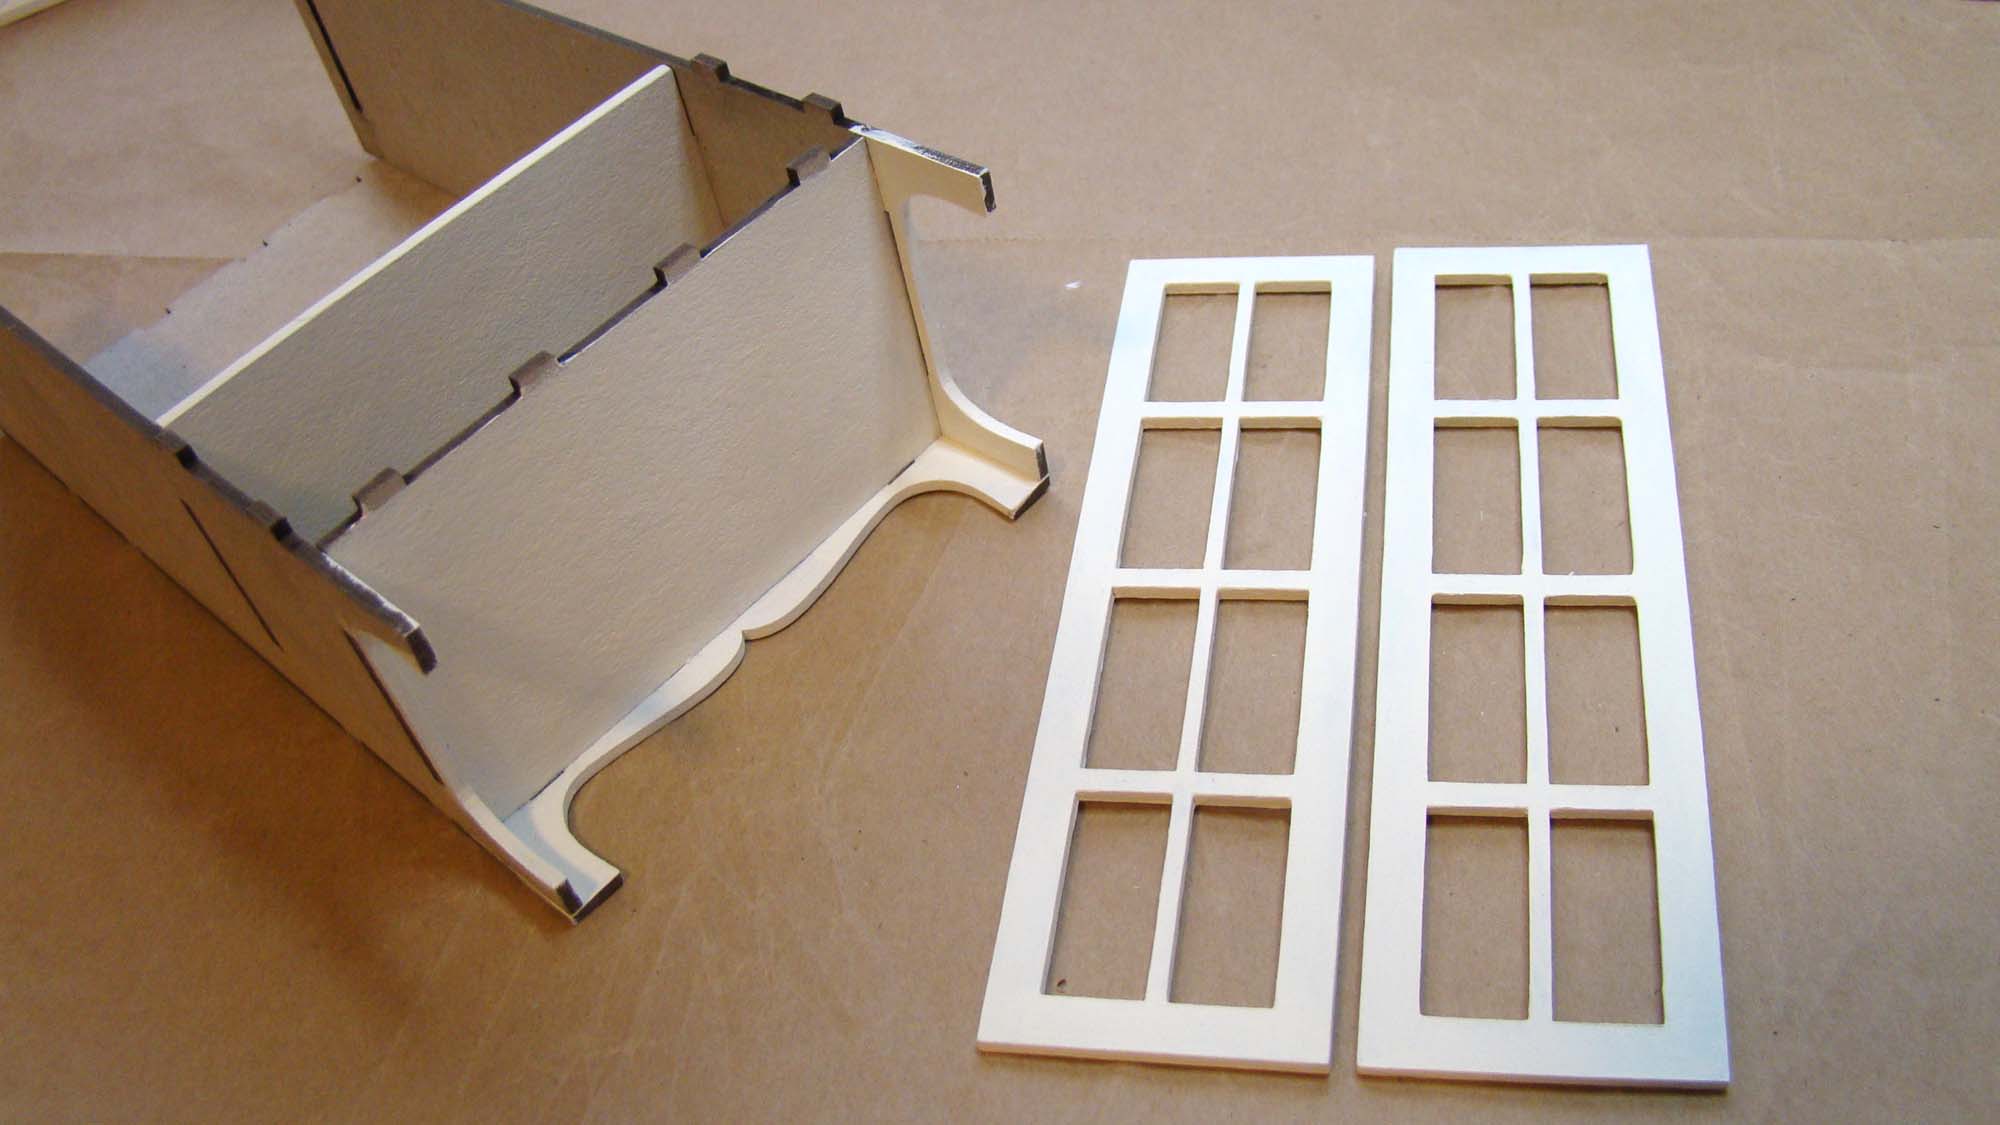
I painted the cabinet’s doors and feet with a light ivory acrylic paint.
Look how gorgeous this paper is!
The front surface of the cabinet is where the doors get attached. I glued the paper on, let it dry, then used an x-Acto knife to carefully cut the front opening.
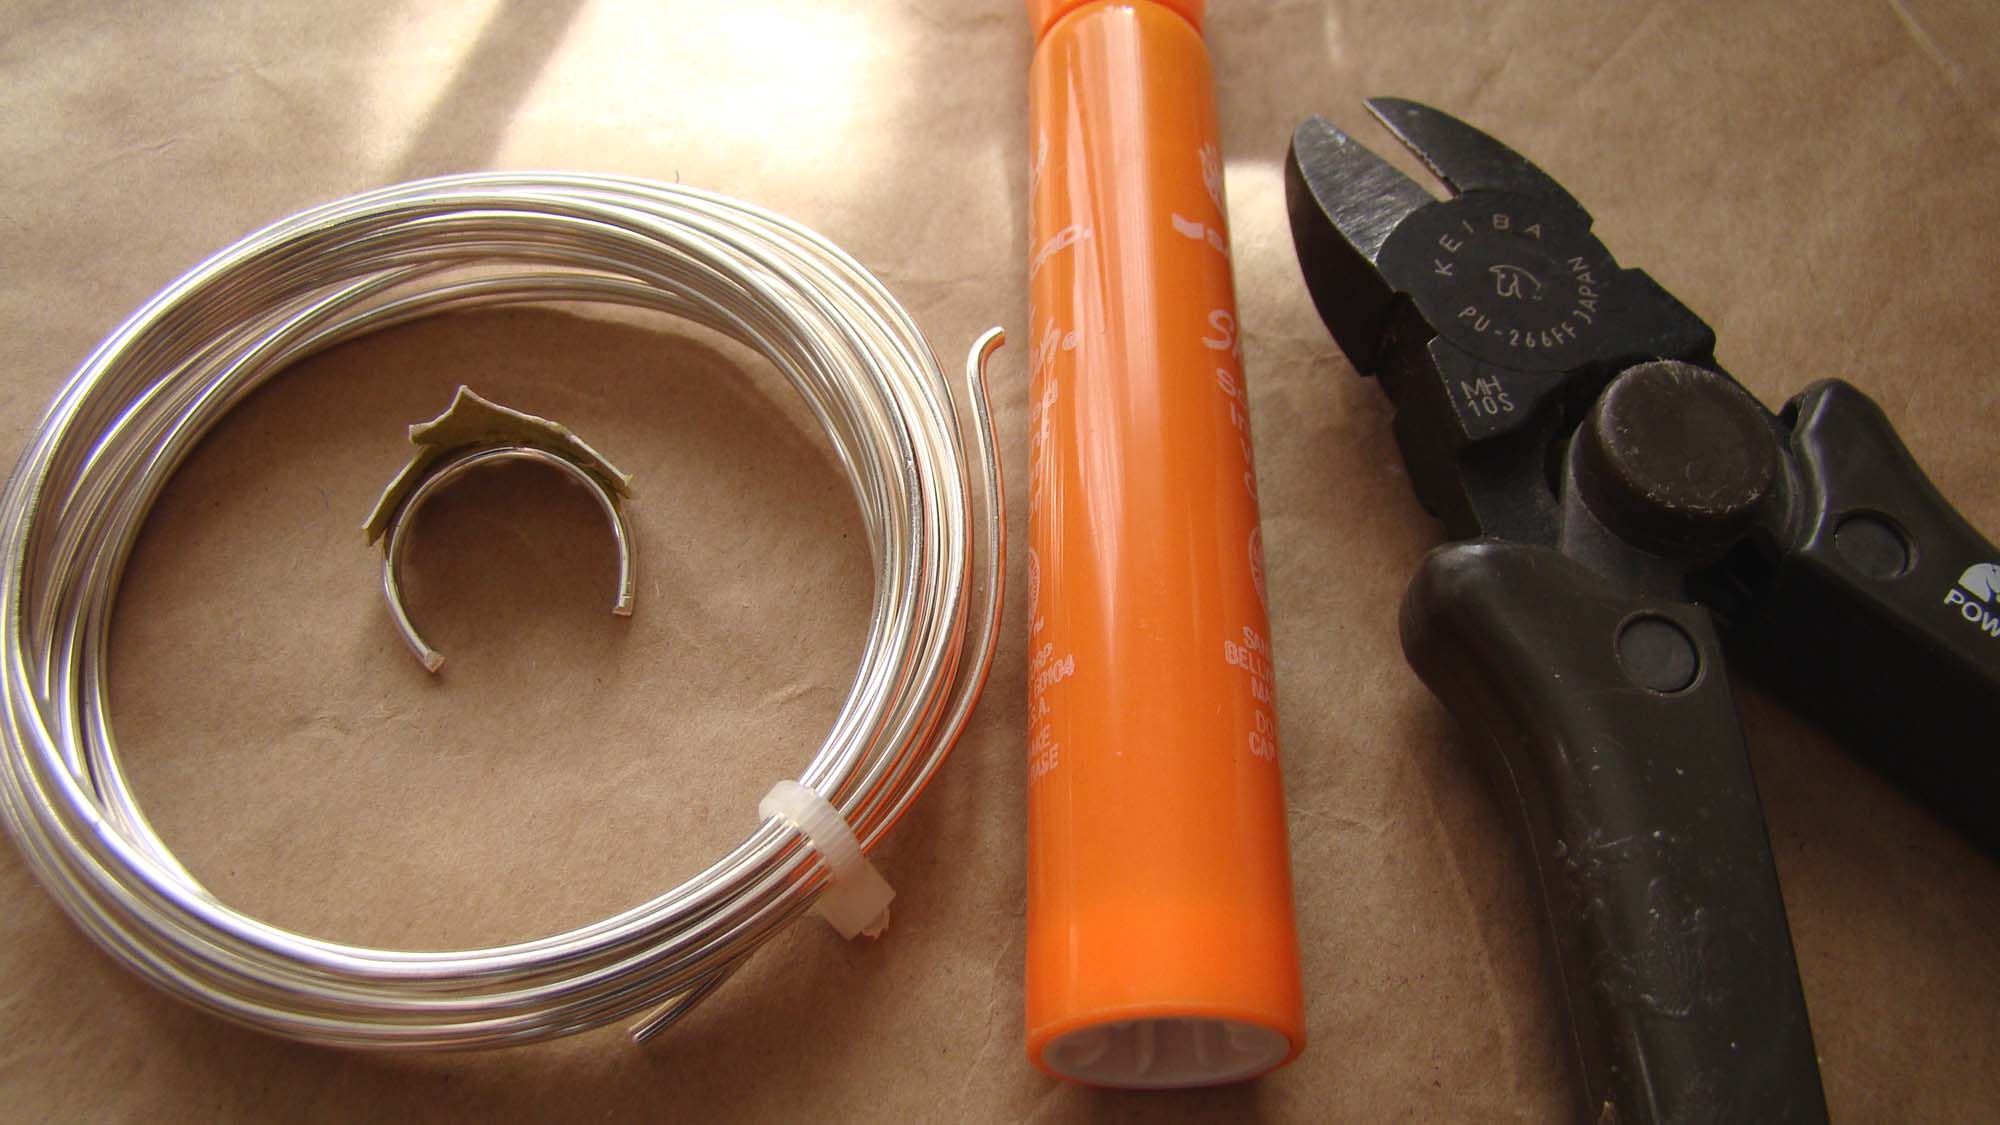
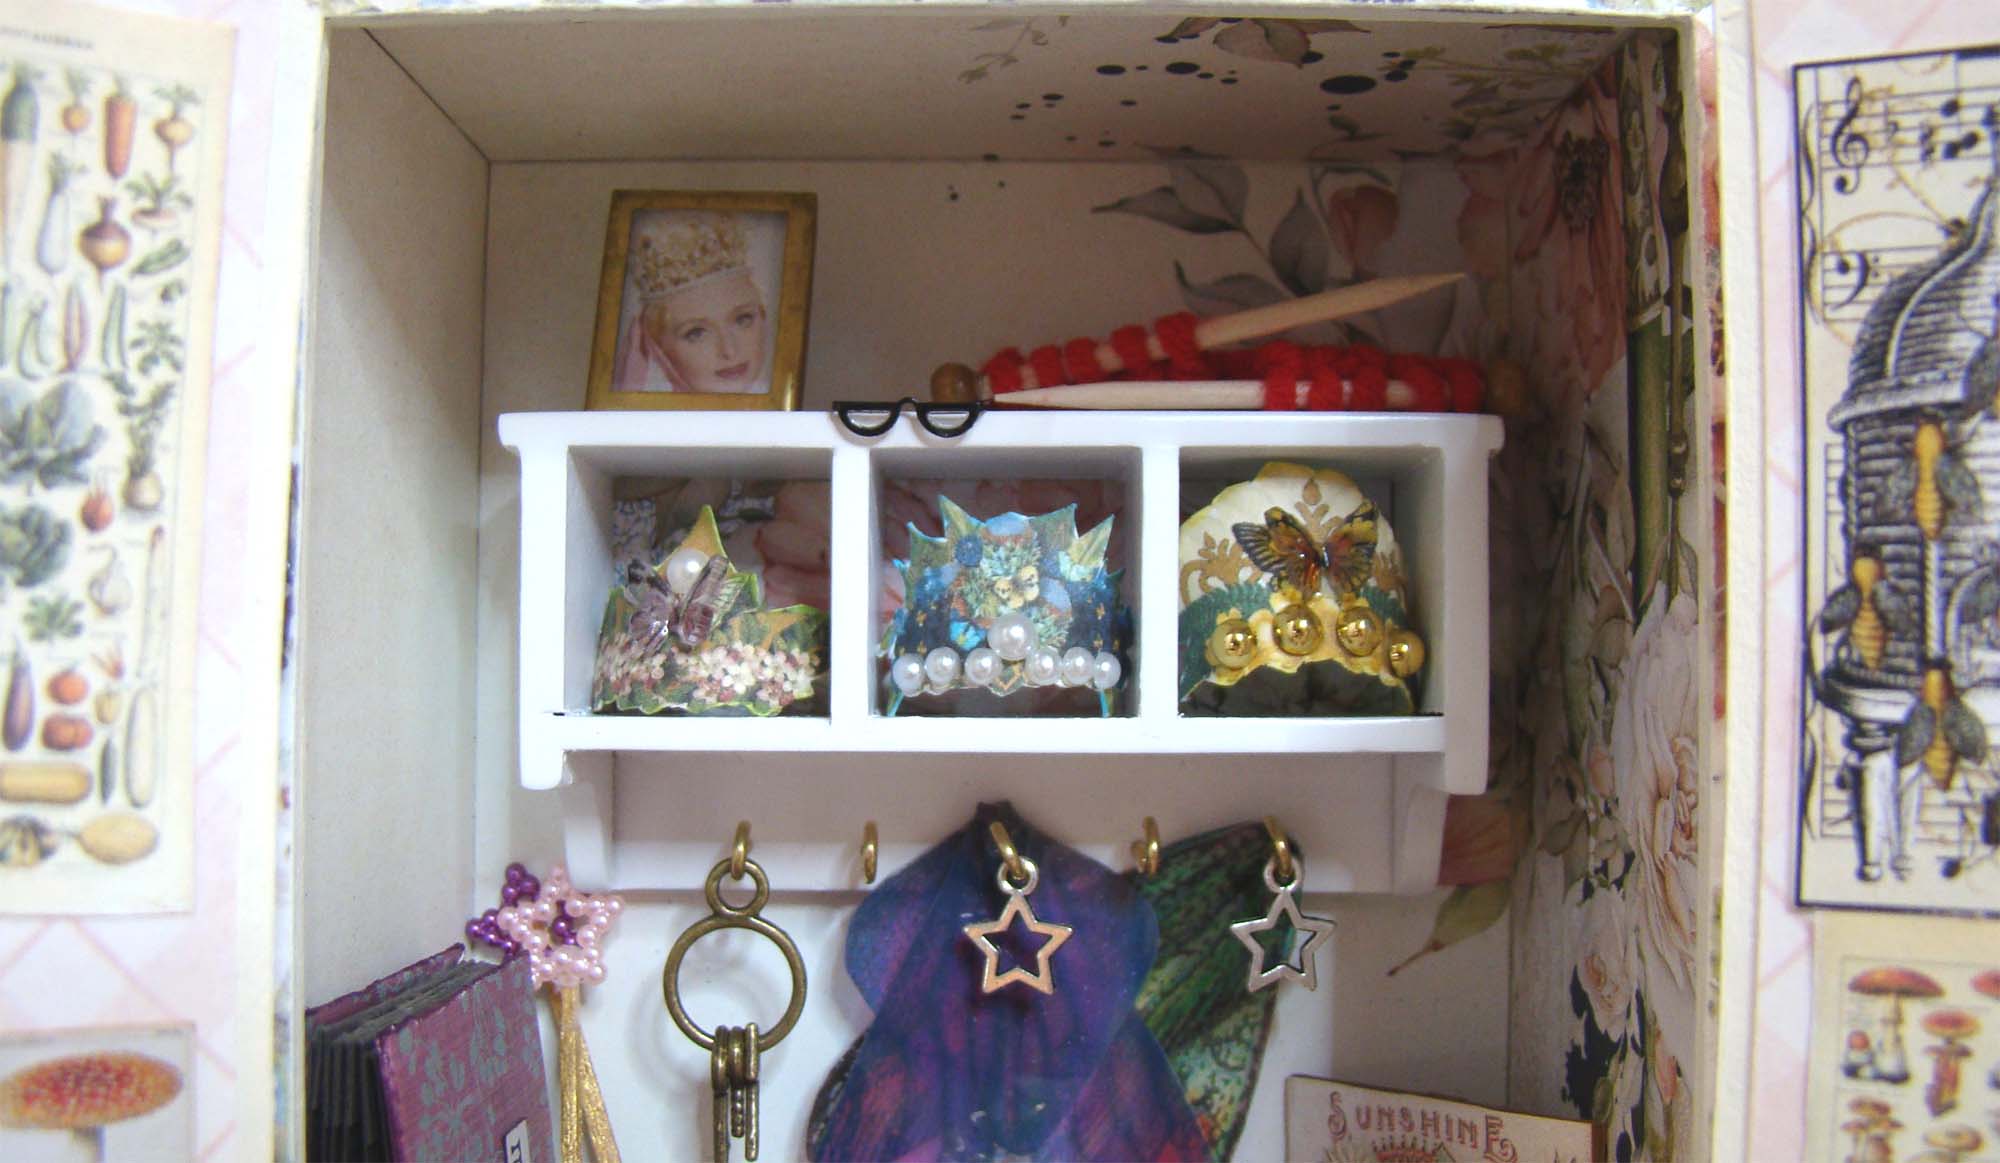
To make the crowns, I bent thick wire around a marker for the base and glued on images from the Nature’s Crowns Collage Sheet.
They were then decorated with flat back pearls, brads and more of the new 3D Resin Butterflies.
The storage case for her various magical fairy dusts, charms and enchantments was made from the base of a Suitcase-1 5/8 Inch that was covered in pretty floral paper and wrapped with a scrap of lace. I used some small bottles I had in my stash as well as some Tiny Glass Bottles filled with glitter and sparkly nail art decorations. The tops were decorated with Red Mushroom and Bright Flowers polymer clay slices. I just love working with poly clay canes and slices, they’re so versatile in miniature crafting!
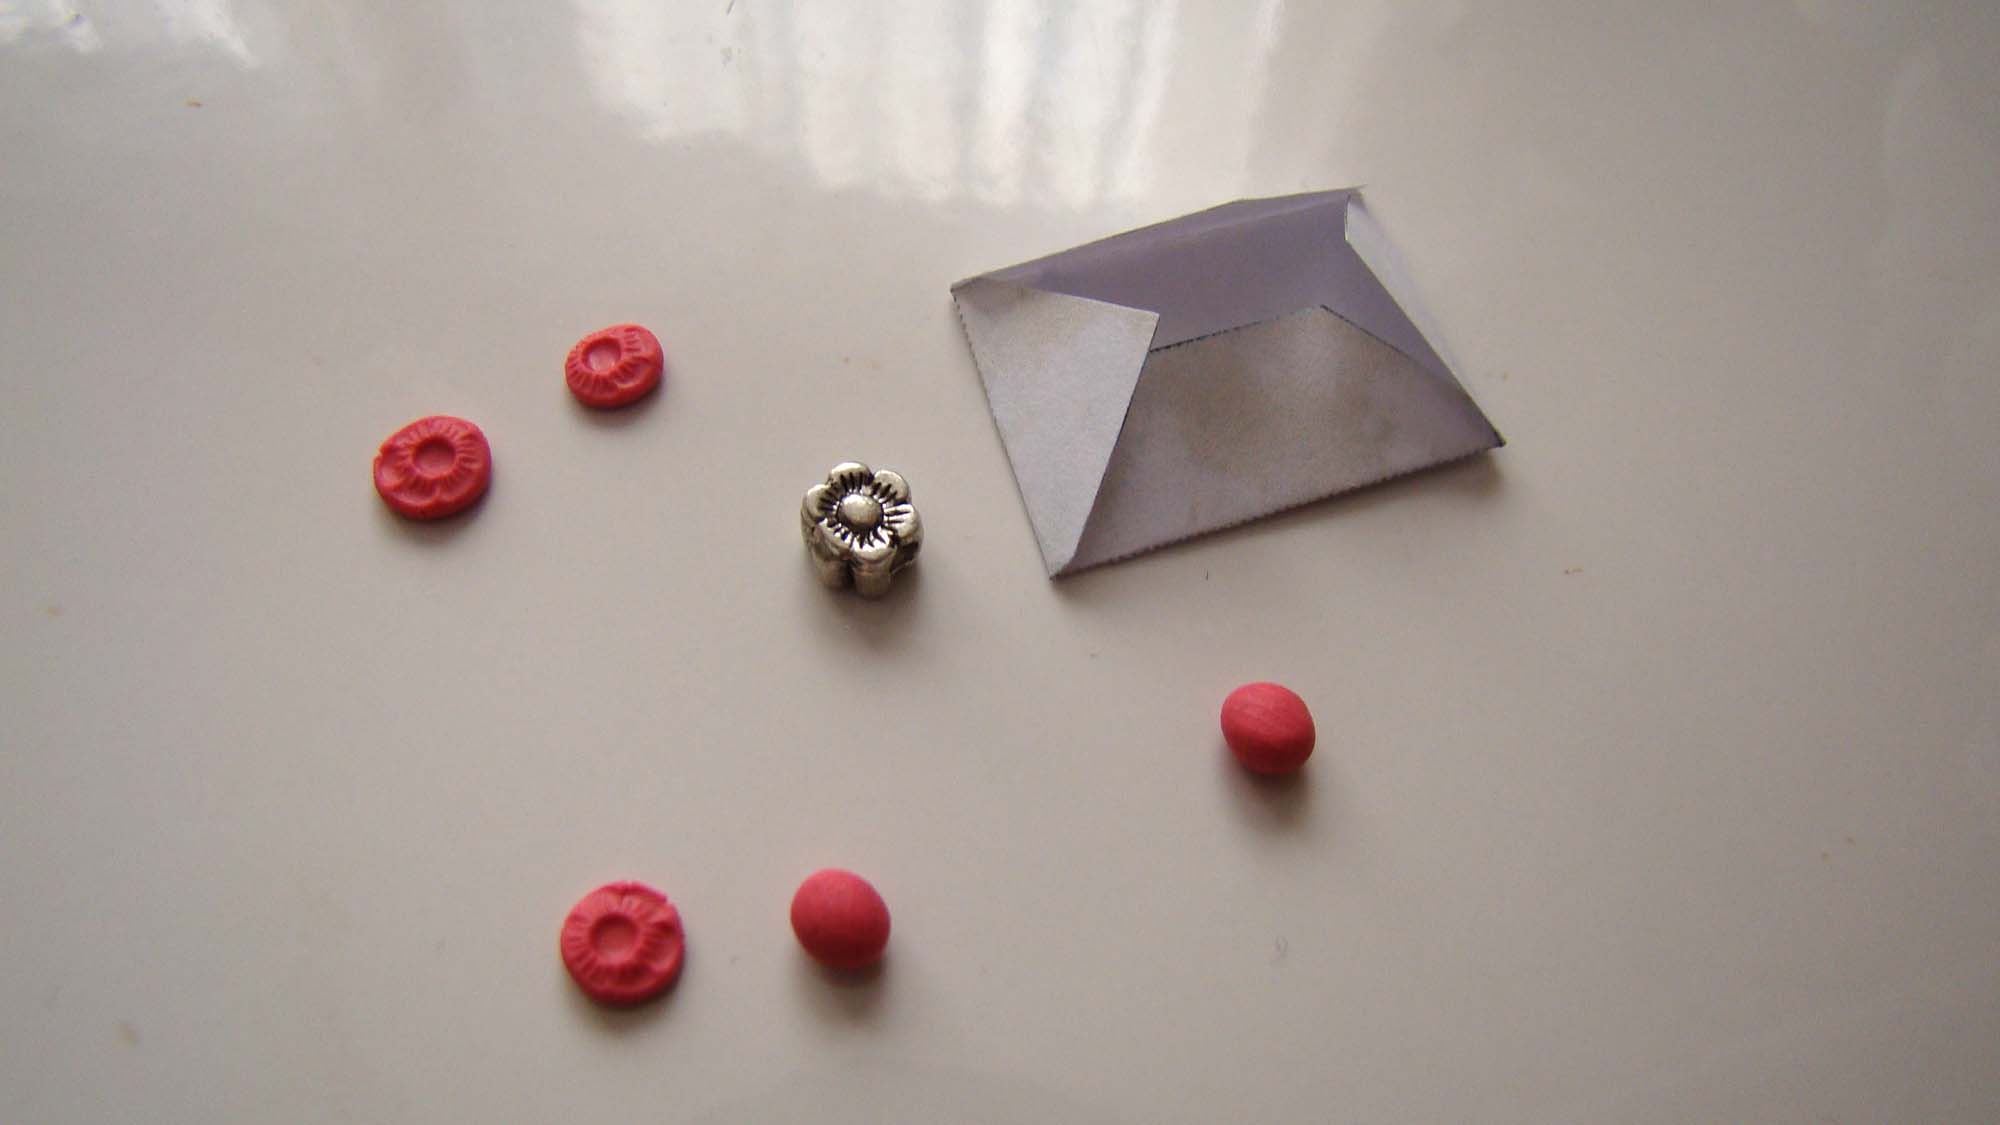
I made a few wax seals for some of her letters using a tiny bit of polymer clay with a flower impression from a small metal bead.
As a fashionable woman, she changes wands as often as her crowns and wings. They are made from flat toothpicks painted gold and topped with the new Fairy Wand Acrylic Stars with Pearl Finish. So simple and delightful!
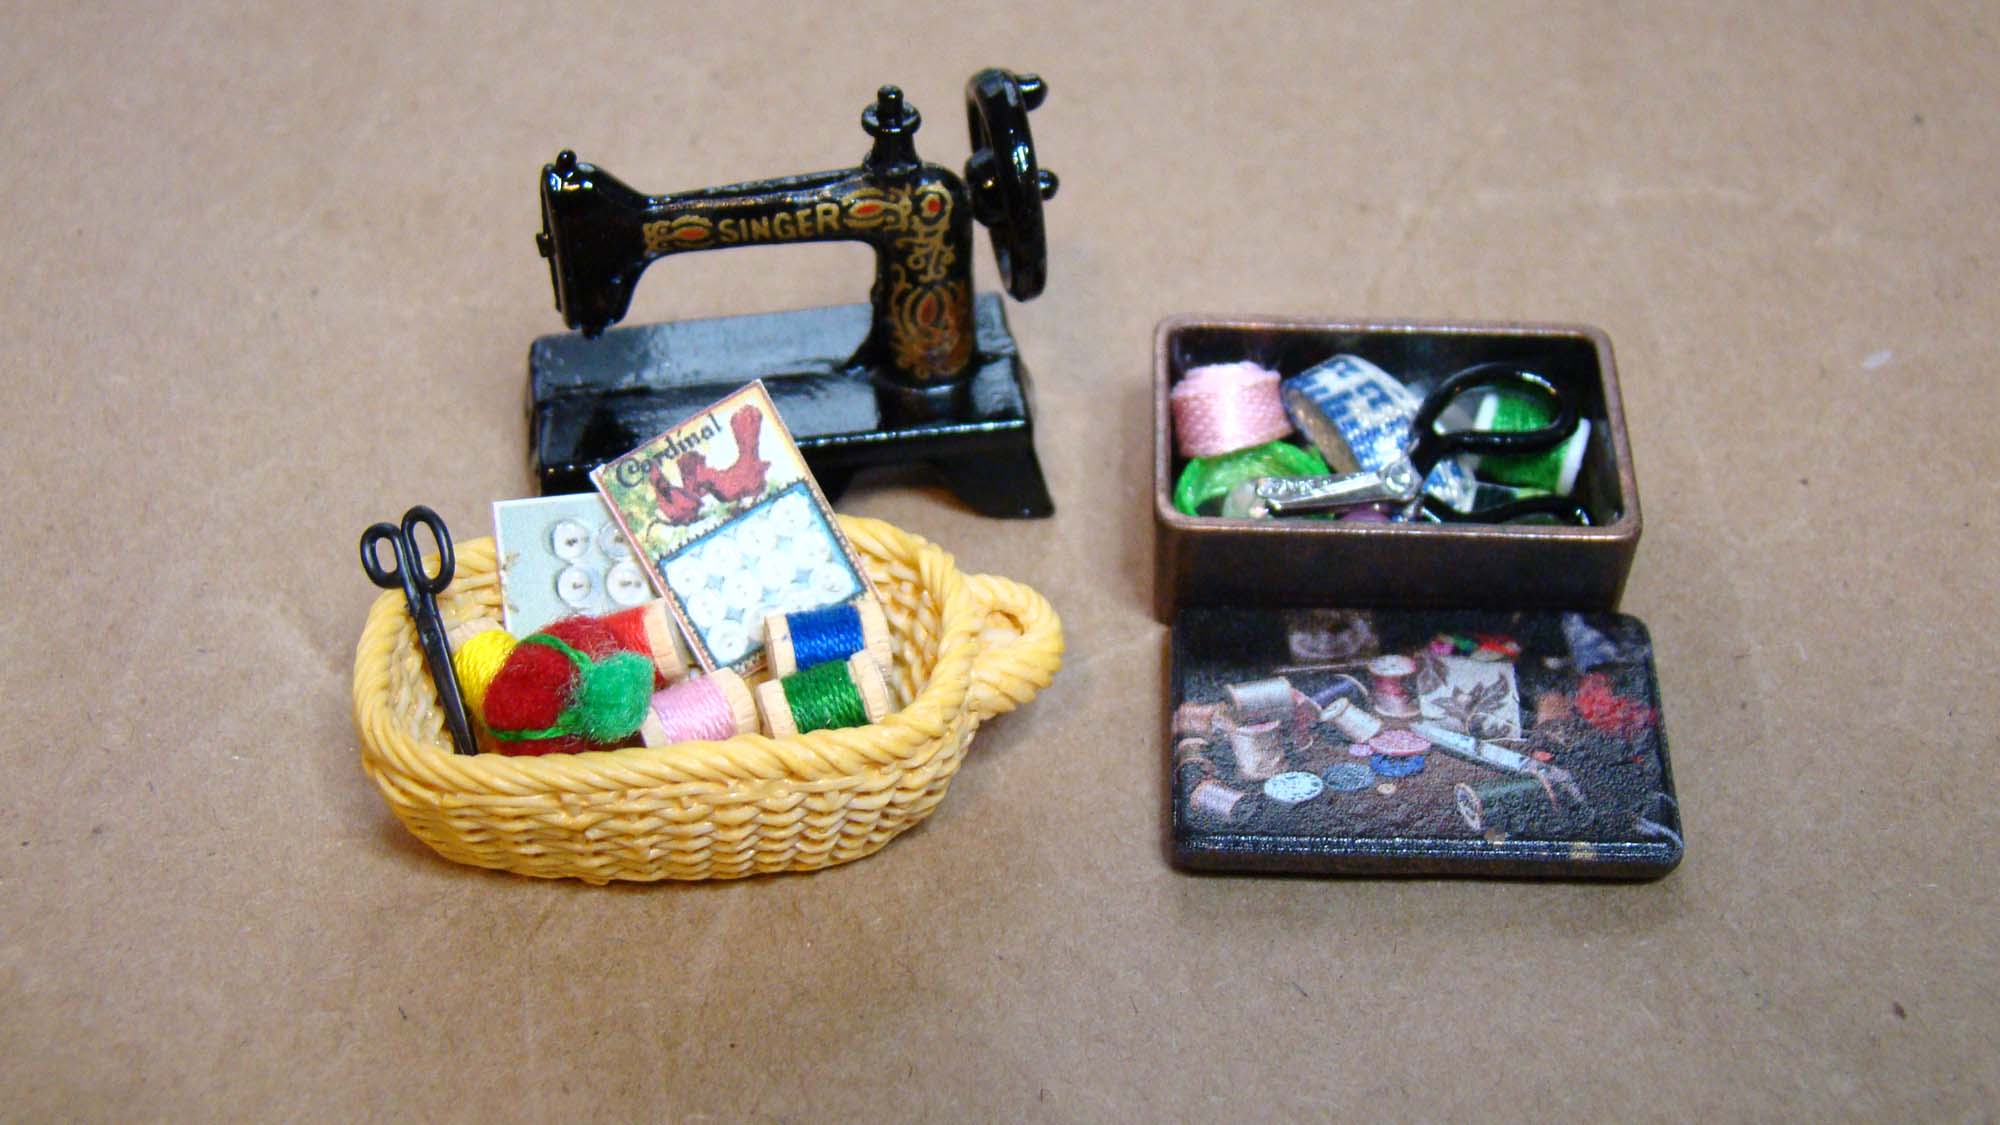
She’s an expert seamstress, of course. Here’s a brand new Rectangular Sewing Tin with Accessories, which comes with all of these marvelous tiny items included. I am swooning over that little tape measure!
Besides her mending kit, scrapbook, correspondence and brandy storage sits a teapot and cup from the new Ceramic Tea Set with Blue Pattern and a polymer clay pumpkin.
And finally her fairy dust storage box and the extra sewing supplies.
This was an extremely fun project to make. Thanks for stopping by and I send all the best fairy wishes and magic your way. You’ll find all of the supplies to make one of your own HERE
Every now and then I make something just for me. This is one of those somethings. We got a Nintendo Switch last Christmas and it has kept us entertained as we have been staying safe at home. My favorite game by far is The Legend of Zelda: Breath of the Wild. During Link’s adventures he discovers a house that is being torn down and would I like to purchase and fix it up? You bet! Here is my version of the finished home.
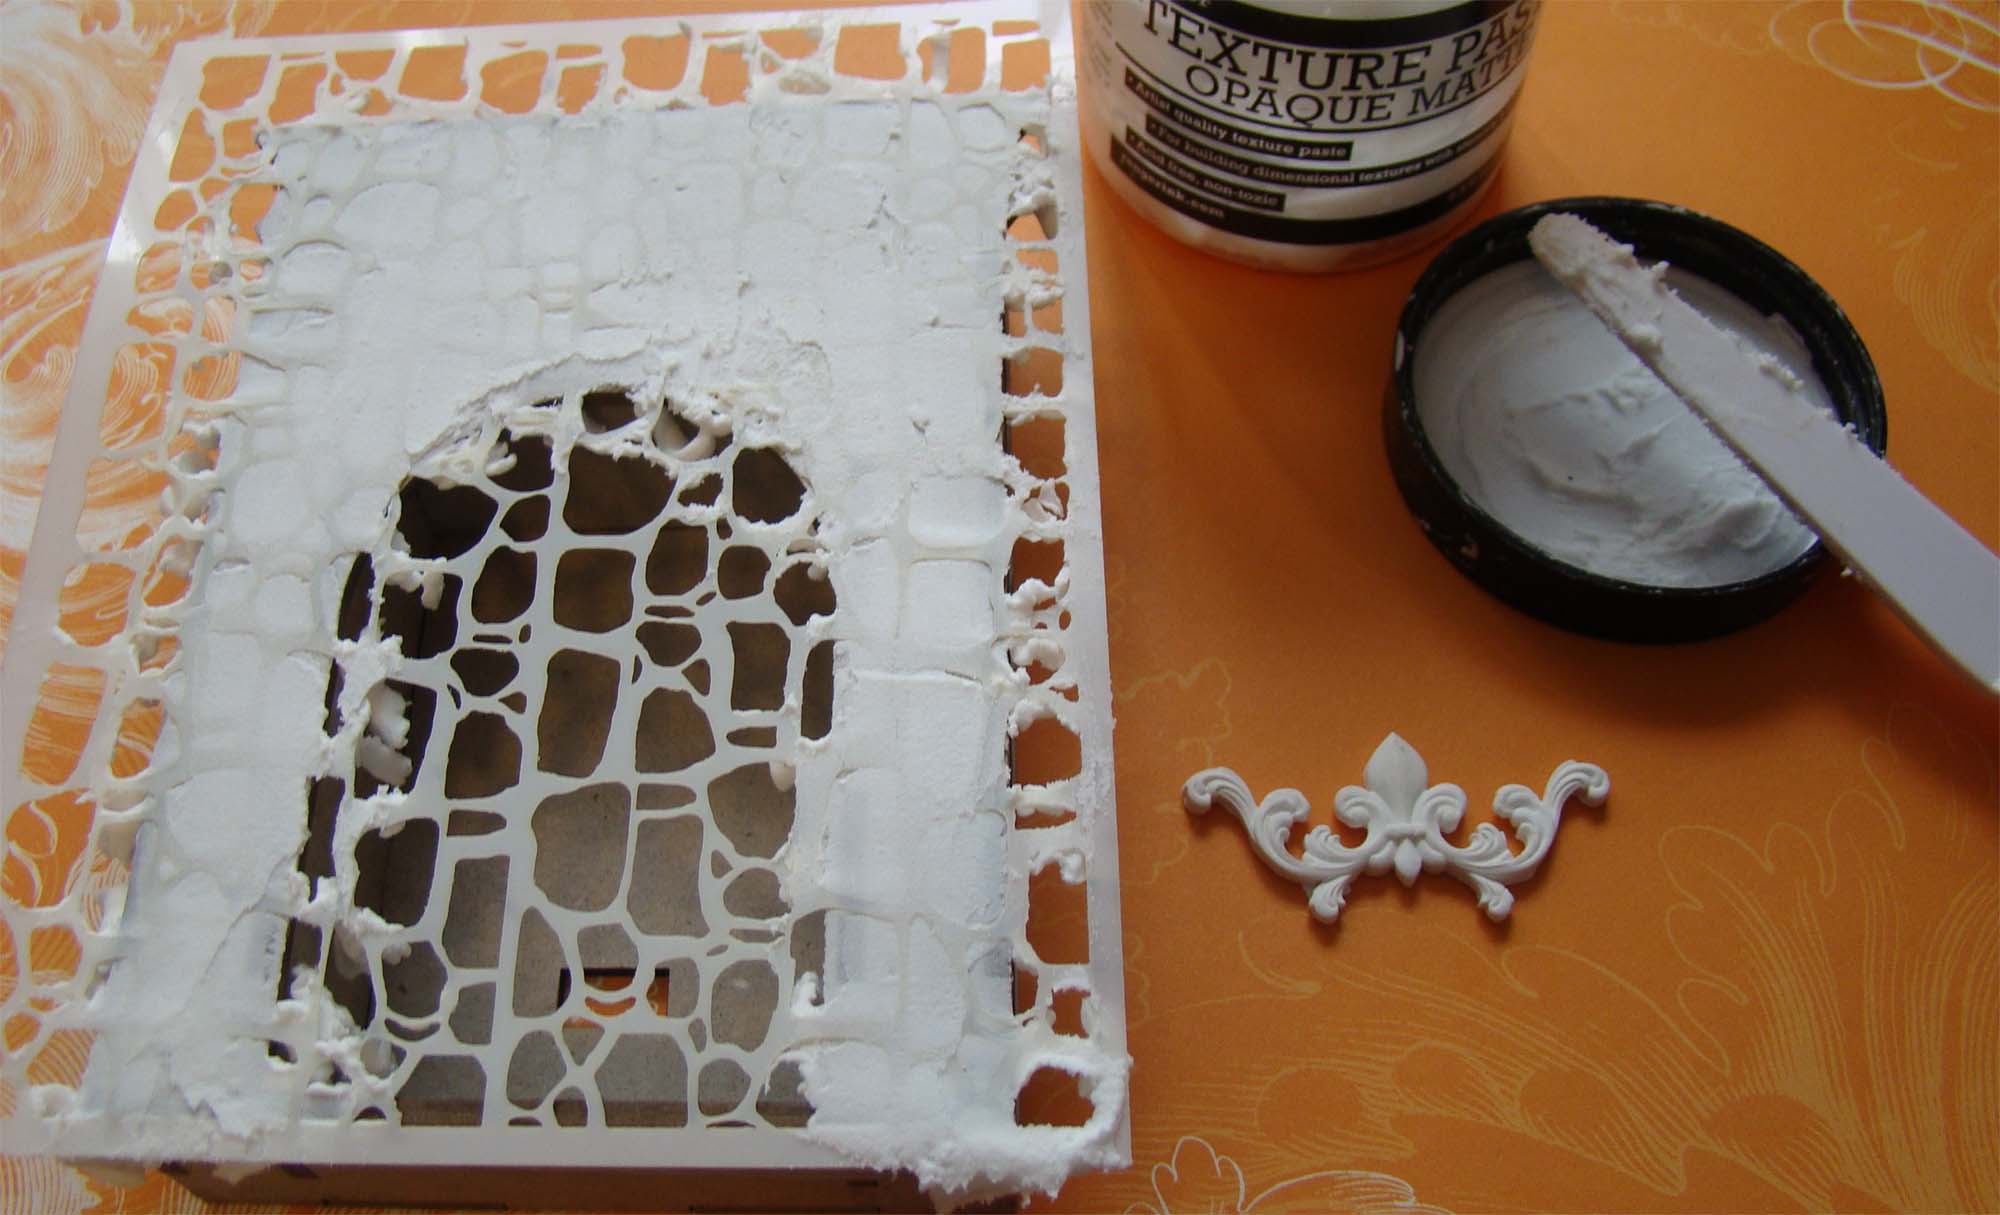
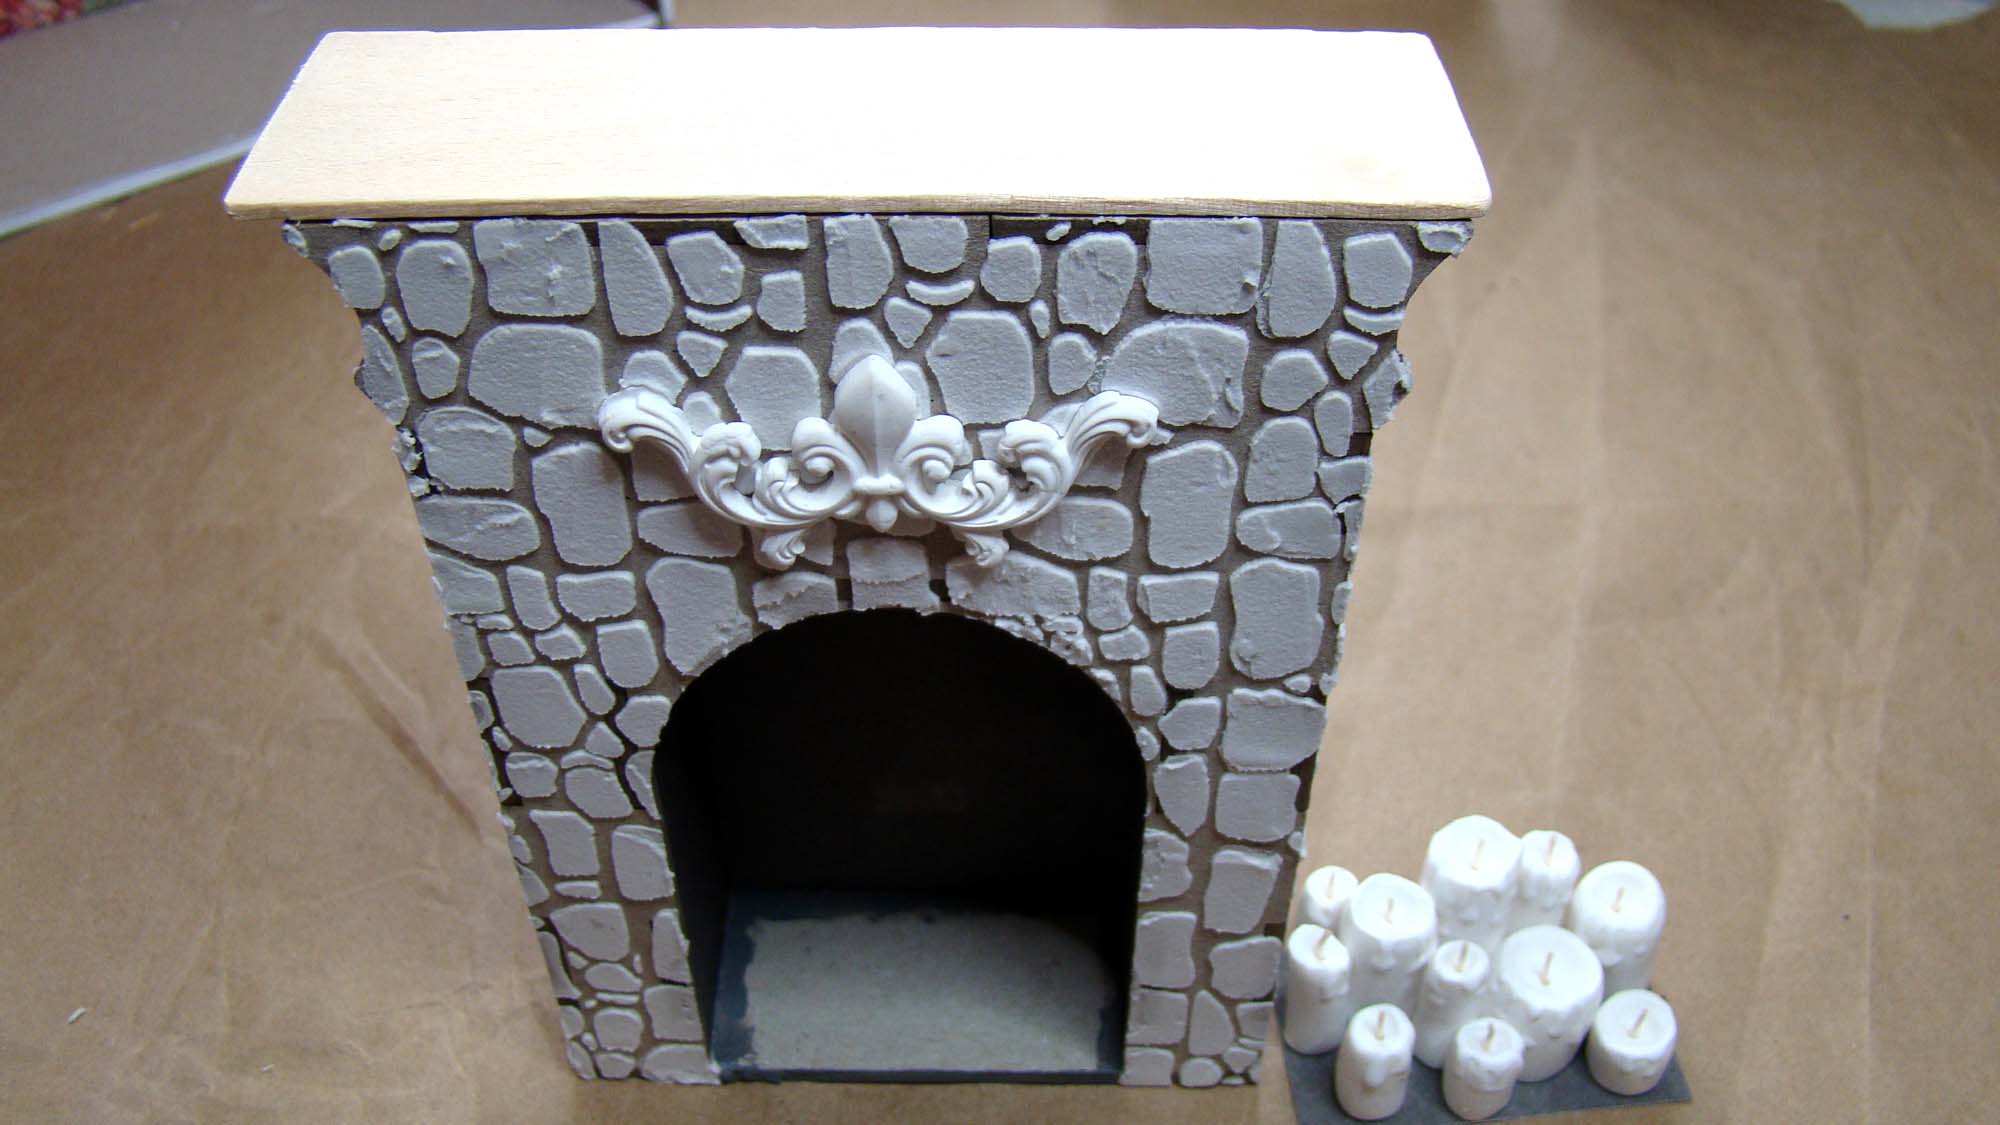
I gave the walls a rough plaster look with a thin layer of modeling paste.
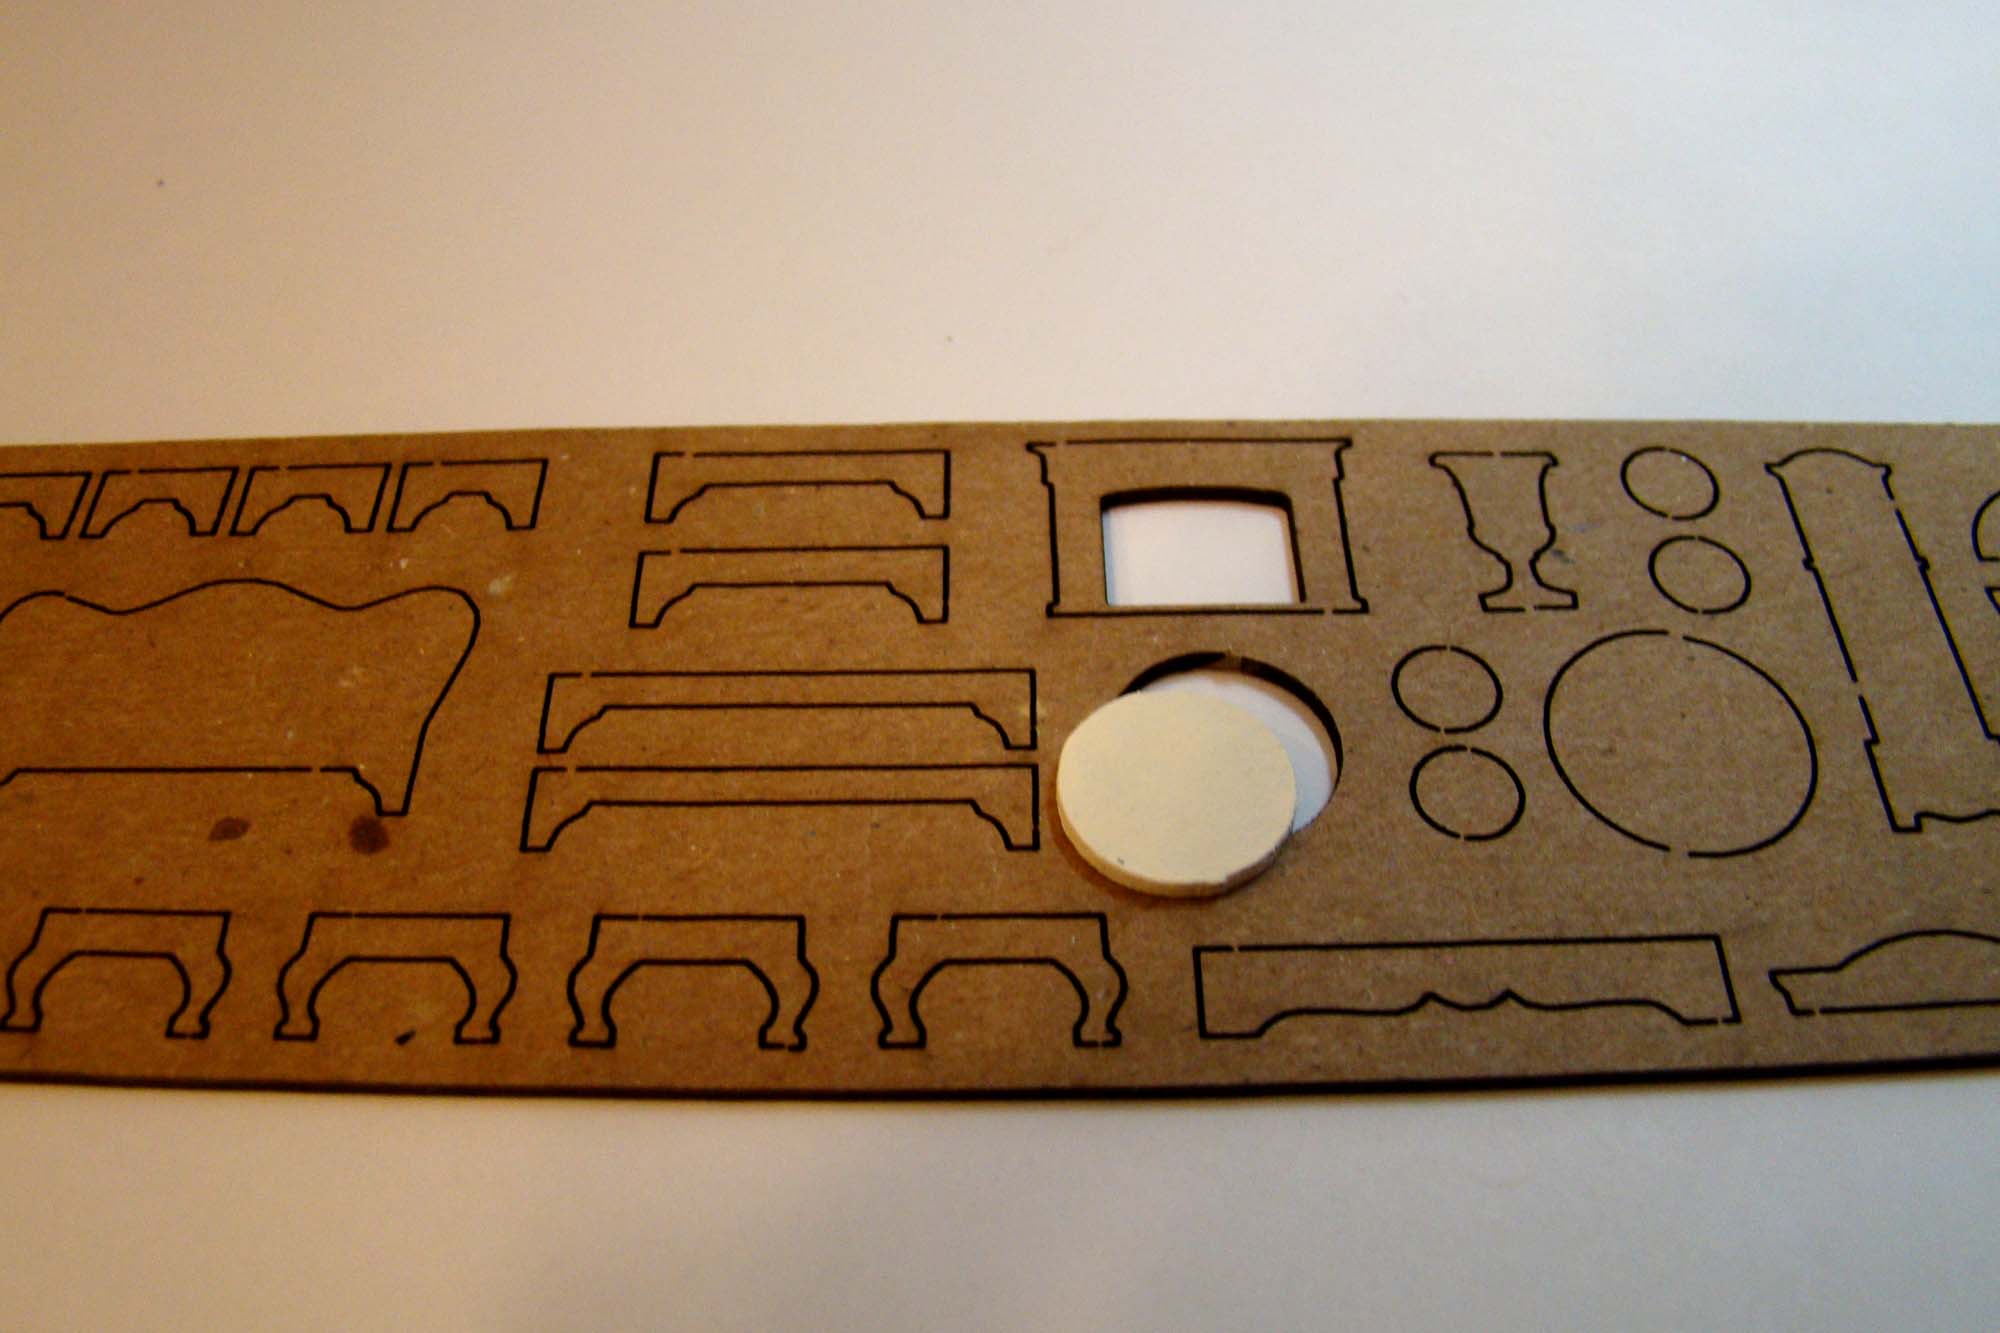
The furniture was designed by me and cut with my Cricut. There are potions made from resin and a slice of fruit cake. Besides defeating monsters and machines, there is also cooking in this game.
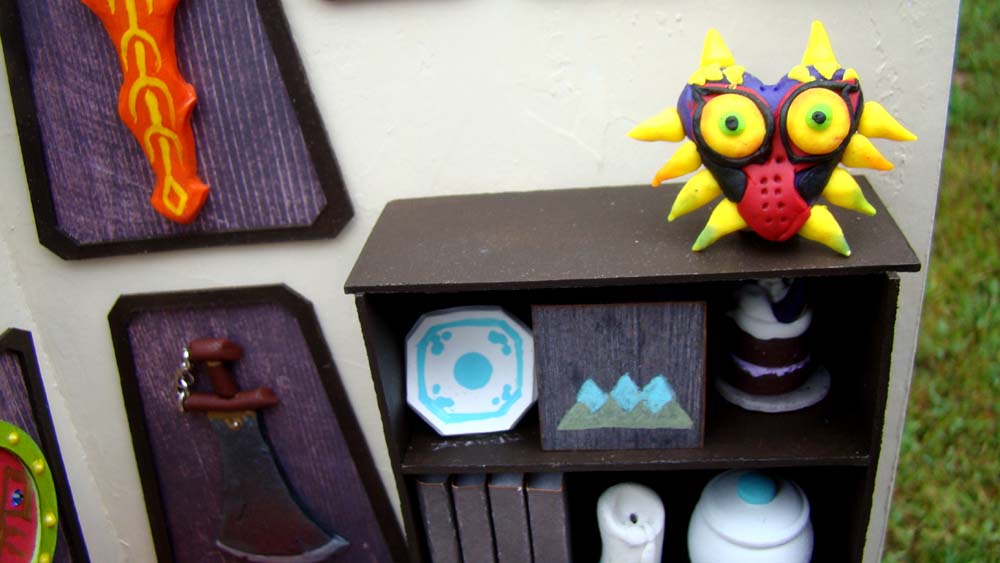
Link uses his home to store extra weapons and shields. I made these from polymer clay and chipboard. The basket of fruits, mushrooms and vegetables in the storage box on the floor are cooking ingredients you gather in the game.
I made the table from craft sticks, the plates and food (goat butter and veggie cream soup) are made from polymer clay.
Majorca’s mask is also made from poly clay, so is the monster cake in the shelf below it.
Ya – ha – ha, you found me!
If you’re a fan of the game, you get it. If not… look at the cute little room I made!
I have always admired accomplished women and Julia Child certainly embodies that description. She is known and loved worldwide. Her awards include 3 Emmys, 4 James Beard Awards, a Peabody, a National Book award and the Presidential Medal of Freedom.
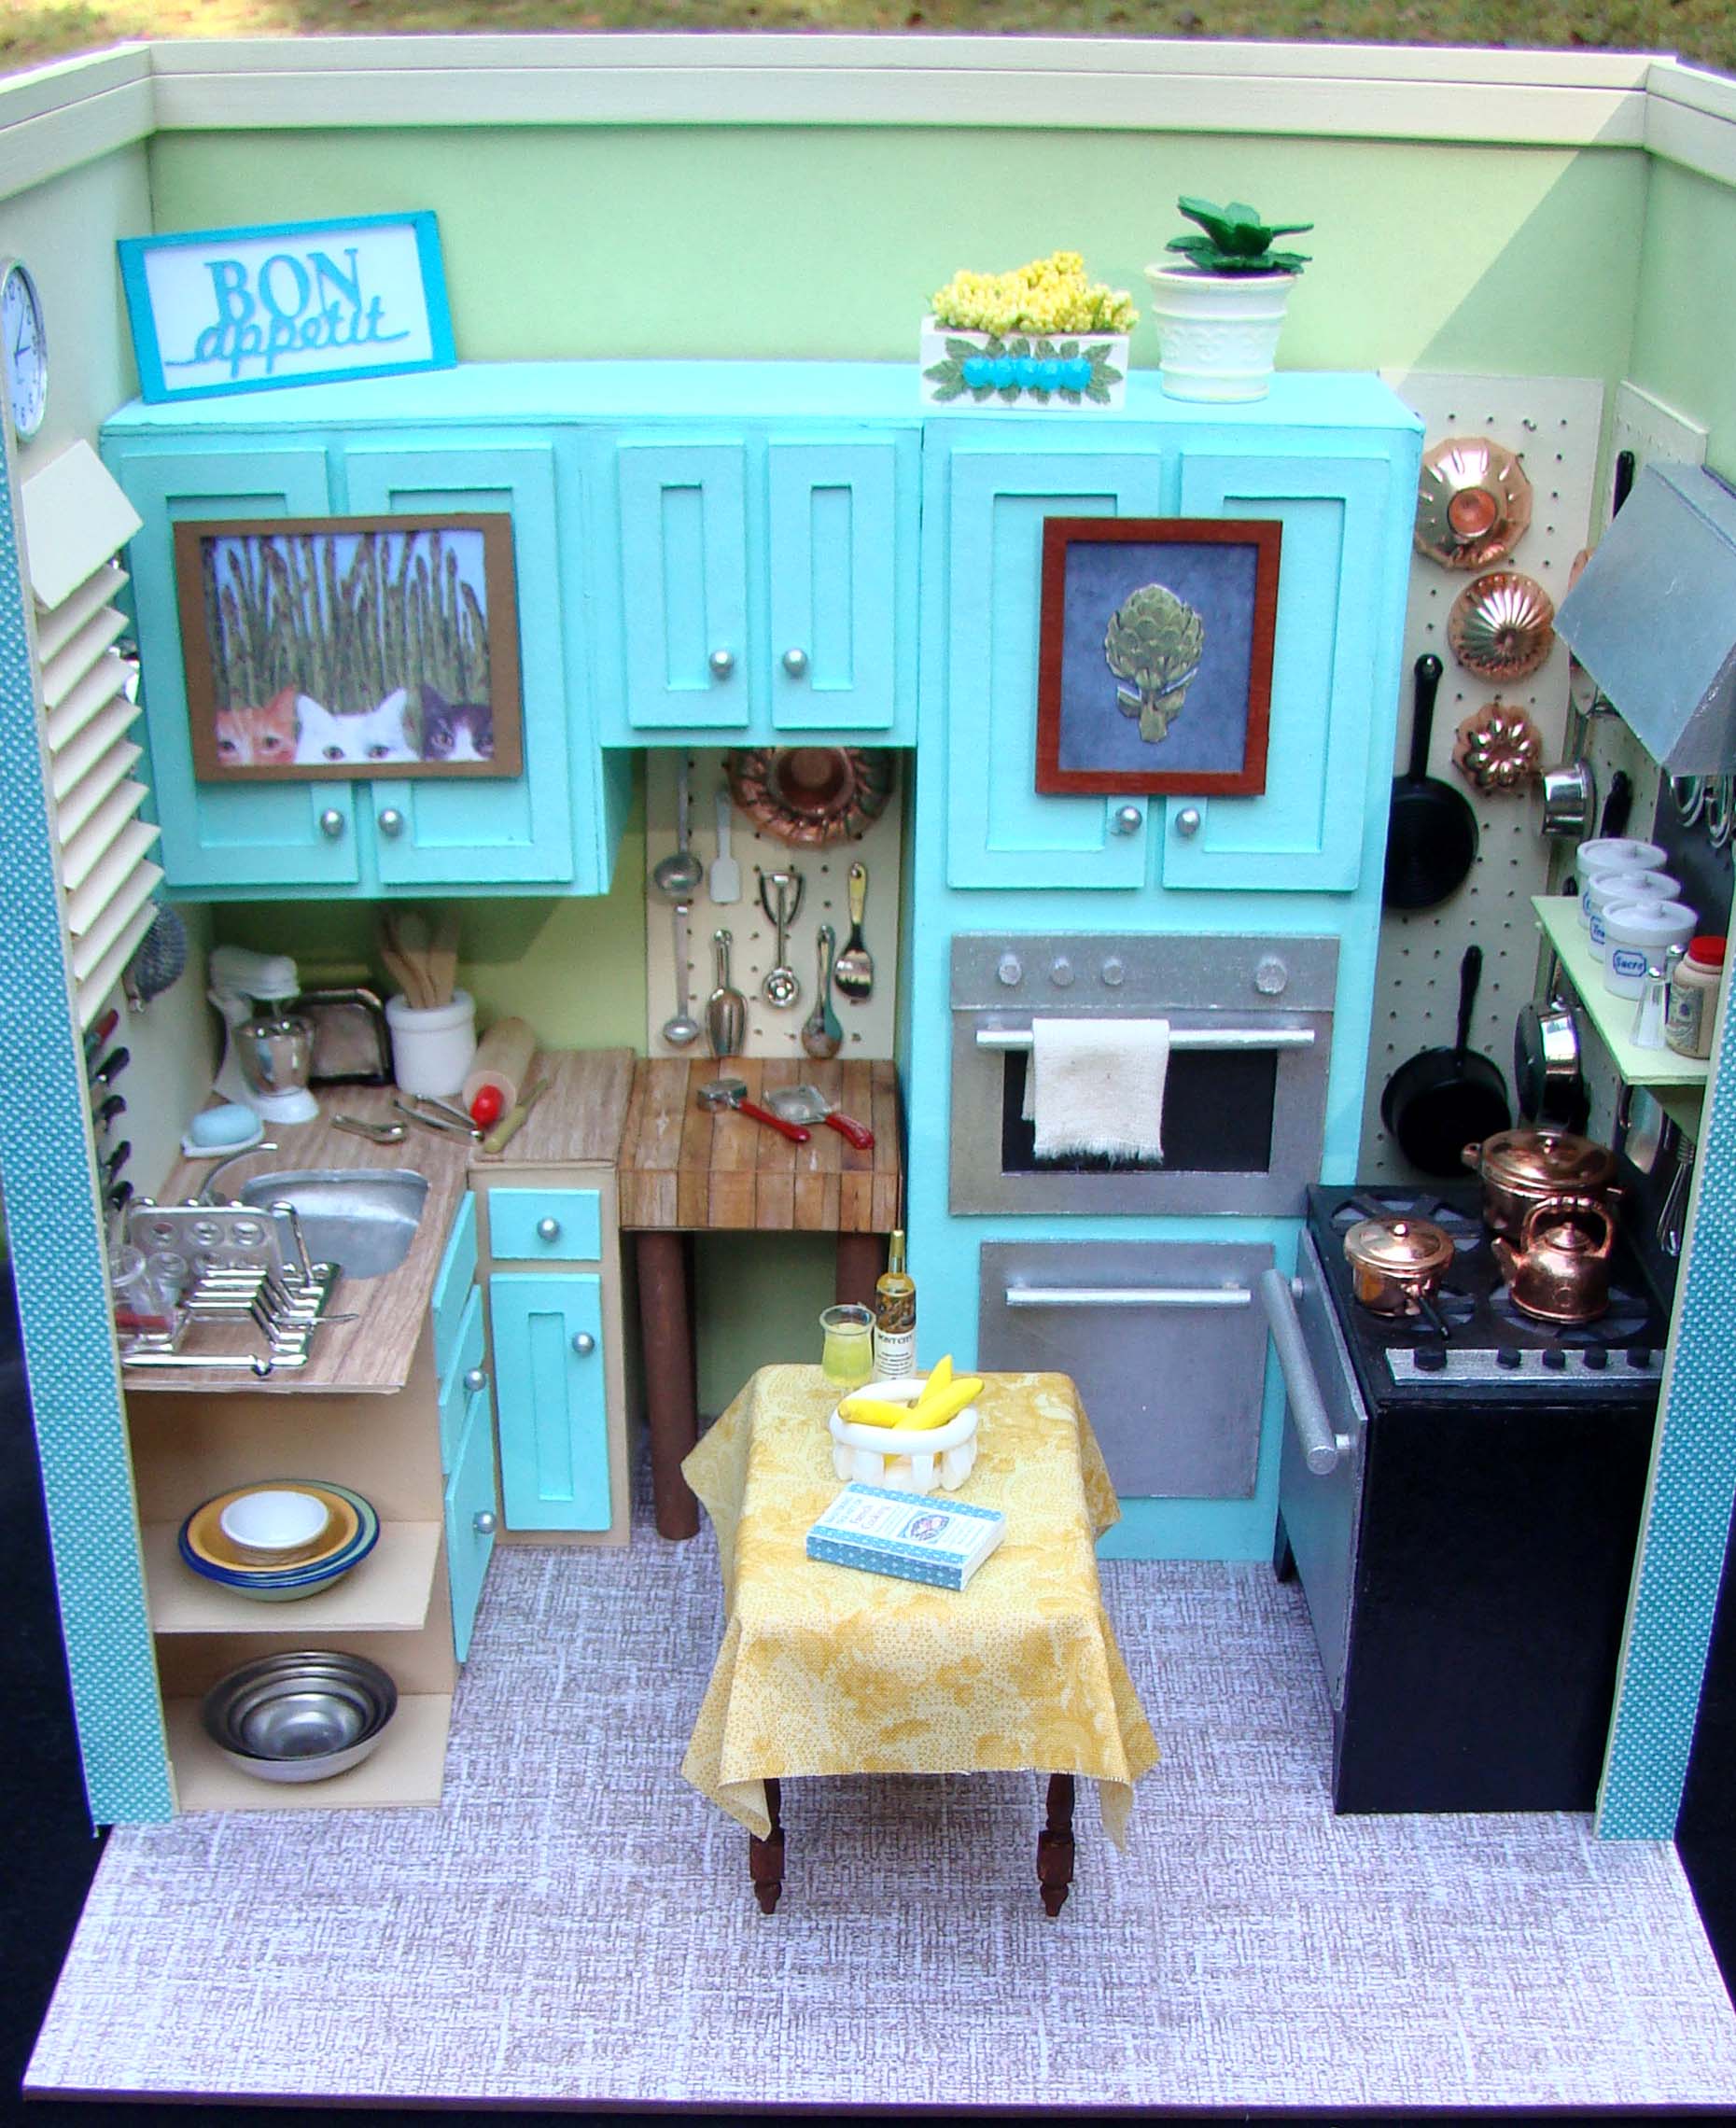
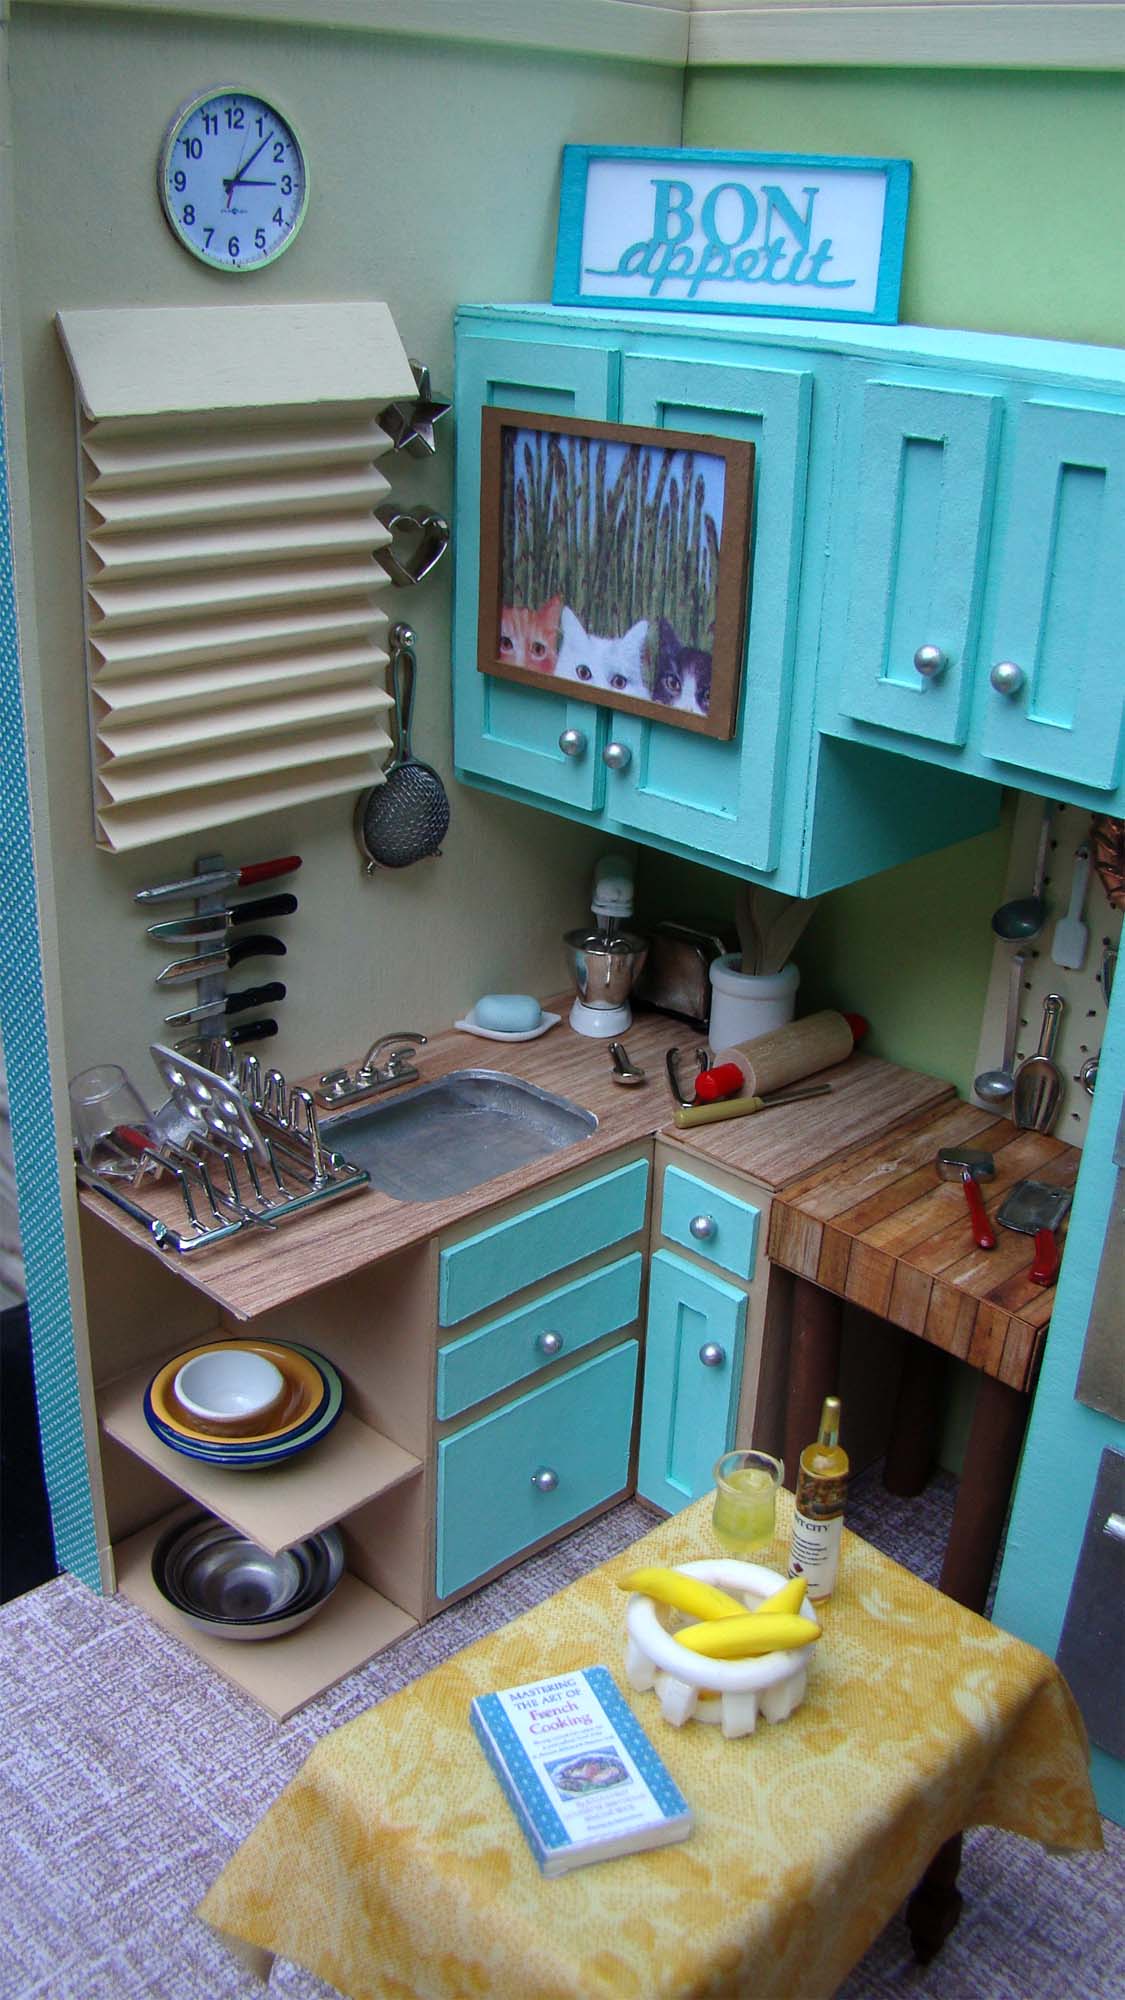
She donated her Cambridge, MA kitchen to the National Museum of American History at the Smithsonian in 2001. It’s where her TV show was frequently filmed. I was inspired to make this homage to her favorite room, which she described as “the beating heart and social center of her household”.
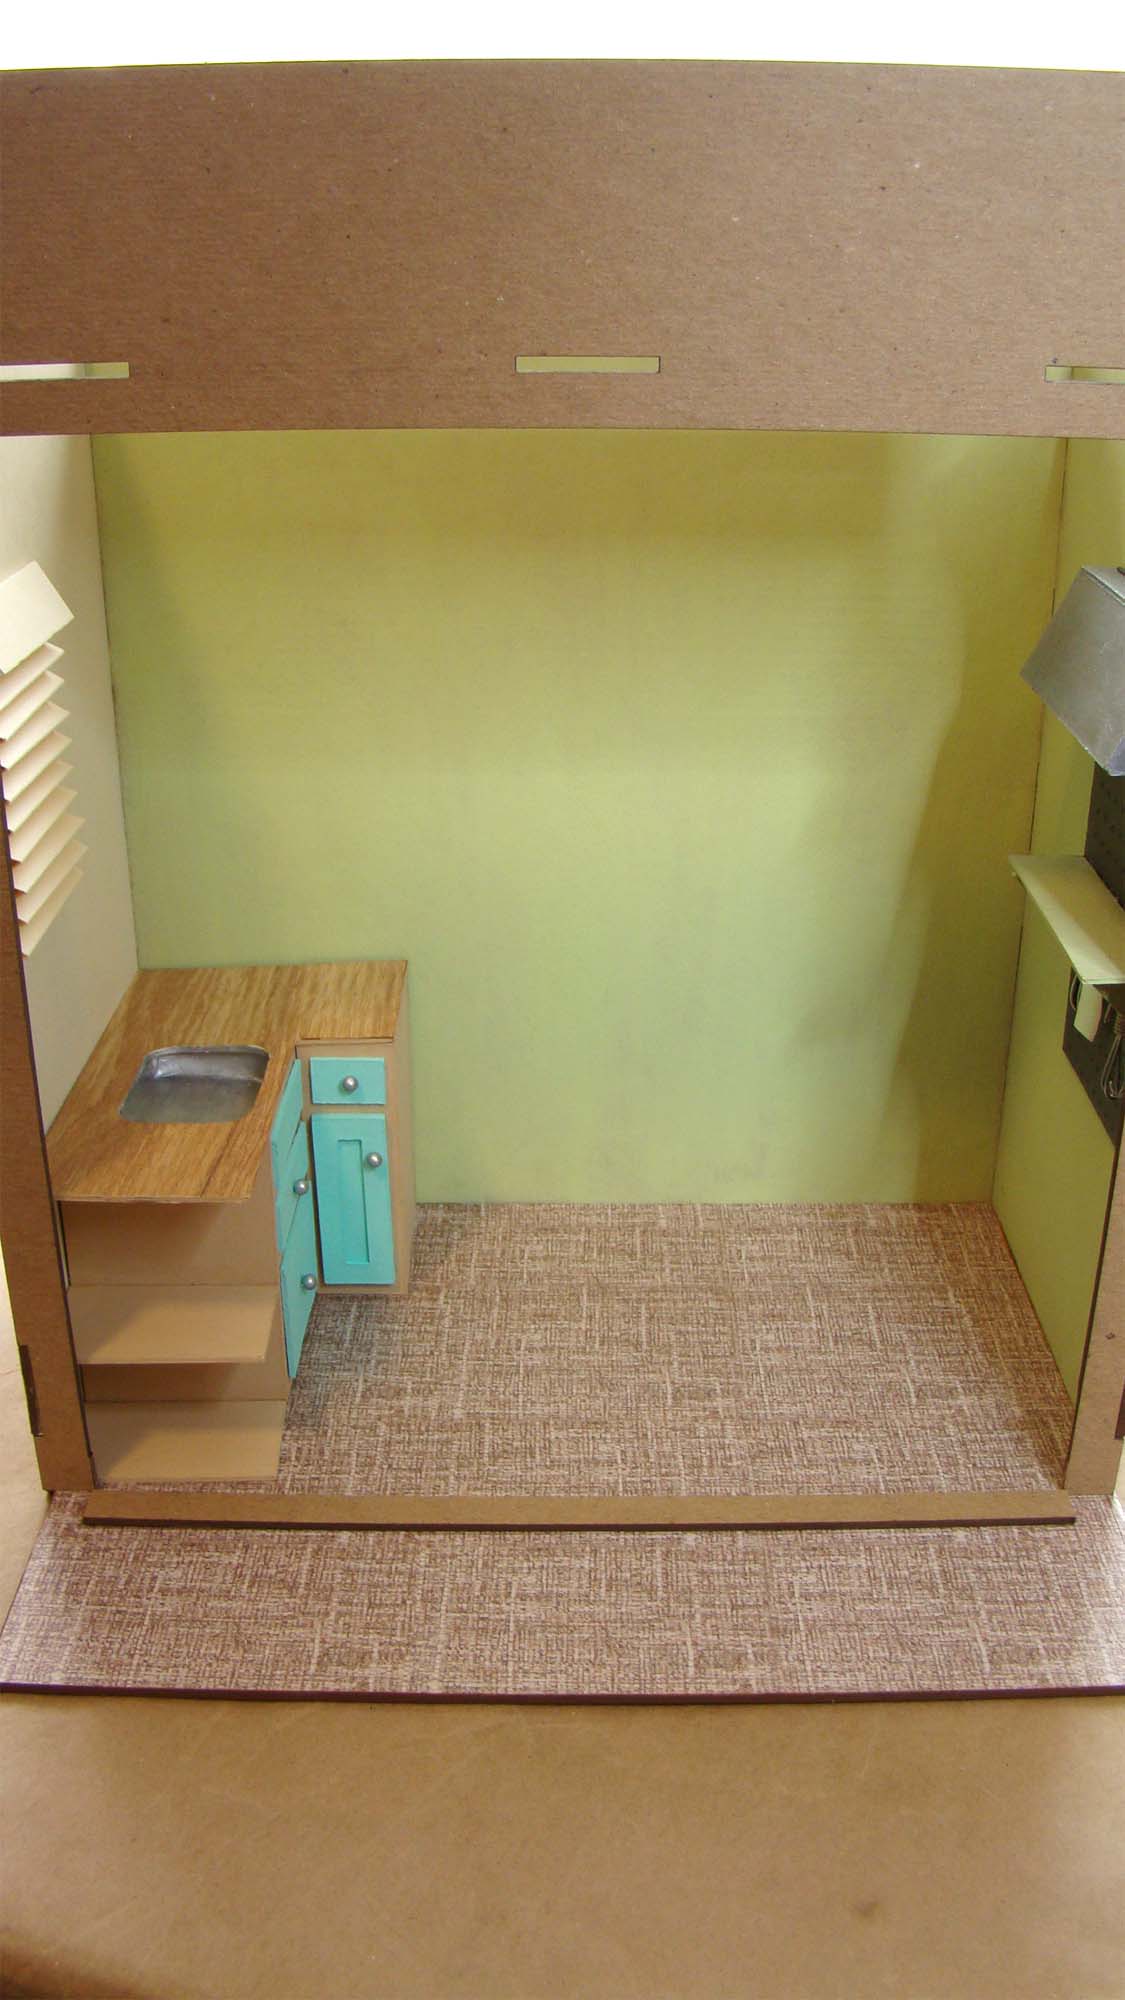
The cabinetry, counter, butcher block and stove were all hand built by me to emulate the look and feel of the space to the best of my ability. I determined that the counters would be 3 inches high and 2 inches deep and got out my graph paper to see how much I could realistically fit into a Deep Open Front Room Box which is 10 inches wide by 10 inches tall by 5.5 inches deep. The pieces I designed were cut from medium heavy chipboard and everything was assembled using tacky glue.
This room box has a front piece that adds an additional 2 inch facade to the top of the structure. Here I am holding it in place to decide if I want to include it, along with the roof/ceiling of the structure. I eventually decided I wanted the room open so all of the miniature details could be easily seen. The floor is a sheet of DCWV Photoreal linen paper that I thought looked like 1950’s linoleum. The countertop is a woodgrain paper. The walls were painted with acrylics, the cabinet pulls are straight pin heads. The sink was molded from polymer clay.
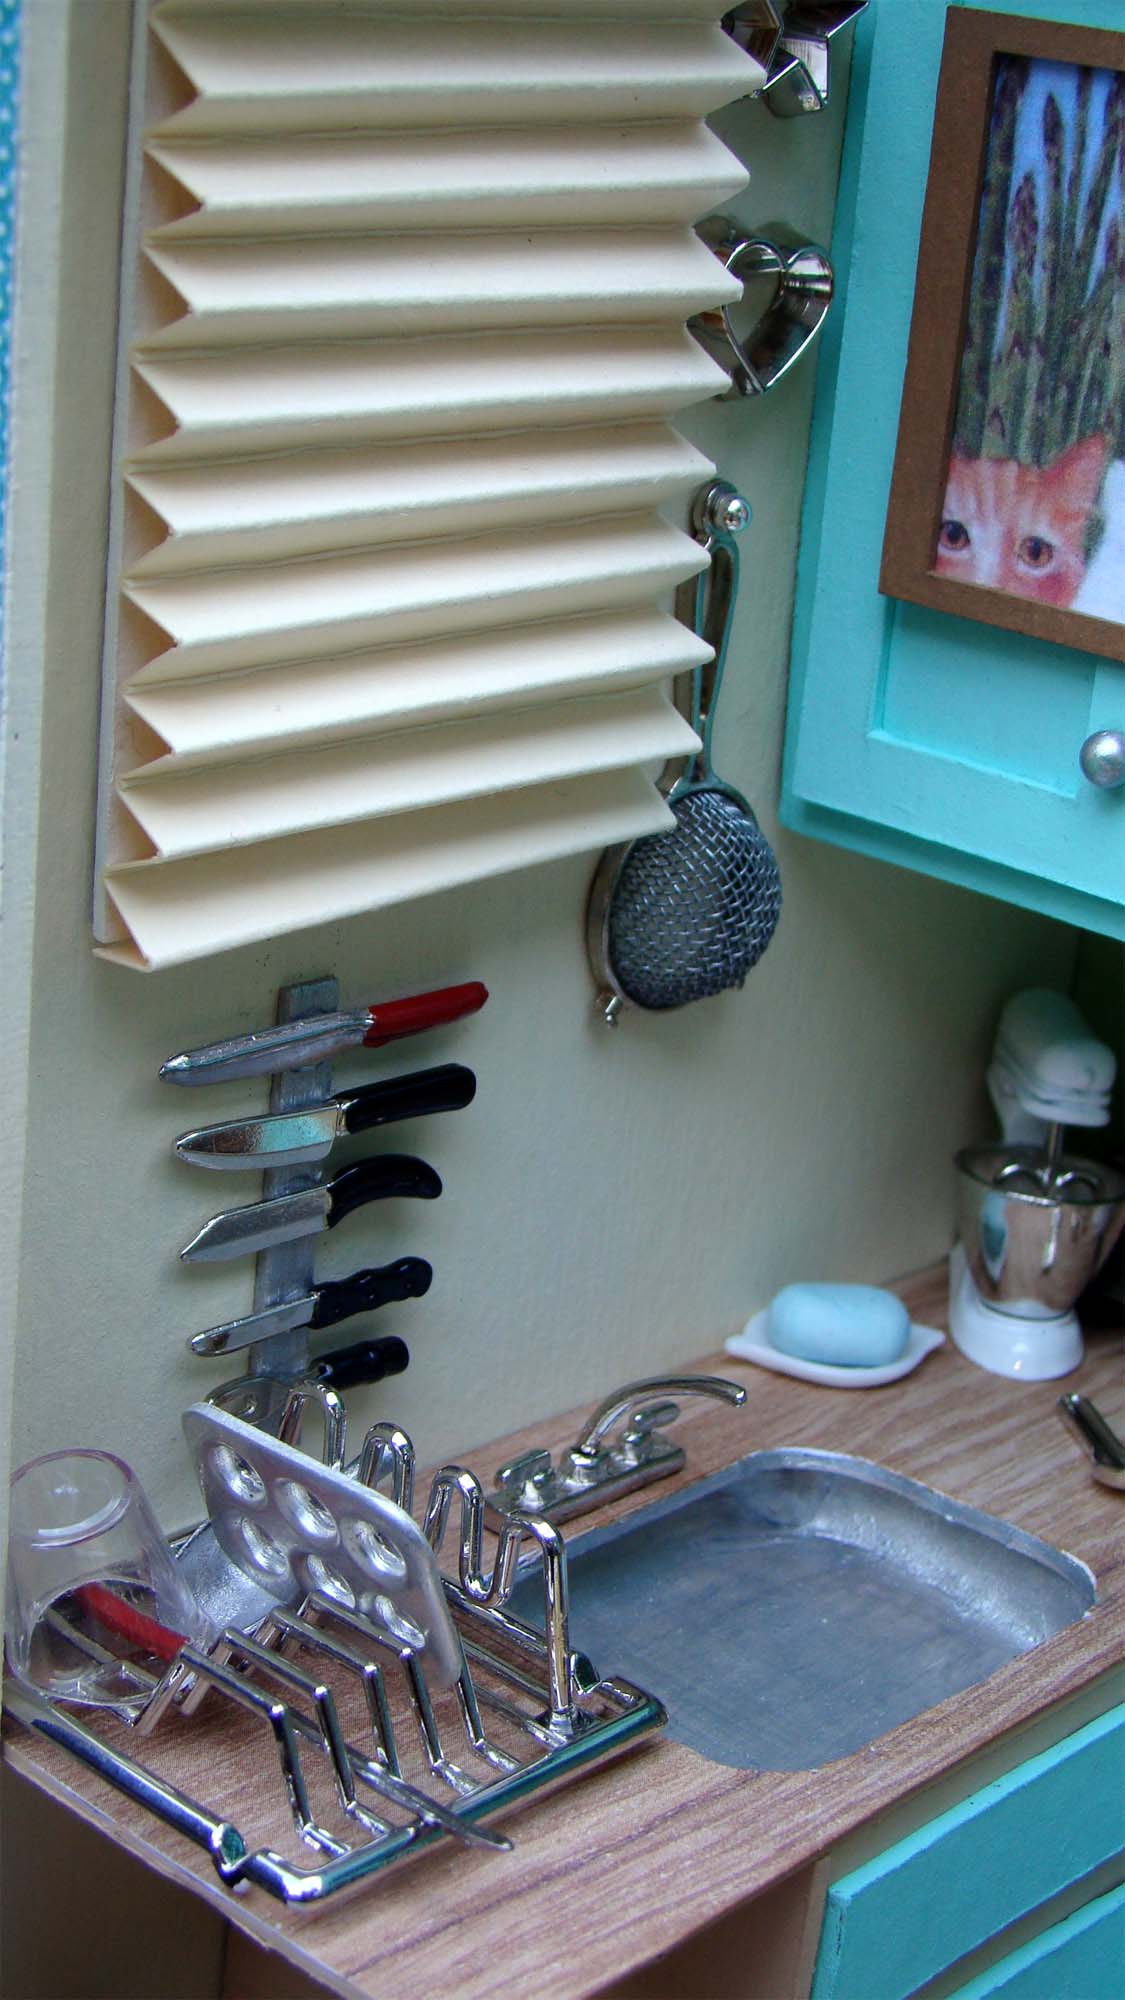
The kitchen window has blinds that I made by cutting a section of a manila folder the same width of a 4 Panel Rectangular Window then scoring it into pleats. You can’t really see the sunny blue sky outside with the blinds on top but that’s OK… I know it’s there.
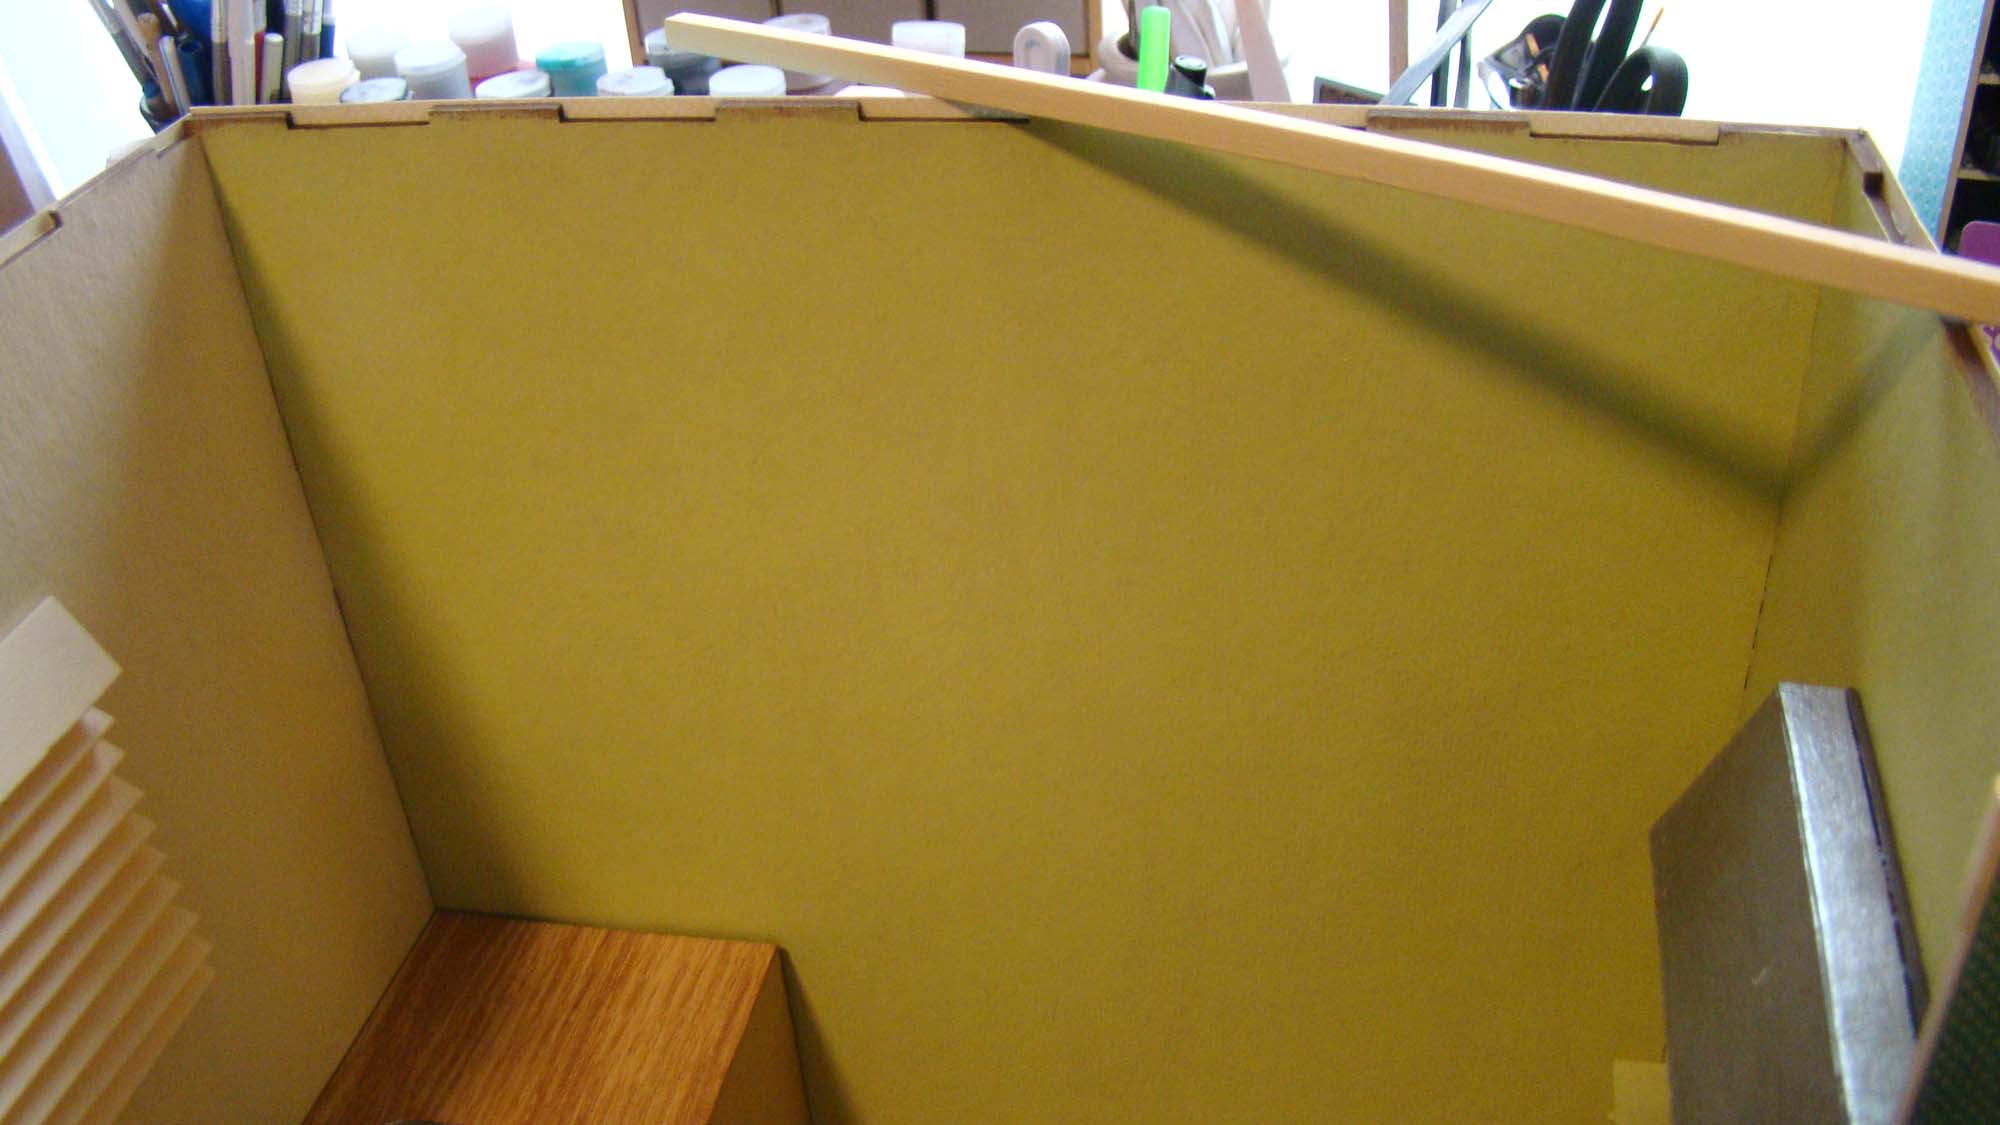
When I made the decision to leave the ceiling off of the room, that left me with these upper tabs to cover. My solution was to paper the exterior all the way to the top of the tabs then glue 0.2 inch square bamboo craft sticks to the top of the tabs. Below those I glued lengths of 3/8 inch width x 0.078 inch craft sticks which emulates a crown molding at the top of the room.
That pegboard was quite a project, and Julia had boatloads of it in her kitchen! I cut chipboard to the dimensions I wanted then gave it a coat of acrylic paint. I taped a sheet of ¼ inch square graph paper on top of it and poked all those little holes using a pottery needle tool.
After deciding where I wanted hangers in each peg board, I expanded those holes using a tiny drill and threaded straight pins that I bent at a 90 degree angle through them. The pins were taped in place right before I glued the peg boards to the walls. That kept them from shifting around.
Now for the fun stuff – decorating the space with some of the Alpha Stamps incredibly detailed kitchen miniatures!
The cat and artichoke artwork she displayed on her cabinets were reproduced and set into two of the Mini Frames Set. The planter on top of the cabinets holding yellow flowers is one of the Set of Miscellaneous Flower Pots that I washed well and painted with a few coats of acrylic paint.
Between the window and the cabinet I hung a couple of mini cookie cutters and a Large Strainer (which I adore). Below the window hangs a collection of knives.
The magnetic knife strip is made from a wooden craft stick painted silver. The black ones are from a set of Miniature Carving Knives. The red handled one at the top is from a set of Butcher Block Tools.
Julia’s kitchen table is a rectangle of chipboard with a Set of Wooden Table Legs glued to the bottom. The yellow tablecloth is a piece of cotton that I dipped in a glue/water mixture that was draped and allowed to dry. I made the fruit basket and bananas from polymer clay.
The little shelf holds a White Canisters Set, a jar of mustard I made from a turned wood blank and the most adorable Salt and Pepper Set I’ve ever seen.
This project was truly a labor of love and a chance to stretch my artistic abilities. HERE is the supply list of the all the great kitchen miniatures that made this project possible.
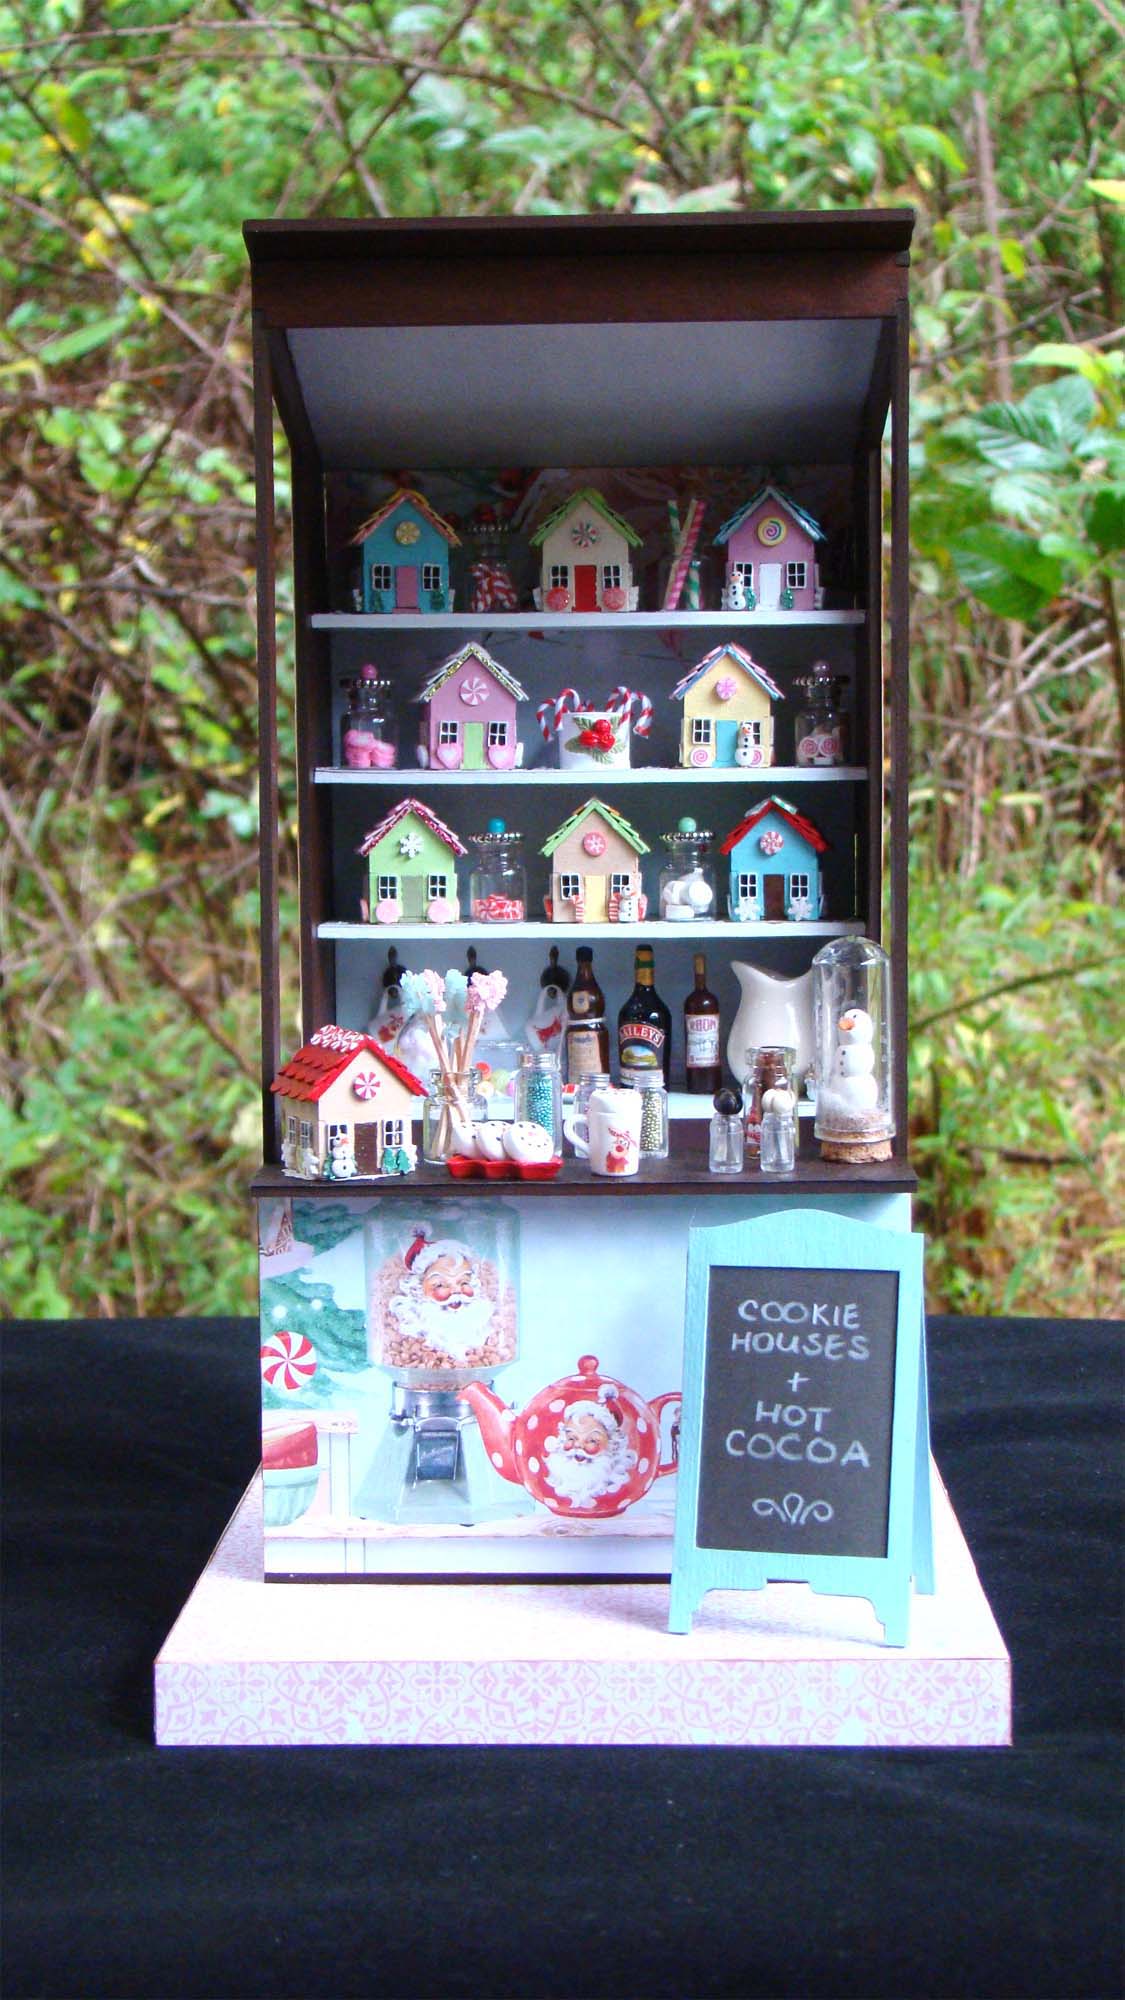
Today I am happy to share with you a project for Alpha Stamps that is seriously one of the most fun I’ve ever made. As someone who works a lot with miniatures, I love it when I have a lot of horizontal space to fill in and the 1:12 Market Stall certainly fits the bill. My vision for the piece was to fill the shelves with as many decorated sugar cookie houses as possible while leaving a spot to also offer hot chocolate with all the mix-ins I could think of. The Sweetest Christmas 12×12 Paper Set was the perfect starting point for this sugared holiday design.
Before decorating and gluing the market shelves in place, I cut the paper for the back wall of the stand. I had a lot of great choices for the paper to use for this focal area and settled on featuring a holiday banner at the top and a great retro pink tile for behind the counter.
The market was assembled using tacky glue. The only paper in this project not from the Sweetest Christmas collection is the brown reptile paper I used to cover the front counter. The stand is a blank canvas screaming fill me up! Those adorable hanging mugs are made by gluing reindeers from the Retro Santa & Penguin Tiny Christmas Stickers onto White Coffee Mugs. They were hung from from Mini Brass Coat Hooks.
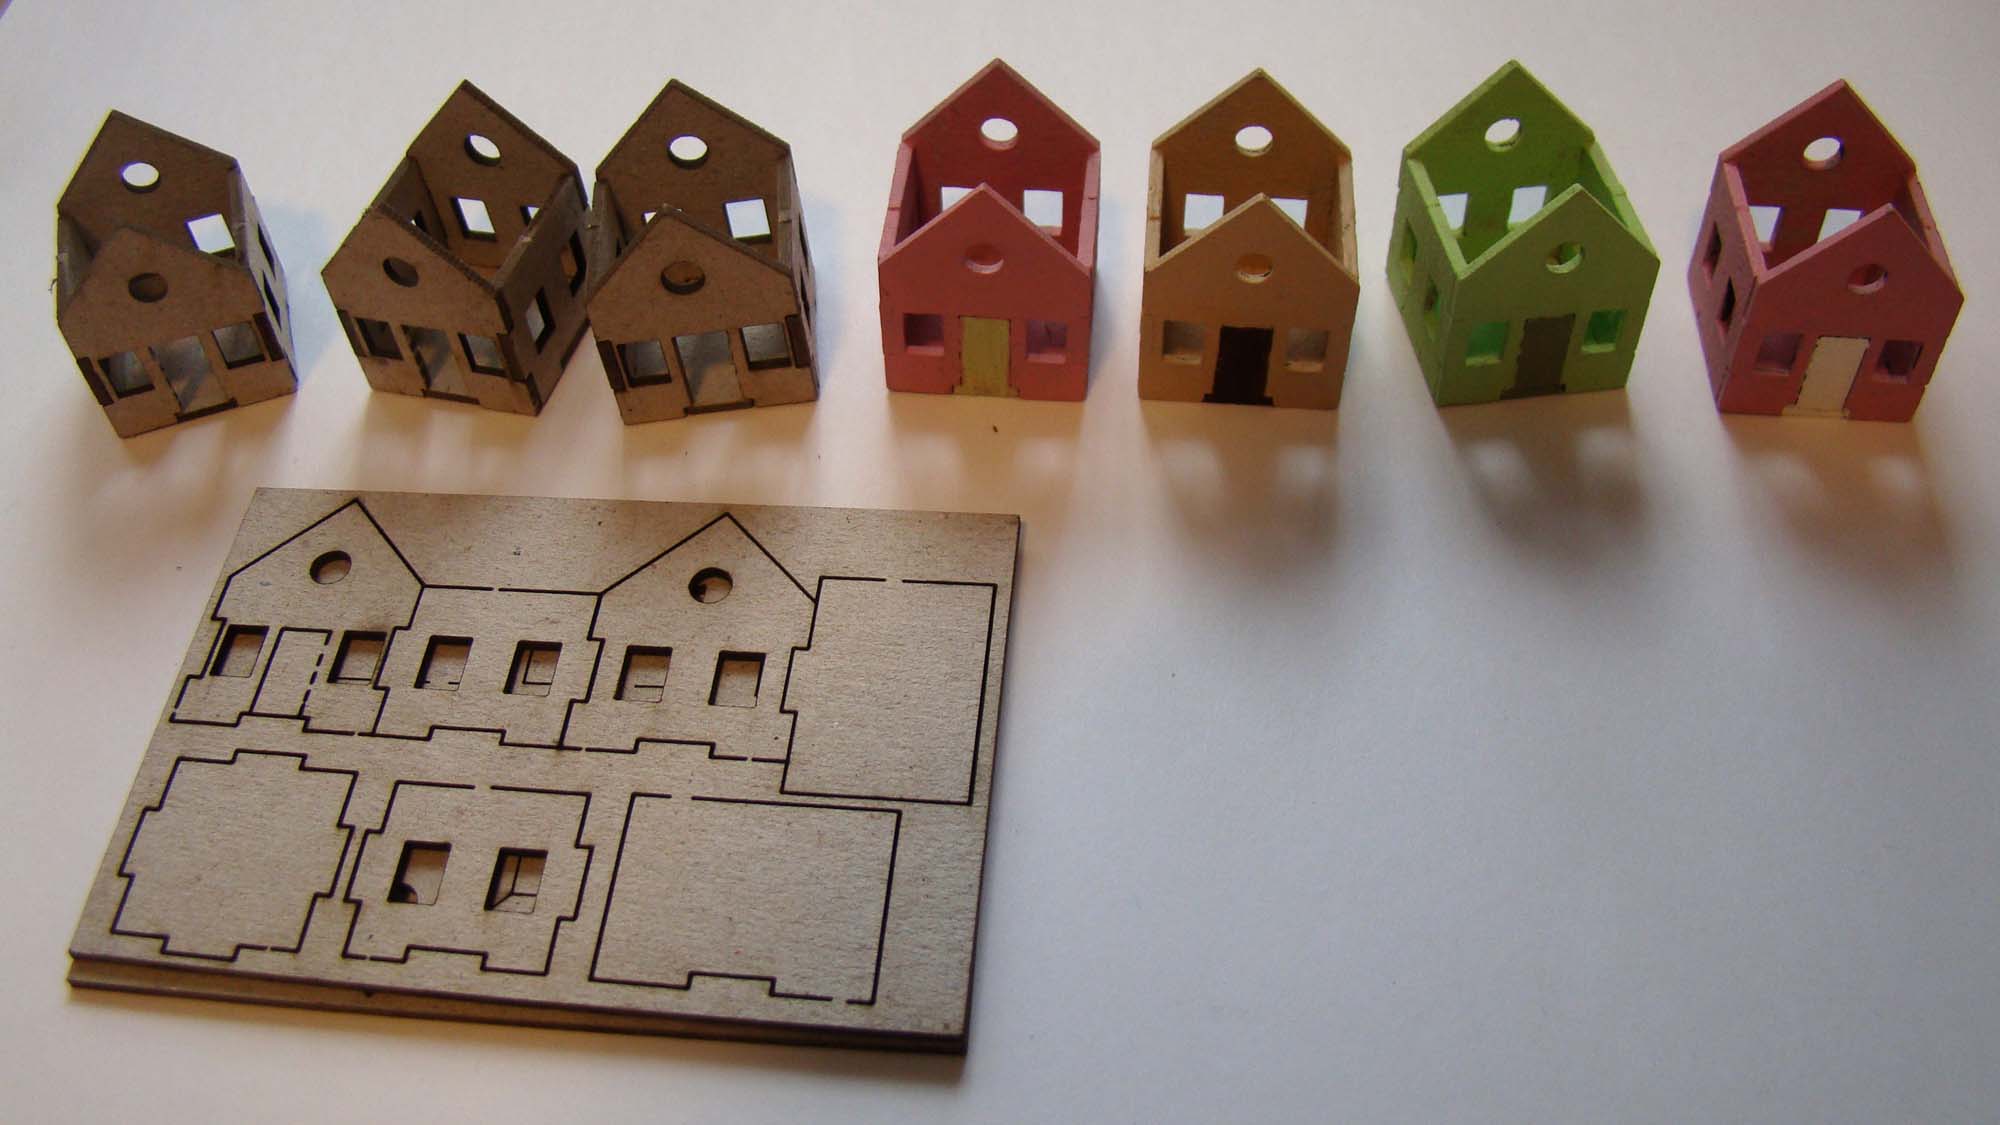
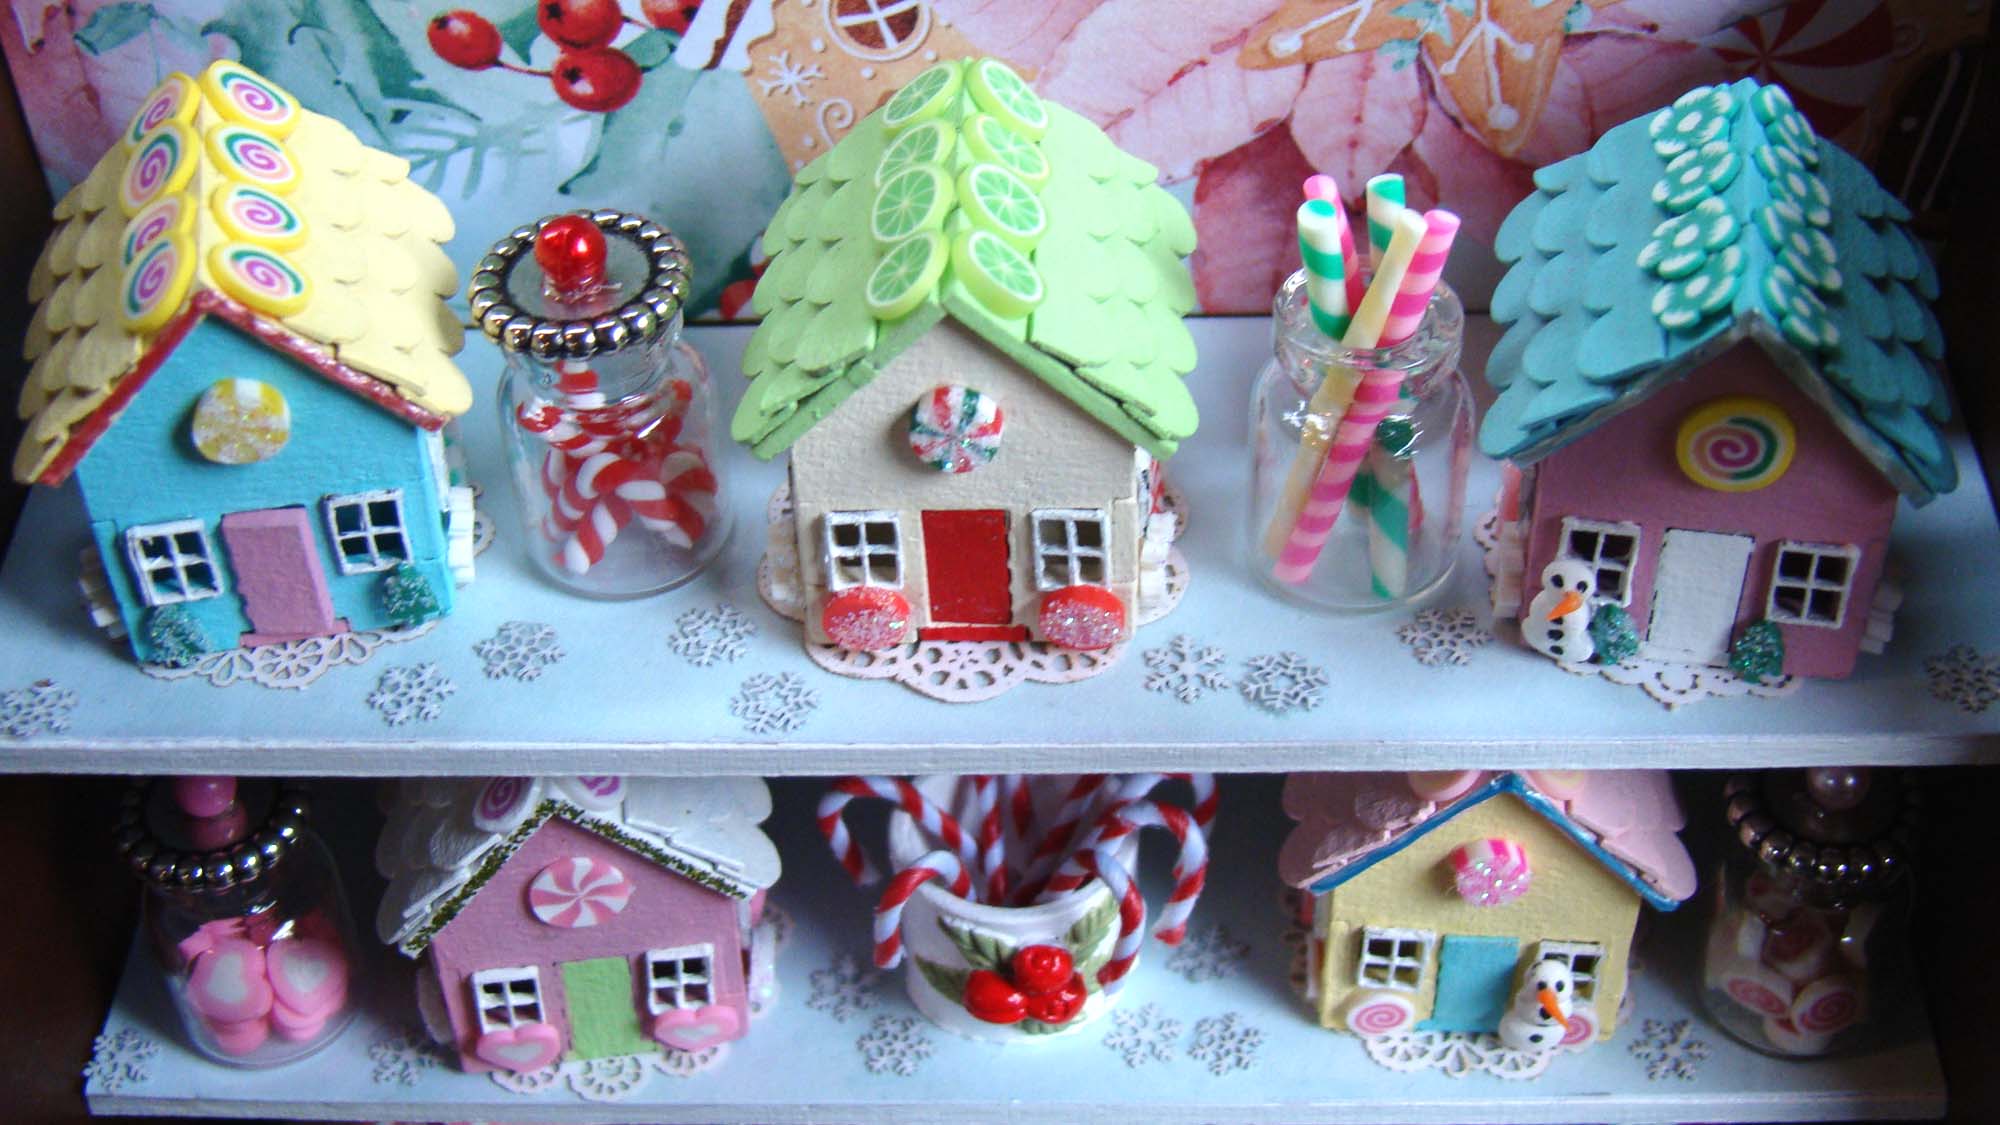
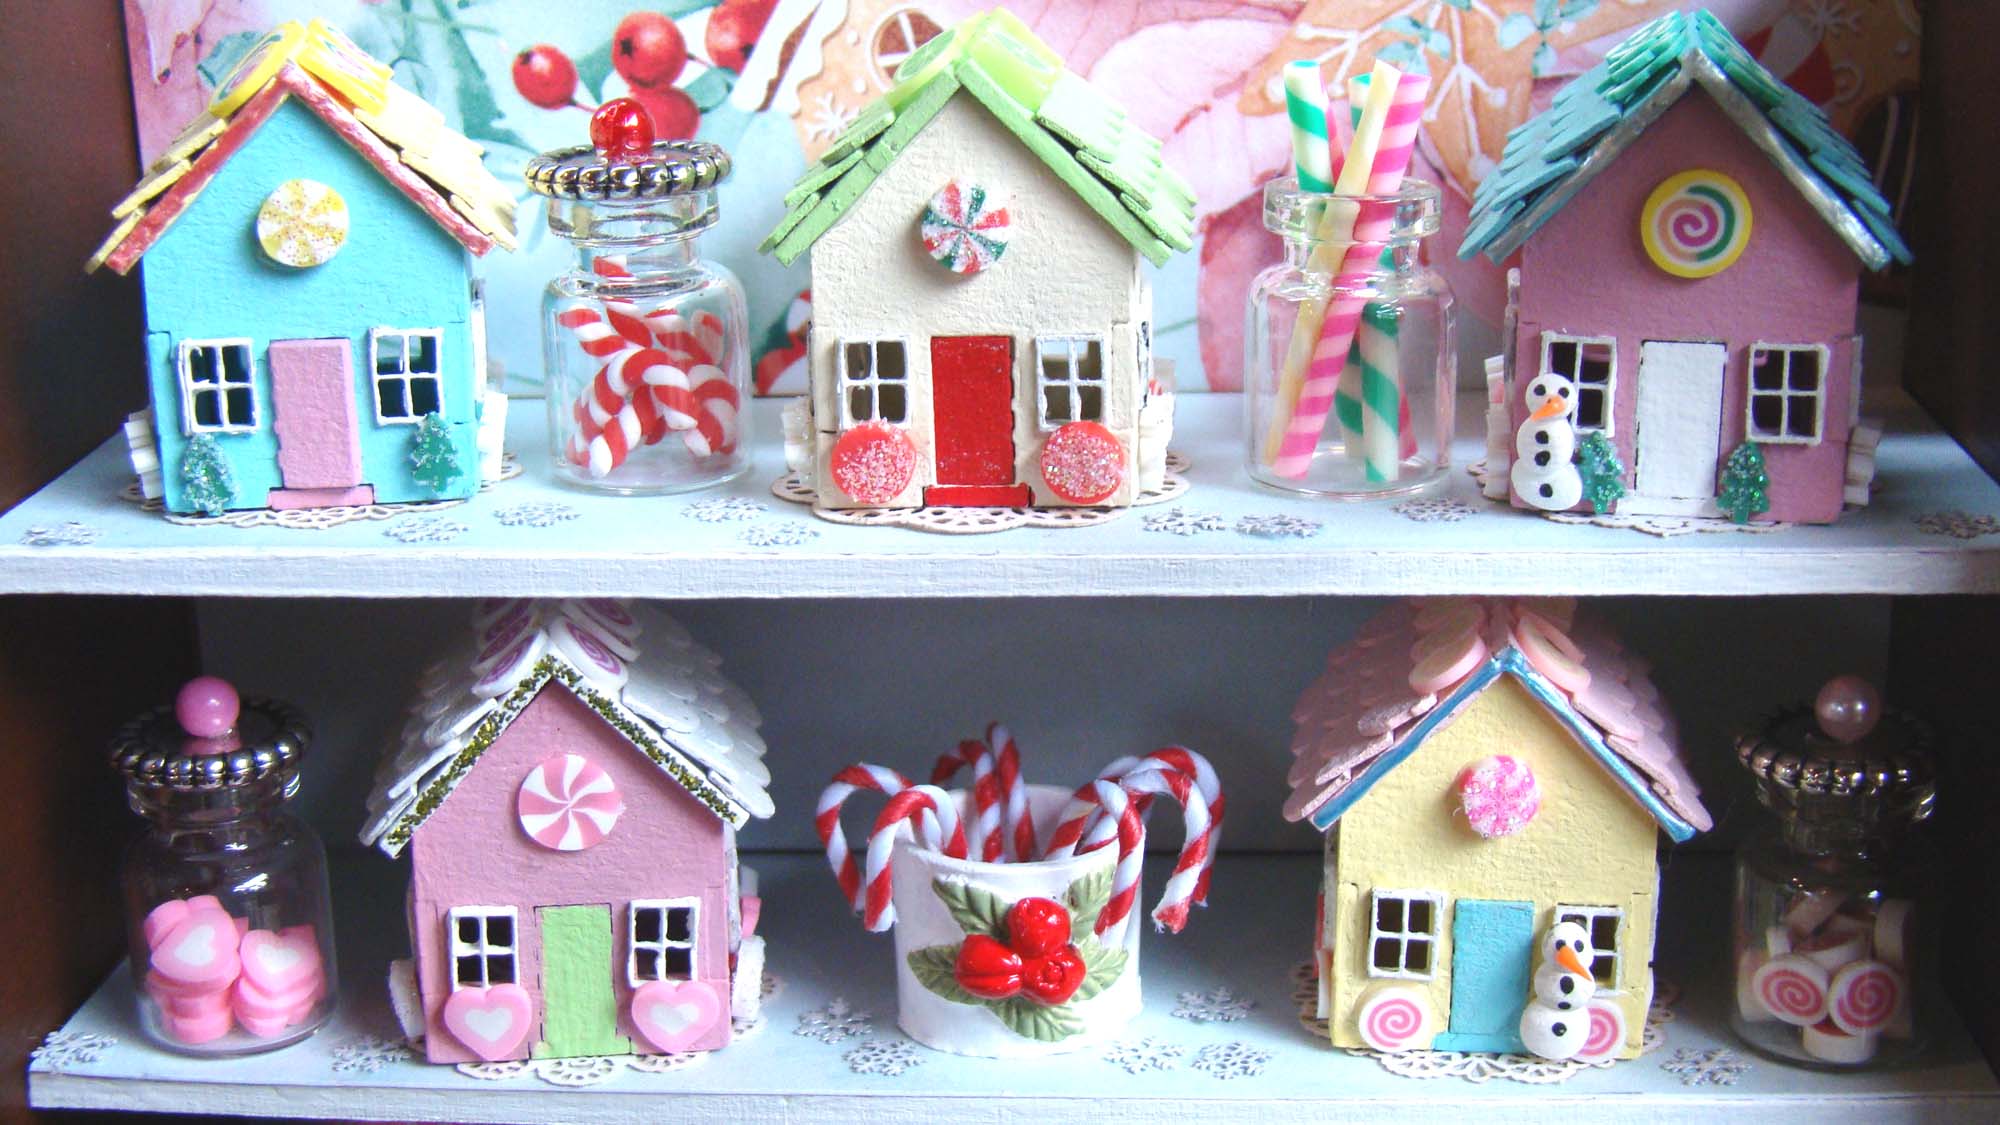
I made decorated sugar cookie houses from 1:12 Gingerbread Houses. After assembling them, I painted them inside and out with pastel colors of acrylic paint.
The houses come with tiny windows. I very carefully separated them from each other with sharp scissors and gave them all a coat of white paint. All of the houses got a few layers of Tiny Scalloped Shingles in a contrasting color.
The side of each roof got 3 rows of overlapping shingles.
Once the glue dried, I added a row of polymer clay slices at the roof line. There are so many fun ones to choose from!
A few of the poly clay slices I used in this project were sugar coated. They were lightly coated in tacky glue then dropped into a container of extra fine glitter where they hung out until the glue dried.
I seriously felt like Willy Wonka decorating those little treasures, so much fun!
I took the time to make a couple of tiny snowmen for a few of the houses from poly clay. Pretty houses all in a row.
Now for some tips on a few of the other decorations. I love using ceramic beads in my projects. I always take the time to fill in the beading hole with a dot of matching paint as I did here with the Tiny Ceramic Gingerbread House Beads.
White and dark chocolate covered spoons? Yes please! I dipped spoons from a Miniature Silverware Set in acrylic paint and held them with craft clips until they dried.
Here are the pieces I painted for this project. The Santa Head Mug and Xmas Tree Candy Dish are both cast metal, the candy cane dish is from a great little Set of Miscellaneous Flower Pots that got filled with Mini Candy Canes. All three pieces were washed with soap and water then painted with a few coats of acrylic paint.
The front counter features one of the cookie houses, rock candy sticks made from finely chopped polymer clay baked onto flat toothpicks, poly clay marshmallow snowmen mug toppers, the chocolate dipped spoons, microbead candy inside Mini Mason Jars, poly clay cinnamon sticks and a snowman snowglobe made from poly clay and crystal glitter inside a glass dome.
To finish the scene I added a sign that I would personally find hard to pass up using a 1:12 Scale Sandwich Board.
Thanks for stopping by my sweet holiday shop! You’ll find all the supplies I used HERE.
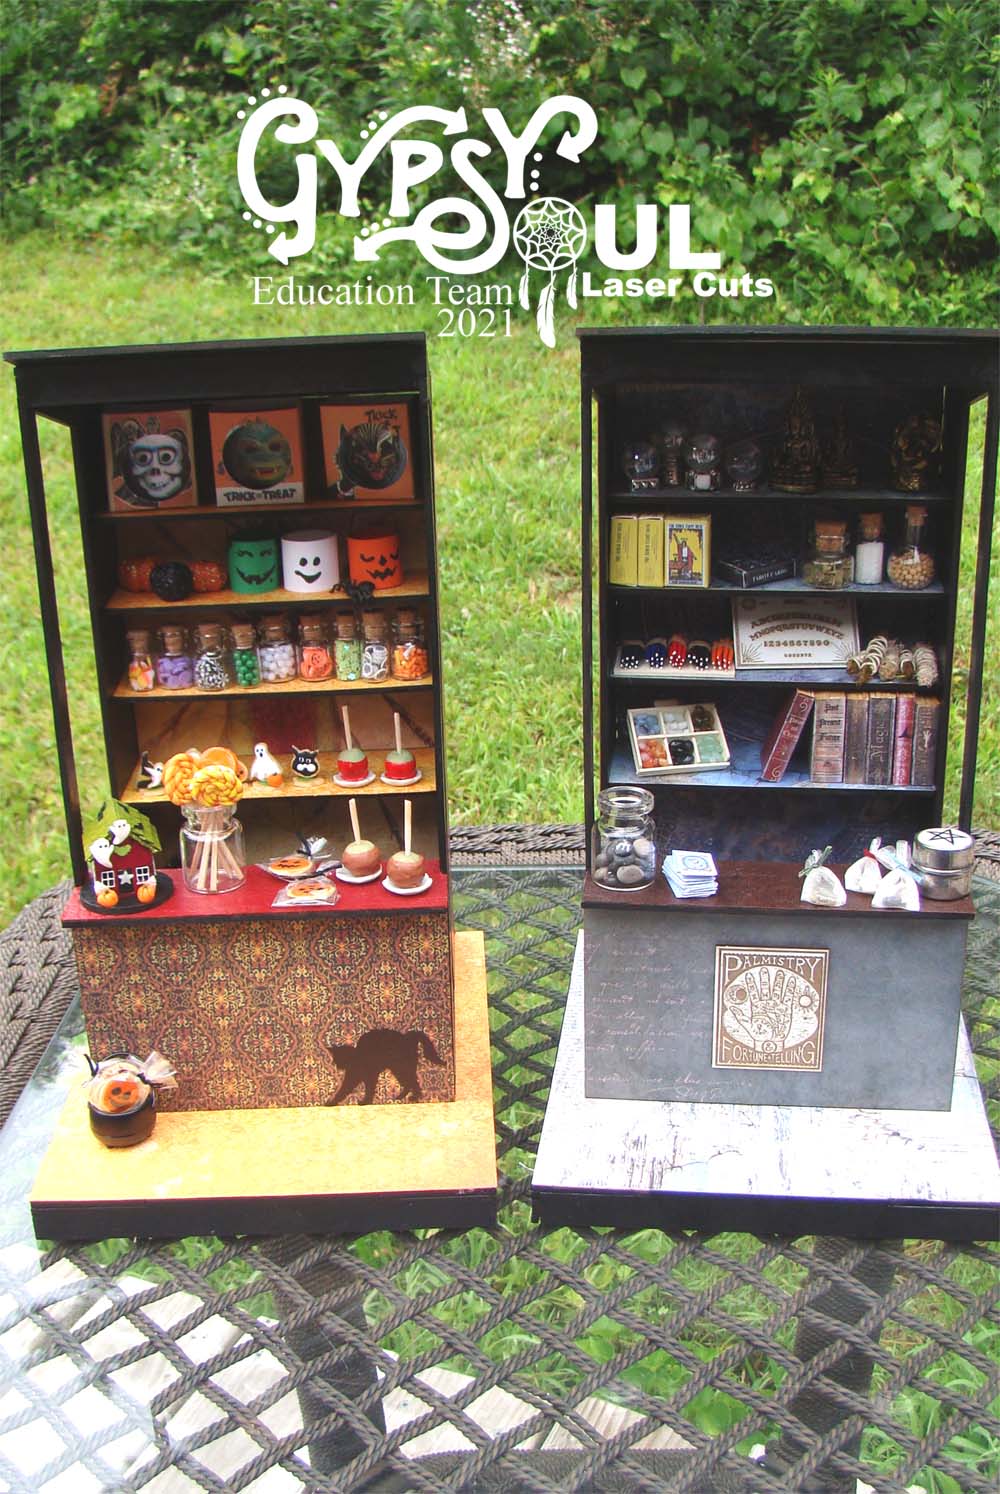
I decided to make another little witchy market shop with the intent to eventually make an entire spooky bazaar.
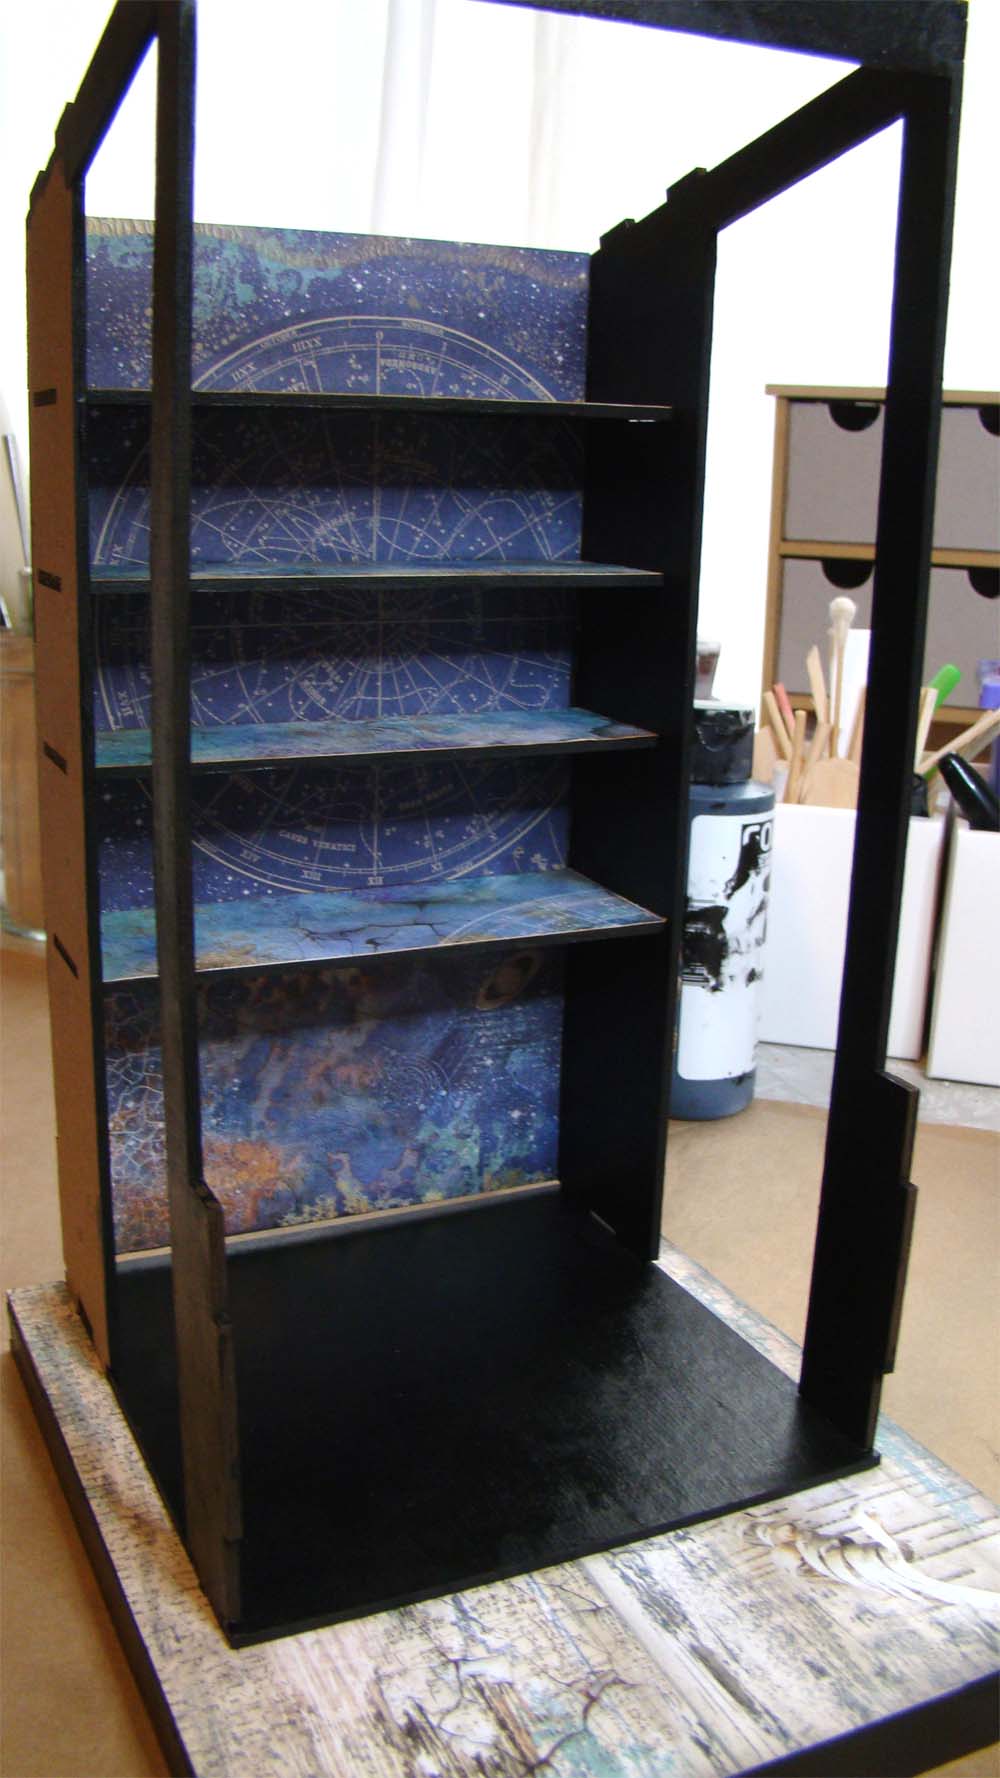
I used a GSL 1:12 Scale Market Stall which is available over at Alpha Stamps. The paper I chose for this project is from Stamperia’s lovely Cosmos line. I painted the supports and papered the shelves and rear wall of the stall before assembling it with tacky glue and installing it on the base.
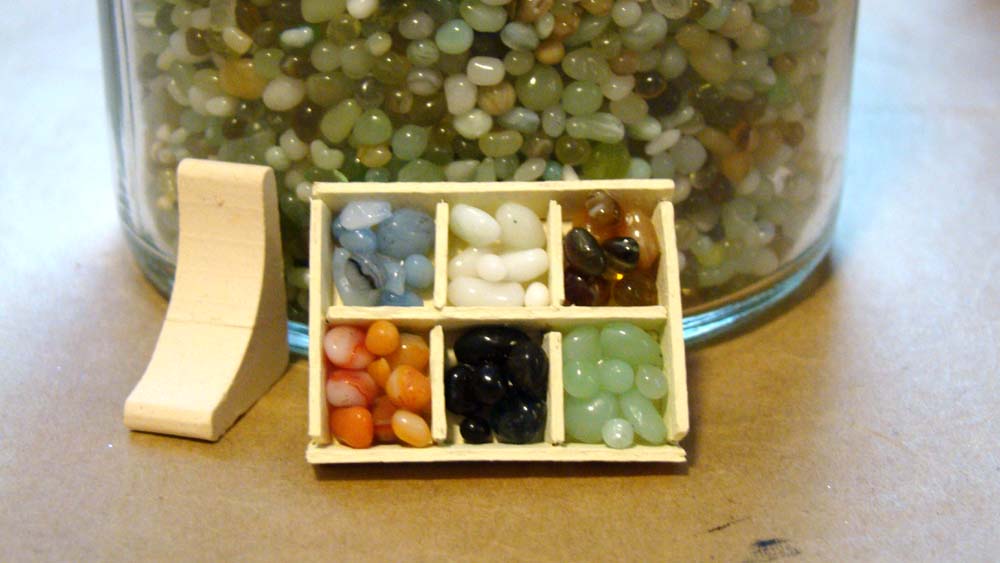
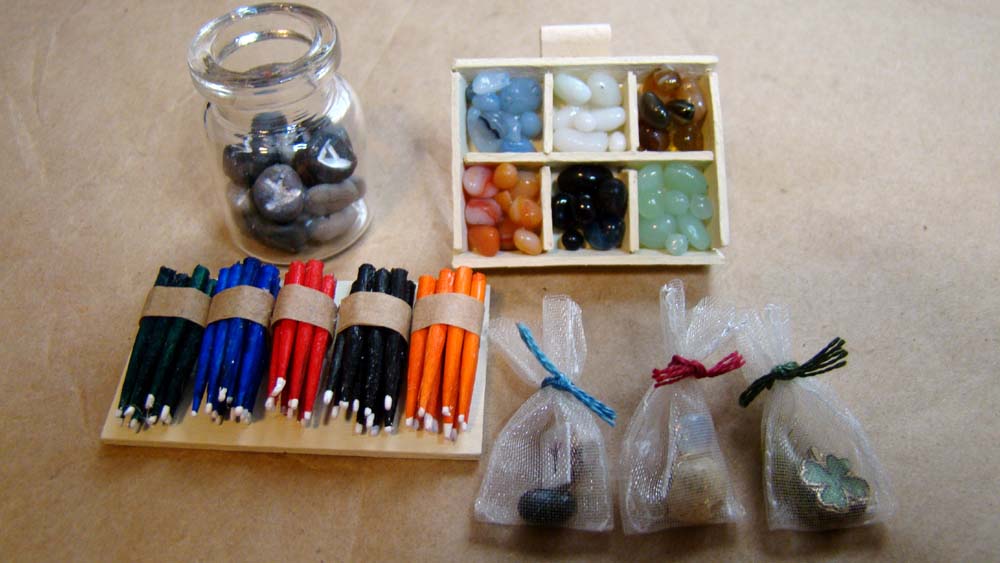
To fill the shelves, I started with a little display of polished crystals and stones. I have a jar of polished pebbles that I sorted through and glued like colors into a tray made of craft sticks. I used a curved dollhouse brick to make a stand for the display.
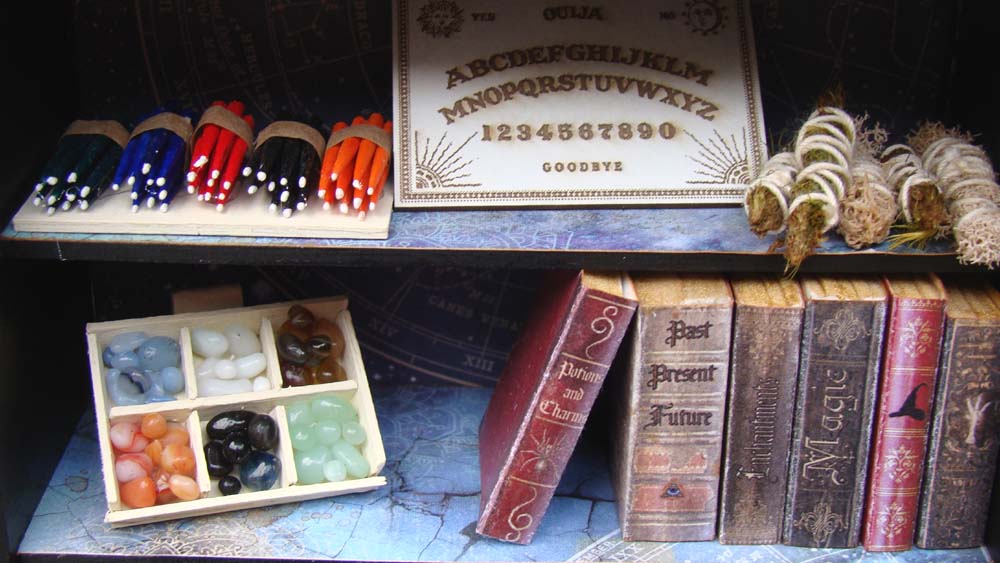
I made colorful spell candles by painting round toothpicks and assembling them in bundles. The jar of miniature rune stones were made by a friend years ago. I am so glad I finally found a project they belong in. Those little charm bags were sewn, filled with an assortment of shells, stones, runes and talismans then tied with a bit of embroidery thread.
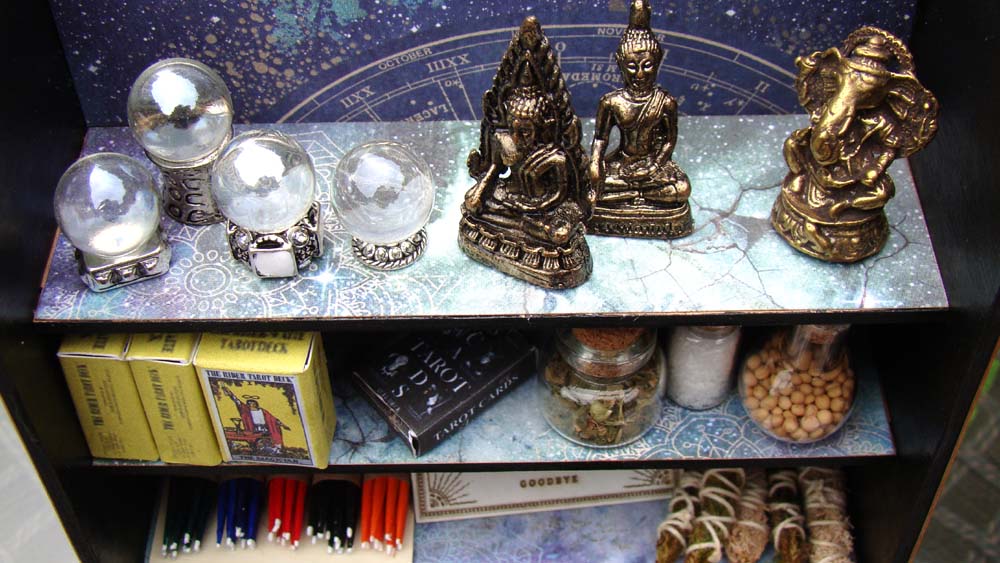
Here are some close-ups of the shelves. The top one features gazing balls made from marbles and pretty beads next to miniature brass statues I picked up on our travels. Below that are tarot cards made from miniature printables and a few jars of herbs.
Below that I placed the spell candles, a GSL Miniature Ouija Board from the Mystical Miniatures set (coming soon) and smudge sticks which are made from assorted dried mosses tied with crochet thread. The shelf below that features the polished stone display and some books made from printable covers glued onto foam blocks.
The front counter was covered in a faux reptile paper and features the runes, a set of mini tarot cards, the charm bags and a little silver pentagram jar. The front of the stall has a palmistry sign also from the GSL Mystical Miniatures set to draw customers in.
Here is the beginning of my Halloween Bazaar. Thanks for stopping by!
I have a pretty little project for Alpha Stamps to share with you today that features Stamperia’s new Alice Through the Looking Glass papers. There are so many gorgeous papers in this collection I had a hard time choosing which ones to use. The base for this project is a House Shrine with Doors – Medium, the perfect vessel to set a Queen Alice scene inside.
Open the doors and you’ll see I used a Victorian Table Kit – Black I set all kinds of goodies on and filled the walls and floor with as many tiny treasures as possible.
I fussy cut a few of the winged creatures from the Alice paper to display in a Mini Metal Shadowbox. It came with a bright red removable velveteen lining that I replaced with a gray suede paper. Super simple to use the original red as a template.
I love the Queen Alice image, and framed her overlooking the scene. Her crown hangs below her painting where it’s ready to grab and run.
The Victorian Table Kit basically snaps together, it was so easy to assemble! I hand made a few of the treats on the Tiered Cupcake Stand.
Here is a quick look at my cookie-making process. I used a Mini Silicone Mold – Biscuits and Bread to make tiny cookies out of paperclay. Once those were dried, I painted them with acrylic paint and rubbed the edges with a bit of brown soft pastel. The icing was made by mixing liquid polymer clay with soft pastels to color it then baked on the cookies for 5 minutes at 265 degrees to set it.
The little pink bouquet of paper flowers is being visited by an acrylic butterfly nail charm (I also landed one on the Pink Heart Cake with Roses).
These gorgeous Fancy Filigree Hinges were attached using E6000 glue. I glued them to the doors, let that set, then glued them to the sides of the shrine.
I have something rather charming to share with you today. I took a brand new piece from Gypsy Soul Laser Cuts – the Porch and Courtyard Box and turned it into a fairy tale setting. This structure screams to be turned into a garden setting of some sort with lush plants and flowers, a bench, maybe a fountain but I went another direction. When I figured out that a GSL Bed Standard 1 to 12 fit on that upper level it was only going to be a fairy tale setting for me.
This project started with the bed, which came out oh so adorable.
I gave the headboard, footboard and side slats a coating of gesso as primer.
Once it was assembled using tacky glue it got a few coats of white acrylic paint.
The bedposts were made from lengths of ¼ inch dowel topped by ¾ inch wood ball finials and painted white to match the bedframe.
These posts were attached to the frame with E6000 glue for extra hold. I decorated the headboard with flatback resin flowers, leaves & rhinestones.
Two kinds of mattresses were made for the bed – thin and thick. The thin ones were simply a layer of quilt batting sewn between two layers of fabric. The thick ones involved no sewing at all. I had some squishy packaging material in my stash that I cut into rectangles. I wrapped some fabric around those and glued it in place. A clothespin held the fabric in place while the glue dried.
Dowels and E6000 were used to make a ladder for the bed.
Pretty dang cute!
I used papers from DCWV Dark Fairytale for the upper bedroom level. The wooden floor paper is from Bo Bunny’s Garden Party.
The structure has two slatted porch sections. Those were painted in a medium gray and glued in place.
Here is the upper level assembled. I painted the left wall in a soft gray. That massive stained glass detail is also from Dark Fairytale.
The stone floor paper that I used is from the Reminisce – Wizard 102 Collection. You’ll notice the stairs are tabbed directly into the left side wall.
To facilitate that, slots were cut through the stained glass paper after it was glued into place.
The Porch and Courtyard Box also comes with a lattice piece that covers the entire upper section (shown below). I left it off so that the bed could be accessed as this is going to a little girl who will need to tuck a princess doll into bed at night. Had I gone in a different direction for this piece, I was considering hanging a chandelier from the lattice, and maybe also some ivy. So many options!
A bedroom window was fashioned from a GSL Reliquary – Arch Top. I only used the frame layer, which got painted black. The starry night paper is from Graphic 45’s Happy Haunting collection.
Some artwork was added to the wall using one of the new GSL Miniature Picture Frames.
A tiny flower arrangement was made in pretty much the same way full sized ones are. I cut a tiny piece of floral foam and inserted tiny paper flowers. It reminded me of the flower arranging classes my mom took when I was a kid.
The floral arrangement went onto a vintage rattan dollhouse table. I added a friendly frog underneath.
Once painted and assembled, I topped it with a gray woodgrain paper surface.
The fun part… I got out my polymer clay and paper clay and put the TV on. It was fun researching medieval banquet spreads to see what all to make. Any questions just ask in the comments!
Since the bed has a whole princess and the pea vibe going on, I made sure to include a pea pod with a single pea missing from it.
Brought up from the garden this morning… asparagus from the bed we put in last year, garlic scapes and some gorgeous tender lettuce. We have 14 raised beds planted and added two paw paw trees next to our blueberries. We have lots and lots of garlic this year after a disappointing harvest last year.