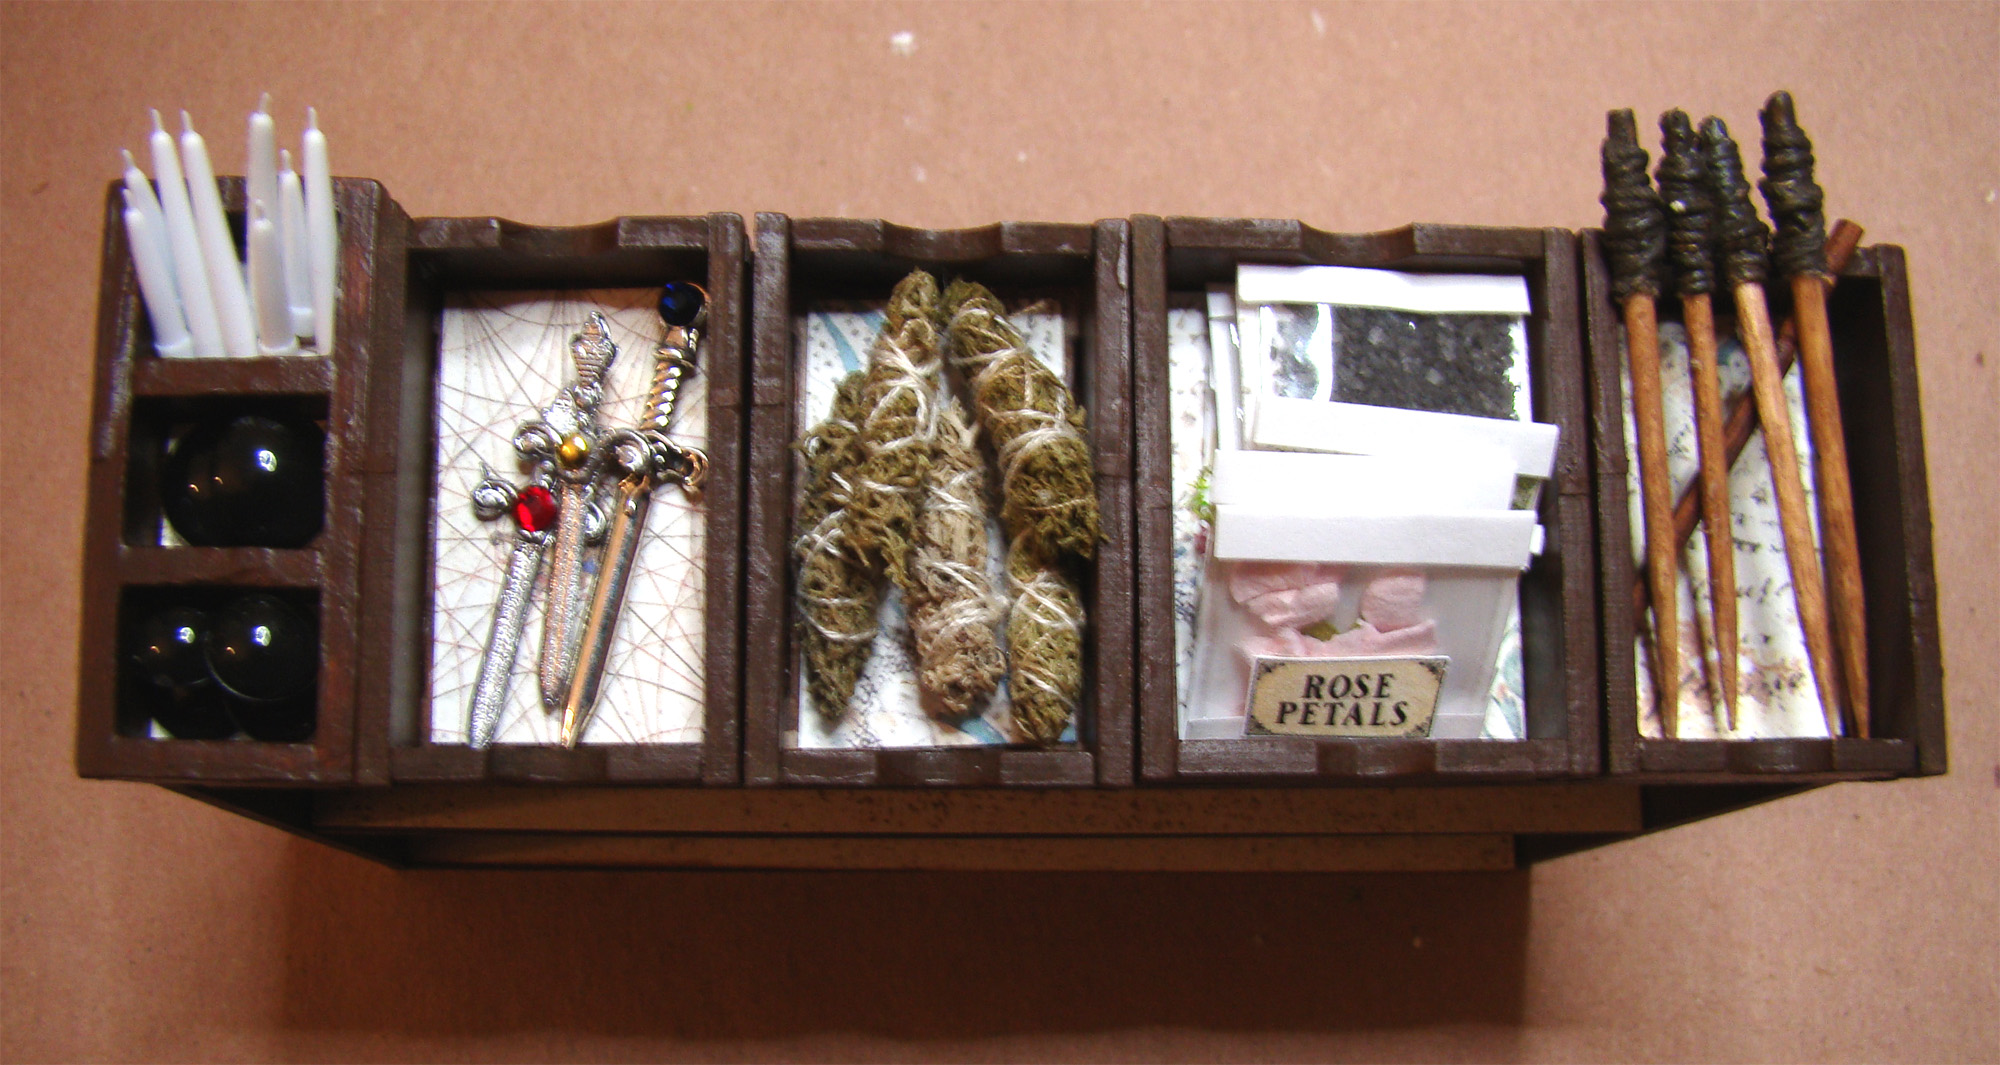
I’ve got a pretty big project I’ve been working on for a while featuring a brand new setting from Alpha Stamps. I’ve turned the new 6×6 Simple Market Stall into a shop full of enchanted wares and it’s been lots of fun figuring out how to make all the tiny magical things to include in the display. There are so many shelves and bins to fill! Here’s a Part 1 preview, the final project will follow shortly.
What I love most about this new piece is it’s modular. There are both short and long counters for the sides and front. I’ve chosen to use both a 3 Inch Tall Counter and a 5 Inch Side Counter. I already have another idea for this market stall that uses one of the 5 inch counters across the front.
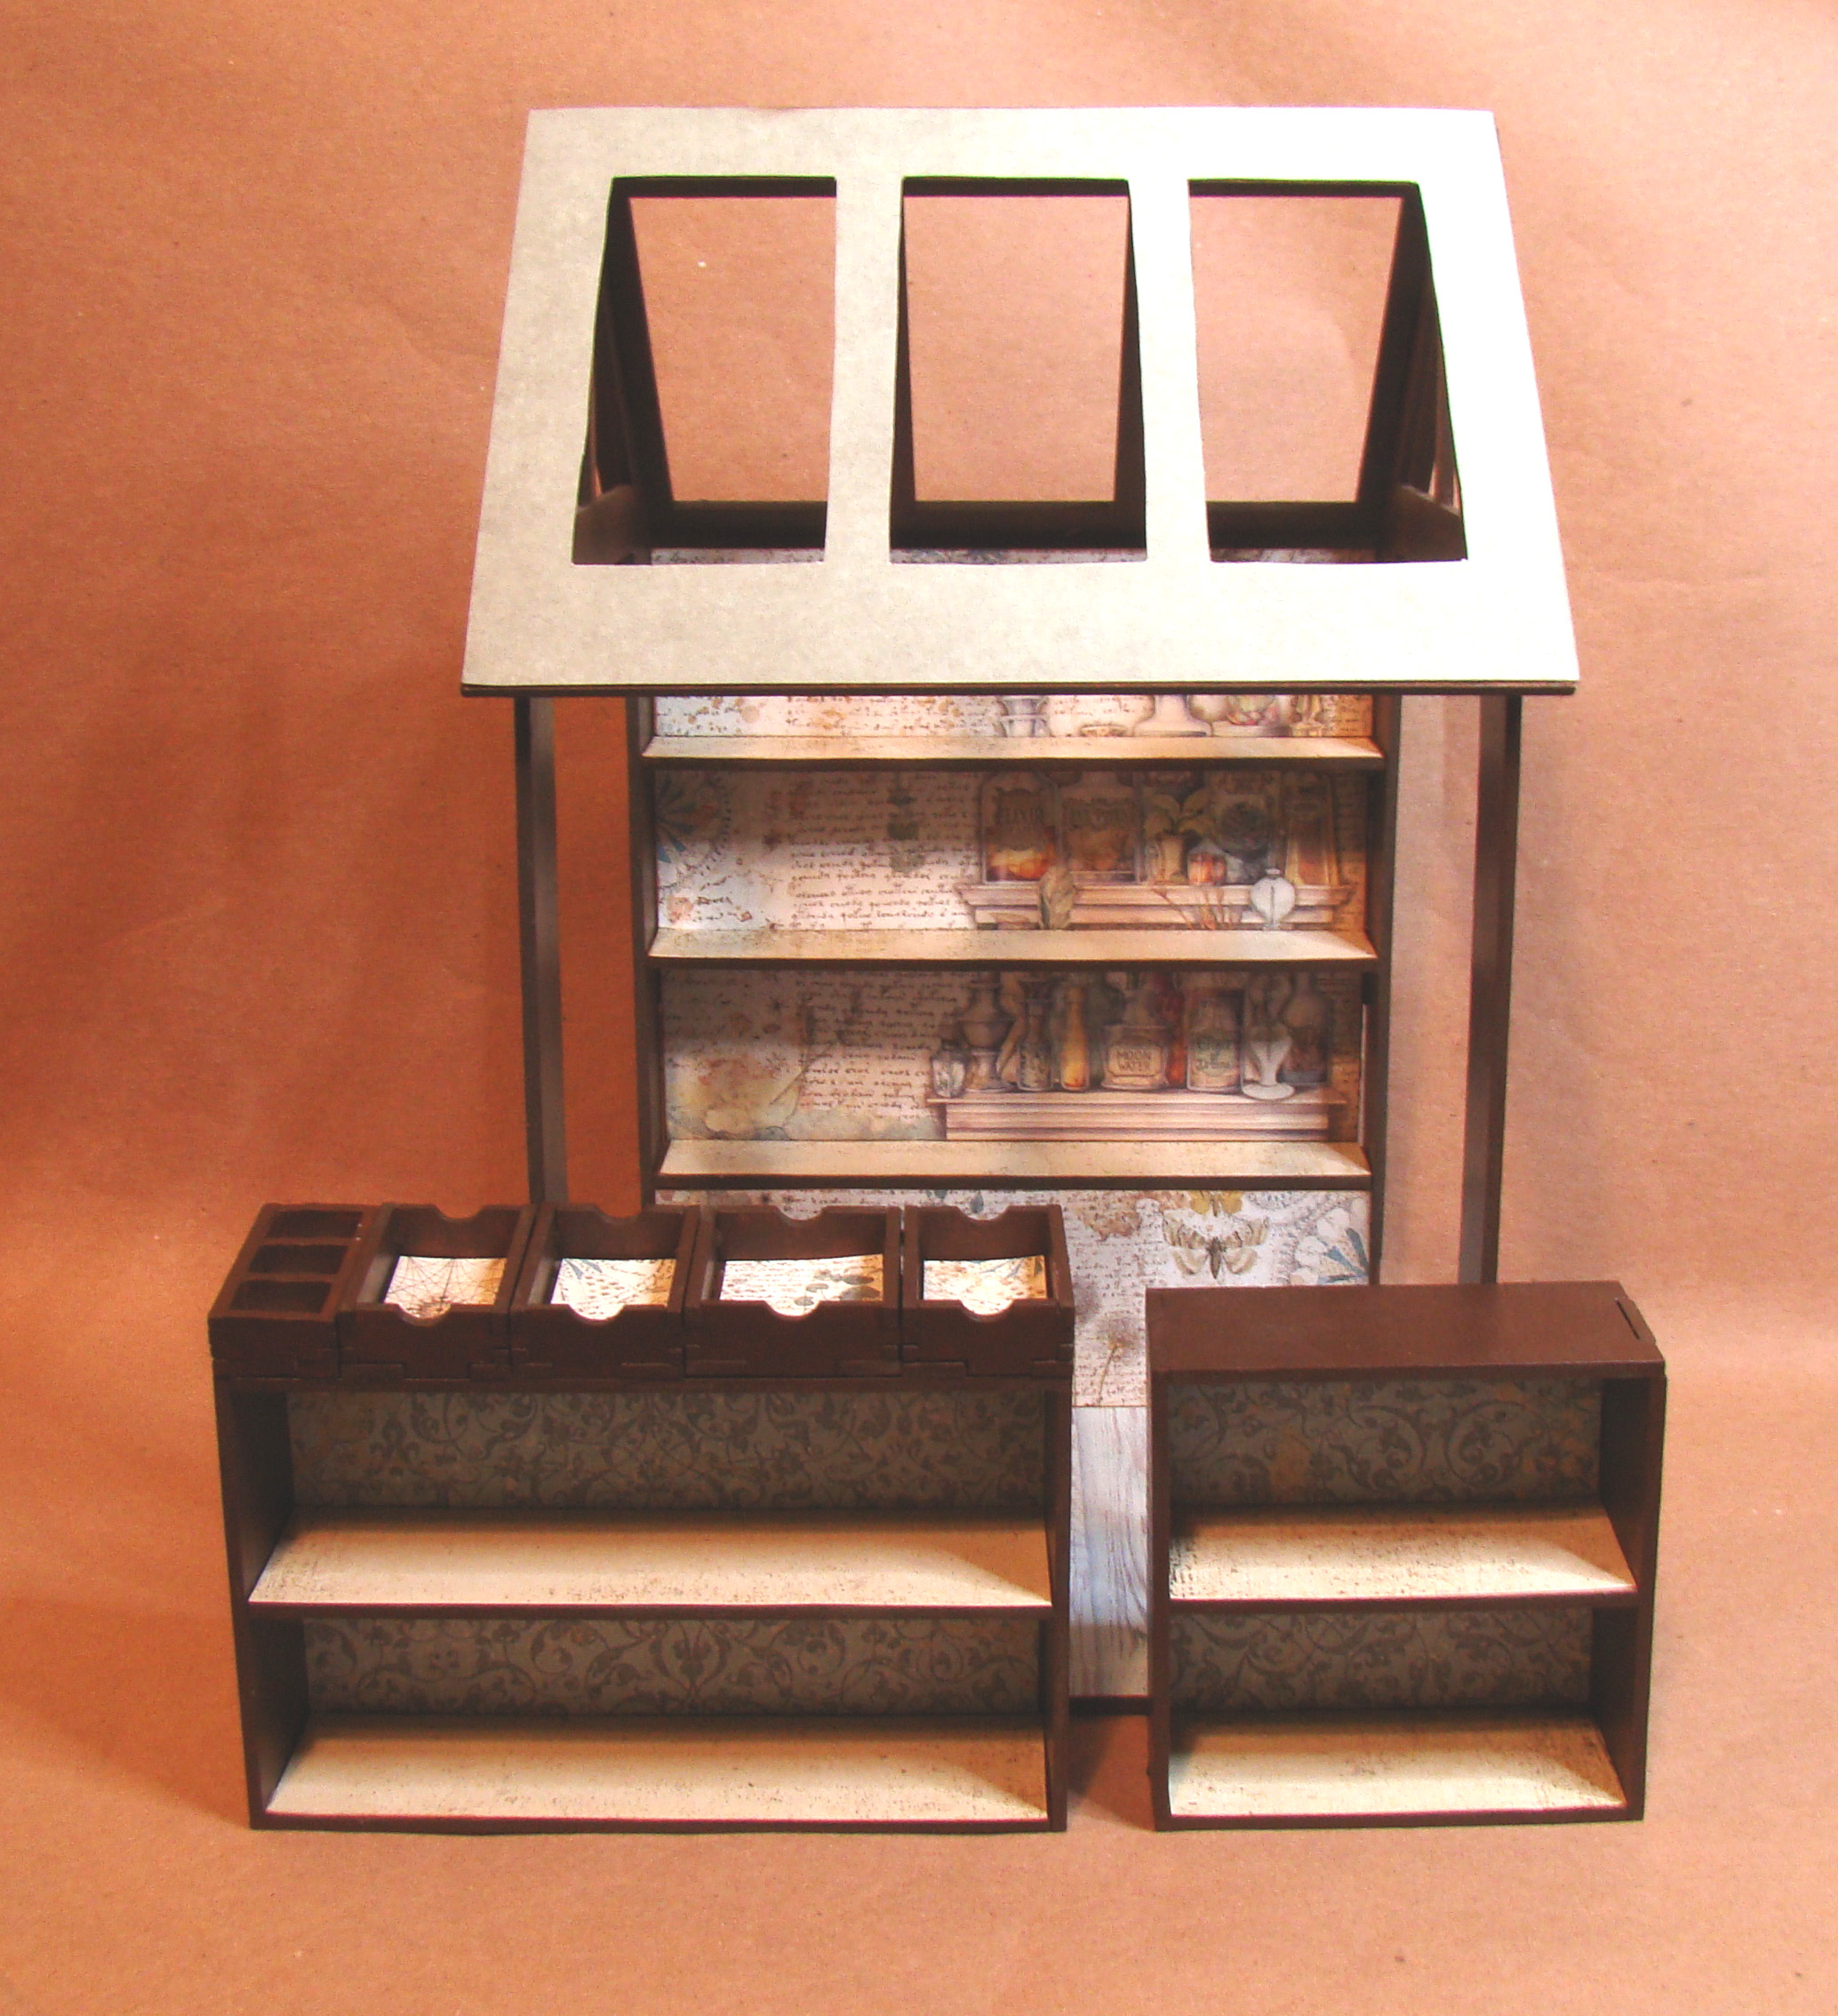
This market stall ships flat and is very easily assembled. The first thing I do for any project is wipe the edges of the pieces with a dry paper towel to remove any residue from the laser cutting process. I dry fit the pieces to make sure I have everything laid out correctly then mark whichever surfaces I plan to paint vs paper. For this market structure, I painted the side supports, ceiling and the bottoms and front edges of the shelves in a brown acrylic. The structure is assembled with tacky glue and any residual glue gets wiped away with a cotton swab. After touching up paint where needed the only thing left is to add decorative paper and your market is ready to stock! The paper I used for the shelving background is from Stamperia’s Fortune collection. The blue wood floor paper is Craft Consortium’s Beach Hut.
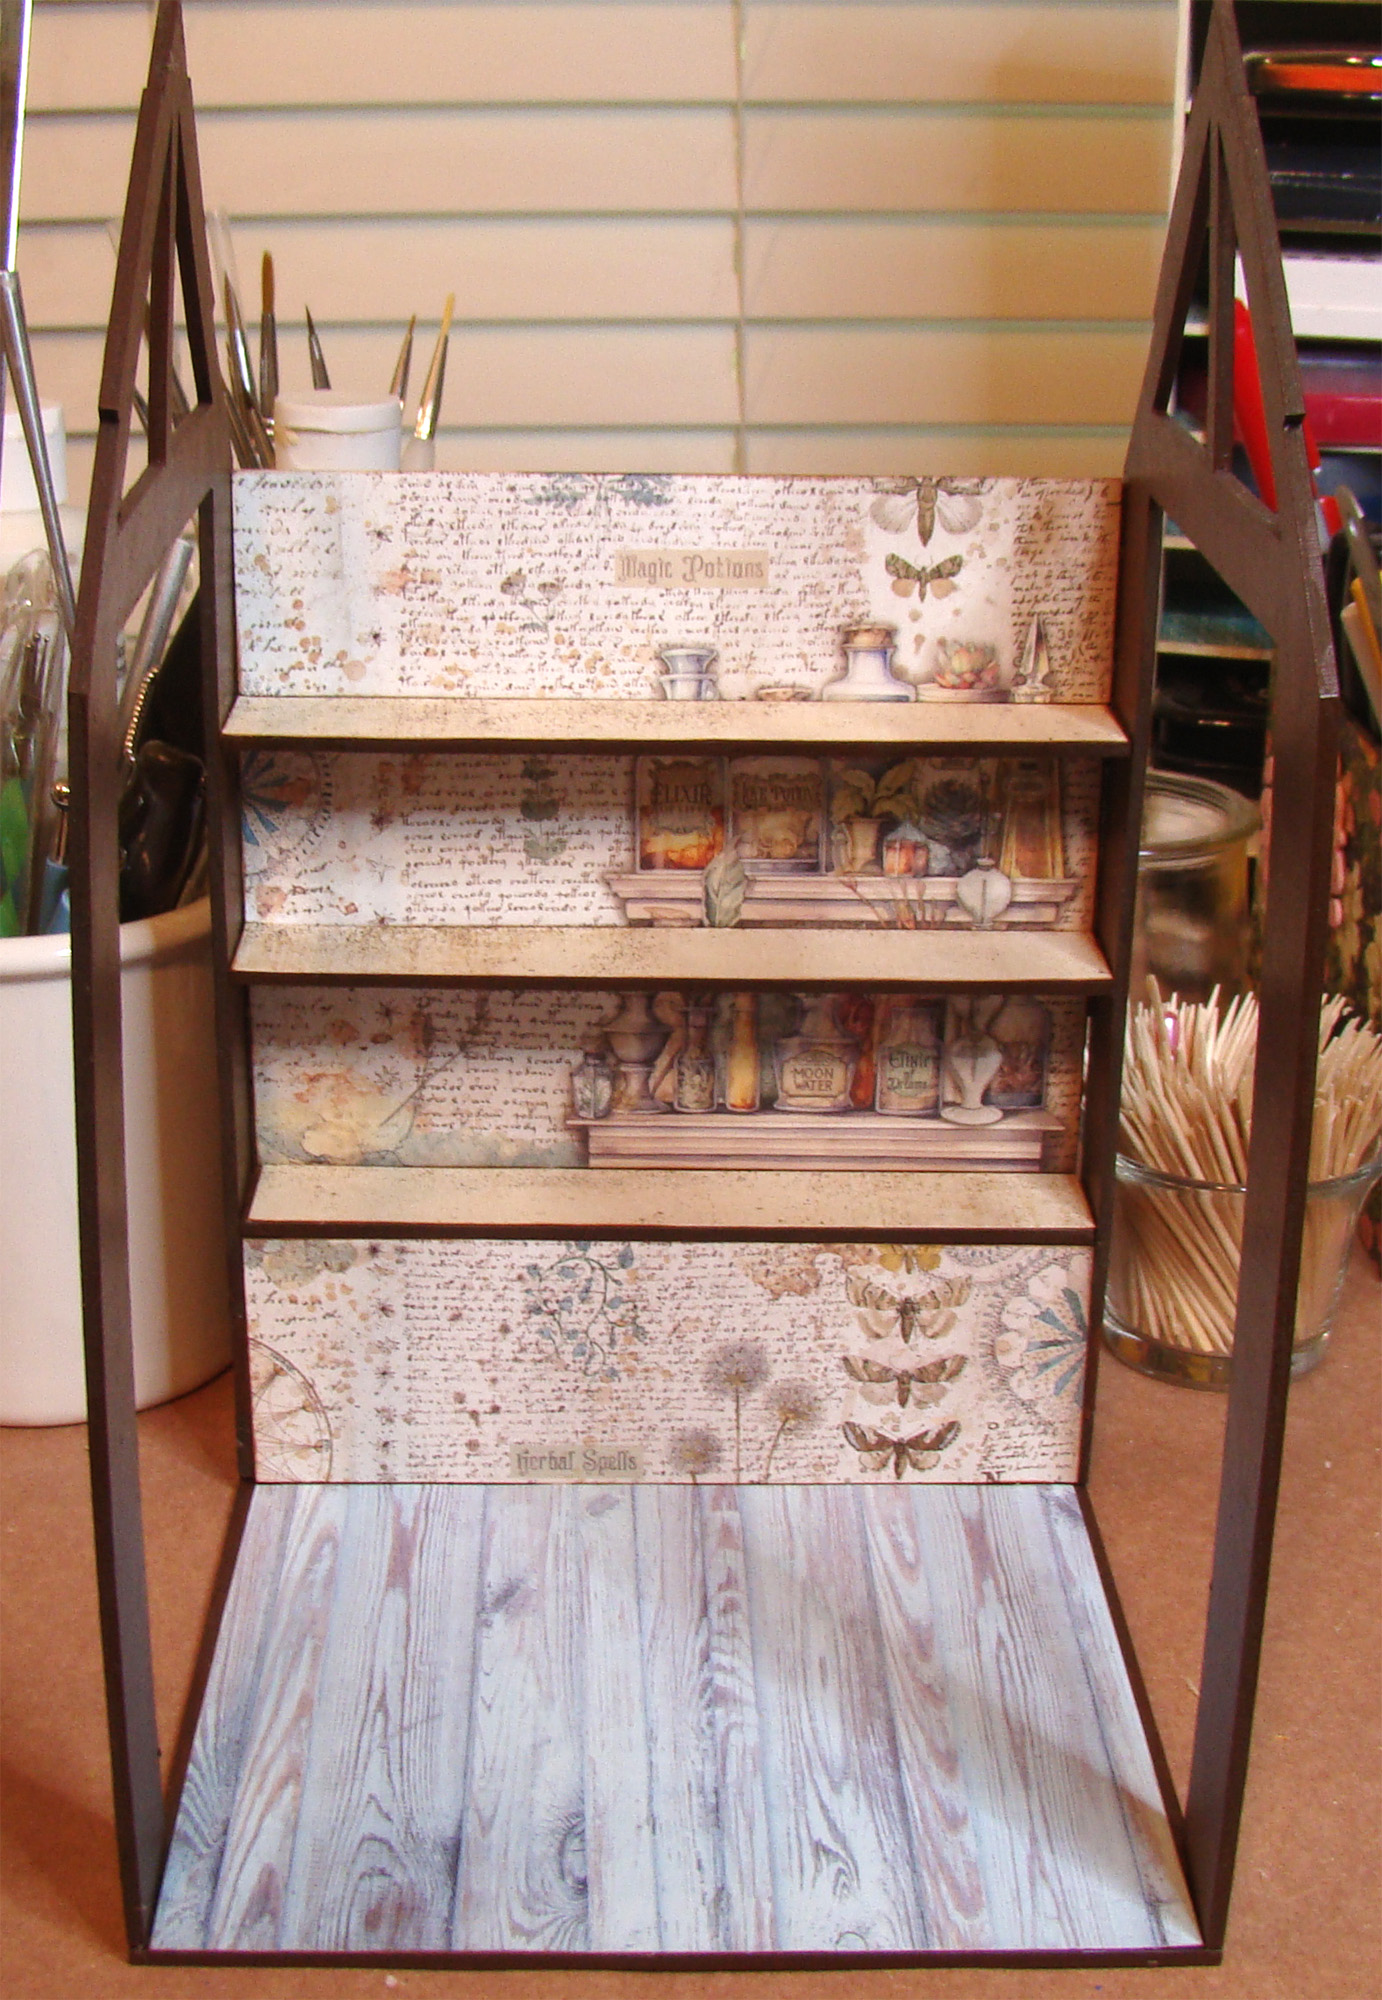
One of the nicest features of this new structure is that the roof has skylight openings to let light in. Gotta show off all your hard work inside the stall! When I do a cutout like these roof sections, I find it’s easiest to cut the papers to size, trace the openings then use small sharp scissors remove the unwanted sections. The last thing I do is glue the paper down.
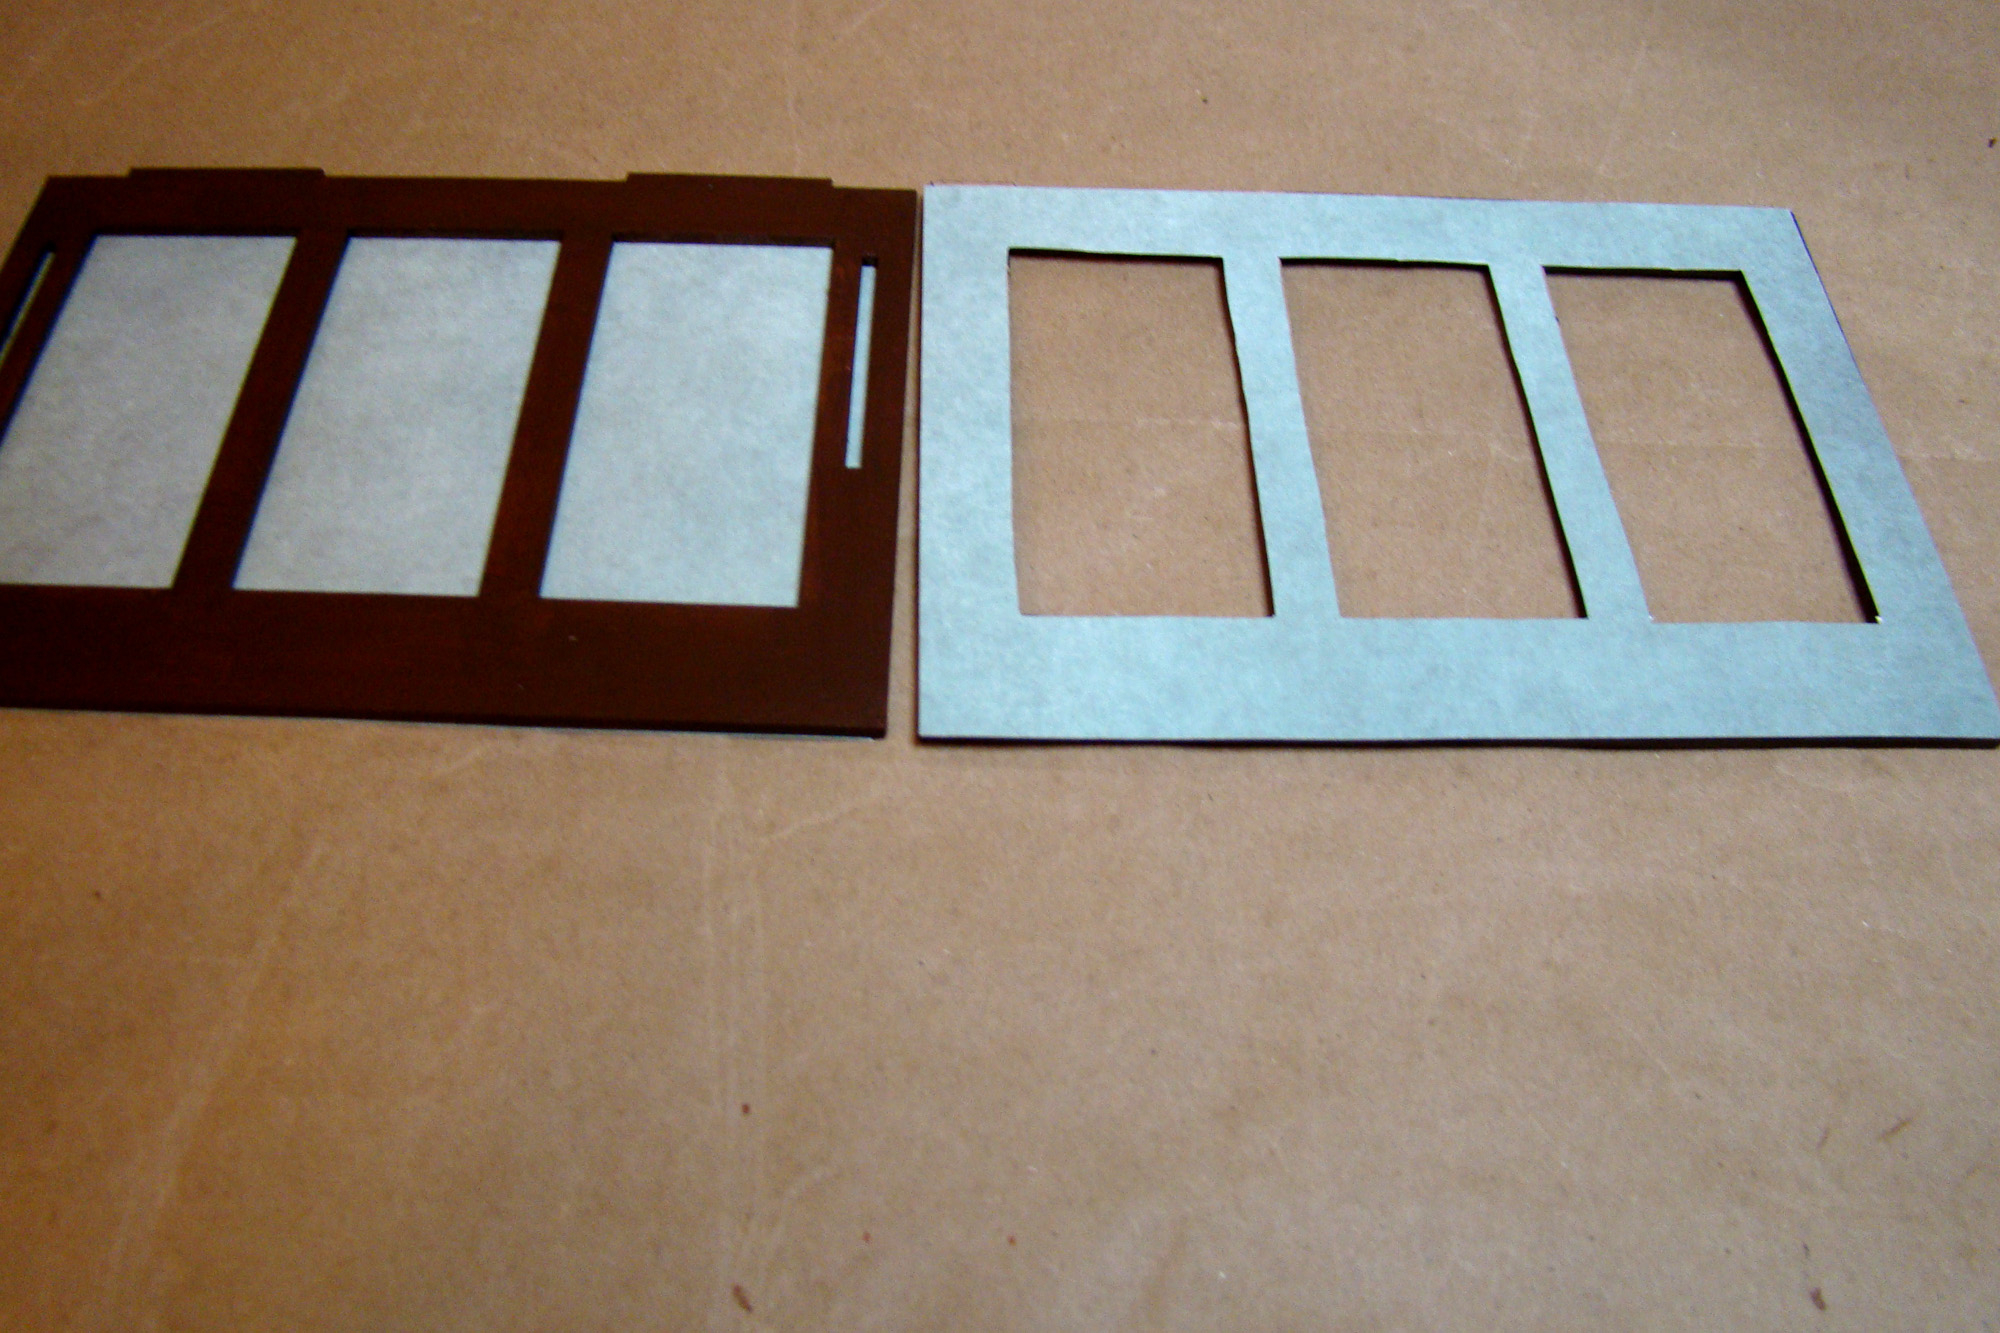
The counters were painted the same acrylic brown and the shelf backgrounds are from the same paper collection.
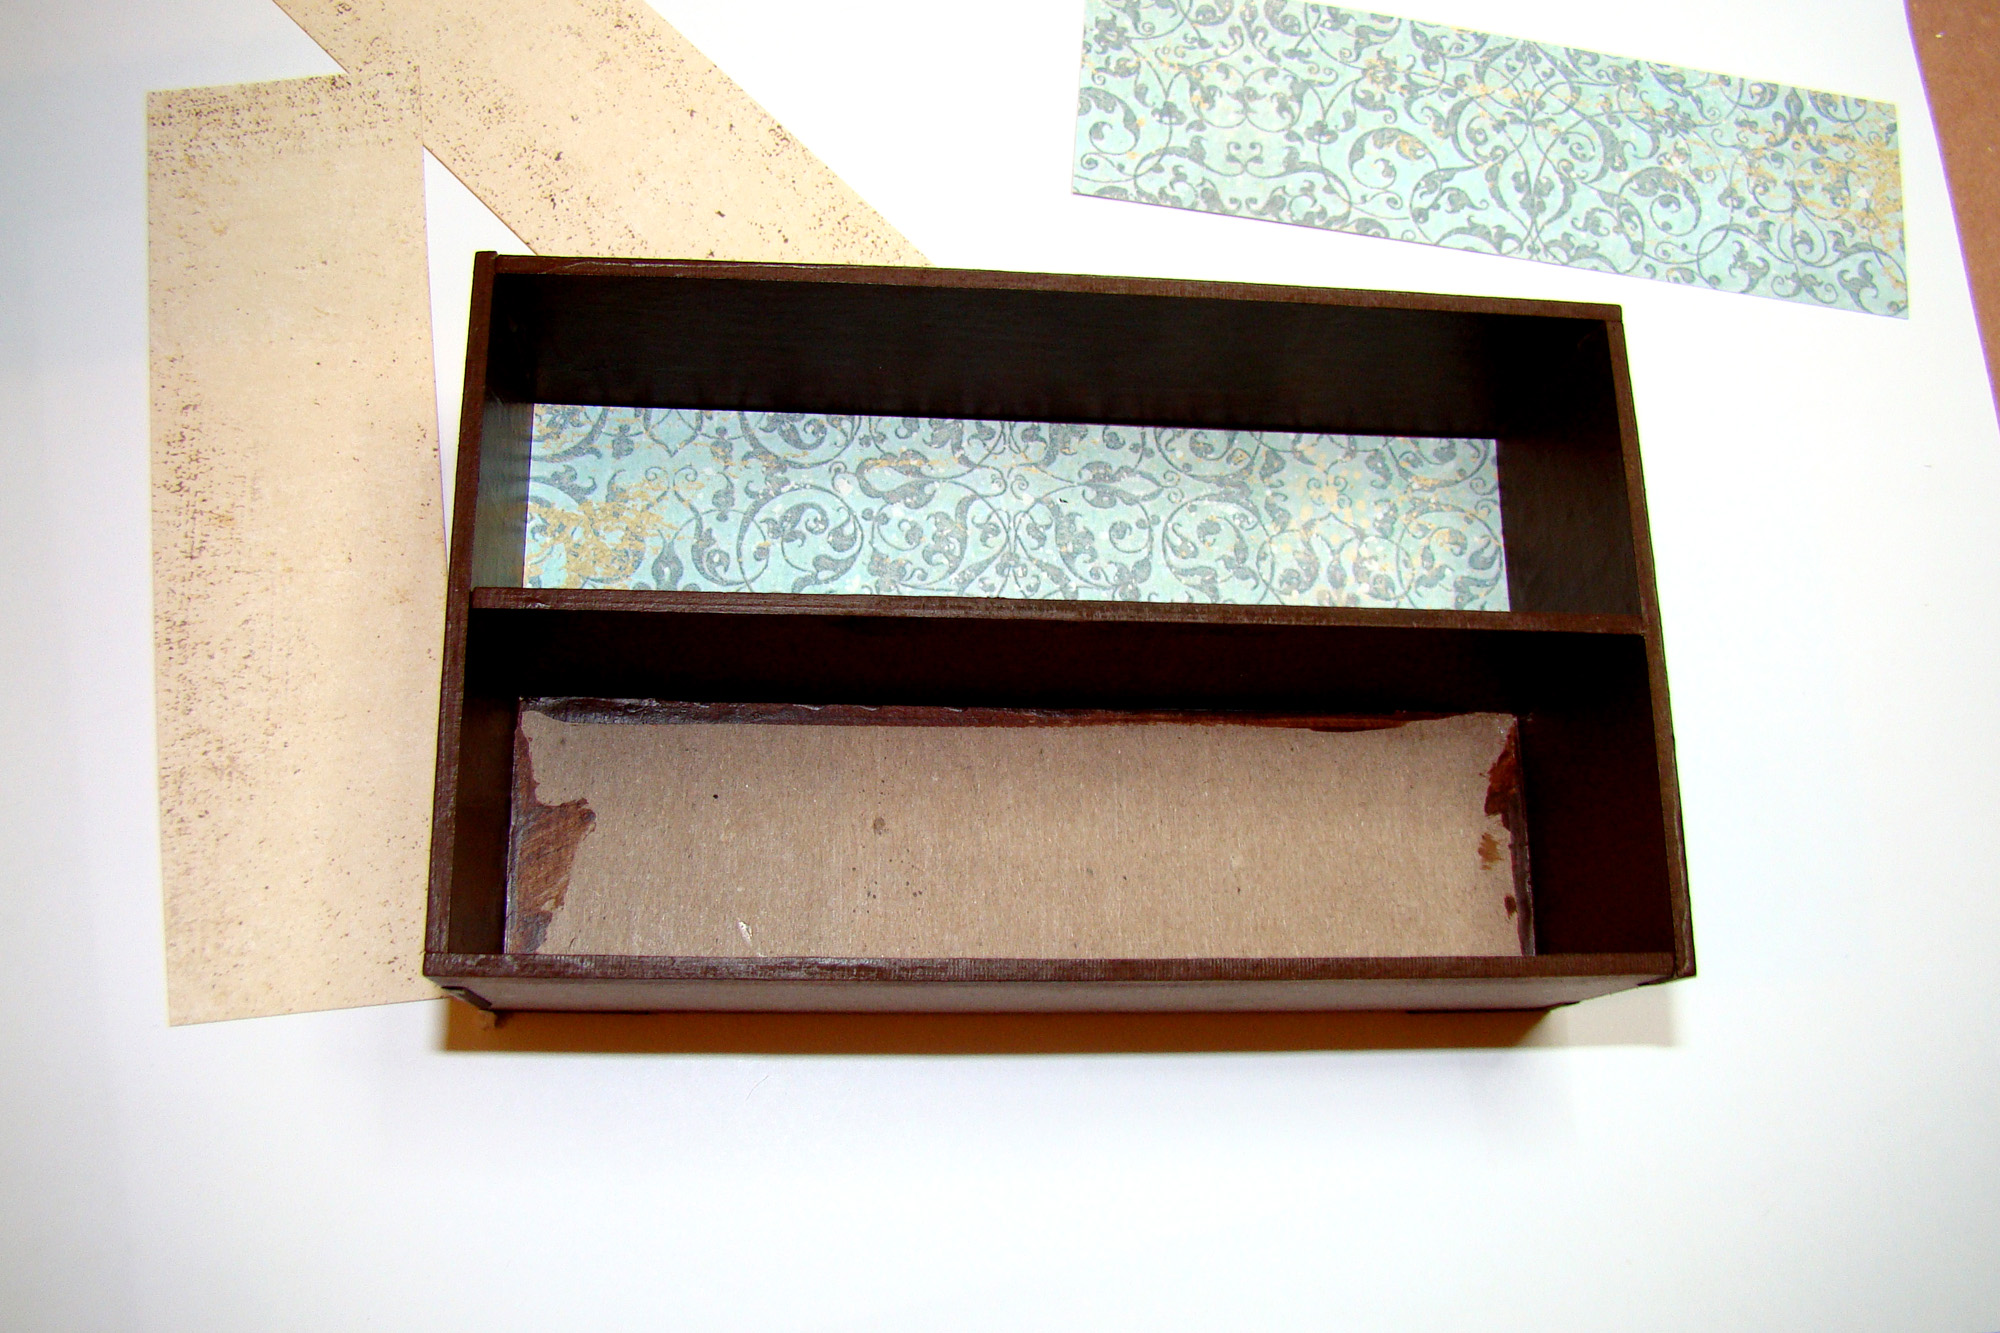
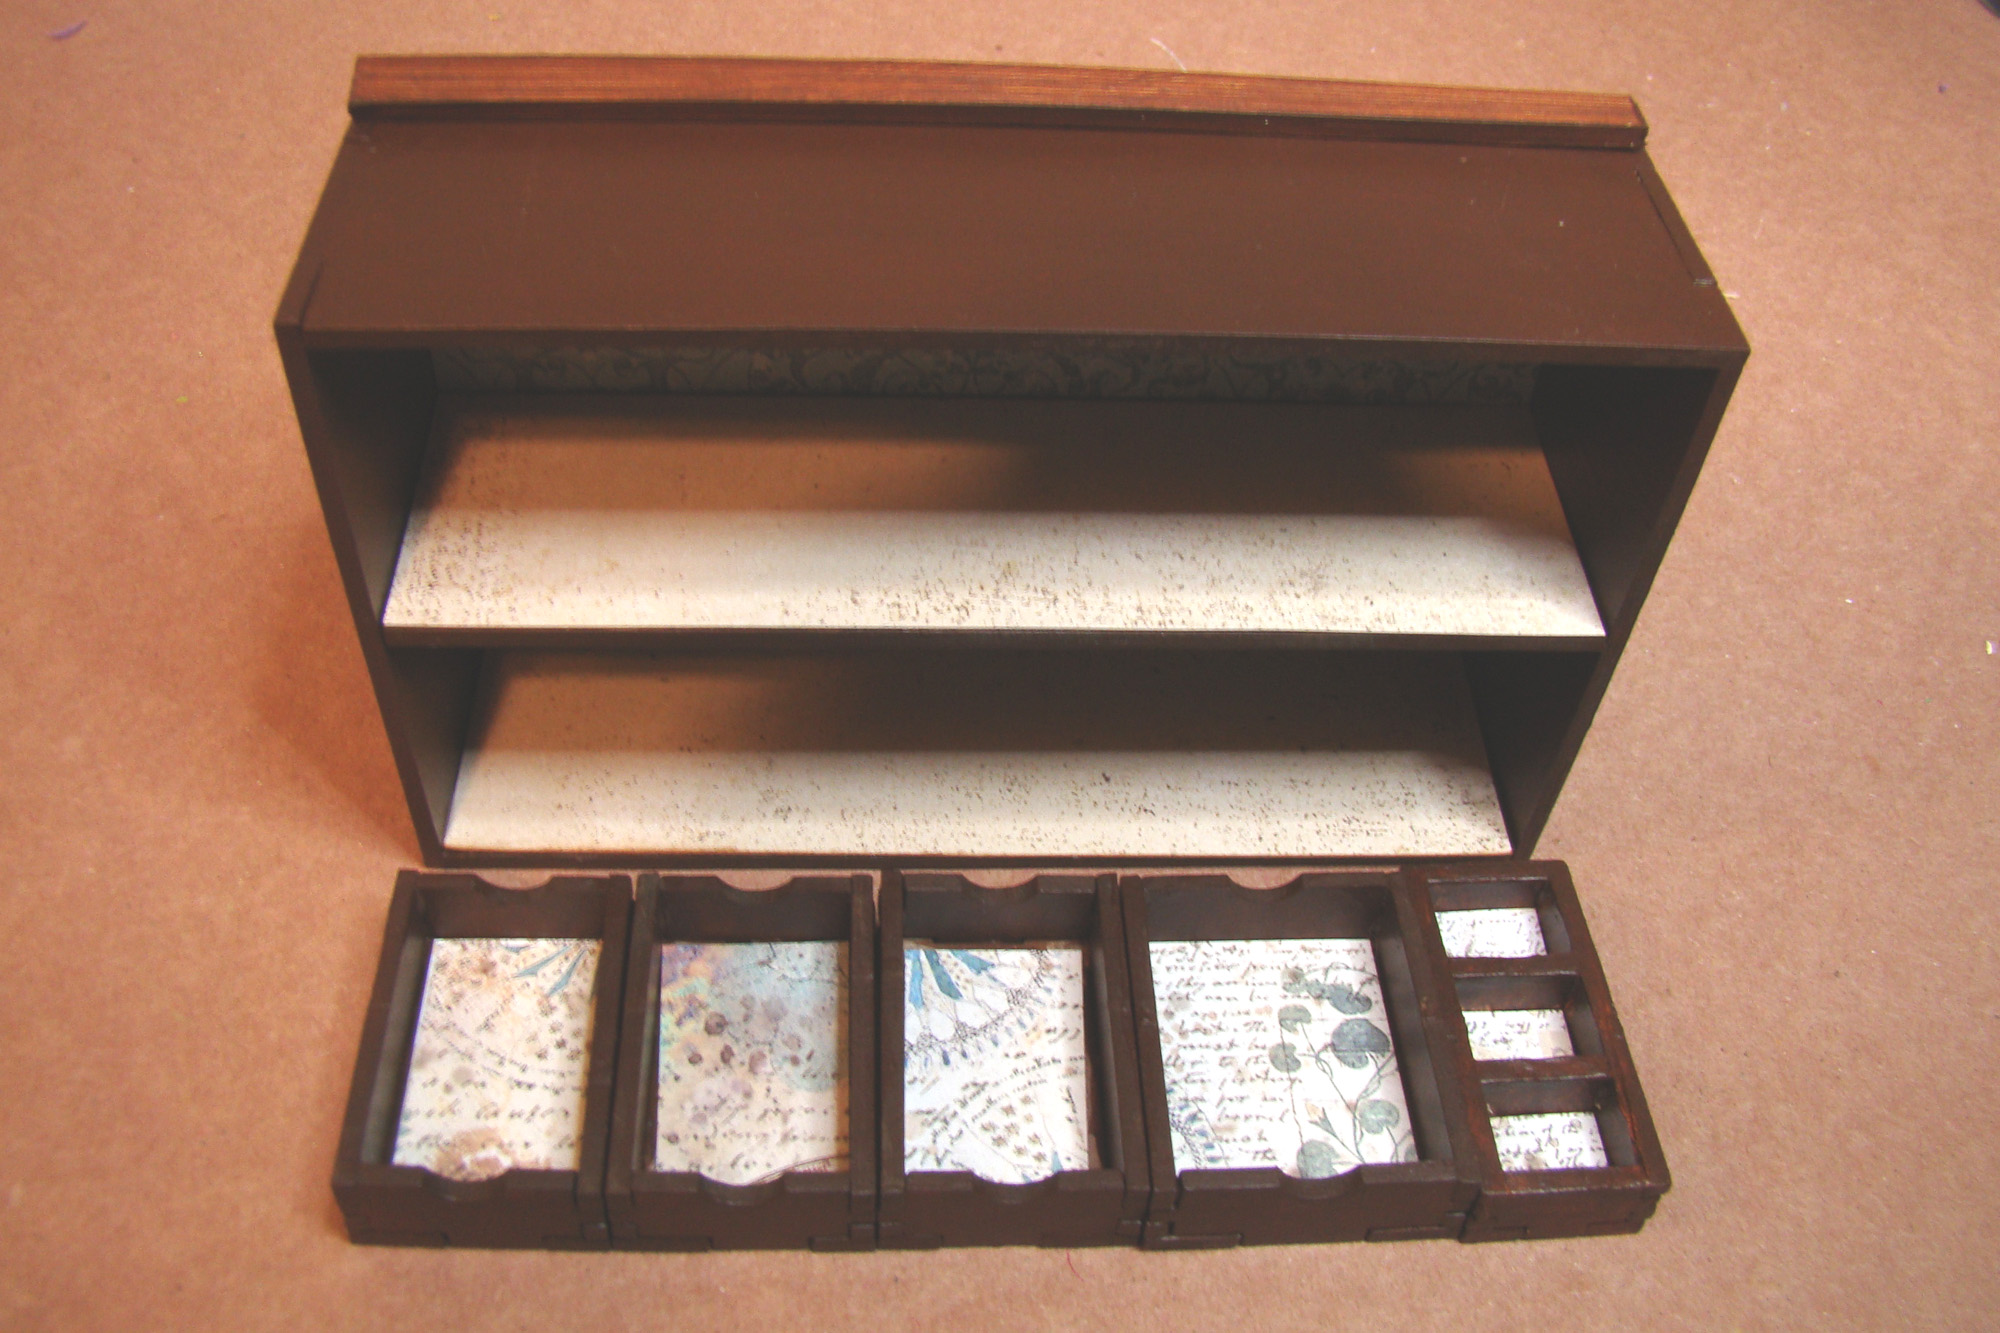
The side counter has bins on top to hold small wares. These are made from both the Chunky Crate Set and the Skinny Chunky Crate Set. There’s also one of the Chunky Seed Boxes. To give them a bit of tilt for the market customers to better view inside, I cut a square wooden dowel to size and glued it to the top.
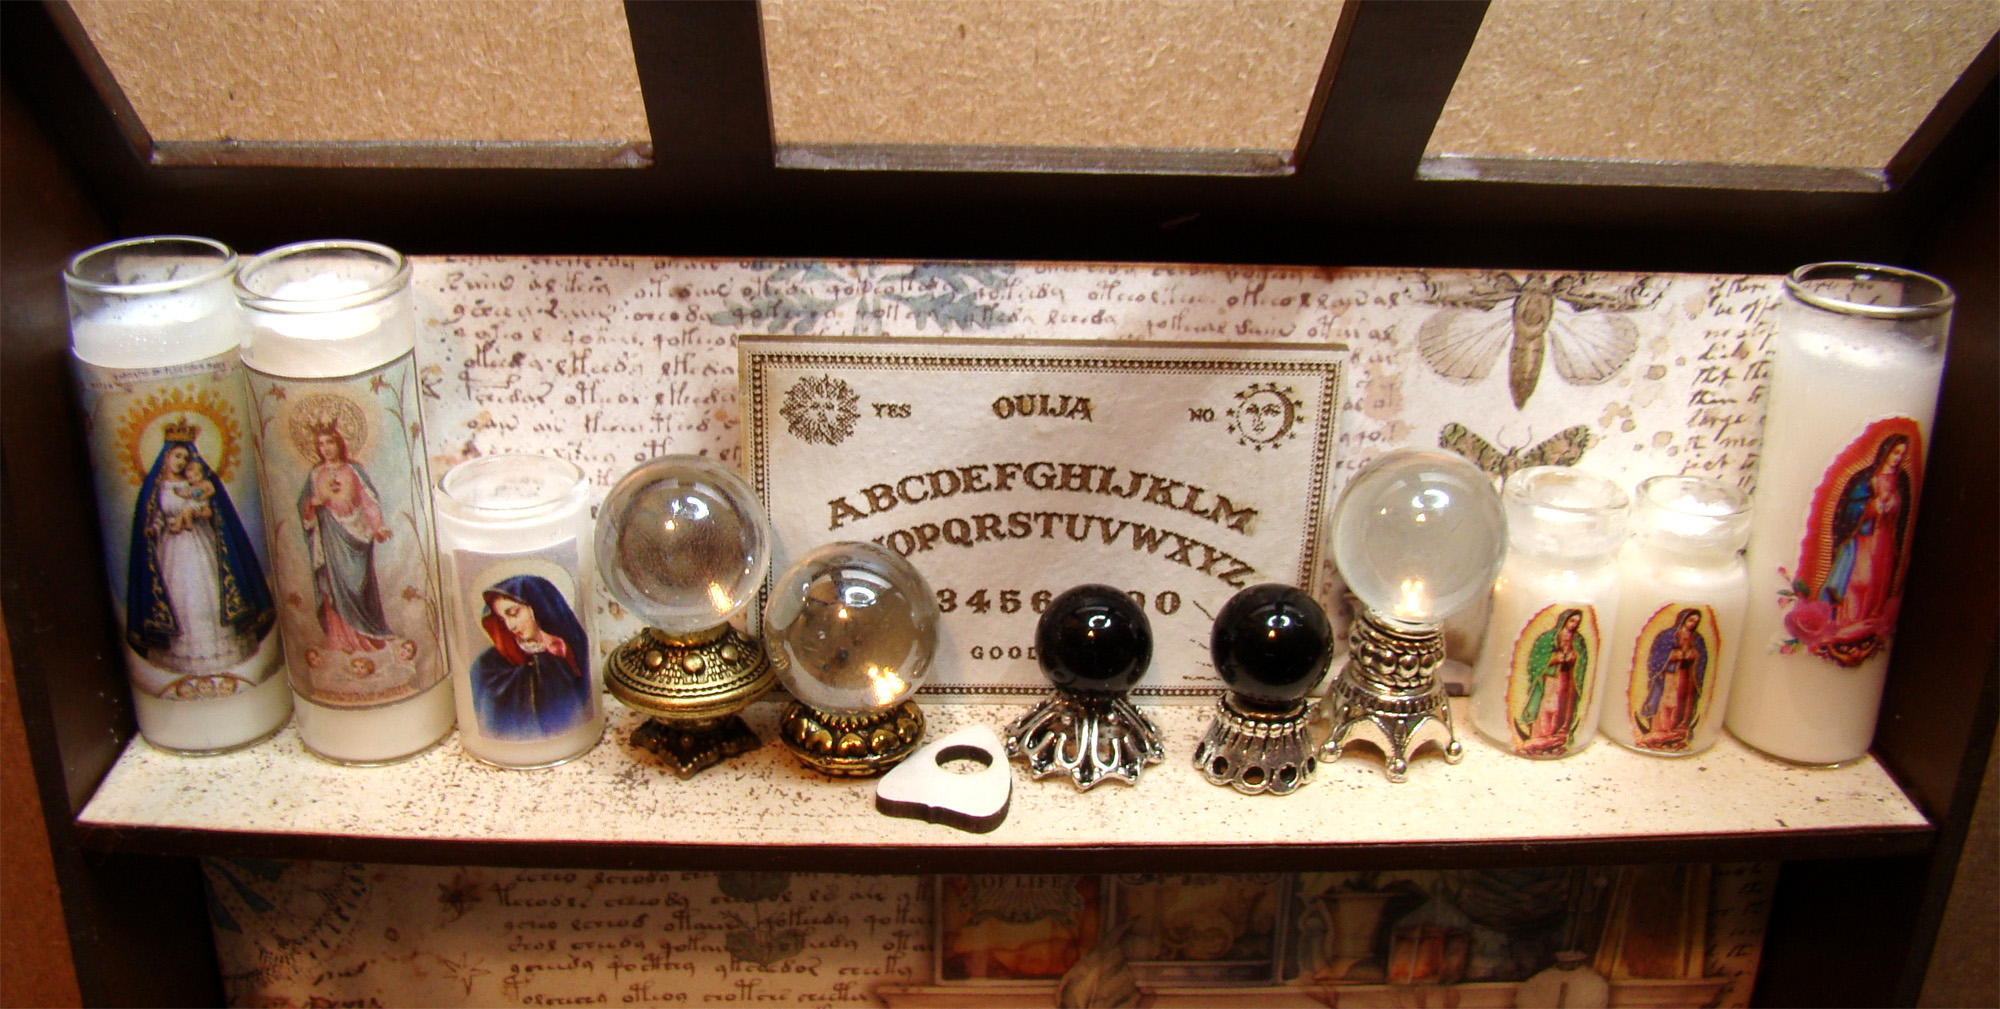
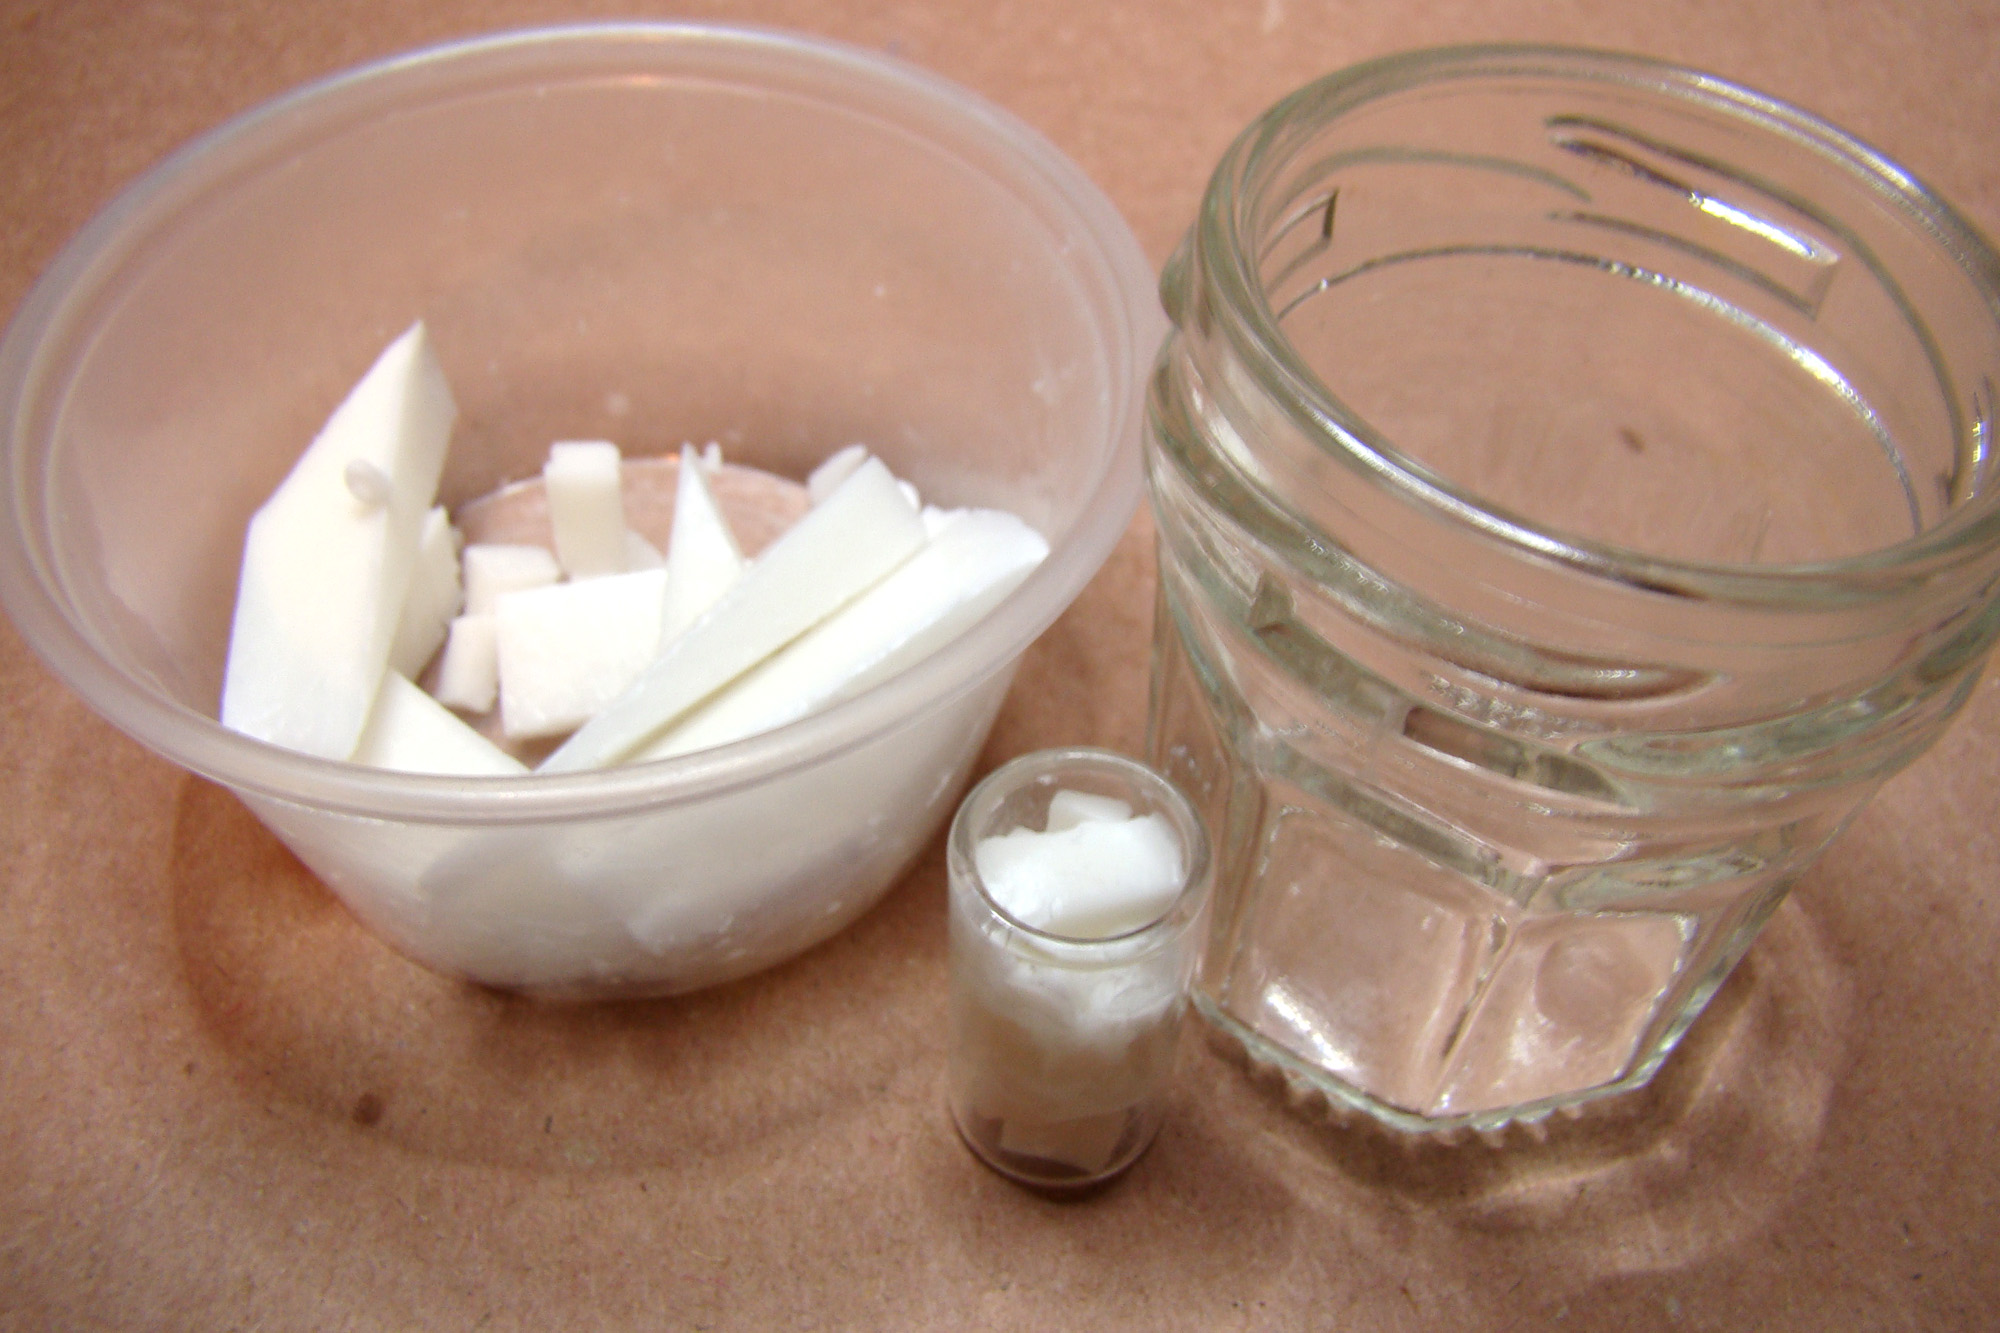
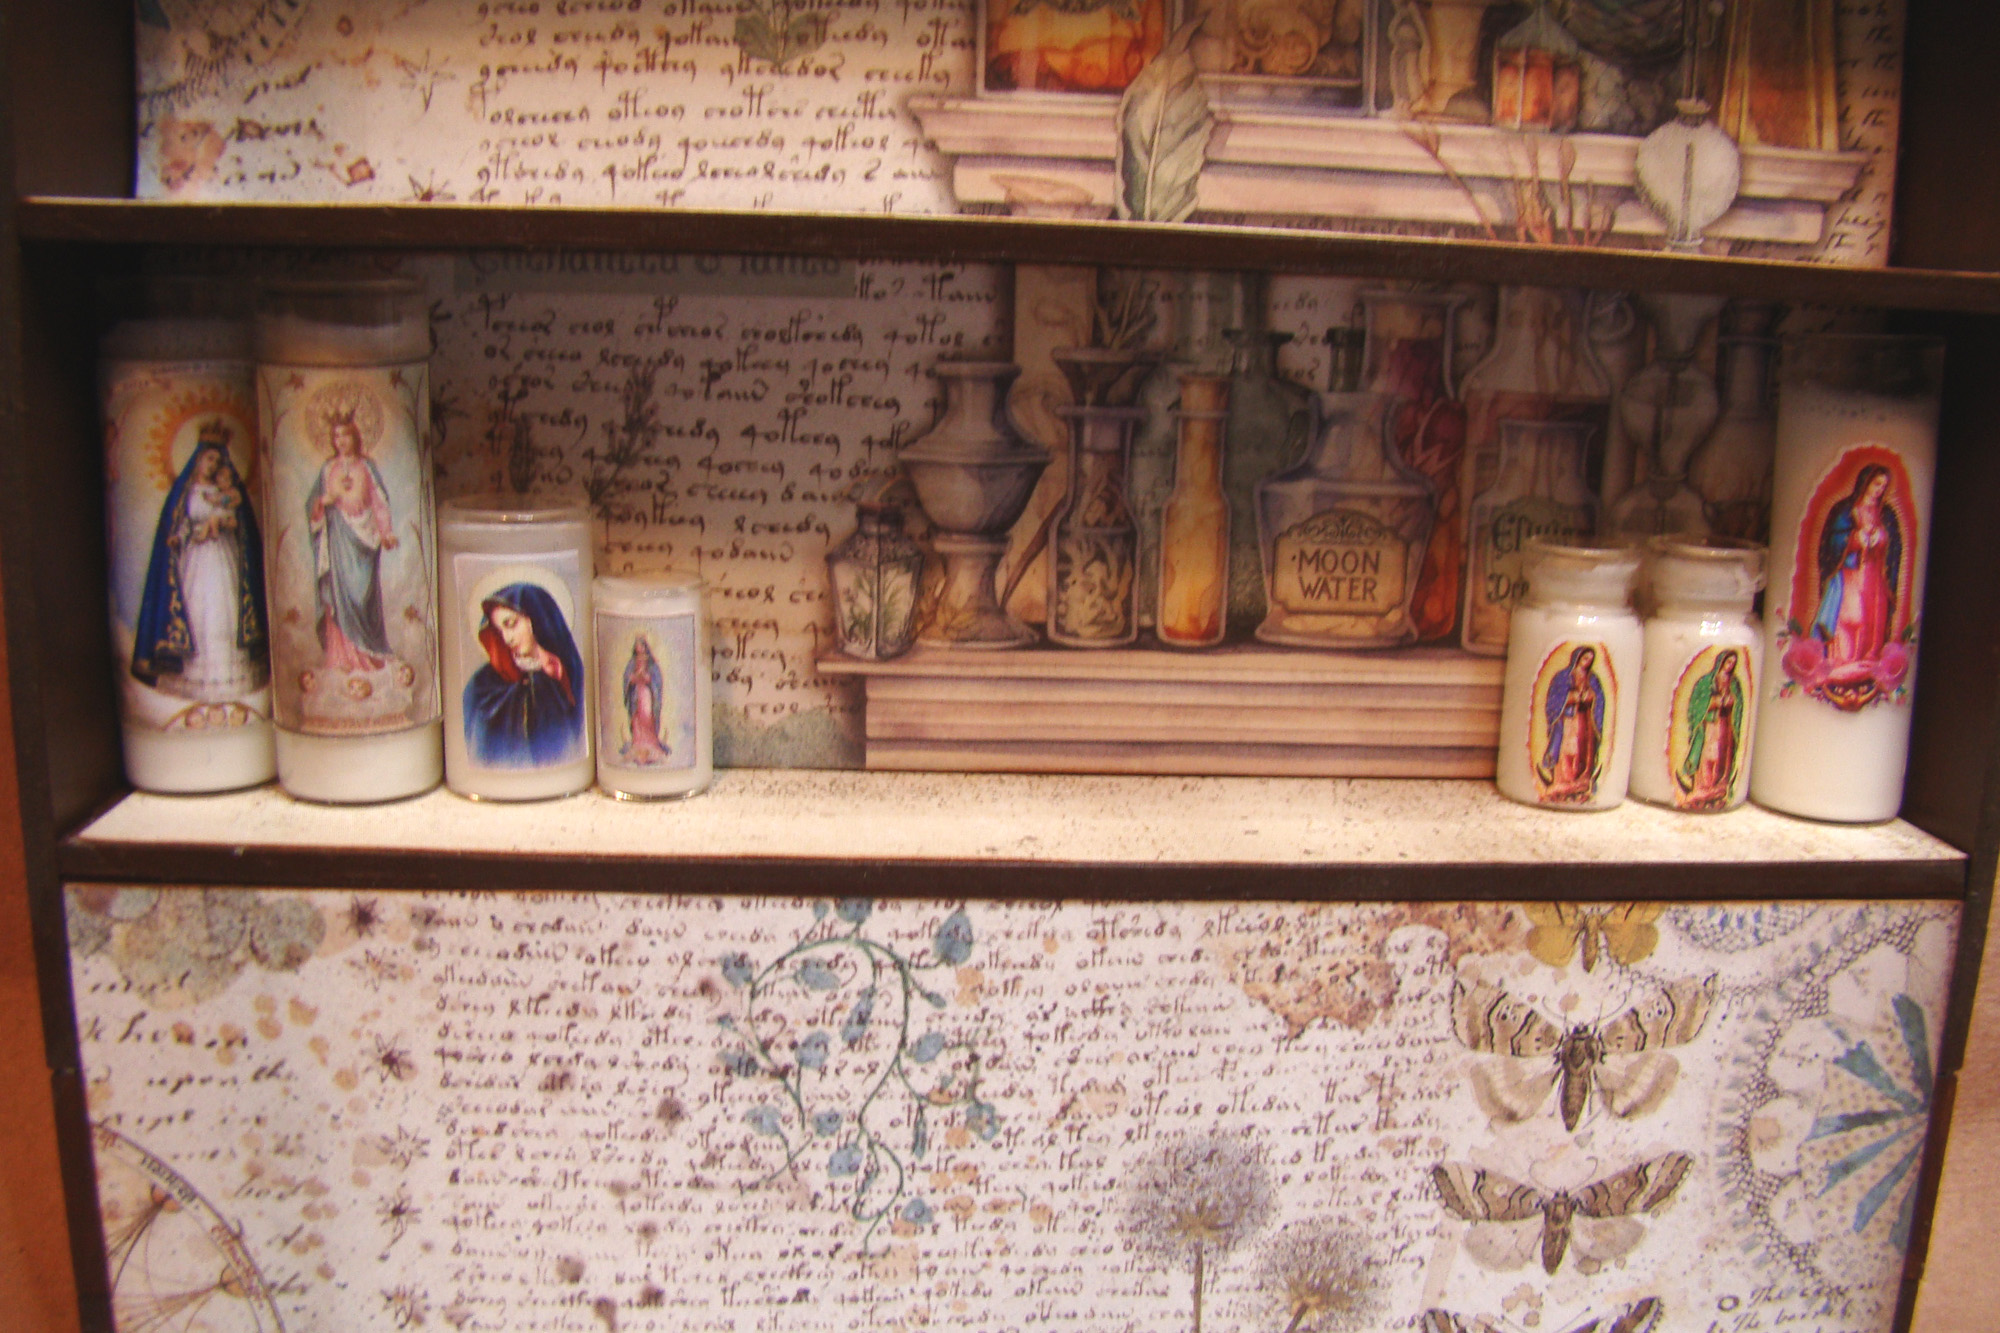
The first thing I tackled for the shelves was a selection of devotional candles. I considered filling them with real wax for about a minute. I was certain I’d make a huge mess working on such a small scale. My next idea was to fill the little jars with bits of white crayon and put it in some sort of heat source and that didn’t work at all. Finally I came up with the bright idea of using melt and pour soap. If it spilled over it would be easy to clean the jars and start again and it worked like a charm!
I cut soap into tiny bits and filled the jars. I used a few Tiny Glass Bottles, the new 40mm Tube Glass Bottle, a 9×17 Glass Tube Vase and a 12x23mm Glass Tube Vase. The filled jars went into a small jelly jar I had in my stash and right into the microwave. I was concerned the soap may spill over (and it did on my first try) so the jelly jar was to collect spillage. I finally settled on checking the jars every 3 seconds at full microwave power and it worked like a charm!
These candle labels are new Tiny Lady of Guadeloupe Stickers.

And these are from a brand new collage sheet called Devotional Candles & Prayer Cards Half Sheet.

Aren’t they fabulous set in place??
The other items on this top shelf include a ouija board from Mystic Miniatures and crystal balls made from 15mm Glass Marbles, 10mm Black Pearl Marbles with bases built from 8mm Square Bronze Bead Caps, Bronze Dot Pattern Fancy Saucer Beads, Antique Gold Large Rondelles, 10mm Wide Antique Silver Crown or Stand, Silver Crown Bead Cap Base and a Fancy Silver Drum Spacer Bead.
I can’t wait to fill the rest of the stall with tiny mystical treasures! Here’s a WIP sneak peek. There will be a Part 2 coming soon. I hope you’re inspired to make a market project of your own! The wonderful supplies I used may be found right HERE.