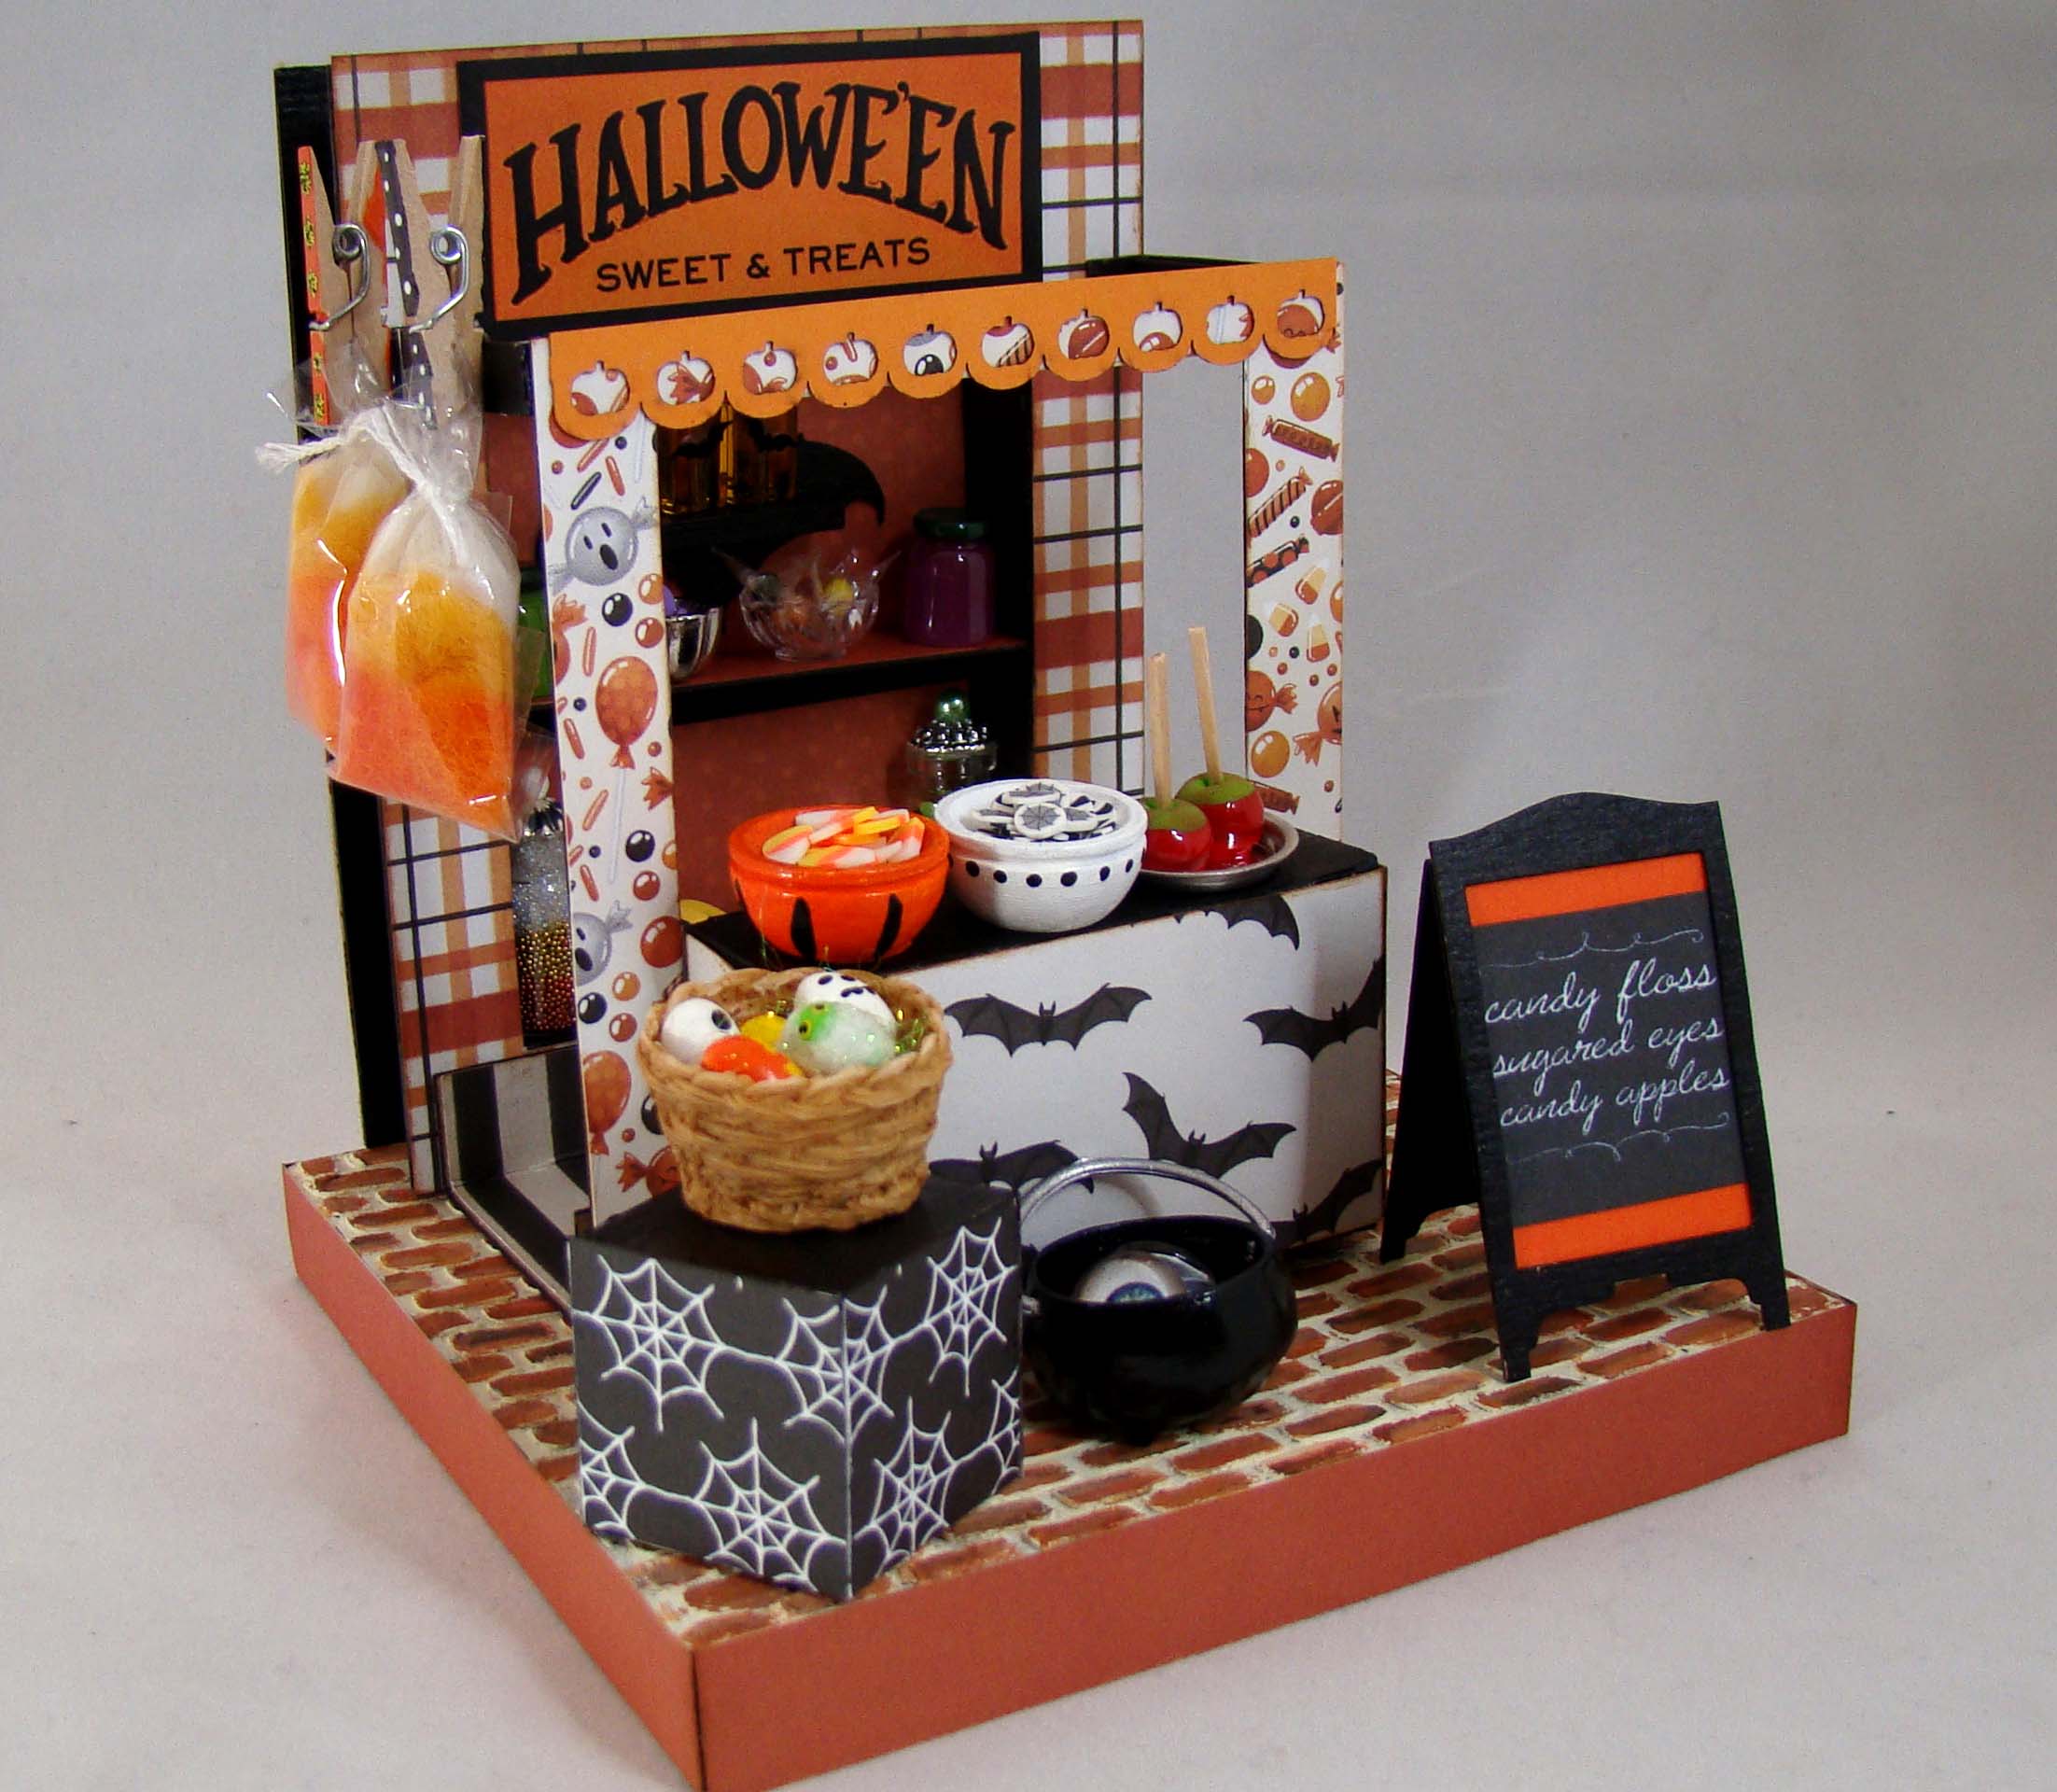
I have another project for Alpha Stamps today, one that is perfect for the season. This little stand works perfectly for a Halloween sweet treats market booth. I could see using this piece for so many different projects – a hot chocolate stand, Christmas market stall, farmer’s market stand, bakery pop-up, the possibilities are endless!

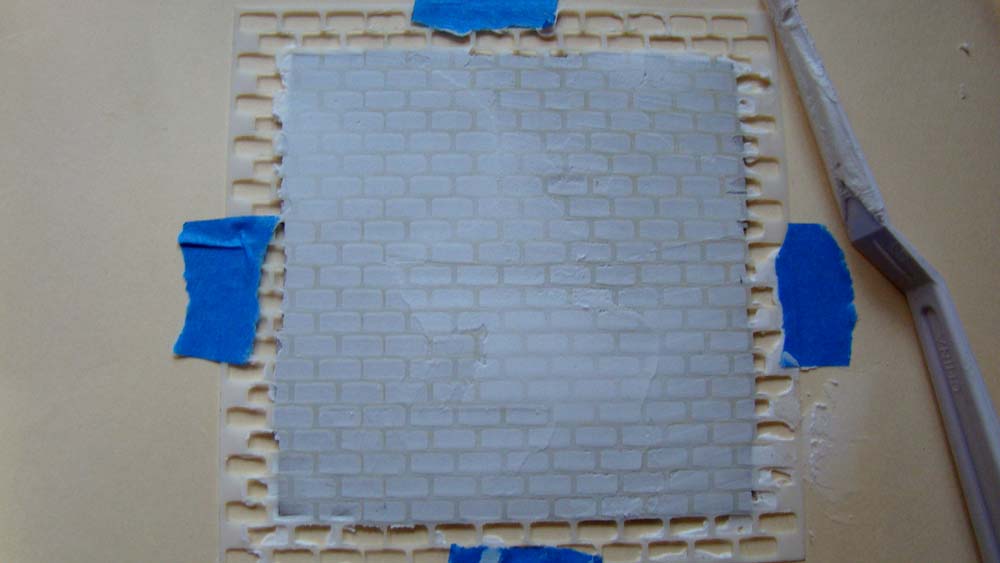
I started this project by making a platform from a House Ornament Base and a Small Brick Wall Stencil. After stabilizing the stencil with painter’s tape, I applied texture paste with a palette knife.
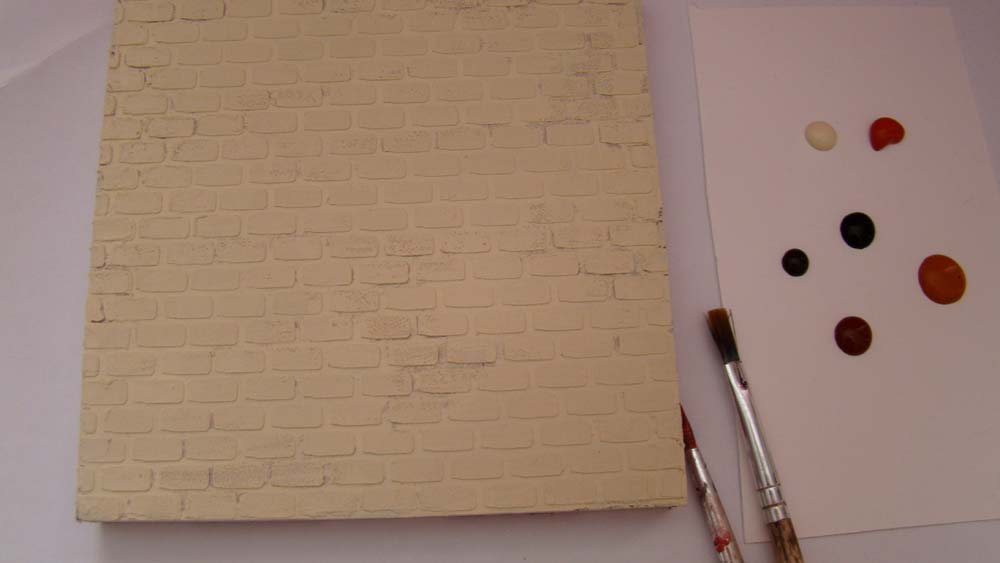
Once the paste was dry, I painted the entire surface with an off white acrylic paint which would become my grout color.
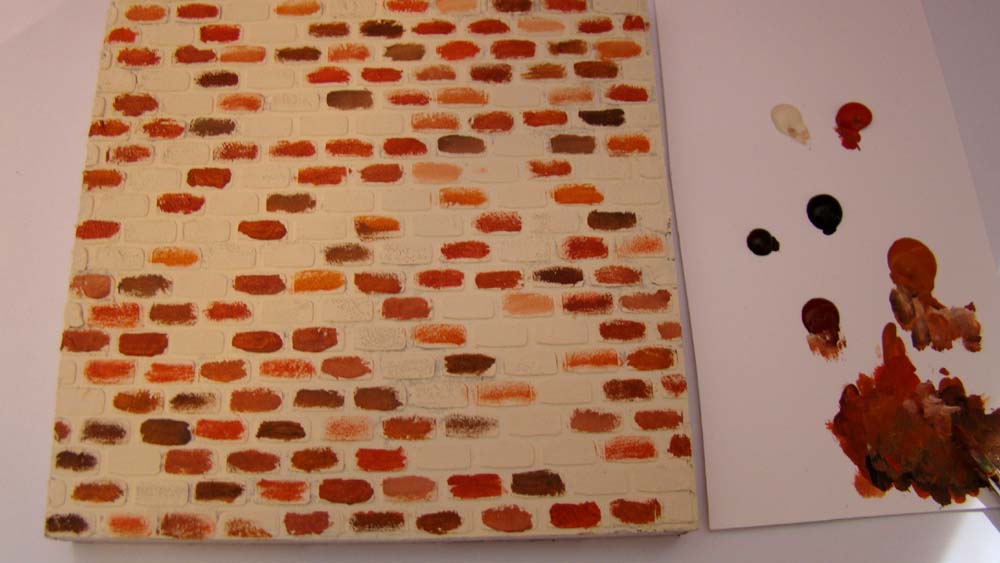
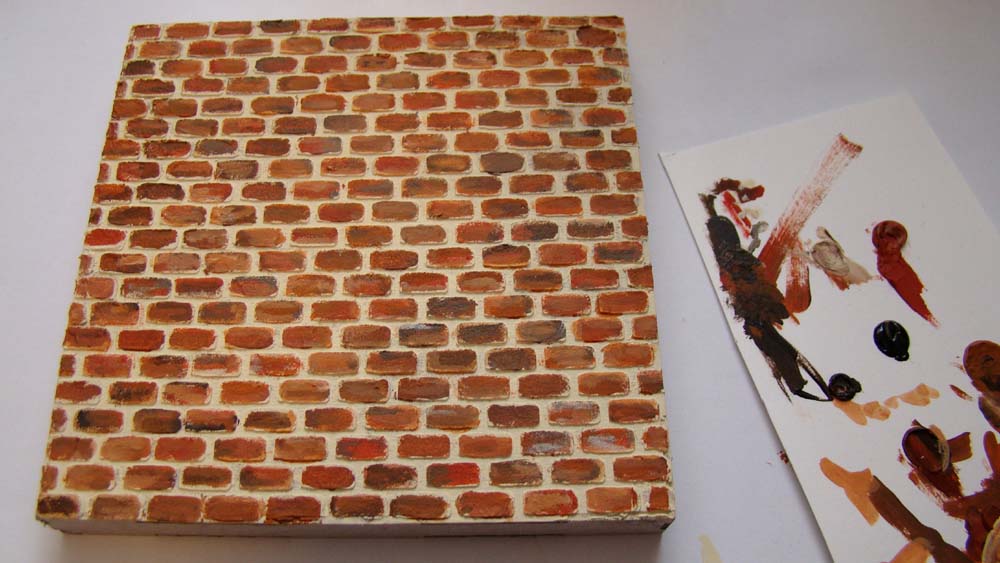
From there, I just randomly layered different shades of brown and orange paints onto the raised bricks.
The entire thing was finished during a crafty skype with a friend.
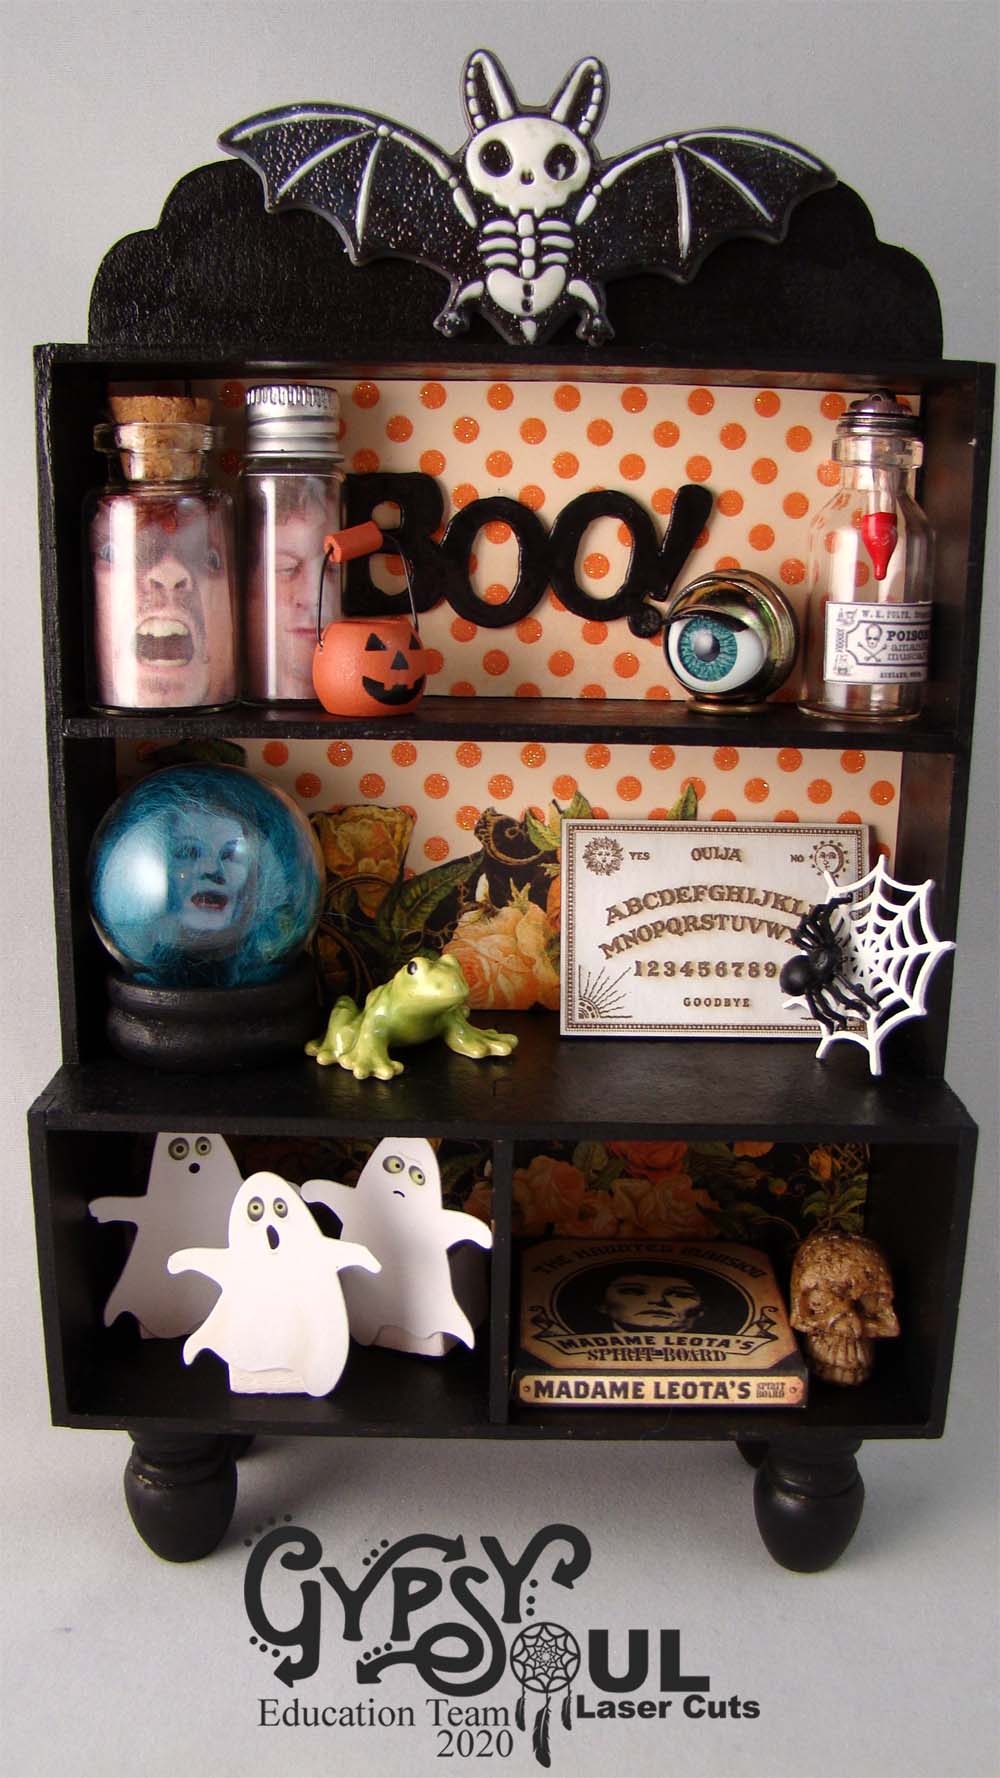
The market is made from a Small Rectangular Niche with Shelves. It comes with a front, back, niche and two little shelves (I only used one for this project). I painted the niche walls black and glued the sides in place. All of the paper I used in this project came from the Alpha Stamps October 2020 Halloween Market Kit.

Here is the assembled niche along with the market front wall.

The niche needed a bat shelf so made one out of one of the Chipboard Bats Set and a small section of bass wood. Sitting on the shelf are some jars I made from Amber Glass Beads, round head pins and some tiny bats that were included in the October kit.

It looks great glued in place.

Also included in the niche are some mini resin jars, Tiny Wrapped Gumballs, Red Apples, jars of microbeads & bats and dishes of polymer clay candy slices.

The jar of green bats was made by sifting through the Dark Polymer Clay Halloween Slice Mix. The jar lid was made from a metal bead and head pin.

The Market Stall Niche Add-On has a floor, facade, counter and two small connector pieces. Here is the floor covered in striped paper and the facade which has an Orange Pumpkin Border.

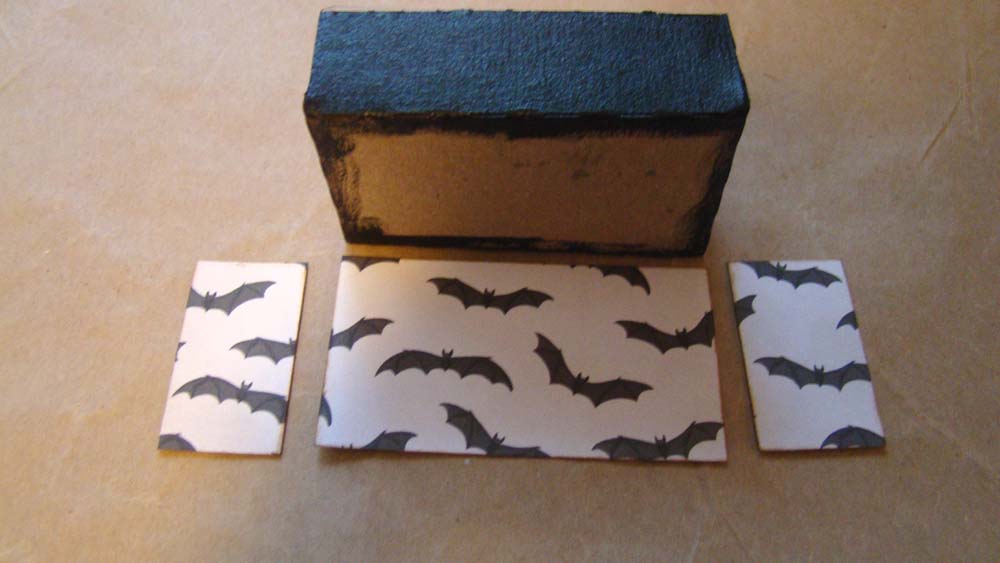
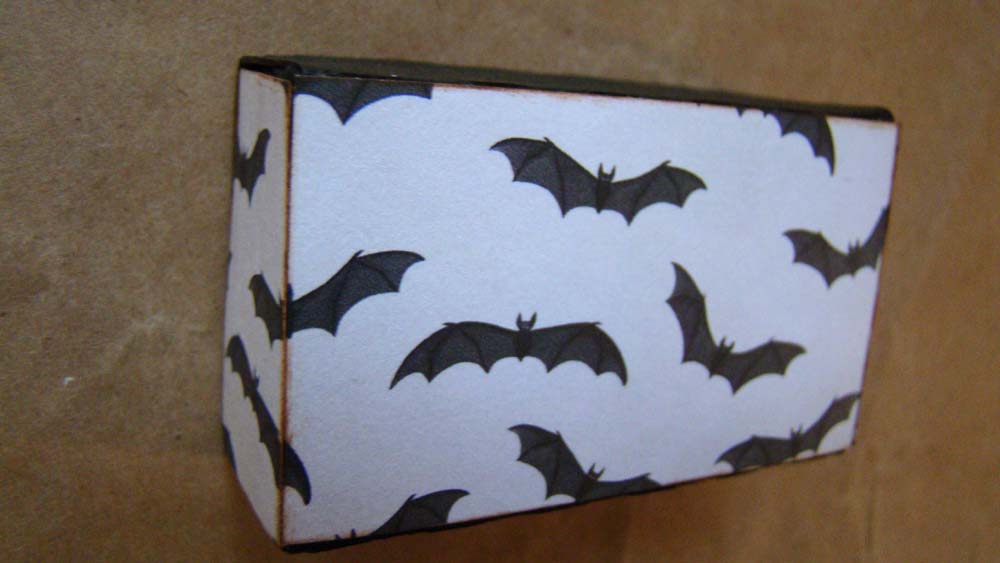
The counter is a chipboard box that gets folded up and glued together. I chose to paint the top black and paper the sides with this great bat paper.
This market of course needs a cauldron. I painted a Metal Cauldron with black nail polish after giving it a good wash with soap and water. It came out nice and shiny!

To fill the pot, I made eyes from the Eyeballs Collage Sheet and some 10mm Round Glass Cabochons. So creepy!

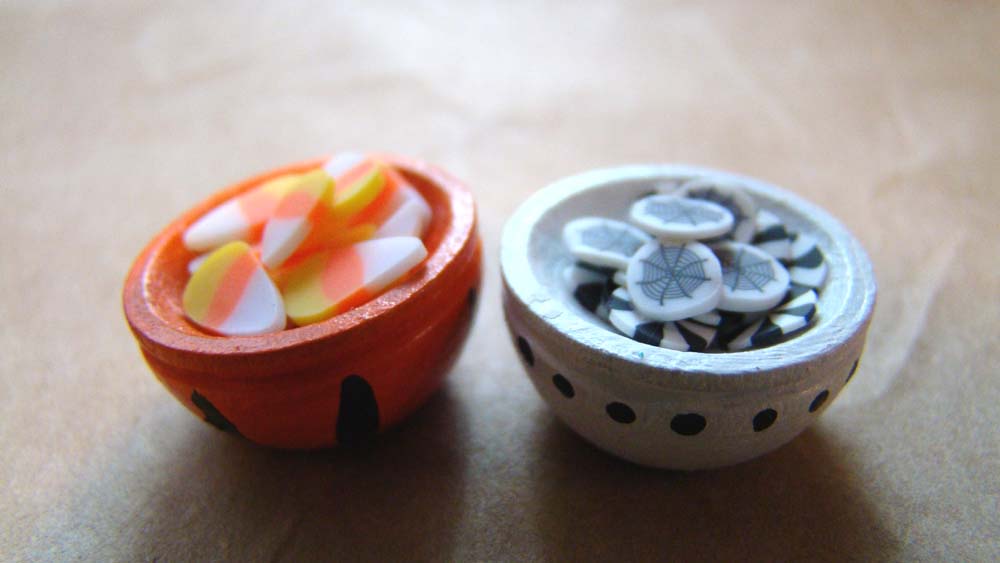
For the counter top I painted a couple of Tiny Wooden Bowls and filled them with more polymer clay slices.
The candied apples are made from green polymer clay that got some brown and red chalk highlights after it was baked off. A toothpick stick was glued in place and they were dipped in a mixture of red acrylic paint and Glossy Accents.

Cotton Candy was made from tiny bits of roving inside a small cellophane bag. They are hung from tiny clothespins that I decorated and glued in place onto one of the stall supports.

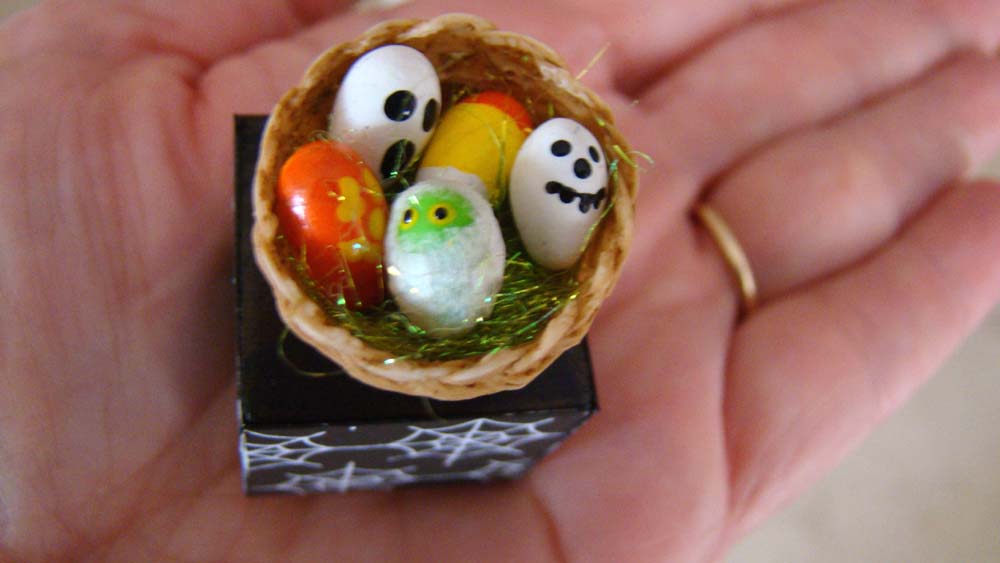
When my girls were little, we used to decorate blown eggs for Halloween. That inspired me to make some in miniature from polymer clay. They are displayed in a small basket on top of Mini Easter Basket Grass. I’ve set it on top of a decorated One Inch Wooden Block.
I used a Mini Sandwich Board Set to make a sign showing some of the treats for sale.


I hope your holiday brings you lots and lots of full sized sweet treats. Happy Halloween!
You can find all of the wonderful Alpha Stamps products I used HERE.