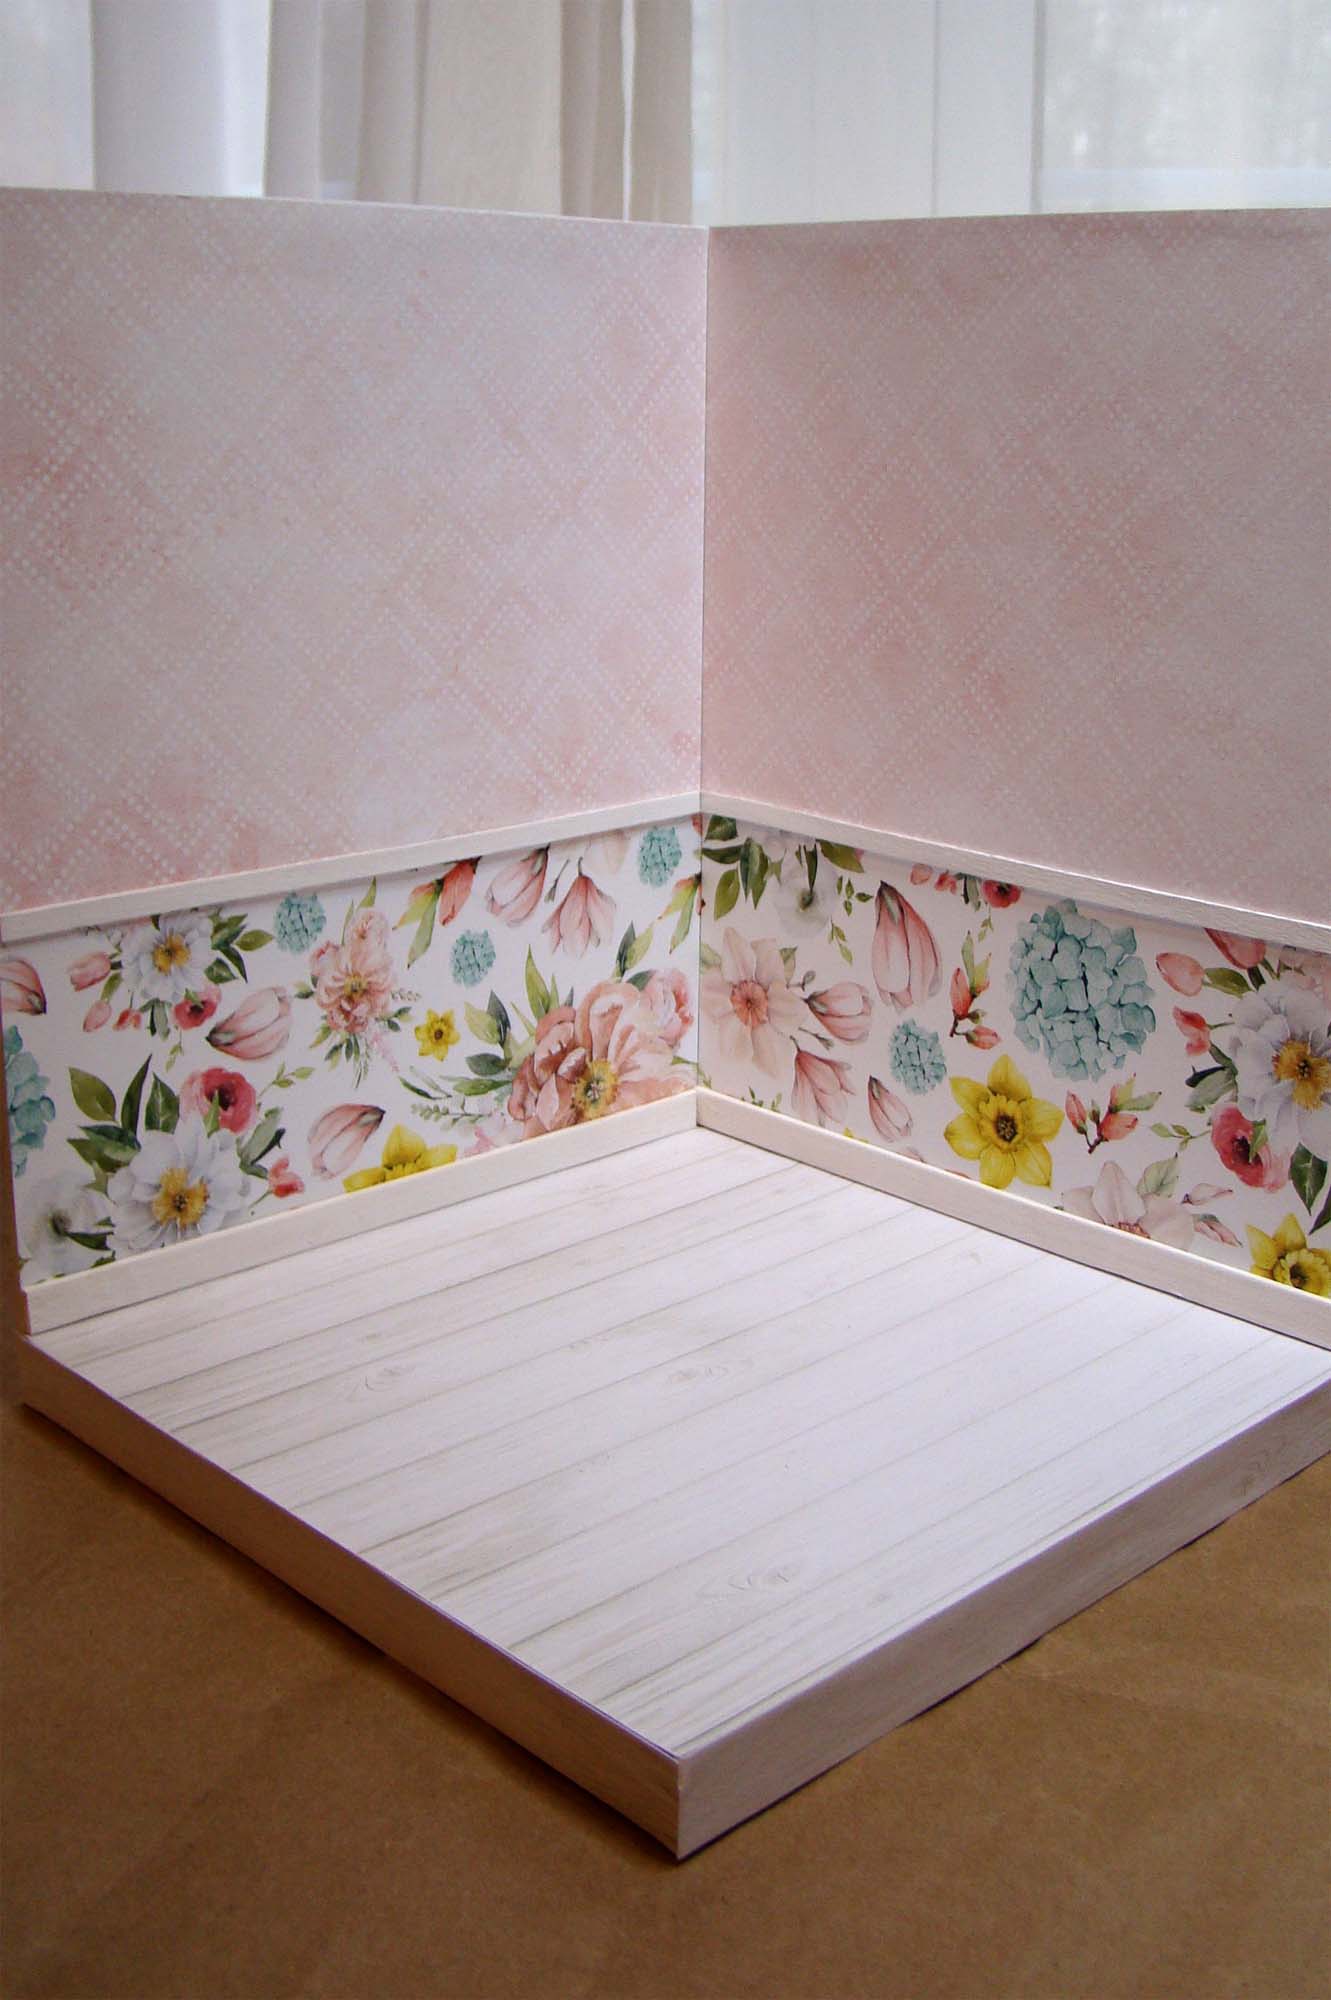
Alpha Stamps is decorating for Easter and I helped! This sweet little egg dyeing and Easter basket filling display uses the new Beauty in Bloom Custom 12×12 Paper Set and their 12×12 Elements Sheet and a lot of pretty little springtime items set inside a 7×7 Corner Room Box.

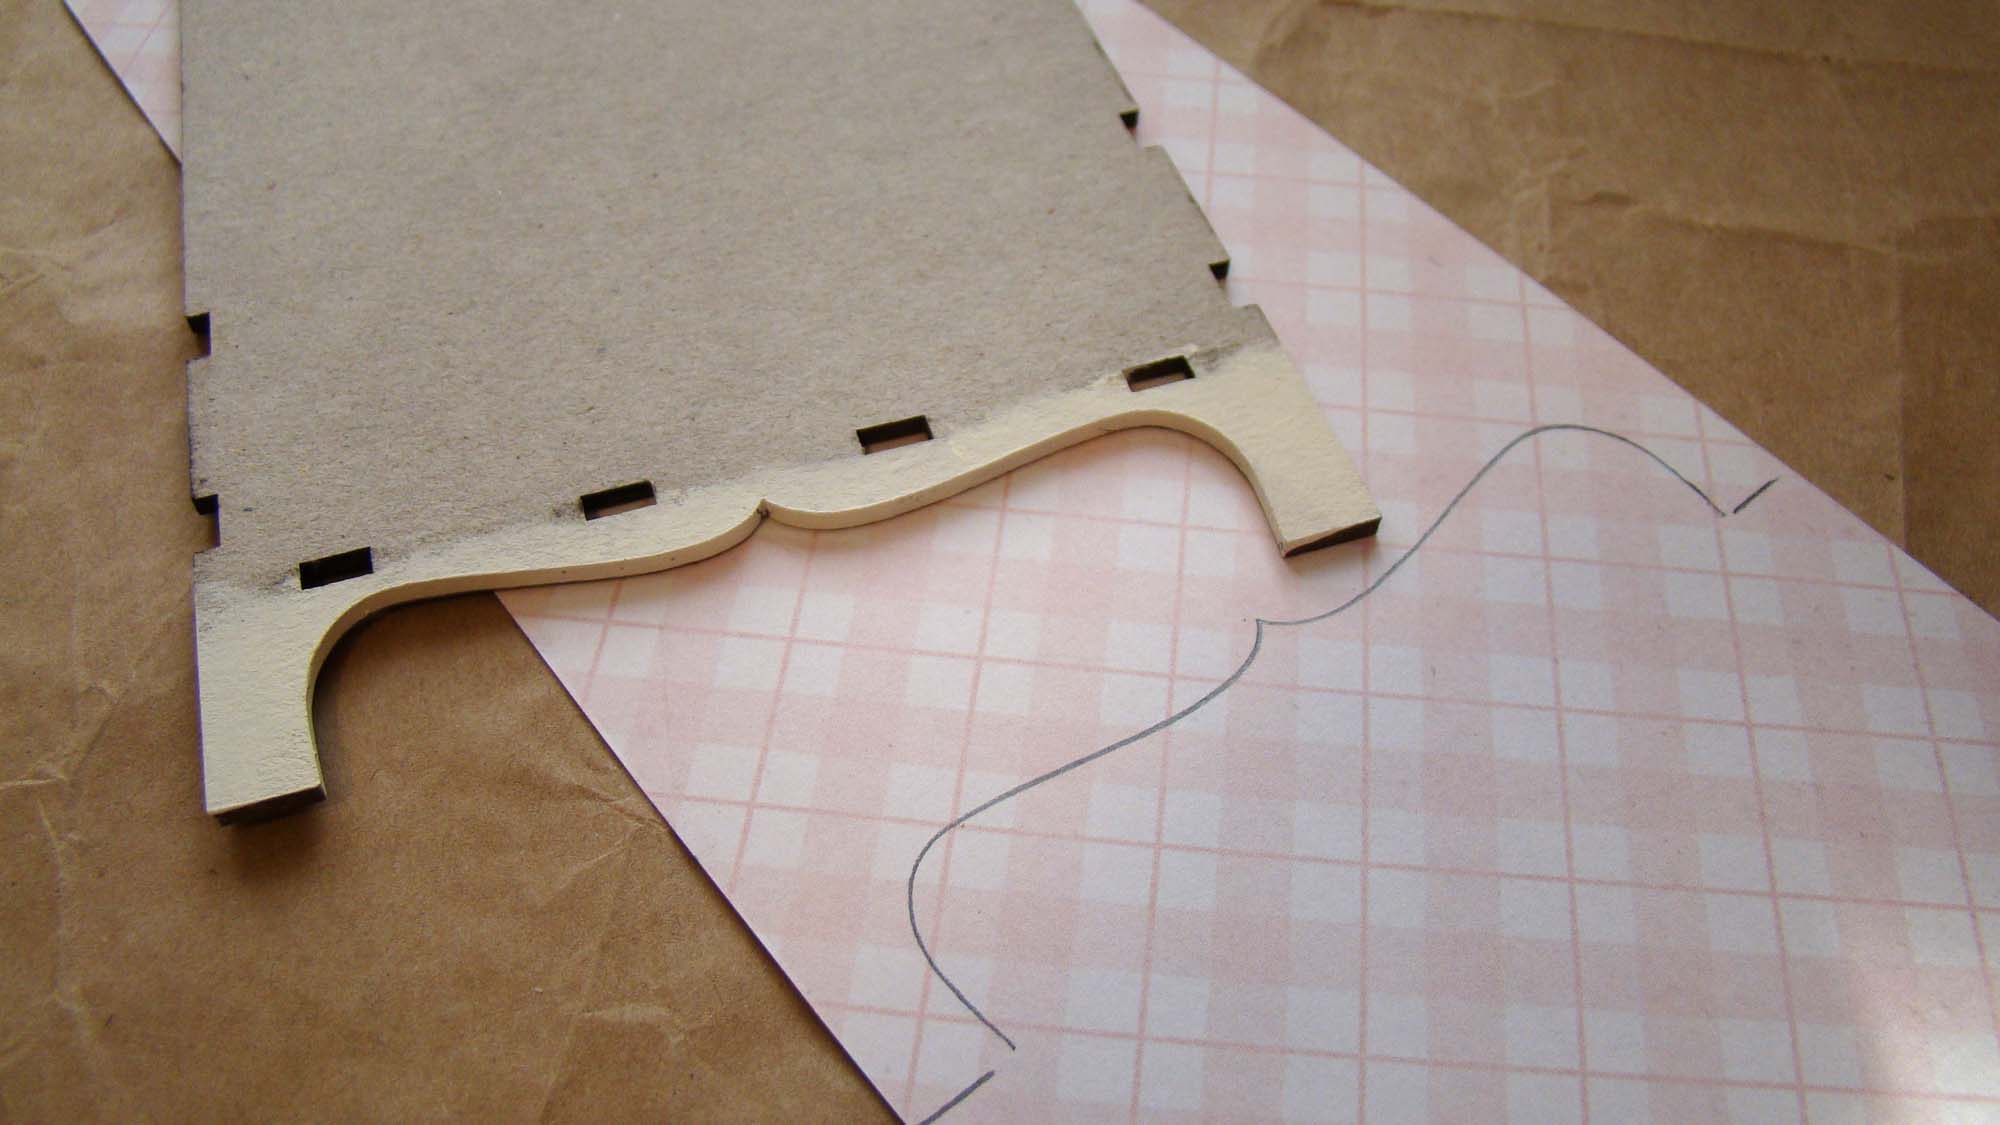
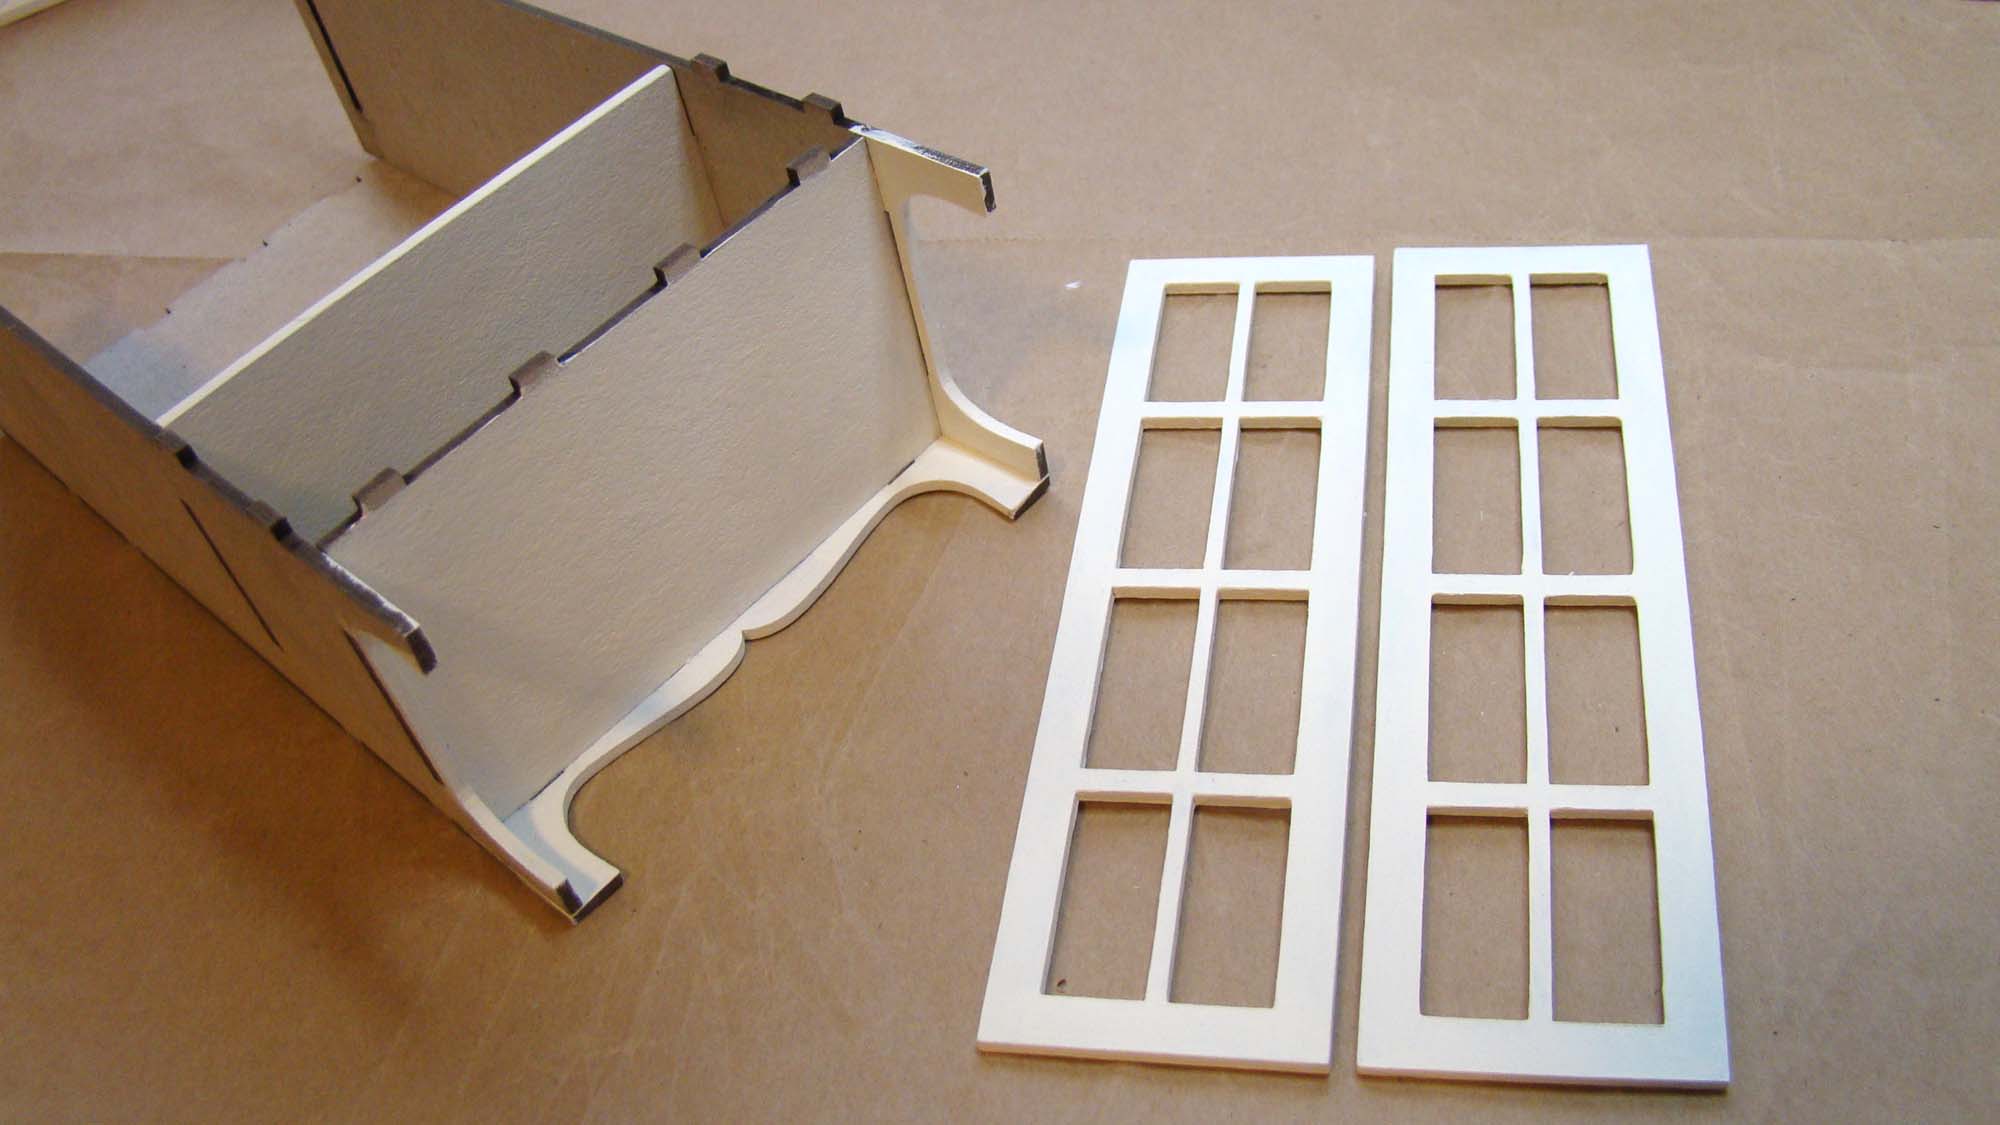
After assembling the room box using tacky glue, I painted the edges and corners with a white acrylic paint. Painting the corners helps camouflage any slight misalignments I might have when the paper gets glued on.

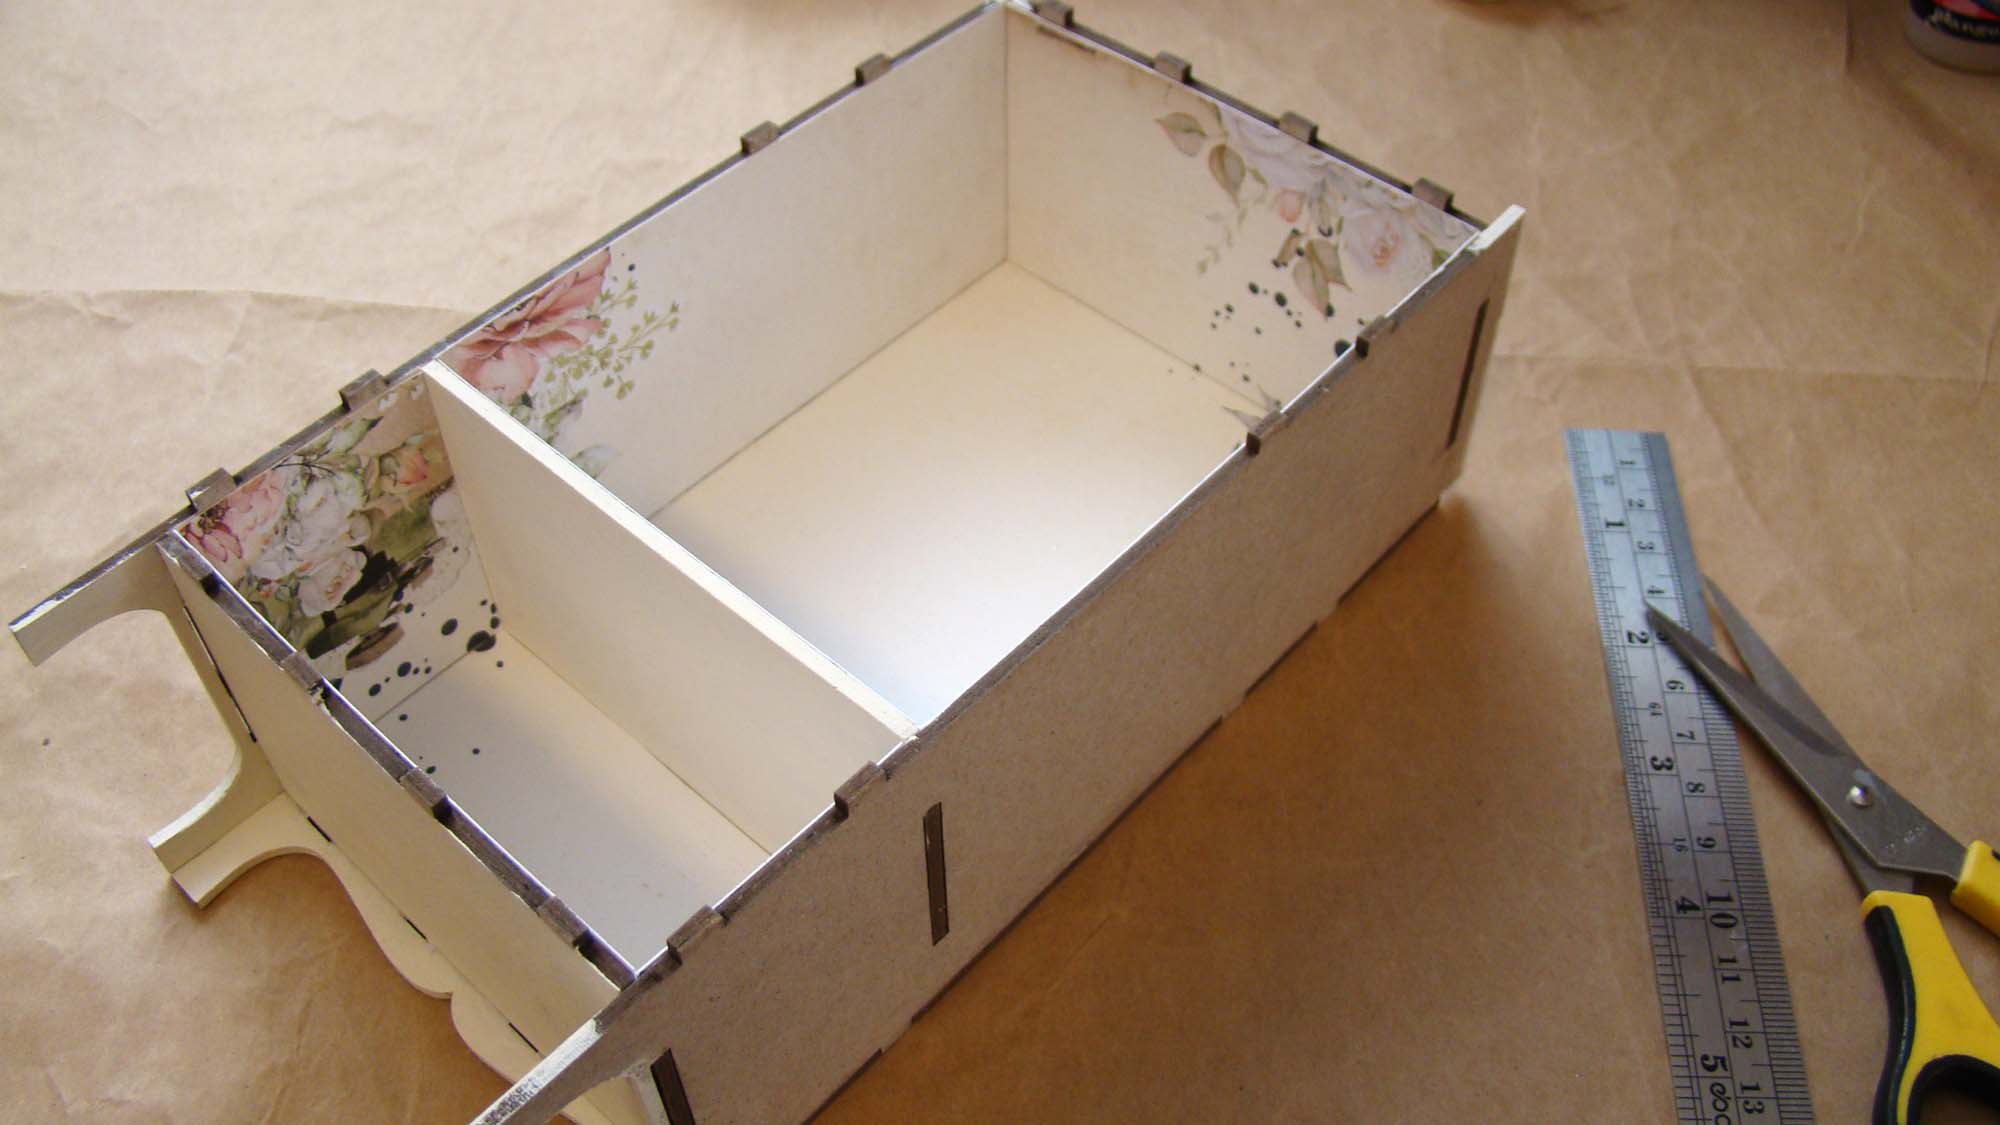
I used a Small Trinket Shelf Stand to display the finished baskets. It comes with a drawer that fits at the bottom. I chose to leave it out in order to give myself more room to display everything. Before assembling it, I used the rear wall as a template for the paper on the top shelf.

These Beauty in Bloom papers just scream springtime. The white wooden floor was a paper from my stash. The baseboards and chair railing are painted craft sticks.
I added two of the 1:12 Shelves on the wall framed a few sweet bunny prints using the Mini Frames Set and images cut from the Peter Rabbit and Bigger Bunnies collage sheets.

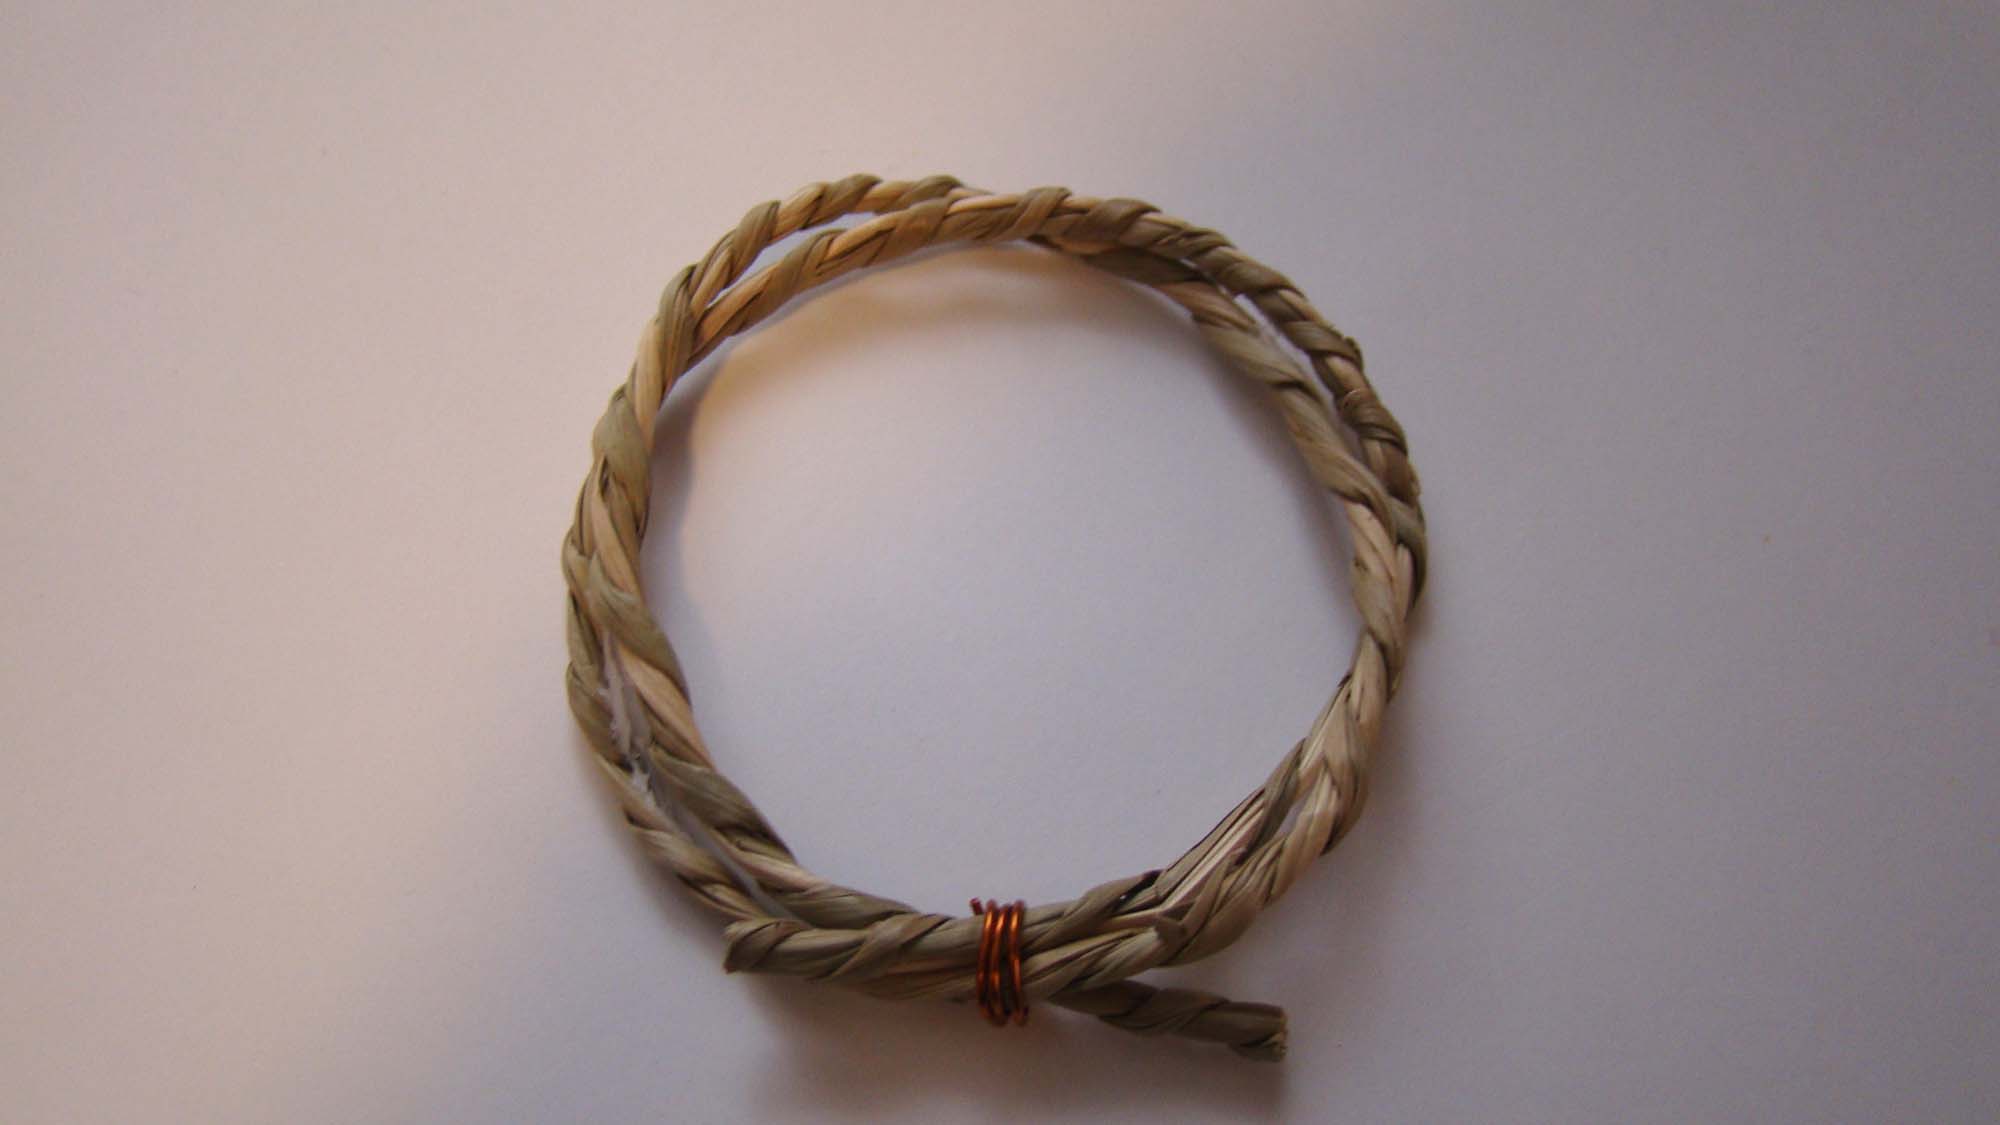
The wreath was made from a length of Woven Sea Grass that I secured with a thin wire.
Tiny Paper Roses and Tiny Mulberry Blossoms were glued on. The final detail was the addition of a Cardinal Brad.

The top shelf holds some charming bunny plates nestled between decorative pink flowers which are just plastic buttons with the shanks cut off. I added a Fancy Candy Jar with Candies and some demitasse cups made from White Plastic Cups & Saucers decorated with floral nail art decals.

Those sweet plates are made from Tiny Easter Bunny Stickers (so many cute ones to choose from!) and a Set of Plain White Plates.


The bottom shelf has chocolate eggs I made from polymer clay and decorated with Bright Flowers and Minty Cool polymer clay slices. There is a Tiny Glass Bottle full of polymer clay jelly beans, a Tiny Bird House and a Tiny Bird Box.

I fell in love with the Bluejay Wooden Button except for, you know, the fact that it’s a button. I filled the holes with a piece of round toothpick painted blue and love how it came out.

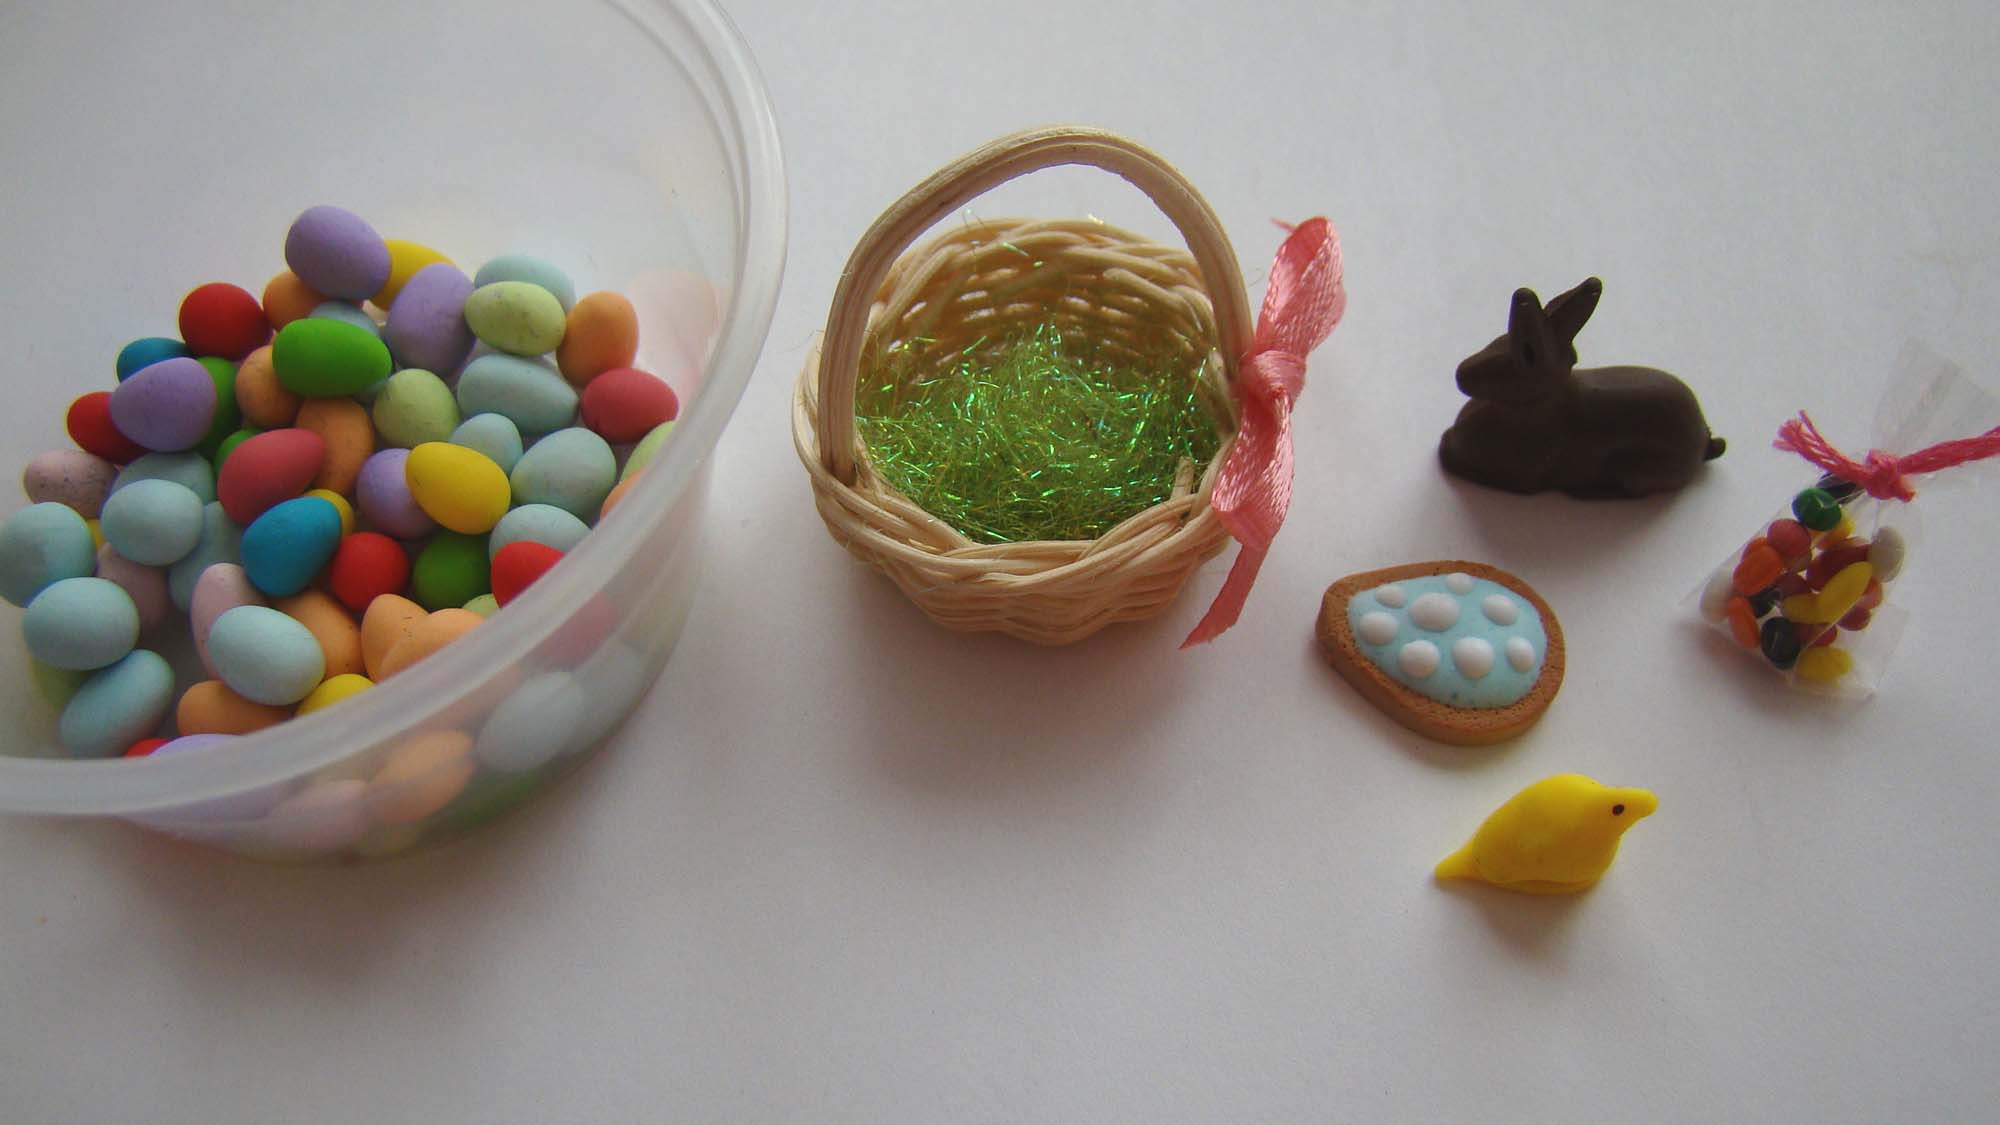
Filling the baskets was the most fun part of this project. Here’s one in process to show you the individual components. This is a Round Basket with Handle that holds a layer of Mini Easter Basket Grass, poly clay eggs, the brand new Mini Chocolate Bunny (how cute is this??), a decorated sugar cookie, a peep and a bag of jelly beans.
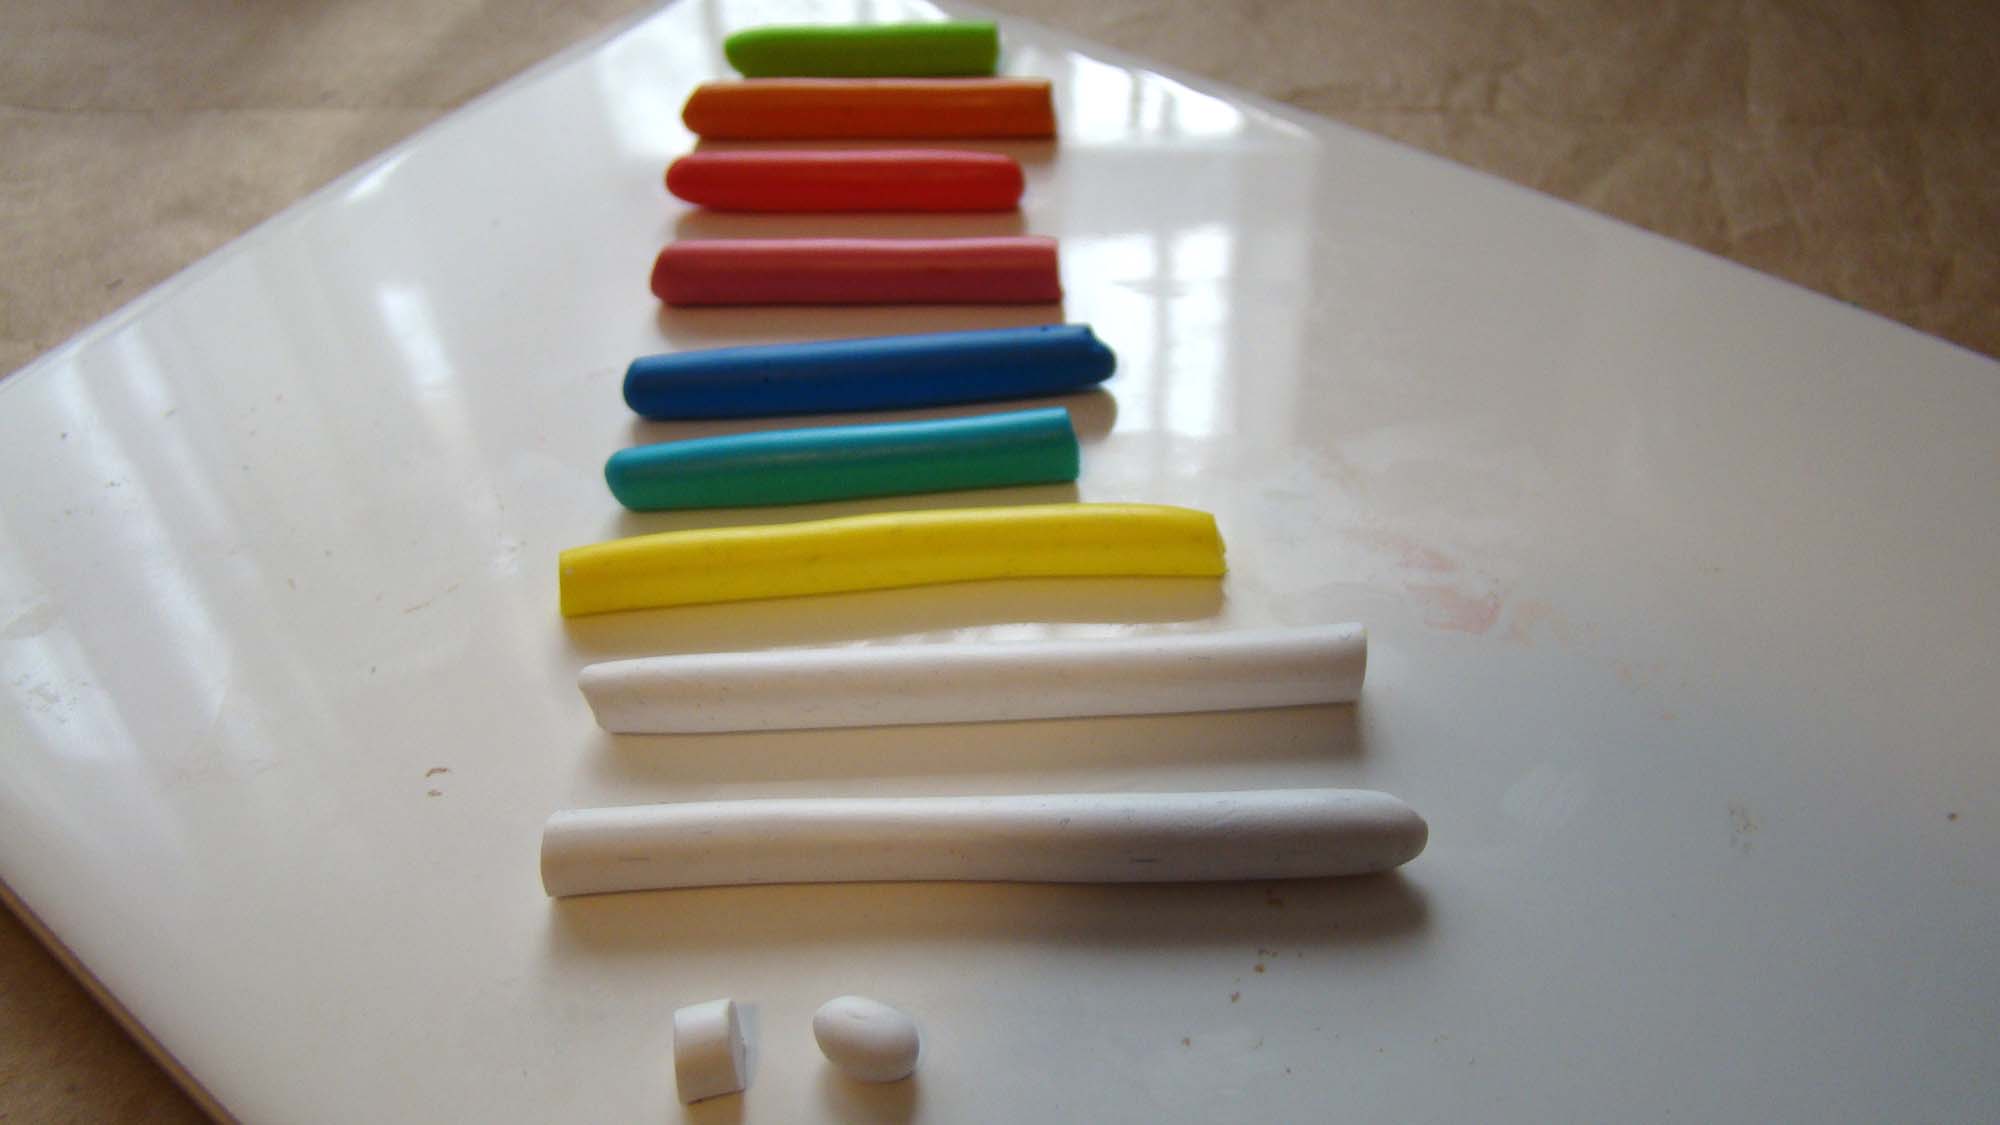
To make the eggs I started with rolling clay colors into ropes then slicing making equal sized slices that eventually got rolled into egg shapes in the palm of my hand. I used this same technique to make the jelly beans but on a much smaller scale!
Once the jelly beans got baked off, they were added to bags I fashioned from cellophane and double sided tape.

The sugar cookies are made from polymer clay. Left to right you can see the steps I took.
- Egg shapes were cut from light brown clay
- A toothbrush was used to texture the cookie surface and brown pastel chalk was added before baking 10 minutes.
- Once baked, I added a coating of liquid polymer clay and baked it again, this time for 5 minutes.
- Dots of liquid polymer clay colored with pastel chalk shavings were added with a toothpick and baked an additional 5 minutes.

The ones that didn’t end up in Easter baskets are displayed on a Tiny Tray with Handles.

To make the marshmallow peeps I took a close look at photos of real peeps and realized I could mimic their shapes with two small slices of yellow polymer clay molded as shown in the photo then squished together. After baking I added two tiny brown paint dots for eyes.

Here are all the filled baskets!

The Small Trinket Shelf Stand is crammed full of Springtime goodies.

I used the same fill-in-the-button-hole technique on this Black and Yellow Finch Wooden Button as I used on the BlueJay. I picked up that sweet little porcelain Hagen Renaker duckling on my very first trip to Disney World about a million years ago.
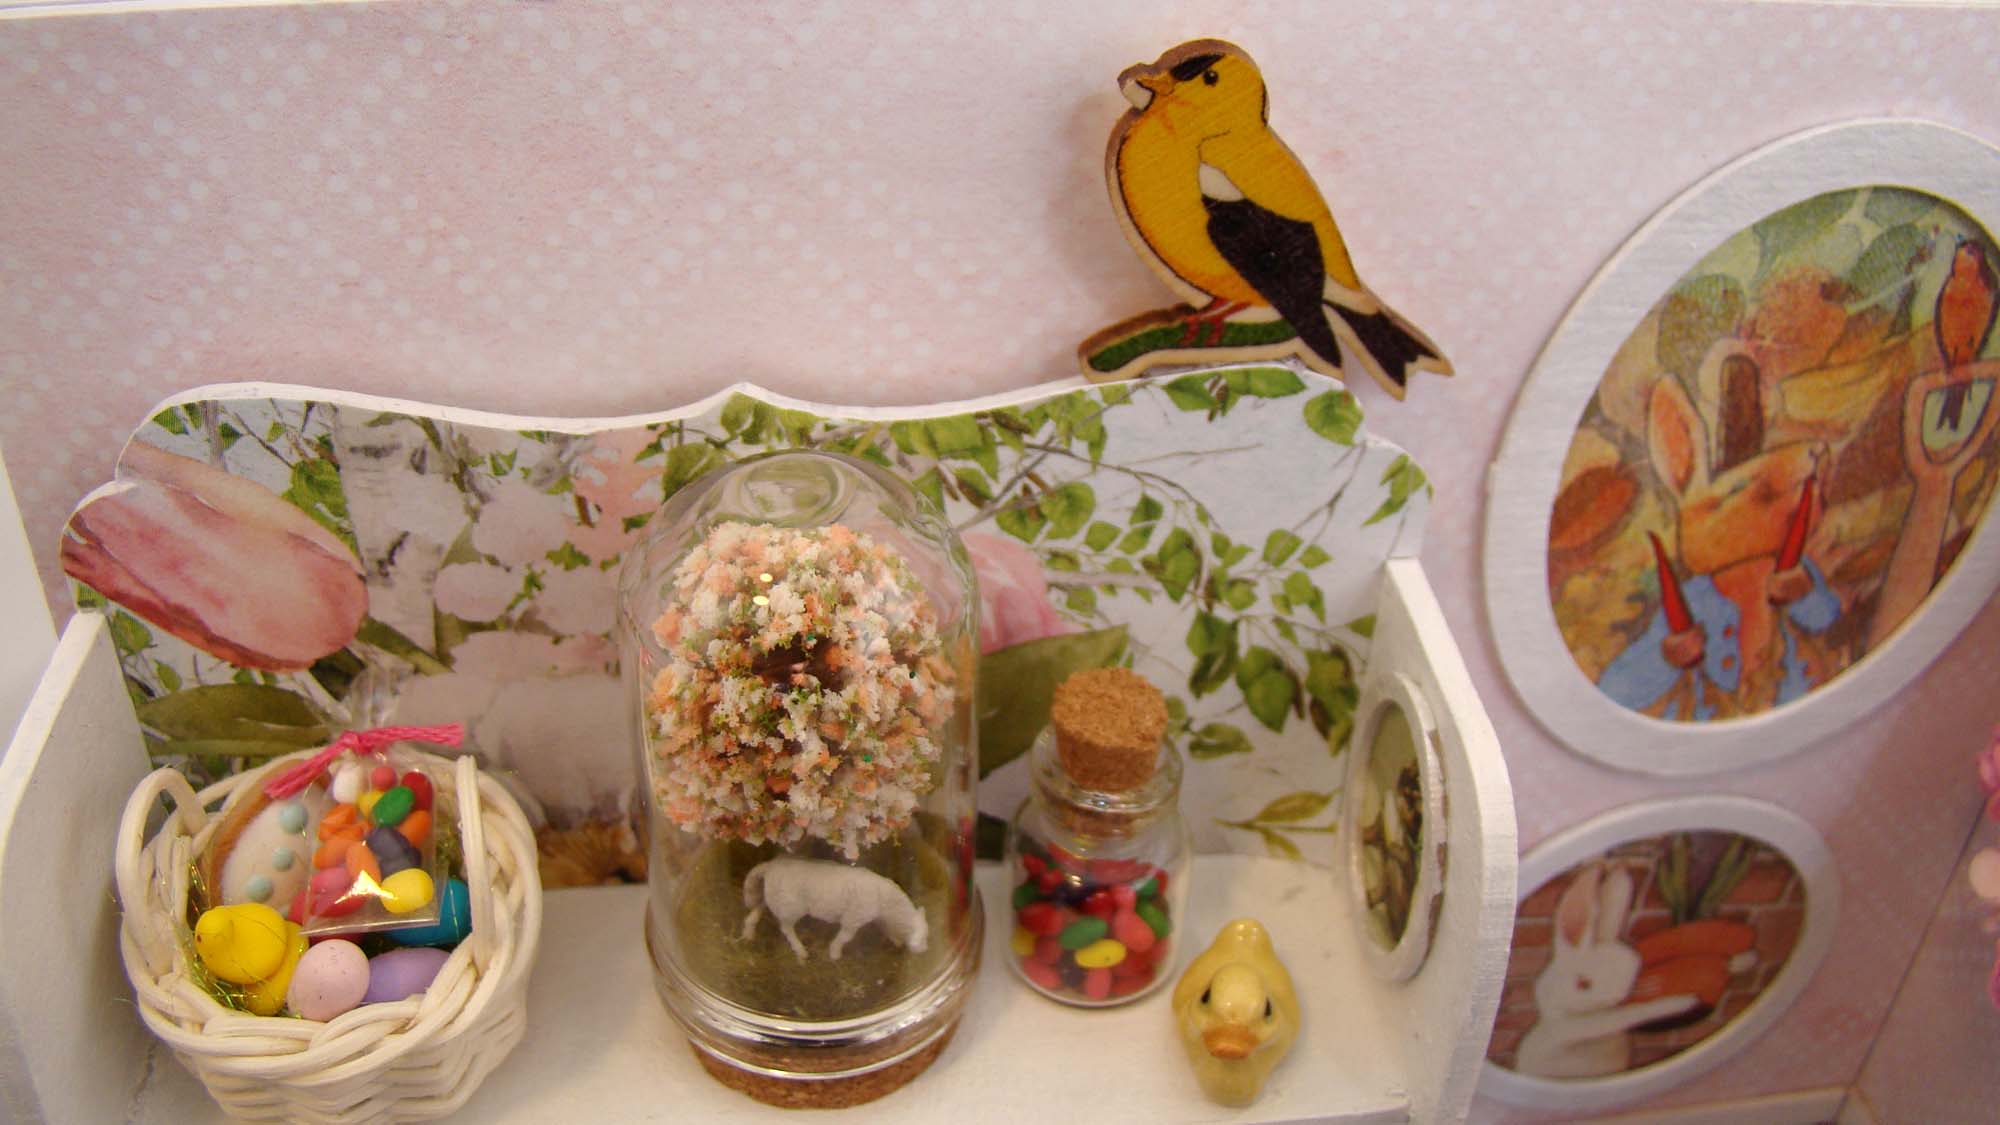
The pastoral bell jar scene is made from an HO scale sheep and tree set inside a Tall Glass Cloche with Cork Base.

The second shelf holds the new Ceramic Tea Set with Blue Pattern and some eggs ready for dyeing inside a Ceramic Grape Basket.

A pair of Silly Pink Bunny Rabbits flank the baskets on this shelf.

Besides that tray of cookies, the bottom shelf holds a bunny figurine which is just a porcelain bead glued onto a metal base and some Tiny Wrapped Gumballs in one of the White Plastic Mini Serving Dishes.

The main action in this little scene takes place on an Unfinished Console Table I painted white. The egg dyeing happens on some Miniature Newspapers. I made the egg holder from a bit of thin black wire. All of the dishes used here are also from the White Plastic Mini Serving Dish Set.


The egg dye is made from Glossy Accents that was colored with resin dye.

Below the table are a few floral displays. There is a Plant with Pink and Fuchsia Flowers tucked into a Square Wooden Planter decorated with Rabbit Brads. The Tiny Yellow Mulberry Blossoms sit inside one of the Miscellaneous Flower Pots painted with white nail polish. Finally is that gorgeous Aqua Ceramic Jug filled with Mini White Rose Buds.

My hope is that actual Easter egg dyeing could be this cute some day in real life! If you’d like to make your own you’ll find the supplies I used HERE.

Thanks for stopping by!