 Today on the Gypsy Soul Laser Cuts Blog you’ll find a craft organizer I made using the rotating hobby organizer. It’s already being used in my craft room. If you want to learn how it’s made, check it out at http://gslcuts.blogspot.co.uk/2018/04/circus-themed-craft-organizer.html
Circus Themed Craft Organizer
07 Apr 2018 Leave a comment
Practice Croissants
24 Mar 2018 Leave a comment
I am entering into the world of making croissants. This is my second batch, my first went straight to the chickens. The recipe I have is in grams, not teaspoons and cups. I used a bakery conversion tool to translate ingredient amounts and they still came out too buttery. We do have an electronic scale but it’s meant for the farmer’s market and only does pounds. Time for a kitchen scale!

Miniature Easter Basket Assembly
17 Mar 2018 Leave a comment
Today on the Gypsy Soul Laser Cuts blog is my Easter Basket Assembly in Miniature. It’s made from a hidden drawer book box. You can check it out at http://gslcuts.blogspot.co.uk/2018/03/easter-basket-assembly-in-miniature.html

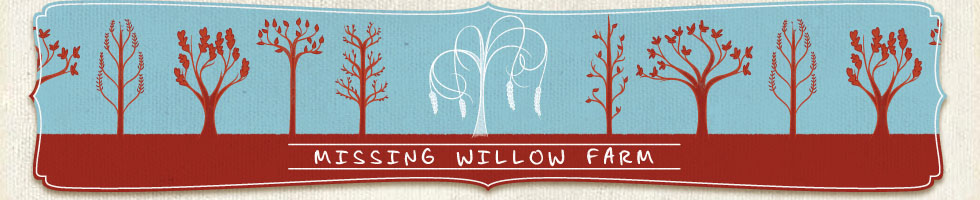
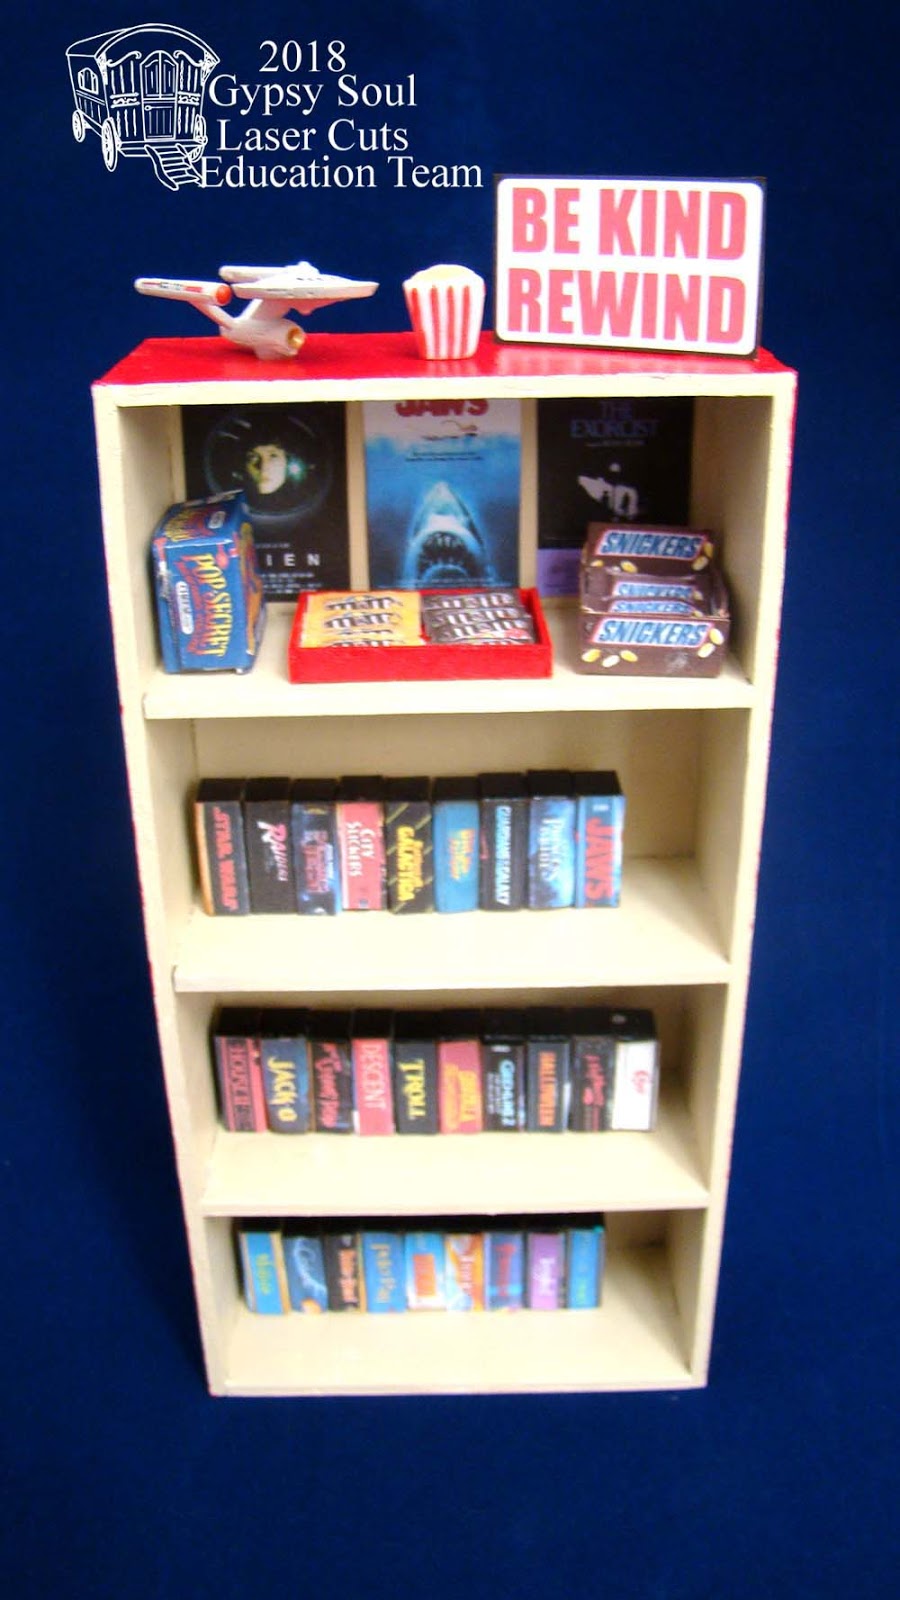
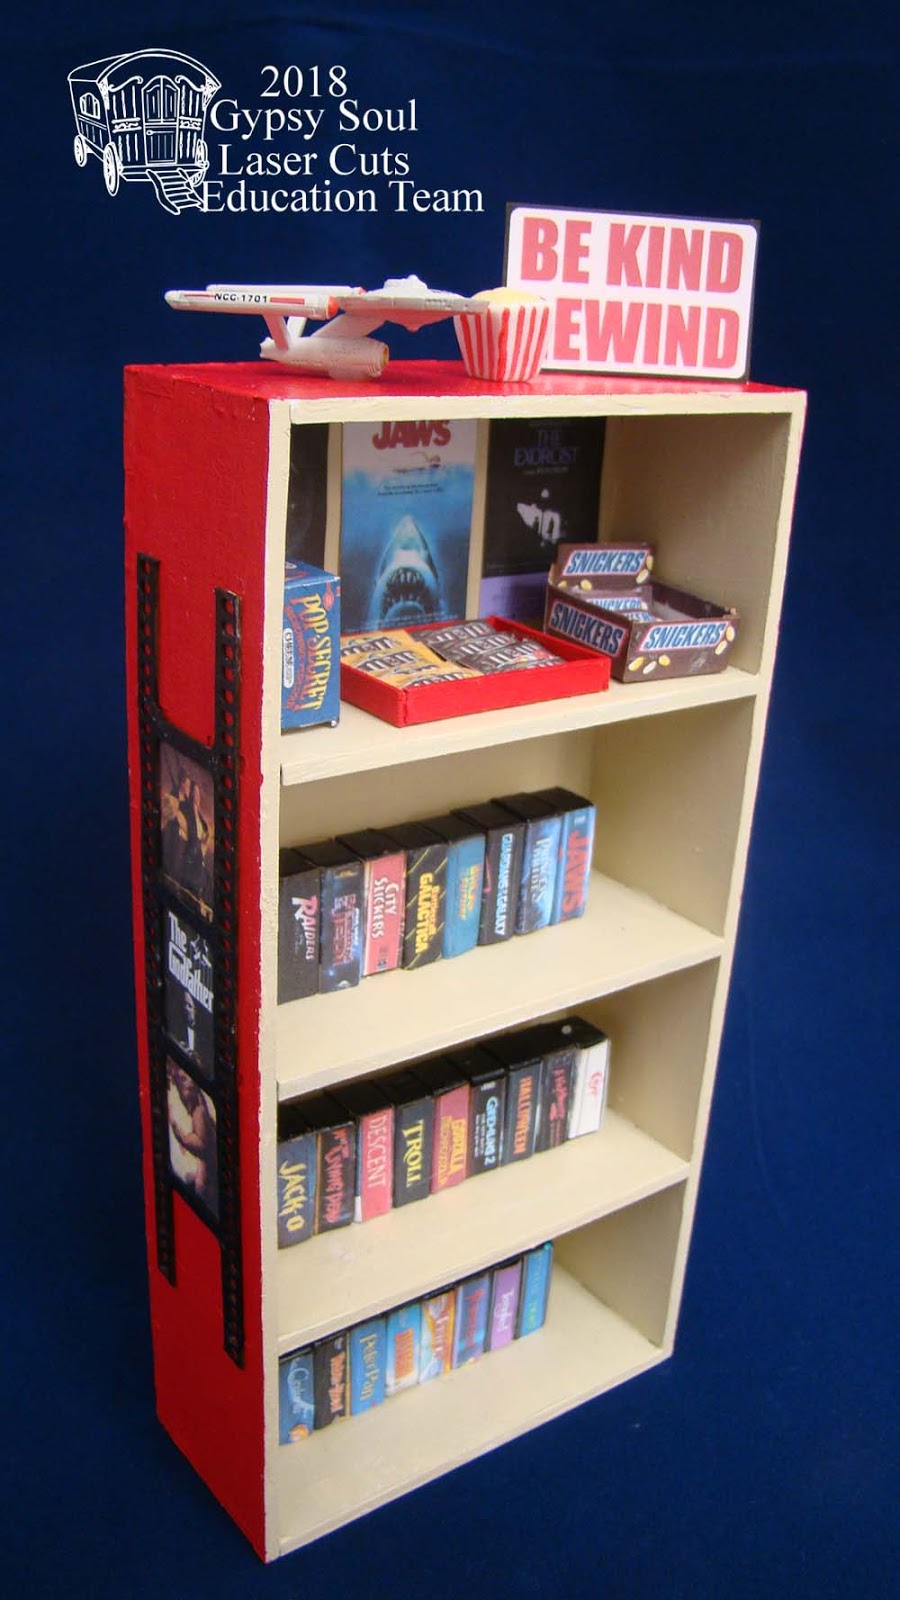
VHS Cassette Rental In Miniature
04 Mar 2018 1 Comment
I was recently informed that VHS rental is coming back to fashion. My first reaction was – I need to celebrate this in miniature! If you’d like to learn how it was made, step on over to: http://gslcuts.blogspot.co.uk/2018/03/vhs-cassette-tape-rental-in-miniature.html
Gypsy Soul Laser Items Used
Other Items Used
Gesso
Acrylic paint
Tacky glue
Printed images
Scoring mat
Dollhouse bricks or wood scraps cut to size
Wooden tongue depressor
Wooden coffee stir sticks
Bits and bobs
Not 100% Nocturnal
24 Feb 2018 1 Comment

Saw this guy and 4 of his friends out back this afternoon. We had to move our chicken feed cans inside the barn because something keeps trying to break into them. Perhaps this shady little gang?
Miniature Valentine’s Day Hutch
18 Feb 2018 Leave a comment
For my latest project, I was inspired to decorate the GSL 3 Panel Hutch with some sweet pink and white goodies for Valentine’s Day.

As always, I started this project by laying out all the pieces. This really helps me with assembly.

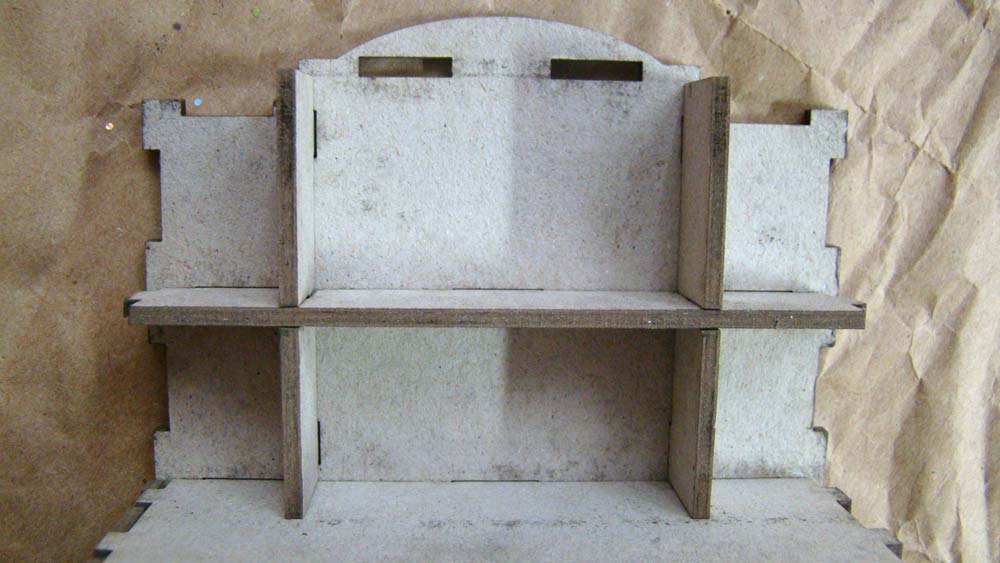
The shelves of the hutch are put together from these three notched pieces.

Here is what the shelves will look like when glued into place.
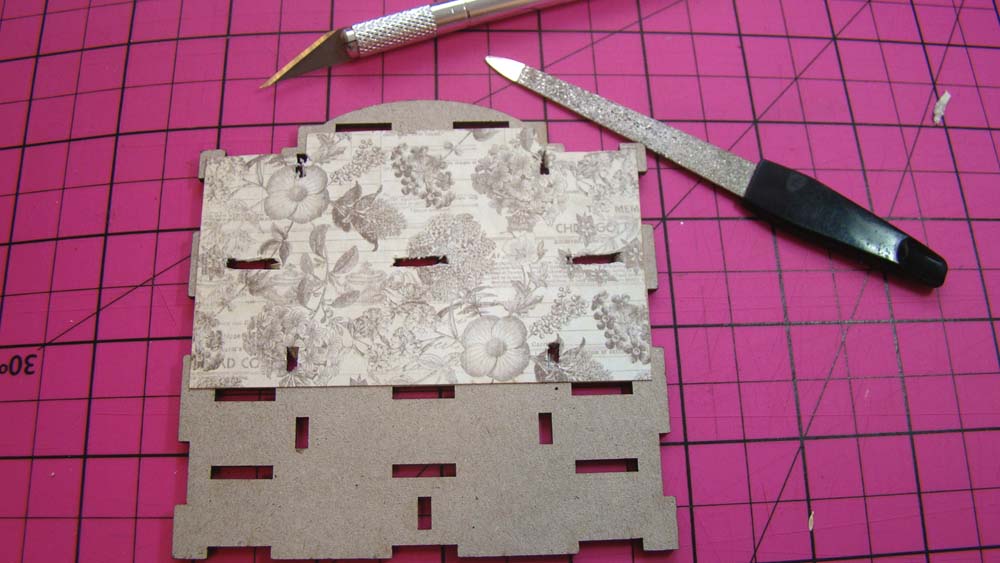
Before gluing, I cut a piece of paper from the Graphic 45 Botanical Tea collection for the interior back wall of the piece. I like this paper for the hutch because it’s nice and neutral, and who doesn’t enjoy a subtle botanical print? I adhered it onto the interior wall of the hutch then used an X-Acto knife and nail file to expose the assembly notches.
The hutch pieces were painted with black acrylic paint then glued into place using tacky glue.

The hutch needs something to sit on and I had this perfect little table from the dollar store. This was also painted black with the exception of contrasting cream colored knobs. The two pieces were then glued together for a finished piece.

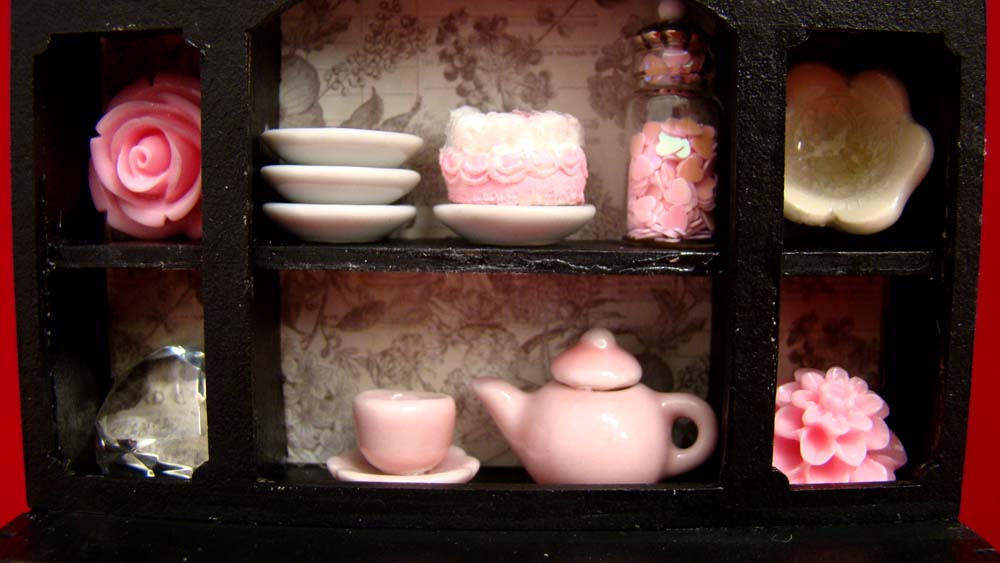
Since I made this a basic black and cream, it can be decorated for any season. Since it’s February, I chose a few pink and white accessories. I used some miniature porcelain dishes, pink resin flowers, a large diamond crystal, Swarovski beads, a tiny molded clay cake and a small glass bottle containing nail art hearts. I plan to change it out for Easter, Halloween and Christmas.

The hutch also comes with easily assembled drawers but I decided I like the look of open shelves to show off a few miniature platters.
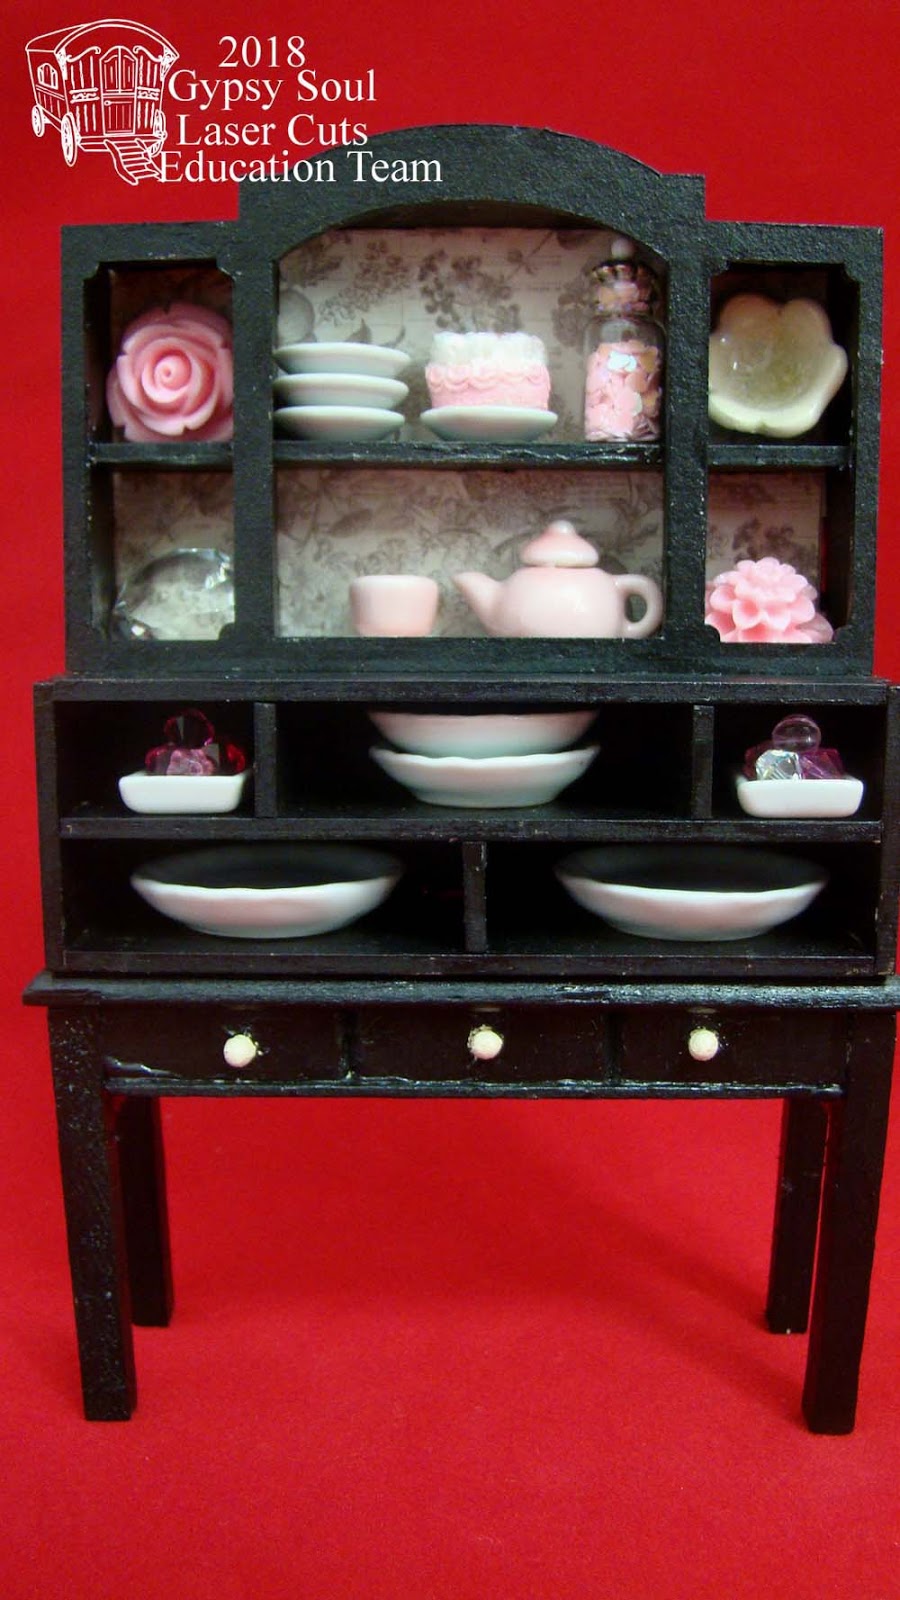
The finished piece is one I’d love to have regular sized in real life. Thanks for stopping by!
Gypsy Soul Laser Item Used
Other Items Used
Graphic 45 Botanical Tea paper – Fauna
Tacky glue
Acrylic paint
Miniature porcelain dishes
Resin flowers
Molded clay cake
Crystals and beads
Small glass bottle
Nail art hearts
Not Messing Around
14 Feb 2018 7 Comments
I got tired of having to drive 45 minutes to eat in a Thai restaurant that is maybe a 2 on a scale to 10 so I ordered Andy Ricker’s Pok Pok cookbook, drove an hour to an international grocery, loaded up and started on a 3 day Thai cooking fest. This is destined to be bouncy pork balls that will go in a pork neck bone soup with jasmine rice, pickled ginger and fried garlic and I’m just getting started…..

The Babysitter
05 Feb 2018 1 Comment
 This doe has apparently settled into our pasture for good. I’m not sure she realizes she can jump the fence, or maybe she’s figured out there is food and water available there at all times and decided to just make it her home. We’ve not seen her inside the barn – yet, she found a low spot she likes to sleep in. It appears that our sheep trust her with the safekeeping of their lambs. Isn’t this adorable?
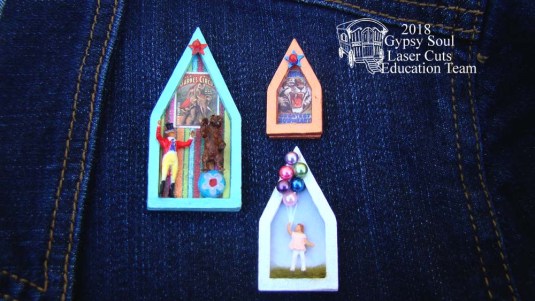
A Day At The Circus House Pins
03 Feb 2018 2 Comments
Happy Saturday everyone! I’ve been playing with the super versatile GSL House Jewelry Pieces. I considered using them as a focal point in a larger assemblage but kept coming back to the idea of turning them into actual jewelry and decided on a trio of quirky circus themed pins using tiny train figurines. If you’d like to see how they are made, hop on over to Gypsy Soul Laser Cuts Blog.

A Tiny Glitter Village
19 Jan 2018 3 Comments
in Crafts

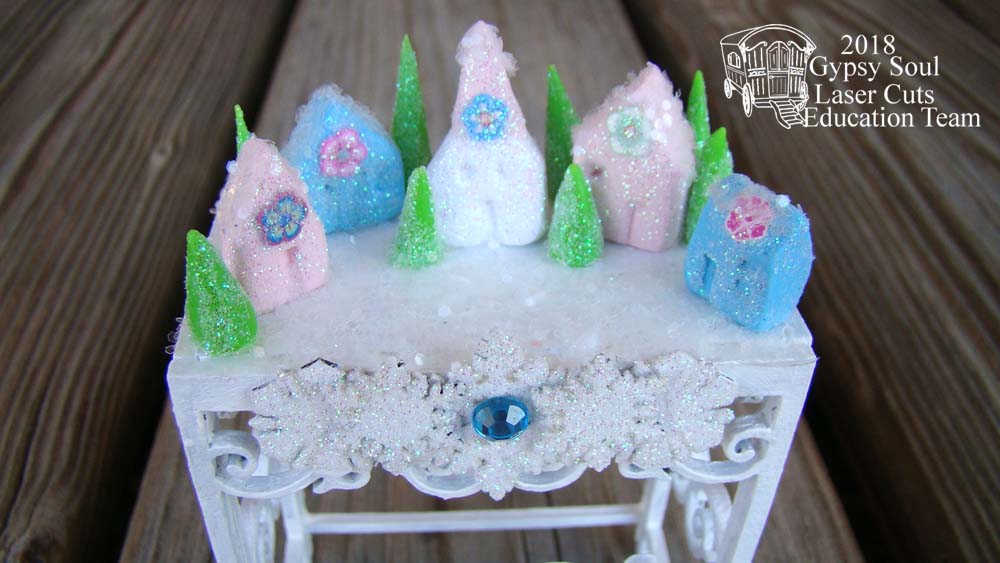
Here’s a happy little project I did for Gypsy Soul Laser Cuts. We enjoy having a few winter decorations up for a month or two after the holidays. I adore a glitter village but have no place to set one up so I decided to make one in miniature using the GSL Tiny Plant Table
This one is so simple to put together, just 5 pieces!
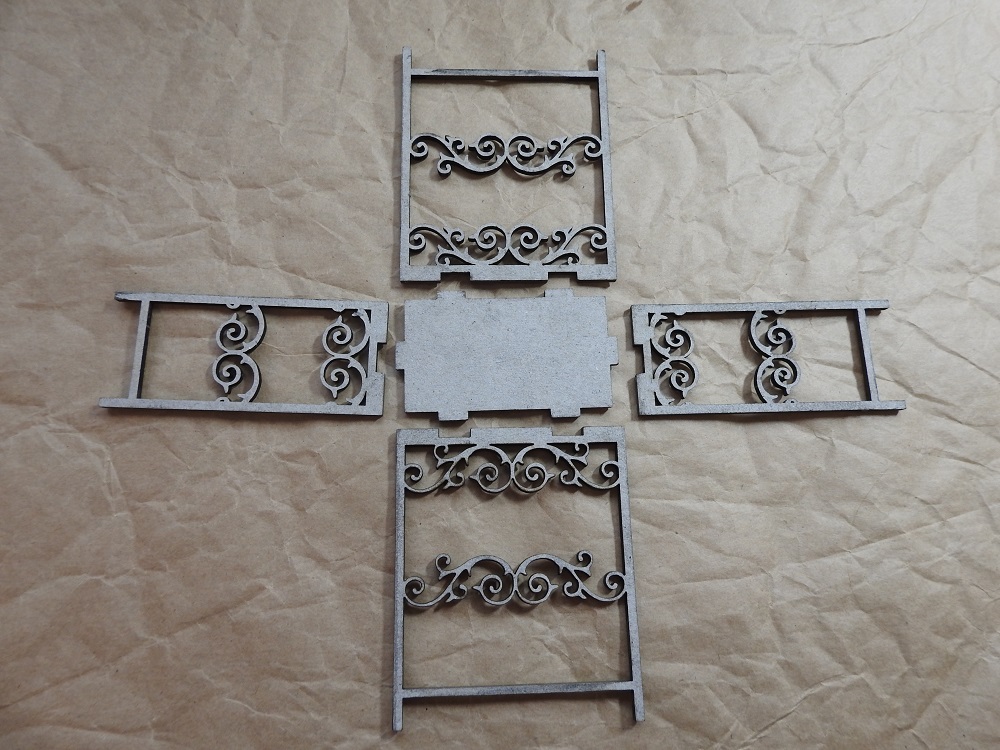
I decided the stand should be white to enhance the snowy scene so gave each piece a few coats of white acrylic paint on both sides then assembled the piece using tacky glue.

Using an X-Acto knife I cut tiny house shapes from polymer clay and used a square match to indent windows and doors before baking them off.
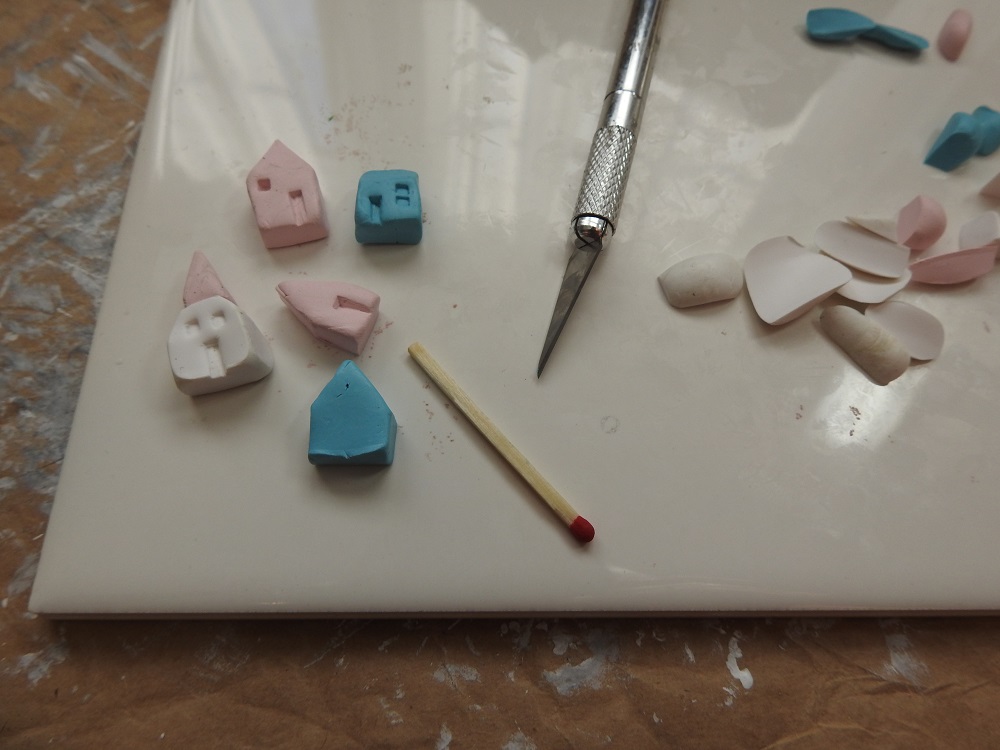
I also rolled out some cone tree shapes and dug out my stash of nail art supplies, aka polymer cane flower slices, to give the houses a bit of decoration. You can find these in nail supply stores and on Amazon.

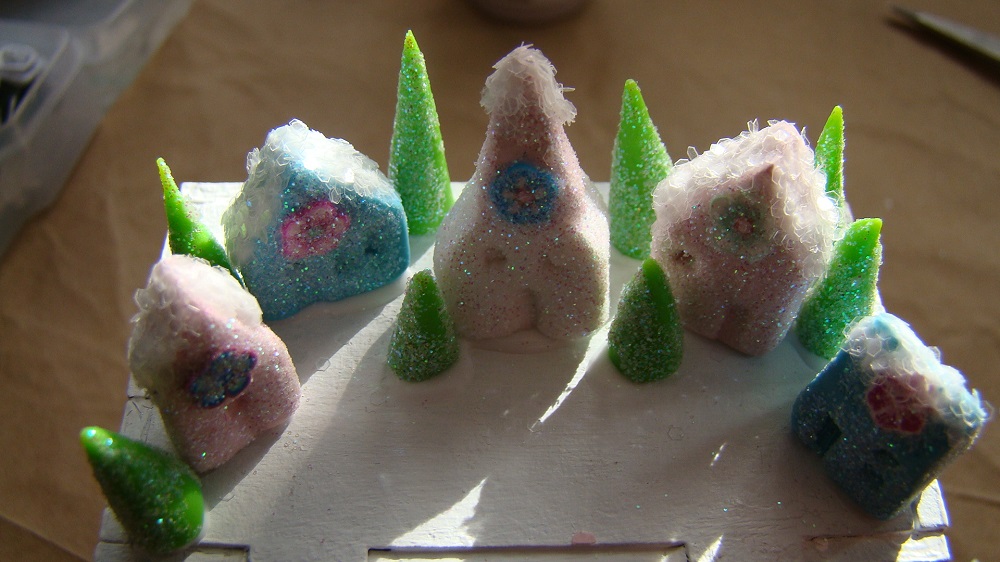
After baking, I applied a thin coat of tacky glue on each piece then tossed them into a container of superfine glitter to get them nice and sparkly. When the glue was dry, I added a bit of chunkier crystal glitter onto the rooftops for some sparkly snow.

They were then glued onto the top of my assembled table to form a tiny village.
I wanted to make sure not to get glitter on the sides of the table so I used painter’s tape as a barrier before coating the village floor with a thick coating of tacky glue. Then came the fun part…. dumping a LOT of crystal glitter to make a thick blanket of snow!

To finish the look, I used some of the GSL Snowflake Shape Set Minis as a decoration. I got white acrylic paint into the little crevasses using a soft bristled brush.

When the paint was dry, I applied a thin coat of white glue and tossed them into the same superfine glitter to give them some sparkle.
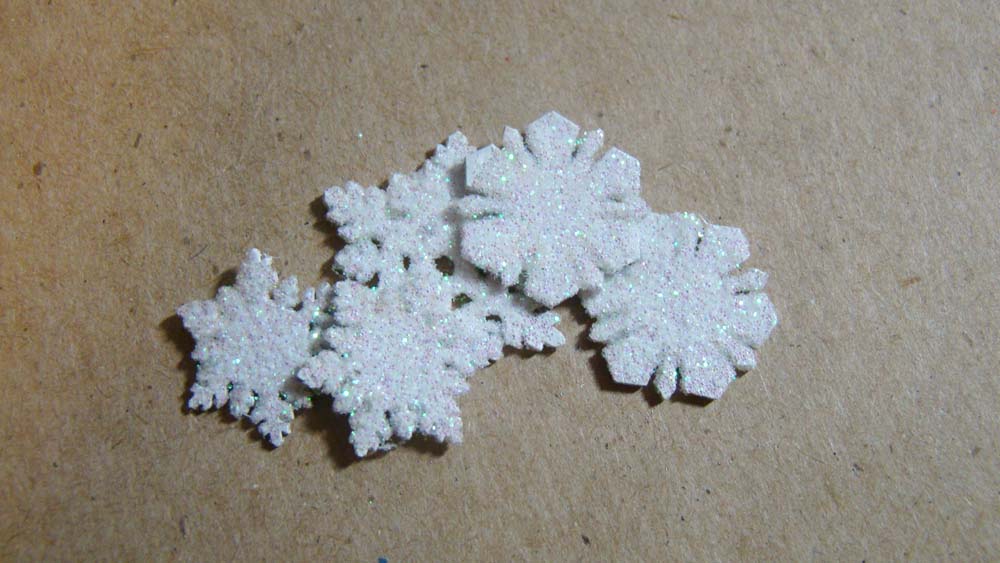
I glued them onto the front of the winter scene and finished it off with a bit of blue bling.
Once it’s fully dry, tap off the excess glitter and enjoy your winter wonderland!
Gypsy Soul Laser Items Used
Other Items Used
White acrylic paint
Tacky glue
Polymer clay
Polymer clay cane slices
Superfine glitter
Crystal glitter
Rhinestone
Painter’s tape


