Christmas is still months away but no need to wait until December for holiday crafting! Get a head start with some brand new products from Alpha Stamps.

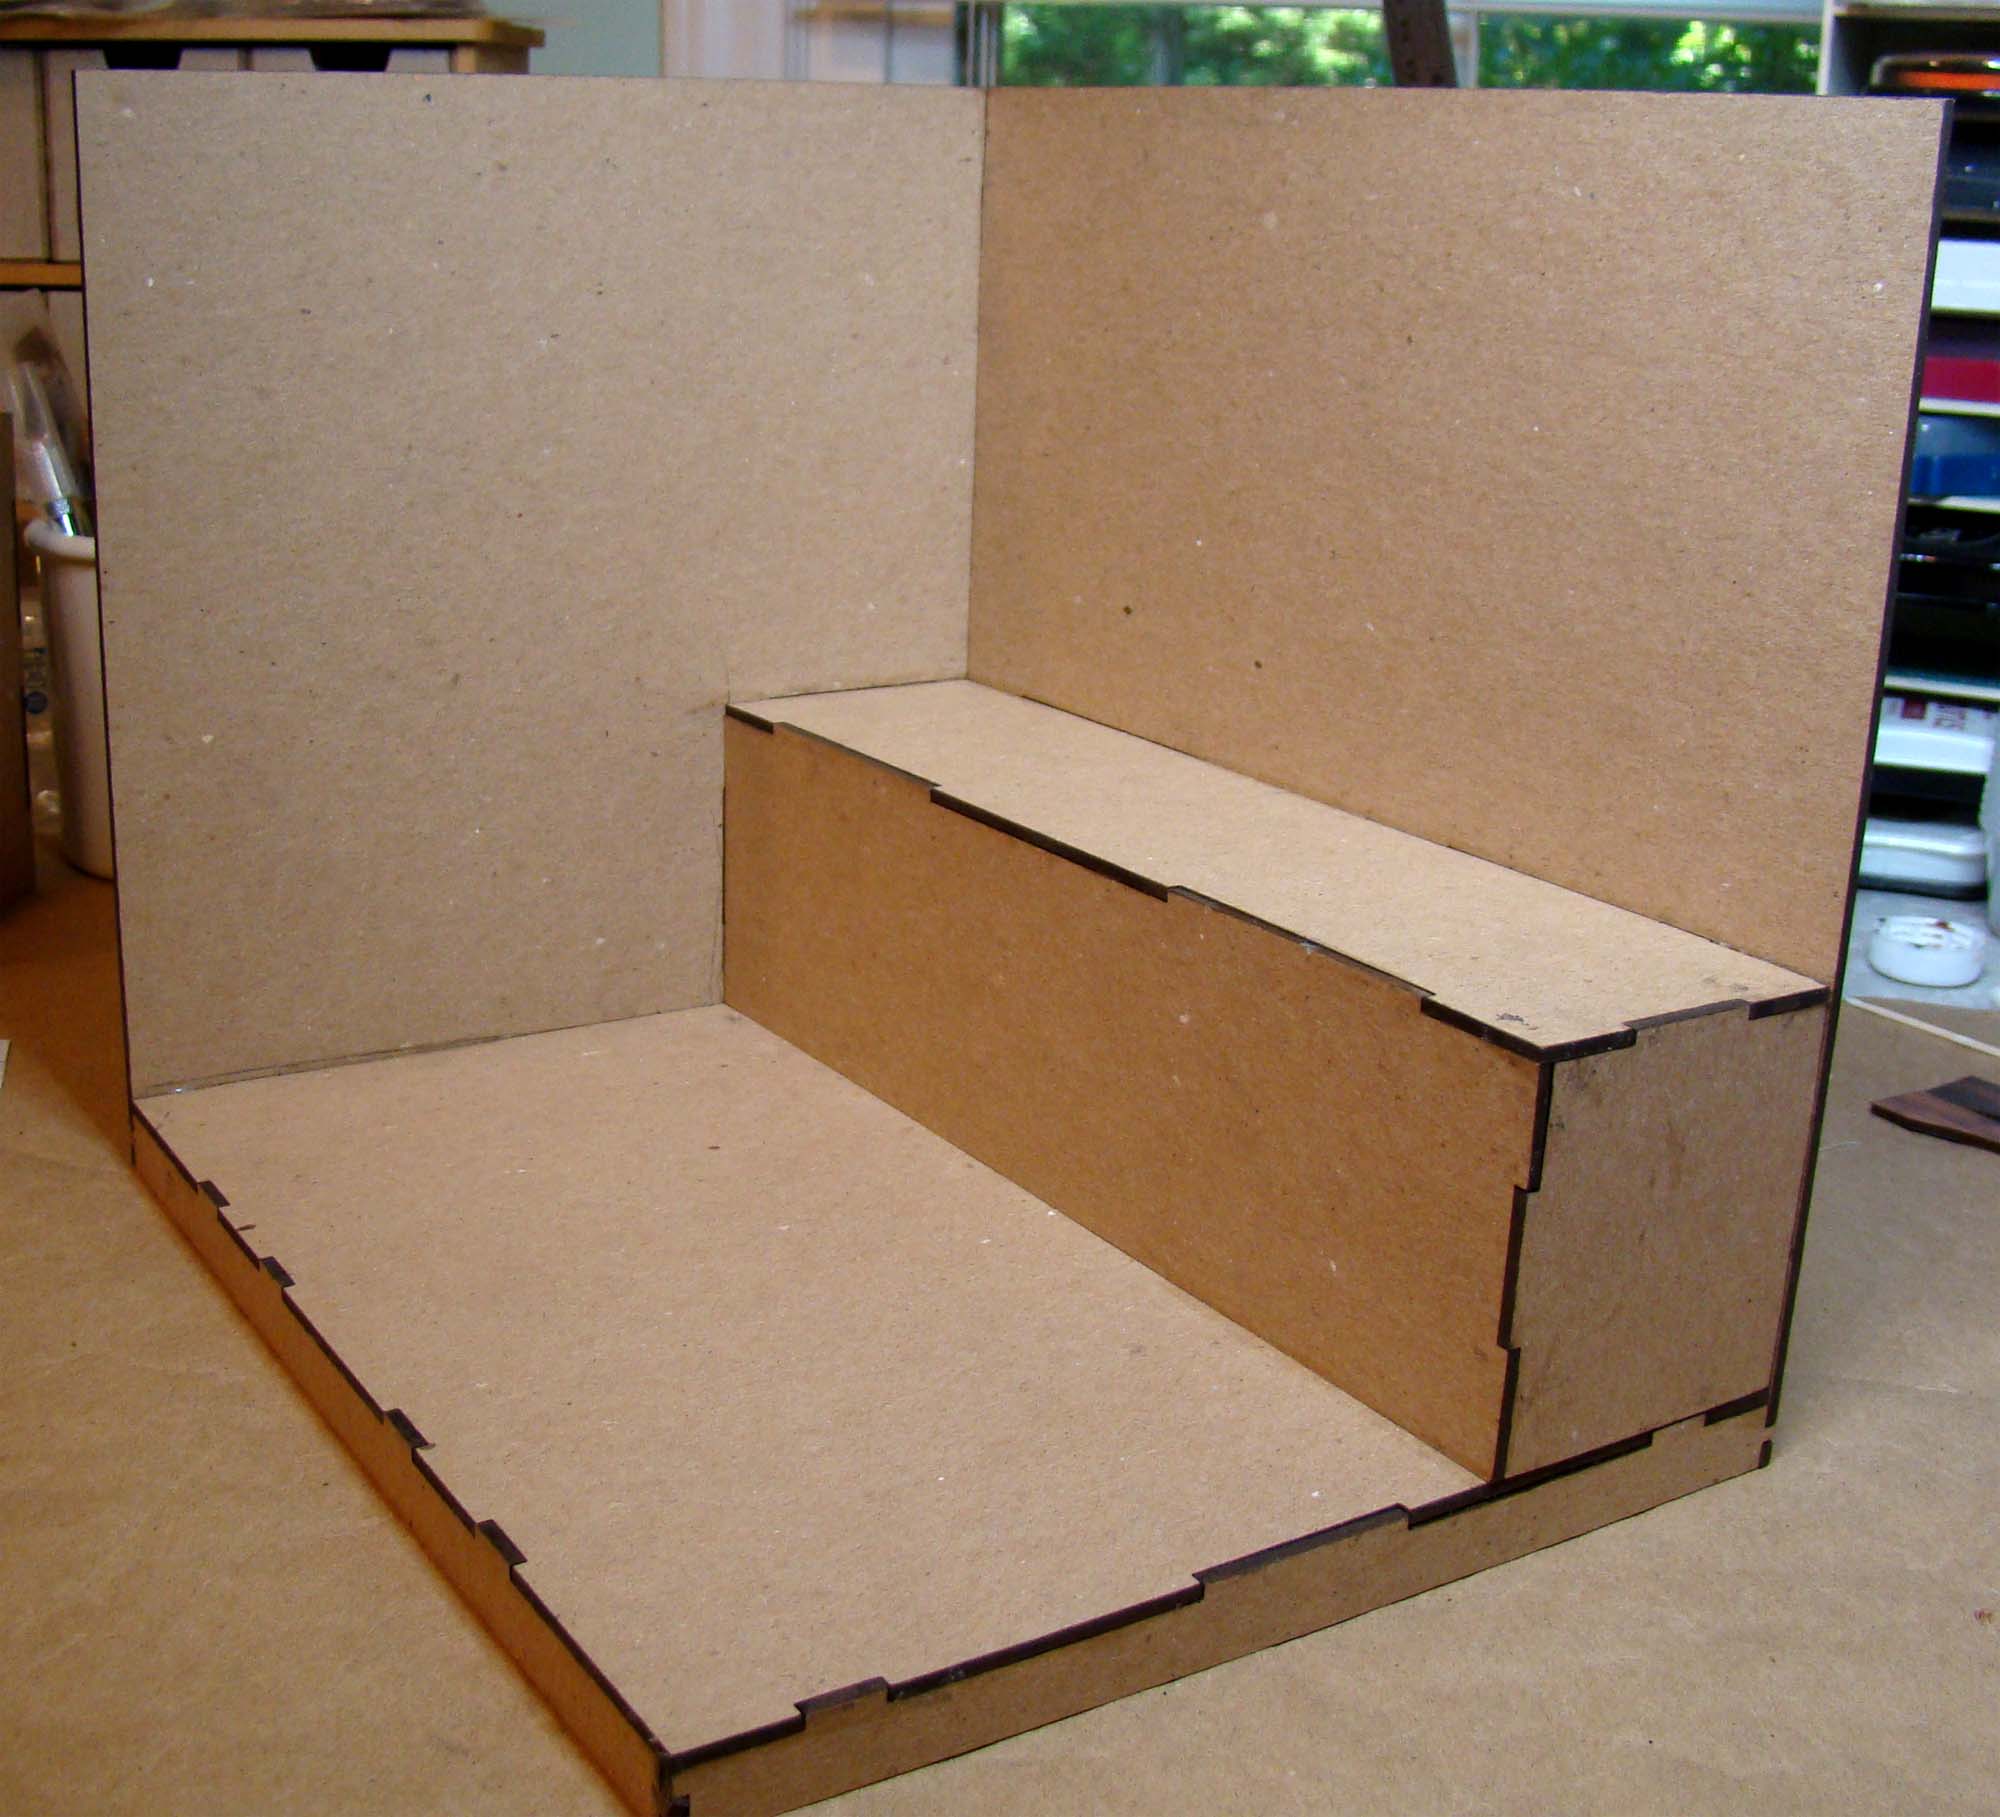
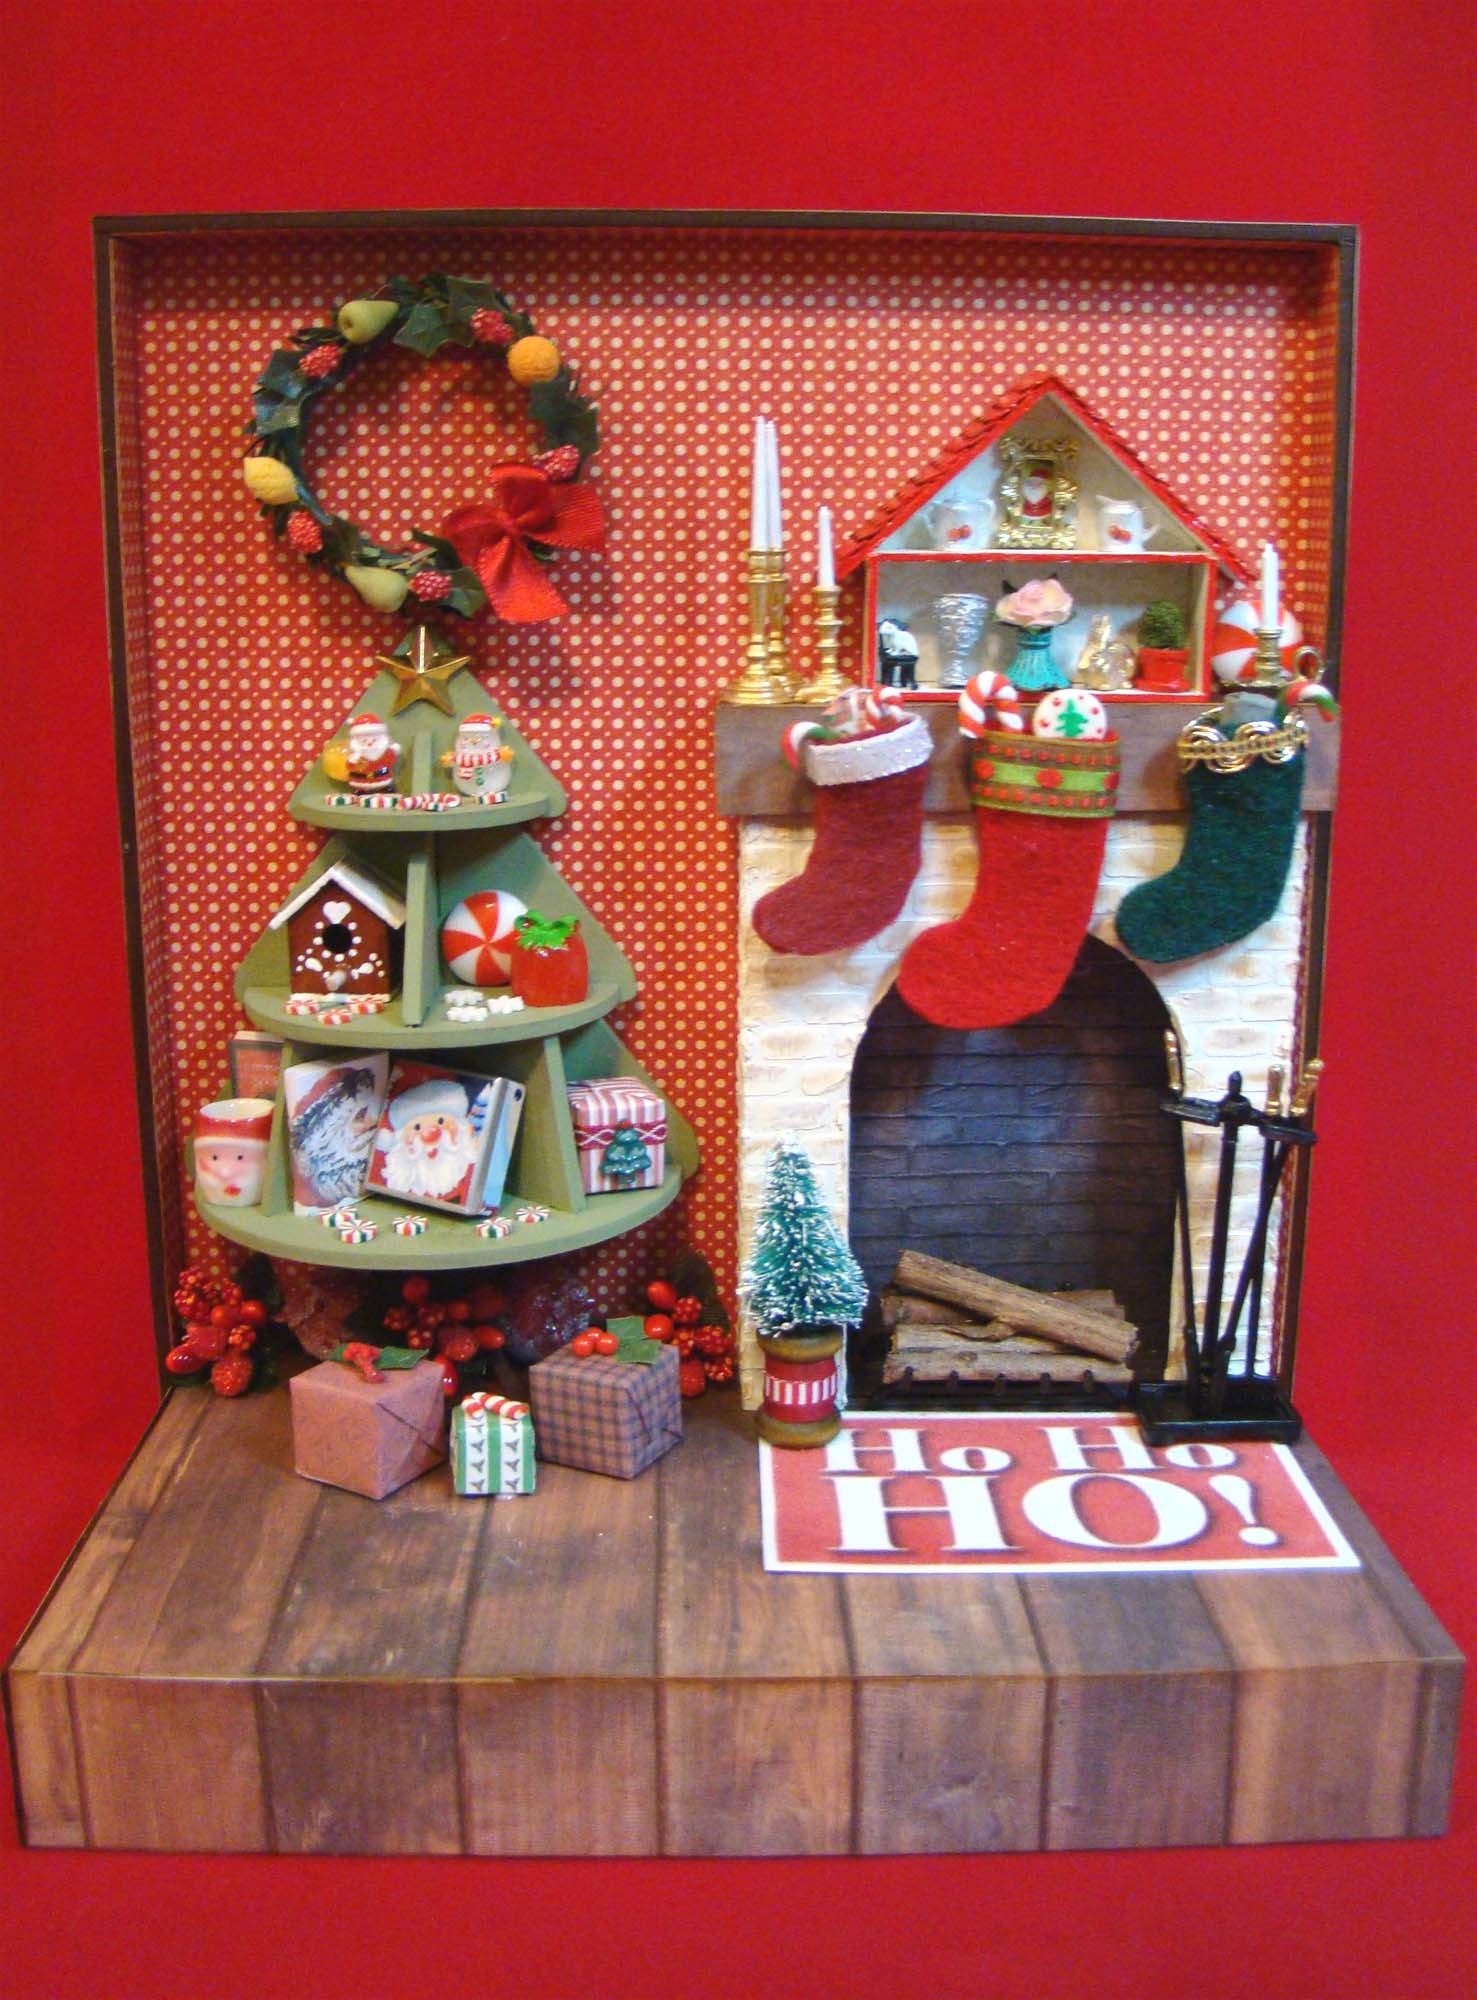
The setting I used was a Simple Scene Box – Riser Base, which was the perfect size for this project. It was assembled using tacky glue. The walls were papered in red and white and the floor received a hardwood pattern.
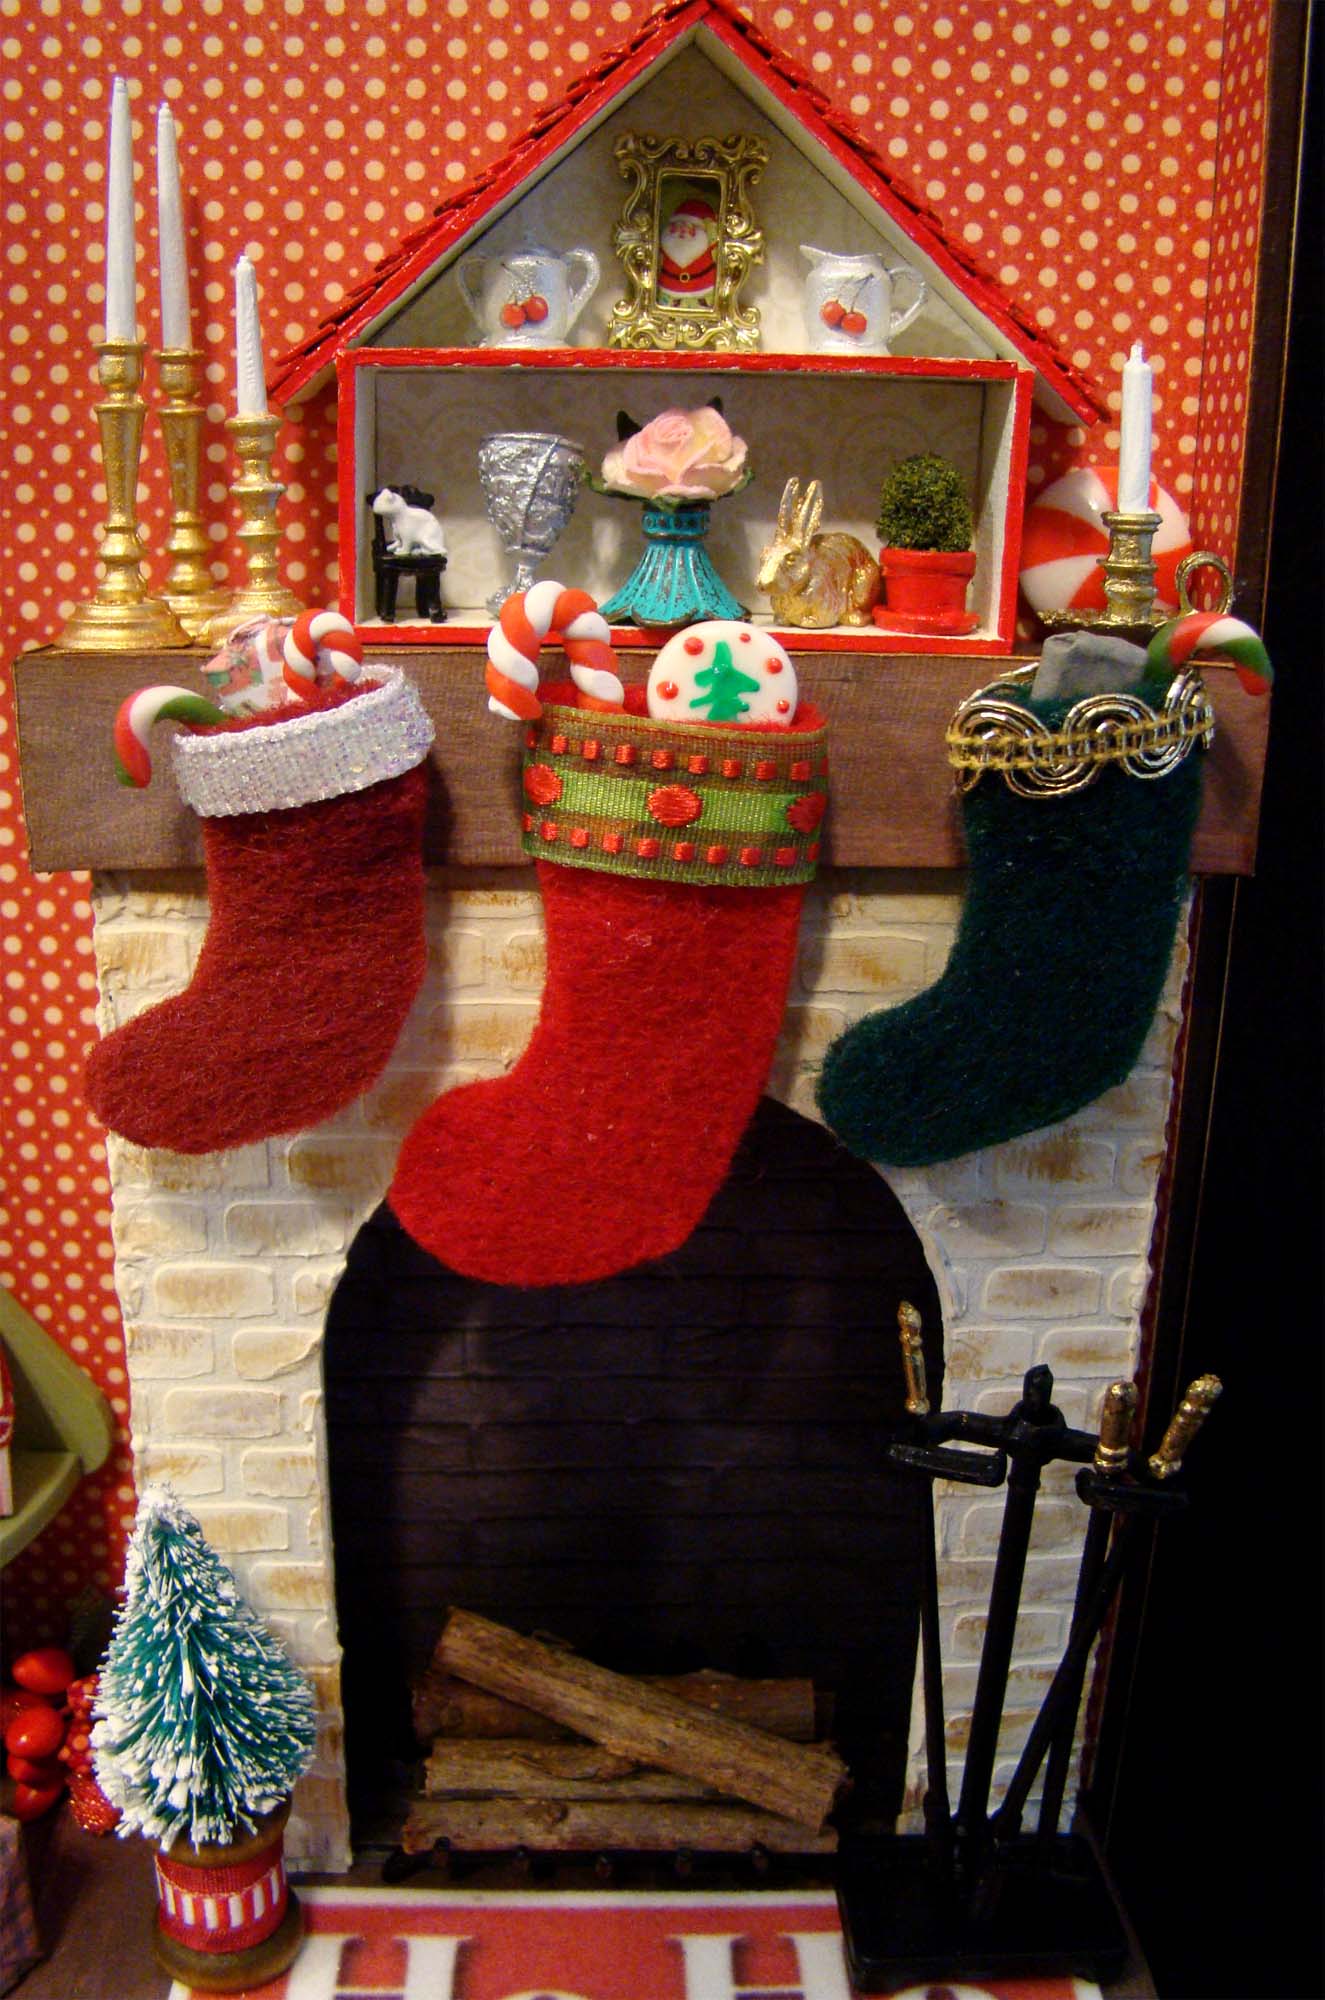
I started with a Shallow 3D Fireplace. The interior of the fireplace was covered in dark brick paper which I glued in place prior to assembling it.
The exterior received a raised brick facade by applying modeling paste to a Small Brick Wall Stencil held in place with a bit of painter’s tape.
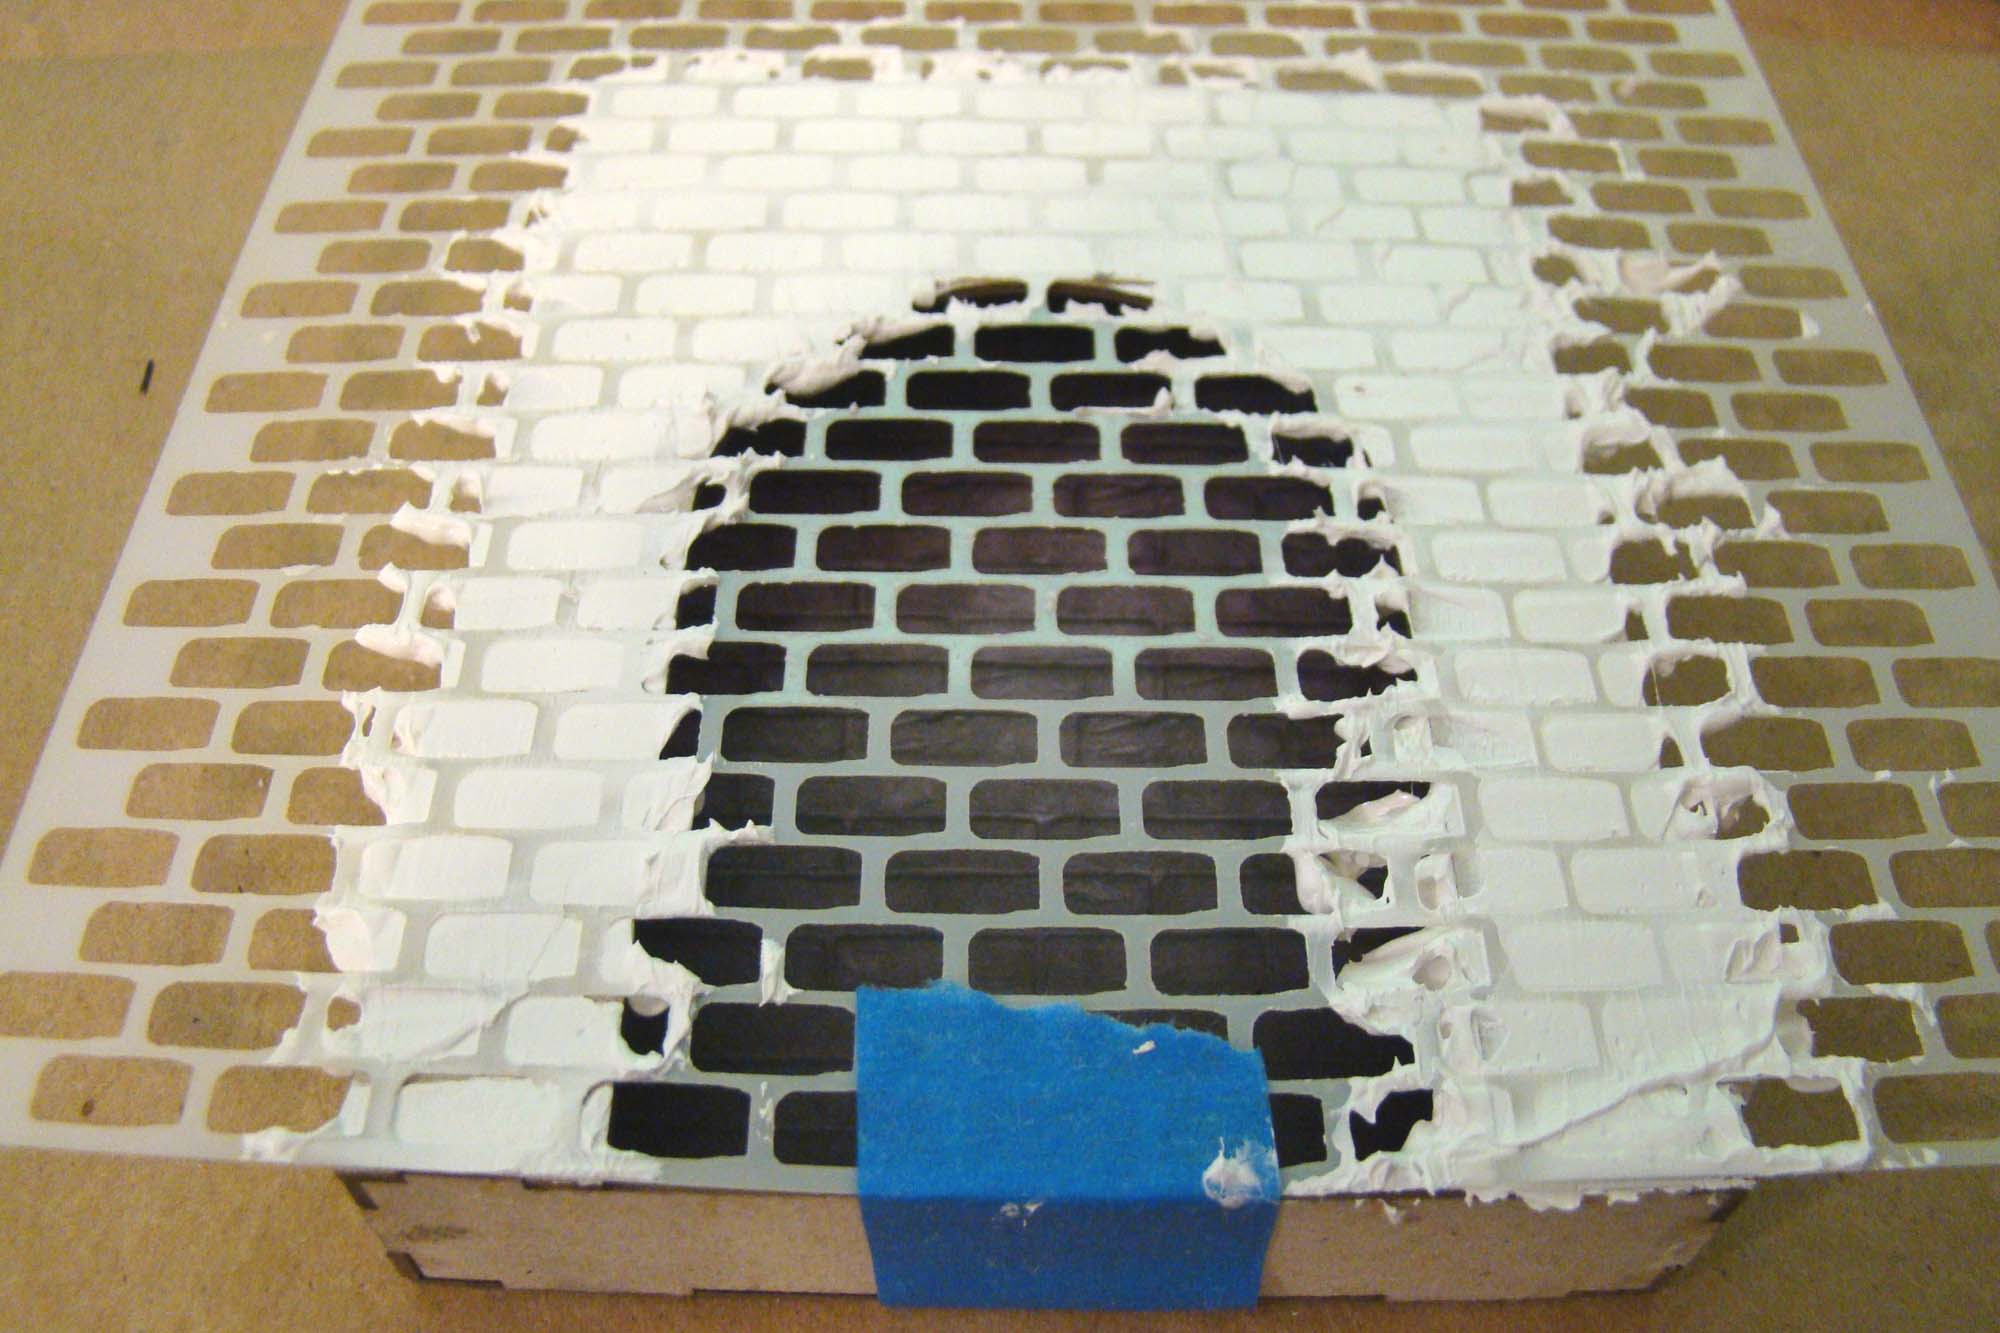

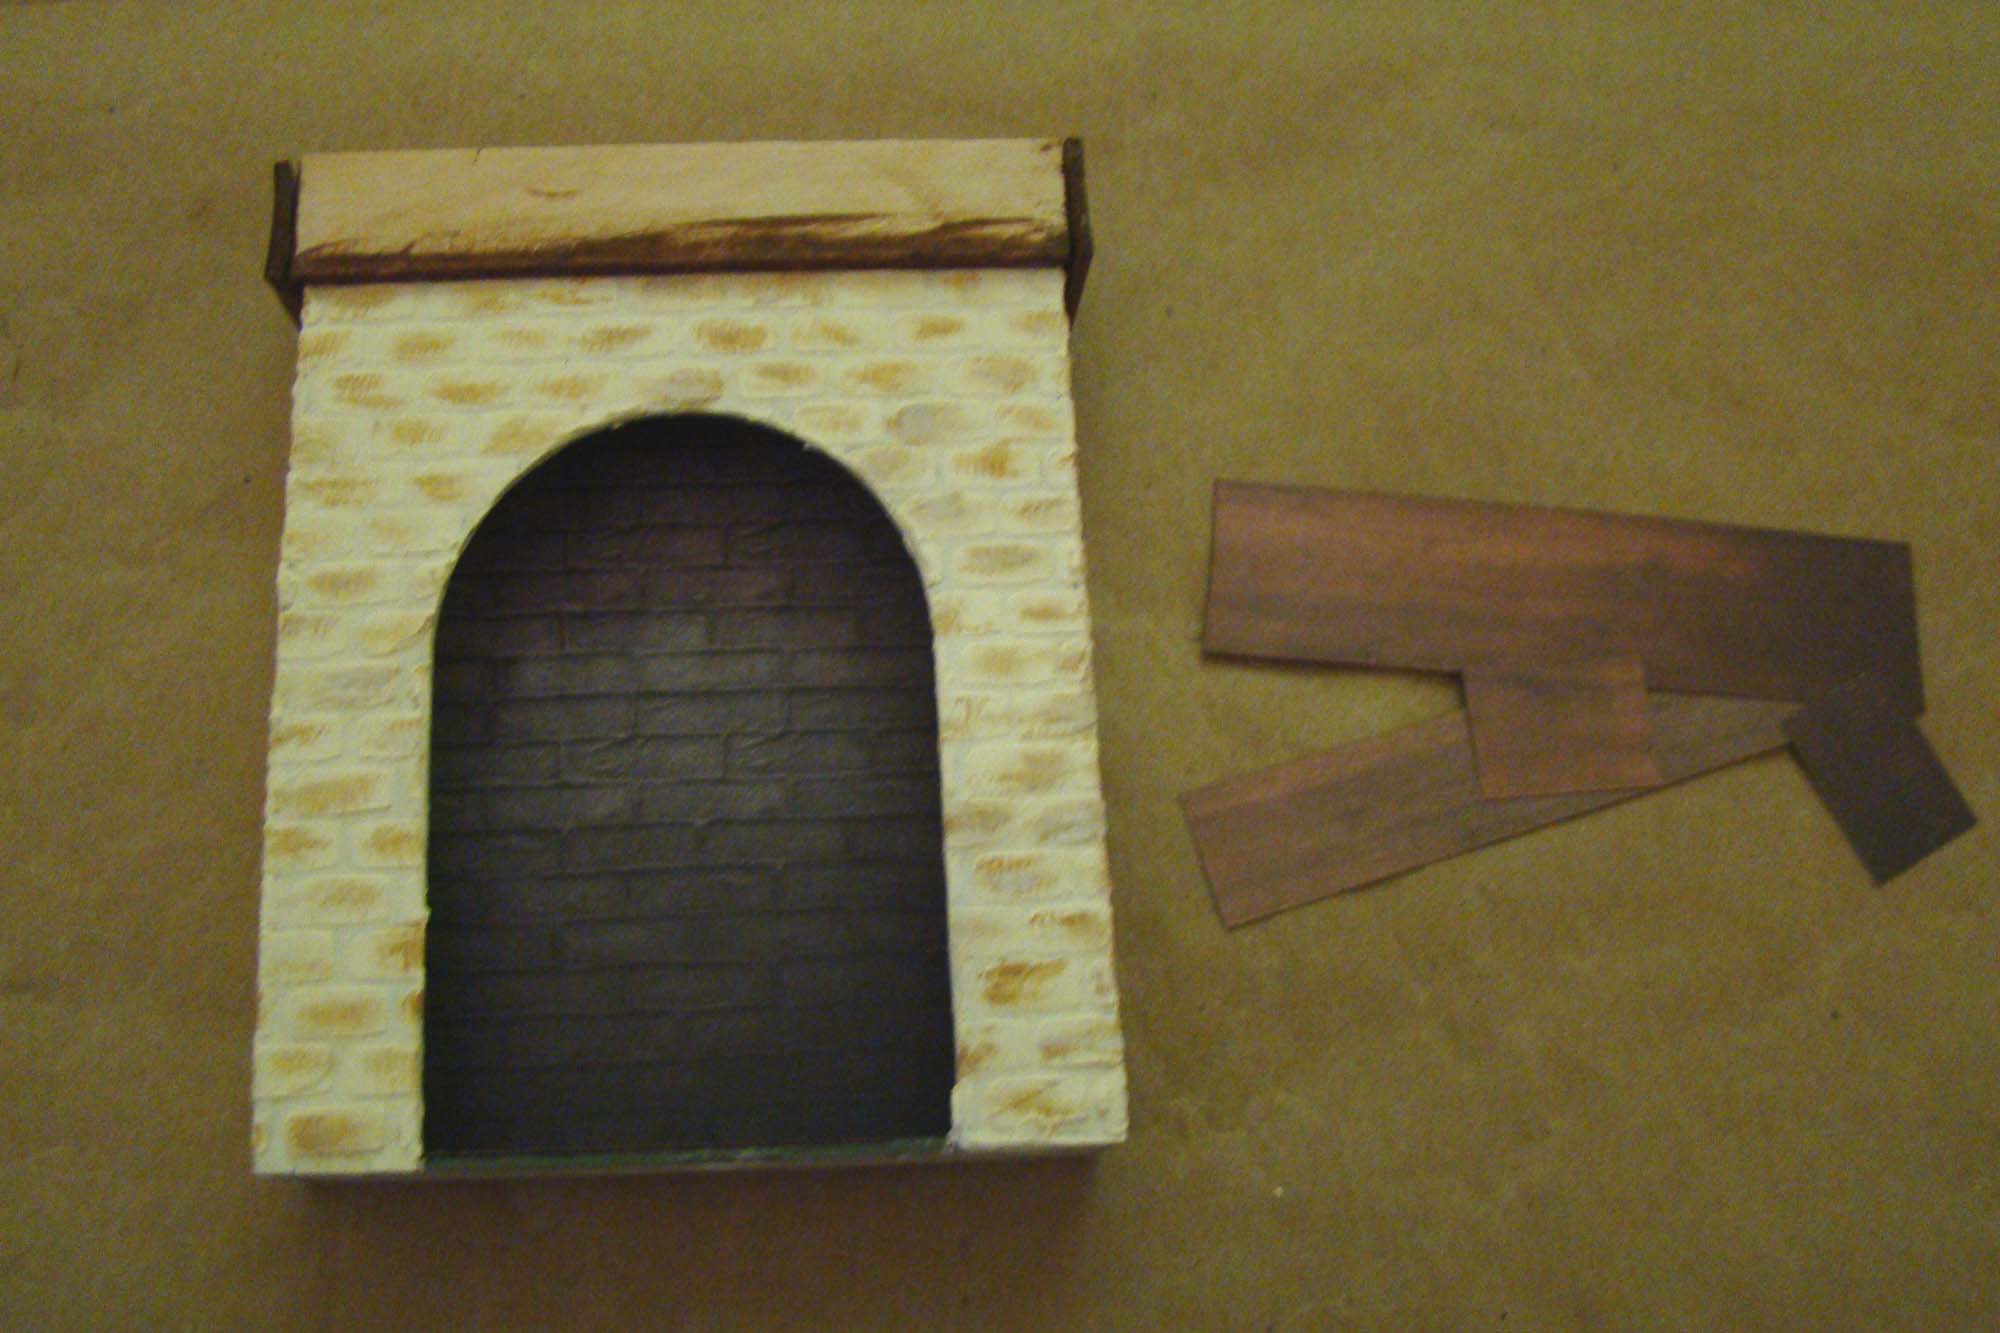
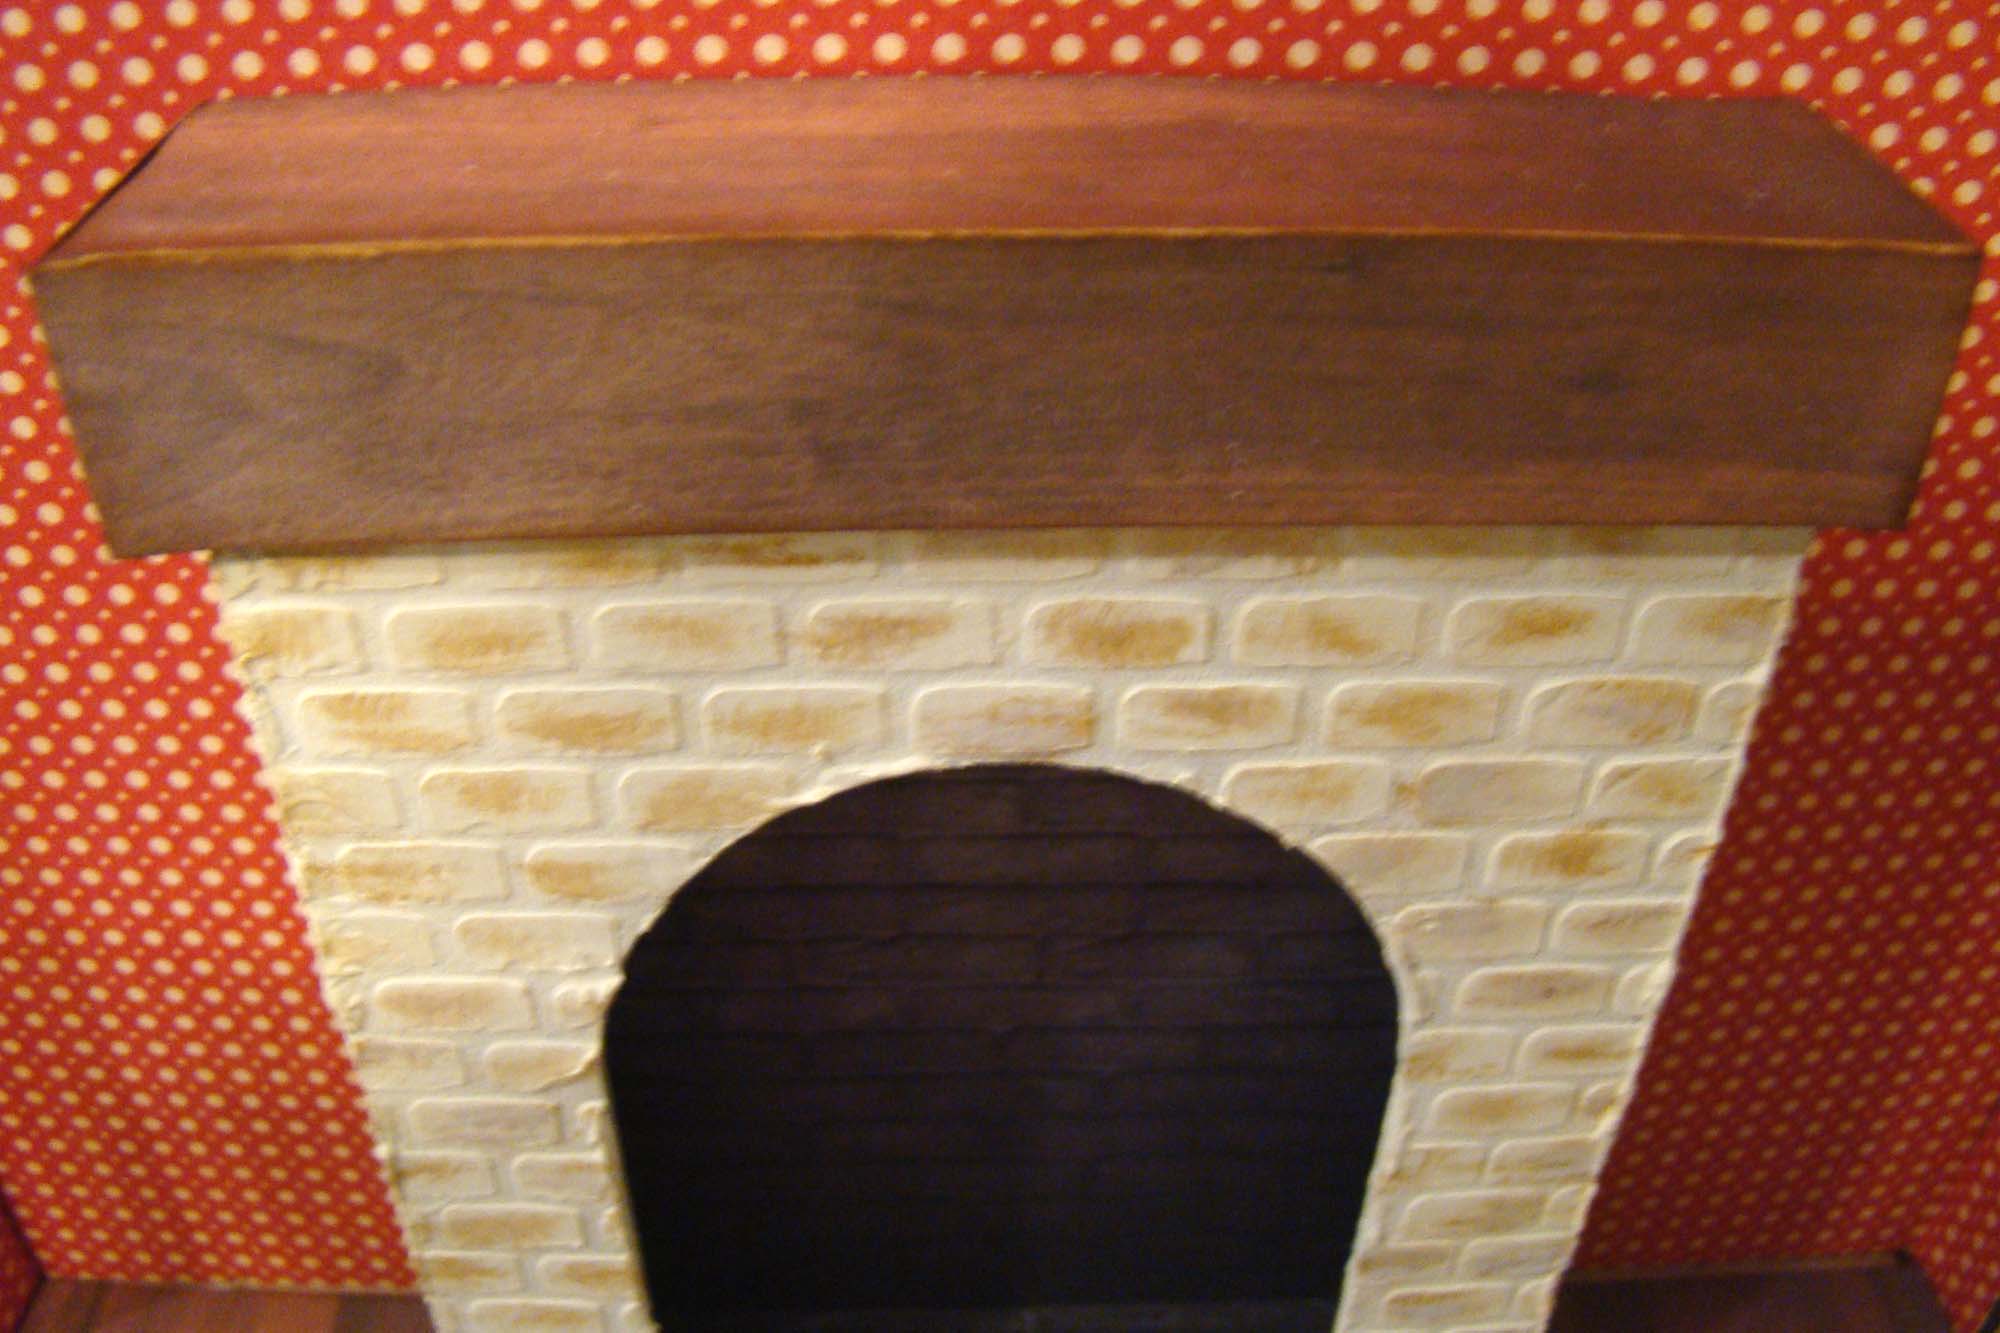
Once the modeling paste was dried I painted it a light ivory then layered on some brown paint for the brick texture.

I wanted a wraparound mantle so cut a few craft sticks to size and glued them in place. Those got covered with a wood grain paper.
Love how it came out!
The Standing Tree Shelves is a brand new piece that gives you a great alternative to decorating a bottle brush tree. It’s shelves can be staged with Christmas packages, ornaments, holiday figures, treats, whatever suits your fancy. I painted it a Wedgewood green with a brown base and topped it with one of the Flat Back Gold Star Studs. I think this shelf would also look darling in a child’s nursery setting painted a pastel color.

For the base I added a Fancy Red Holly Berries Mix cluster flanked by two of the Frosted Berry Picks.

The lower shelf holds some holiday books made from Mini Books with Blank Covers and the Victorian Tiny Little Books Collage Sheet. I also included a Painted Santa Mug, a Santa Square Cookie Tin and a present made from a 1/2 Inch Wooden Cube Block wrapped in paper from the Christmas Wrap & Cards Collage Sheet decorated with a bit of ribbon and a little tree from the 8mm Resin Christmas Cookies or Ornaments Mix.

I painted a Tiny Bird House like a gingerbread house. It sits next to a Tiny Red Resin Wrapped Christmas Gift and a 14mm Peppermint Cabochon. The top shelf holds a Mini Resin Santa with Pack next to a Mini Resin Pink Cheeked Snowman. Sprinkled about are polymer clay slices from the Hello Christmas Polymer Clay Slice Mix and the Red & Green Peppermint Candy Polymer Clay Slices.

Above the tree is a Della Robbia wreath I made from a Wired Pine Needle Stem decorated with holly leaves snipped from a Mini Holly Leaf Garland and glued to Red Foam Stamens.
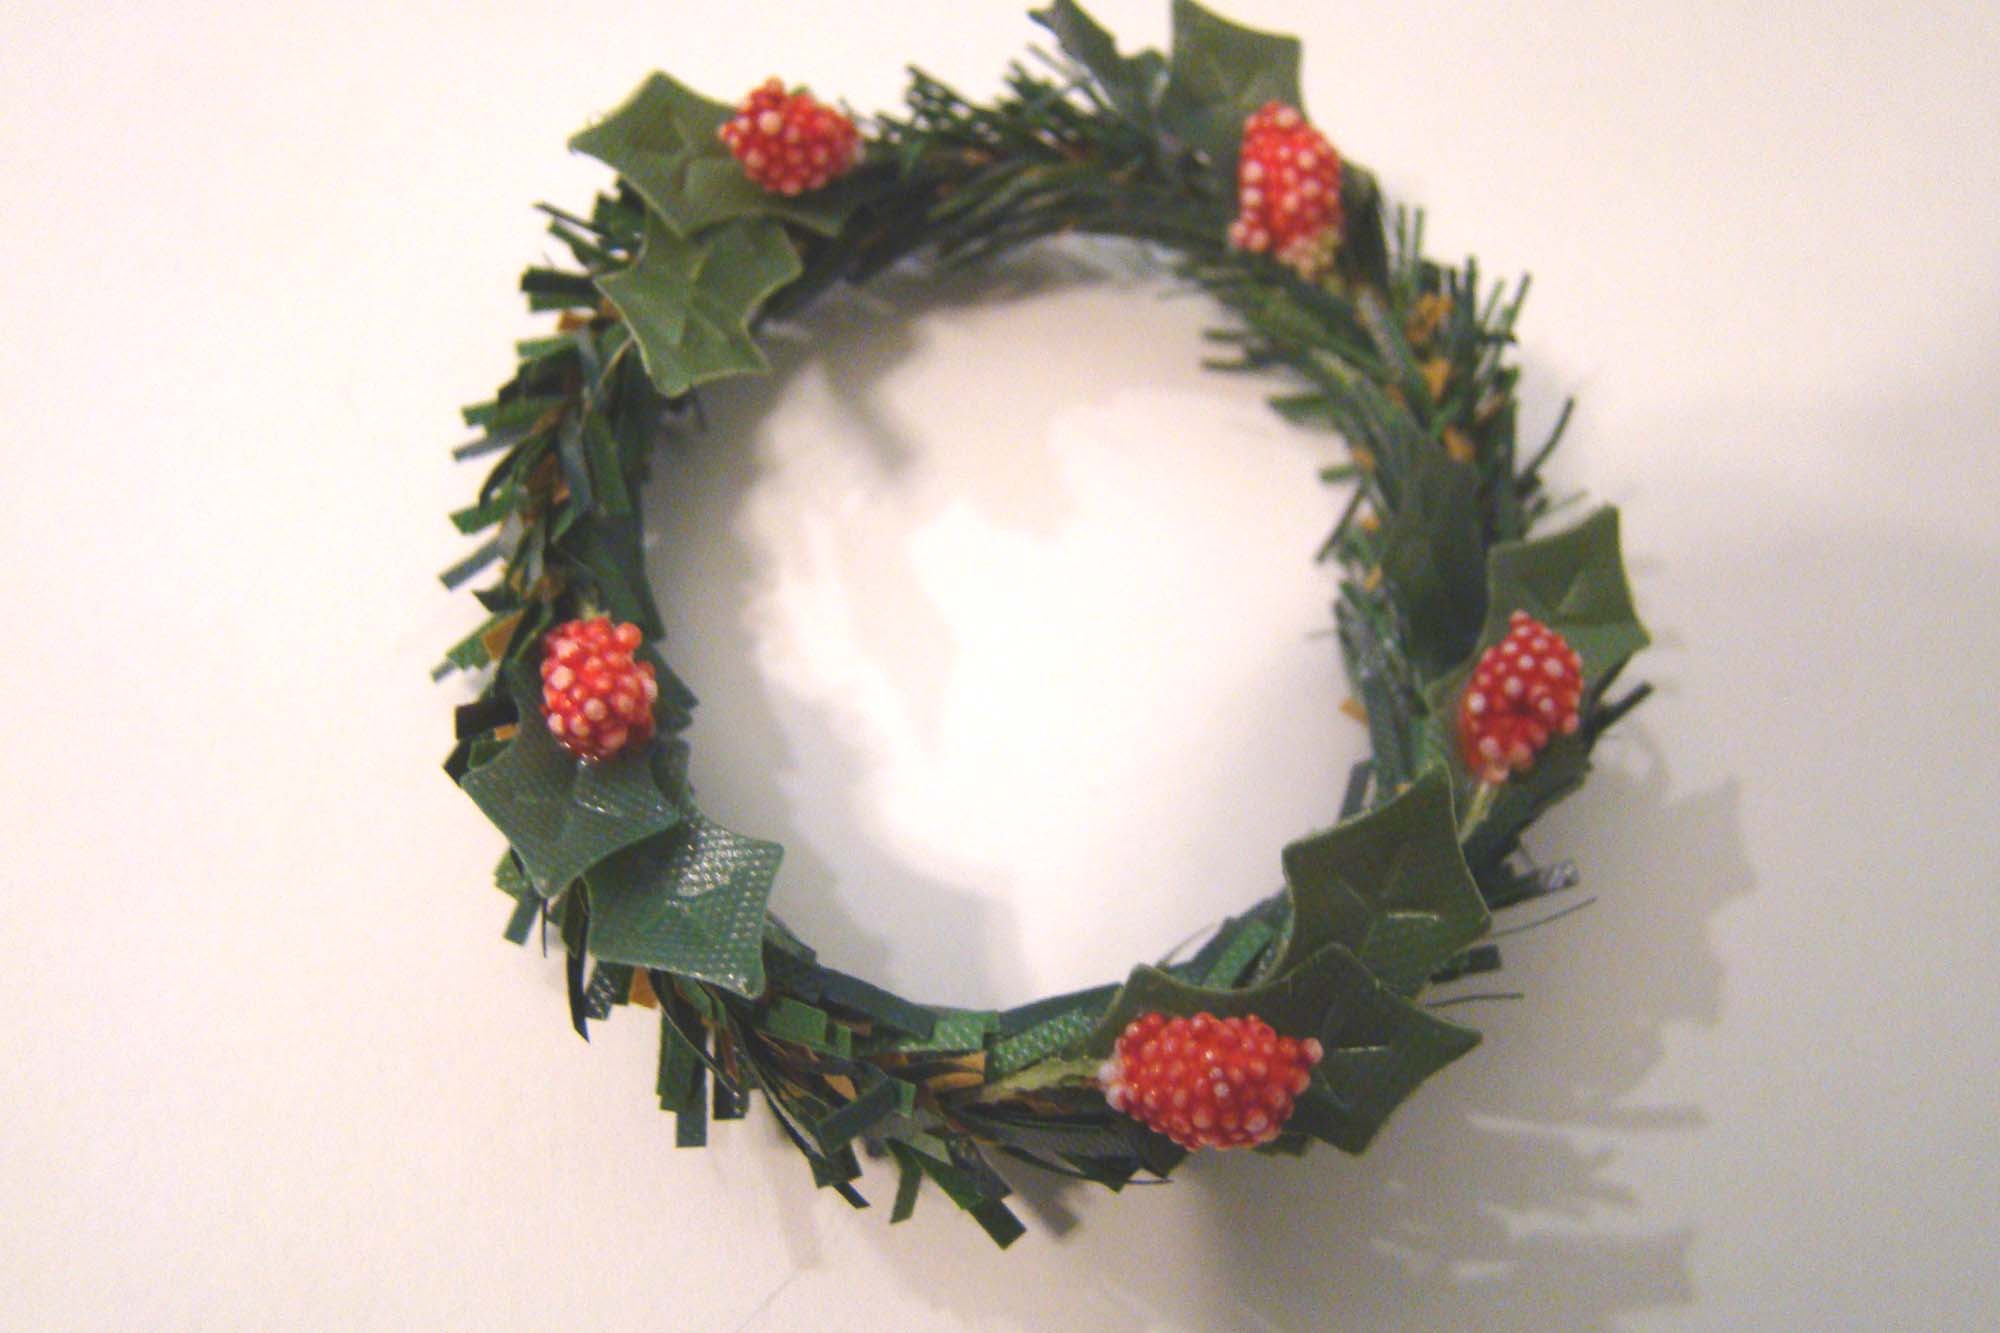
It was finished with the addition of Mini Lemons, Mini Oranges and Mini Pears and topped off with a bright red bow.

The new Curio House is just 2 inches wide. I painted it cream and red with a red roof made from Tiny Scalloped Shingles.

I had a chance to use a lot of miniature cast metal items in this project. Many of them are new and all of them have a lot of great detail. I started by washing them all in soapy water. Each piece got scrubbed using a toothbrush to help remove any mold release residue that may remain then rinsed and dried well.

I’ve never used a spray paint primer but decided to give it a try for this project. I used double sided tape attached to a craft stick to hold all the tiny pieces in place. Just a note that I’ve also painted metal miniatures with multiple layers of acrylic paint and am happy with both techniques.

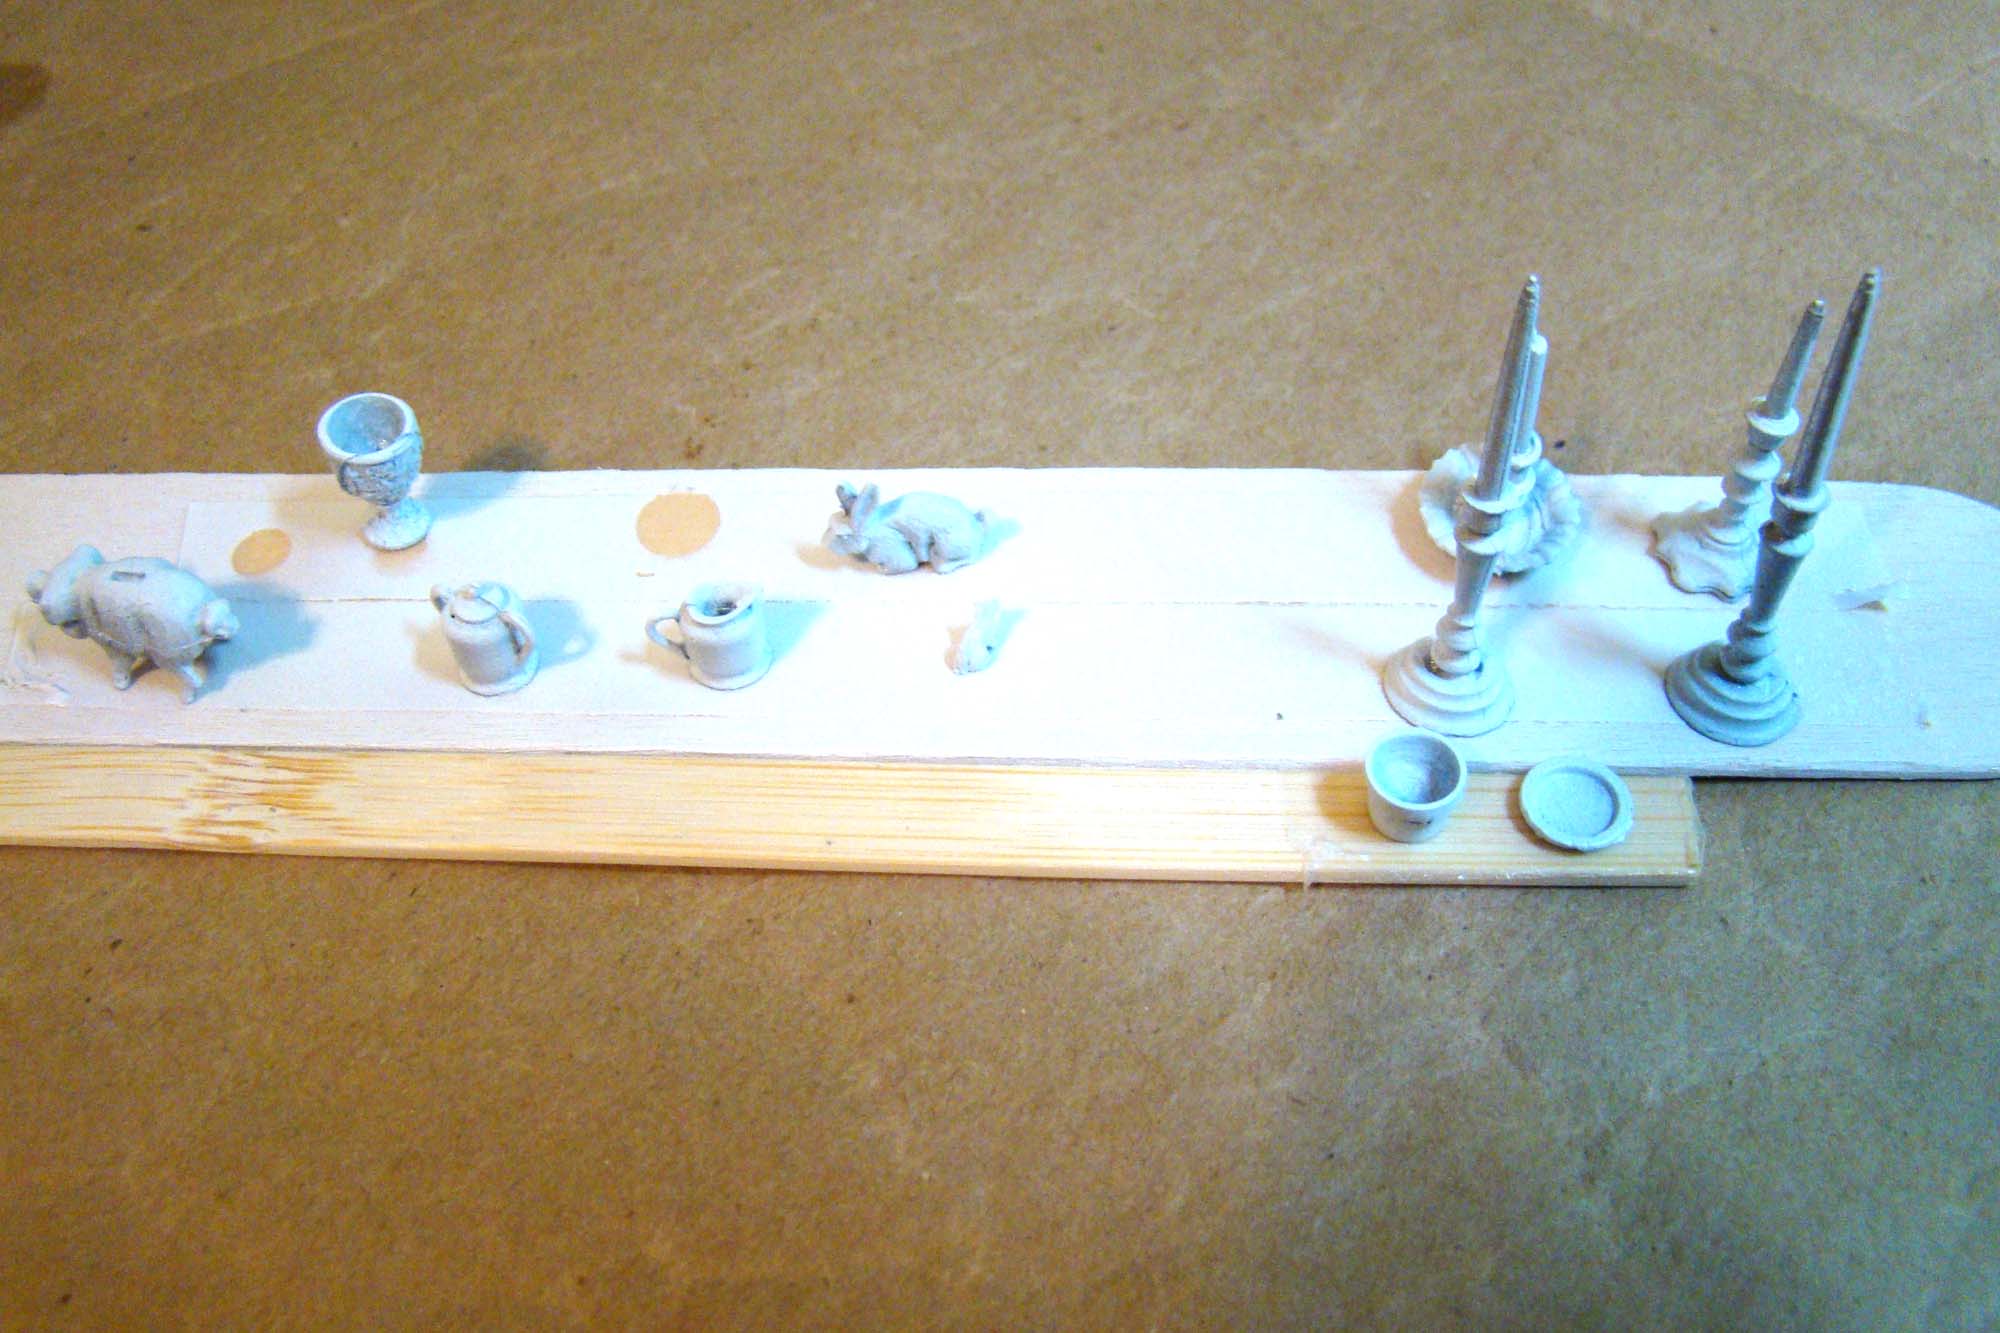
I also used double sided tape to hold each piece for brush painting. This is the Cream & Sugar Set painted an iridescent pearl.

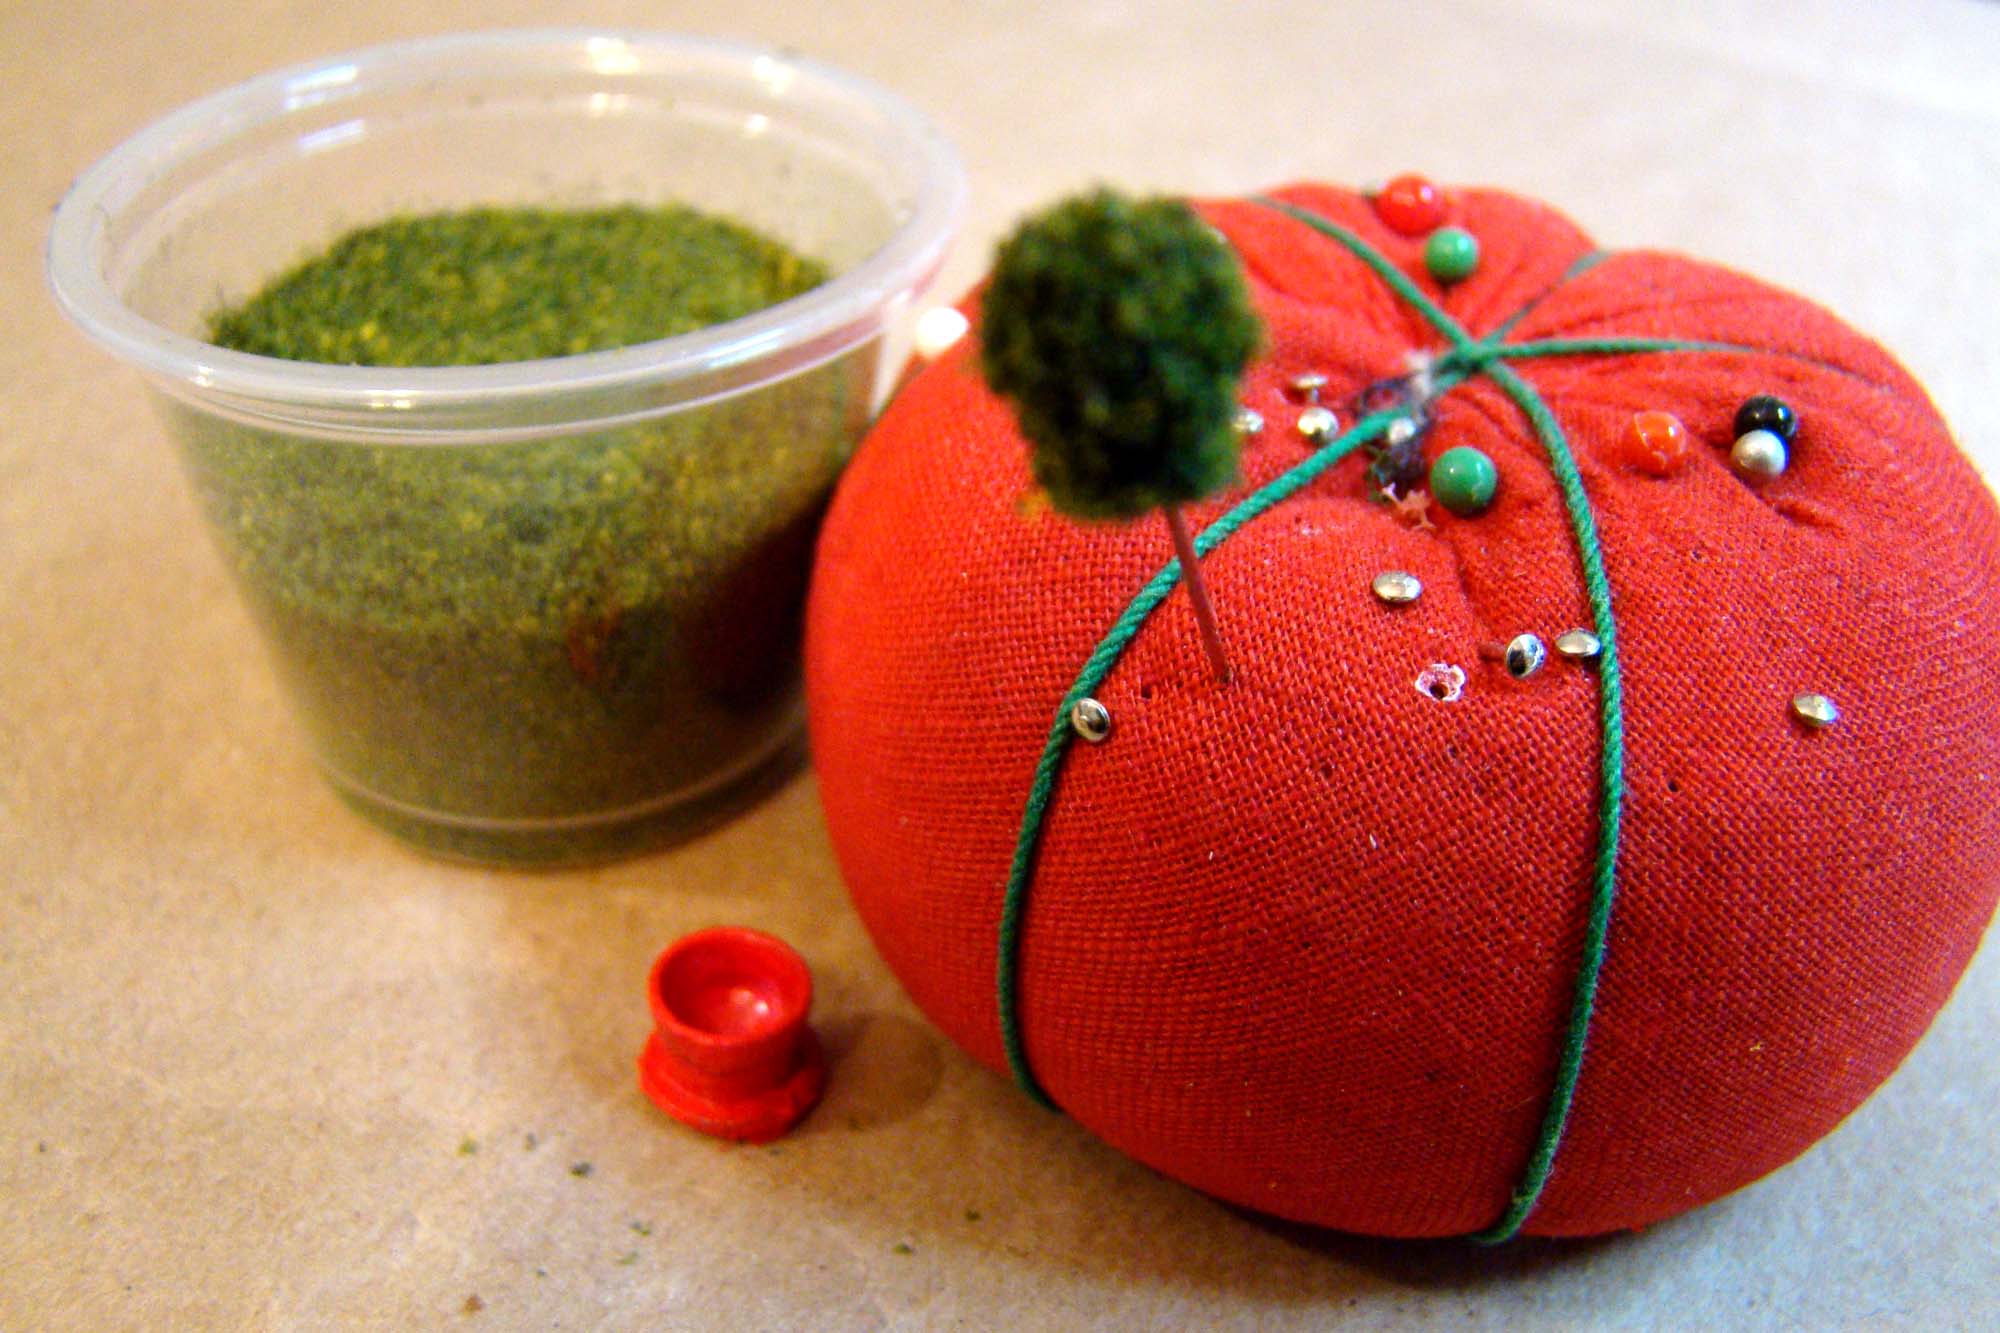
I painted the Tiny Metal Flower Pot with Saucer red and turned it into a topiary by dipping a ball head pin covered in glue and dipping it in Green Turf Grass.
Here’s the completed Curio House. The top shelf holds that Cream & Sugar Set decorated with tiny cherry stickers flanking a Santa image from the Retro Santa & Penguin Tiny Christmas Stickers framed in a Mini Gold Resin Rectangular Frame.
The bottom shelf holds a Doll’s Cat sitting on a QS Kitchen Chair, an Ornate Metal Goblet painted silver, a Verdigris Tall Flower Bead Cap holding a Pink Cream Variegated Tiny Paper Rose next to a Resting Bunny painted gold and the little topiary.
Those gorgeous candlesticks on the left are Tall Cast Metal Candlesticks and a Chippendale Candlestick painted gold and white. The Candle Holder with Fluted Base on the right has an antique bronze finish.

The stockings were super easy and I love how they turned out! I simply cut out stocking shapes from felt and glued the edges together. The top of the stockings were decorated with ribbon.

I made ‘presents’ by wrapping balsa wood and tucking in a couple of 3/4 Inch Red & Green Polymer Clay Candy Canes, a Chubby Polymer Clay Candy Cane and a Frosted Christmas Tree Cookie.
The little Frosted Mini Green Sisal Tree sits in a small spool that I wrapped in ribbon. The logs are just sticks cut to size that are sitting in a Fireplace Grate. The Fireplace Tool Set is cast metal painted black with gold handles.
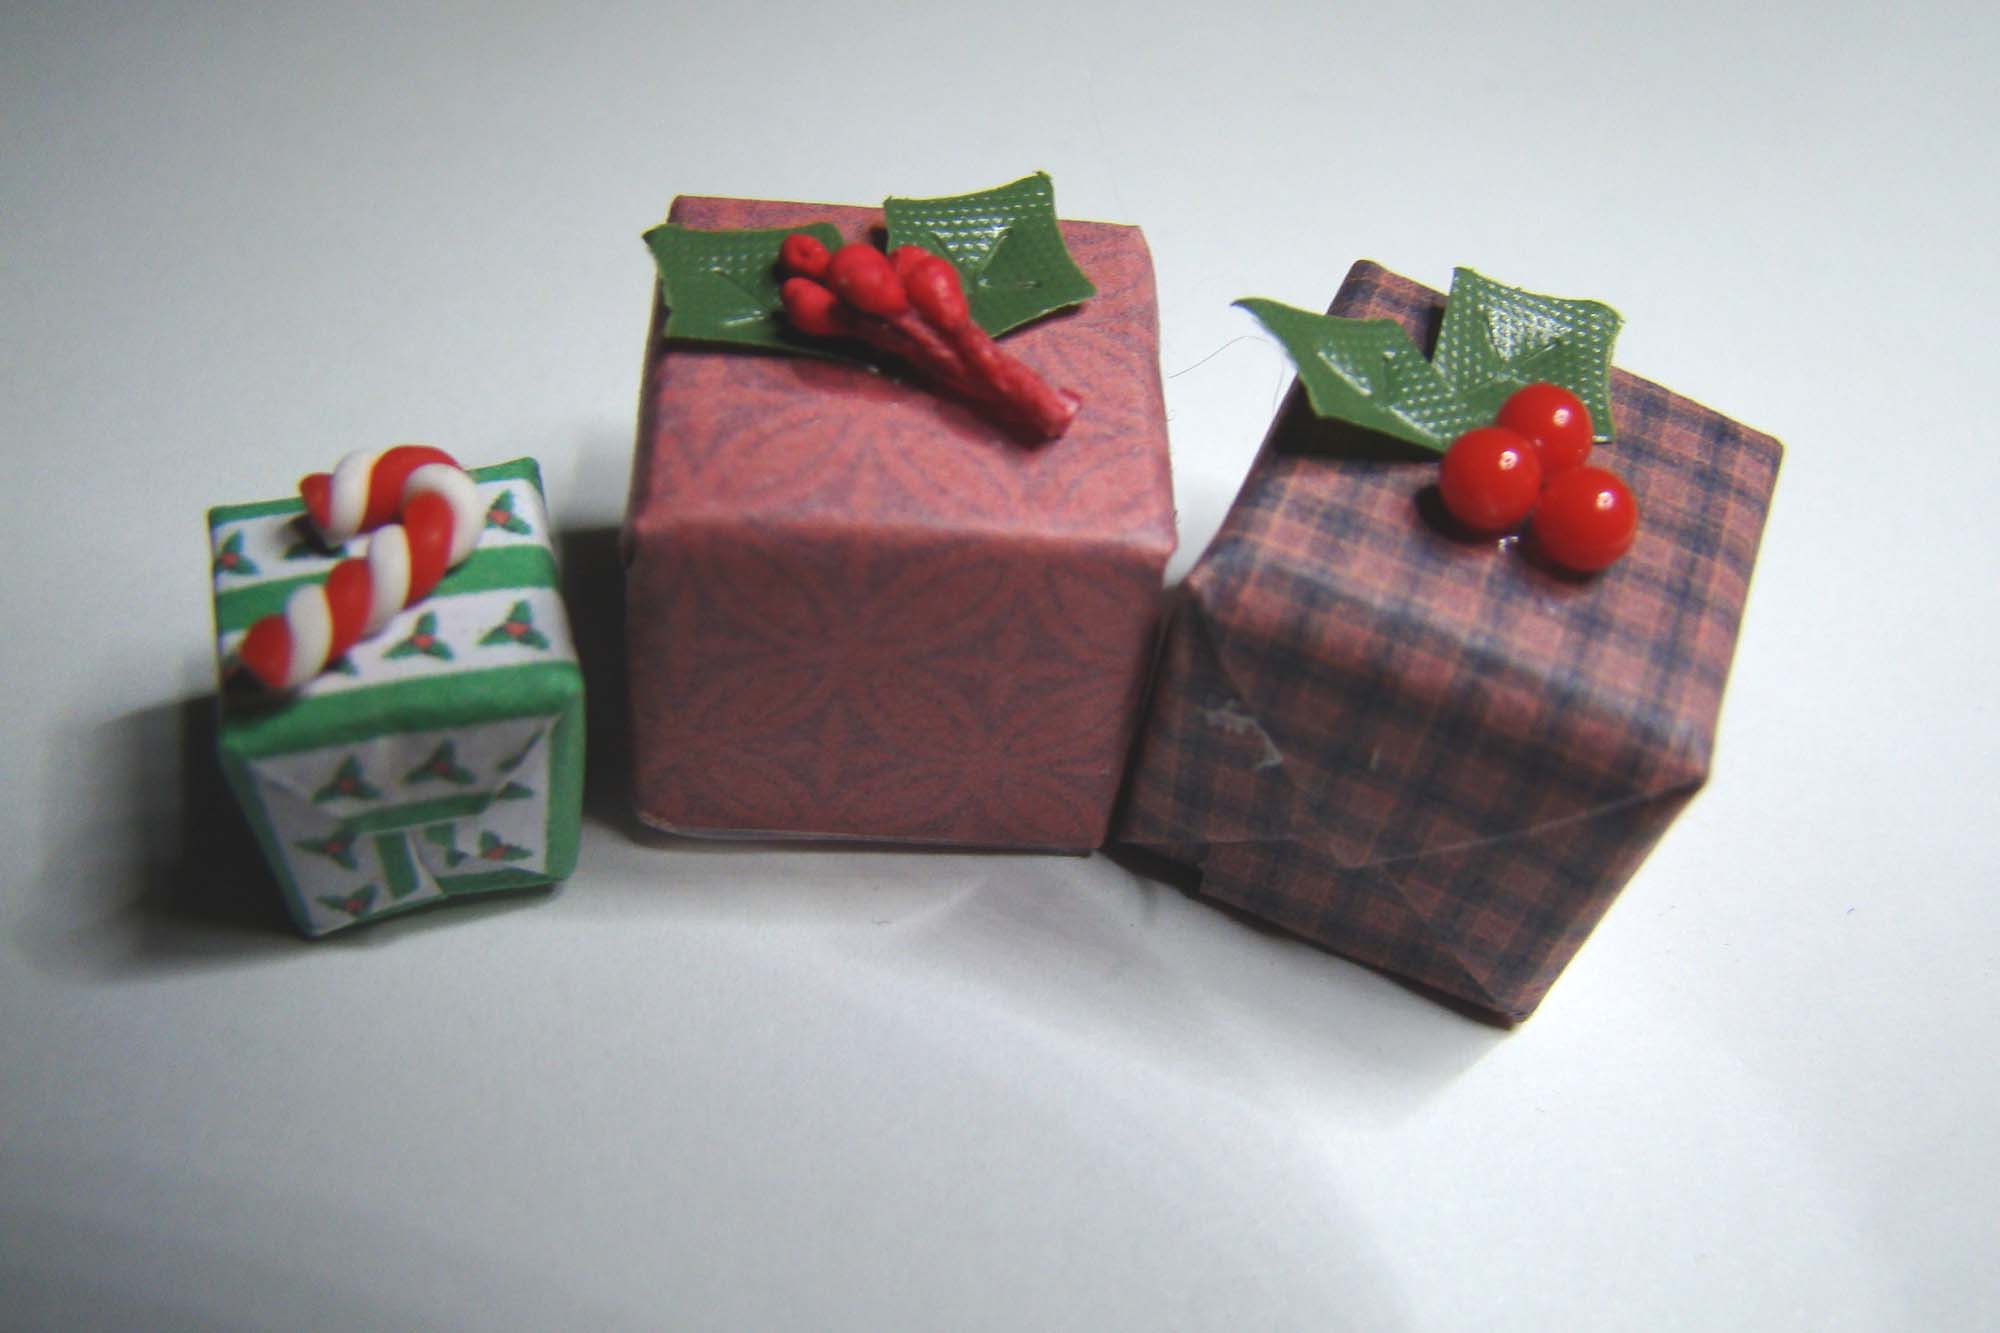
The presents under the tree are wrapped 3/8 Inch and 5/8 Inch Wooden Cube Blocks. I used paper from both the Xmas Wrapping Paper Half Sheet and Christmas Wrap & Cards Collage Sheets. They are decorated with holly snipped from the Mini Holly Leaf Garland, a Tiny Polymer Clay Candy Cane, a cluster of Tiny Red Holly Berries and some red ‘berries’ from the 3mm Valentine Mix Nonpareils Faux Candy.
The rug is an image from the Small Retro Xmas Tags & Labels Collage Sheet printed onto velour paper.
Thanks so much for your visit today. There are lots of new supplies to play with, I hope you are inspired to make something festive! You can find all the supplies I’ve used right HERE.