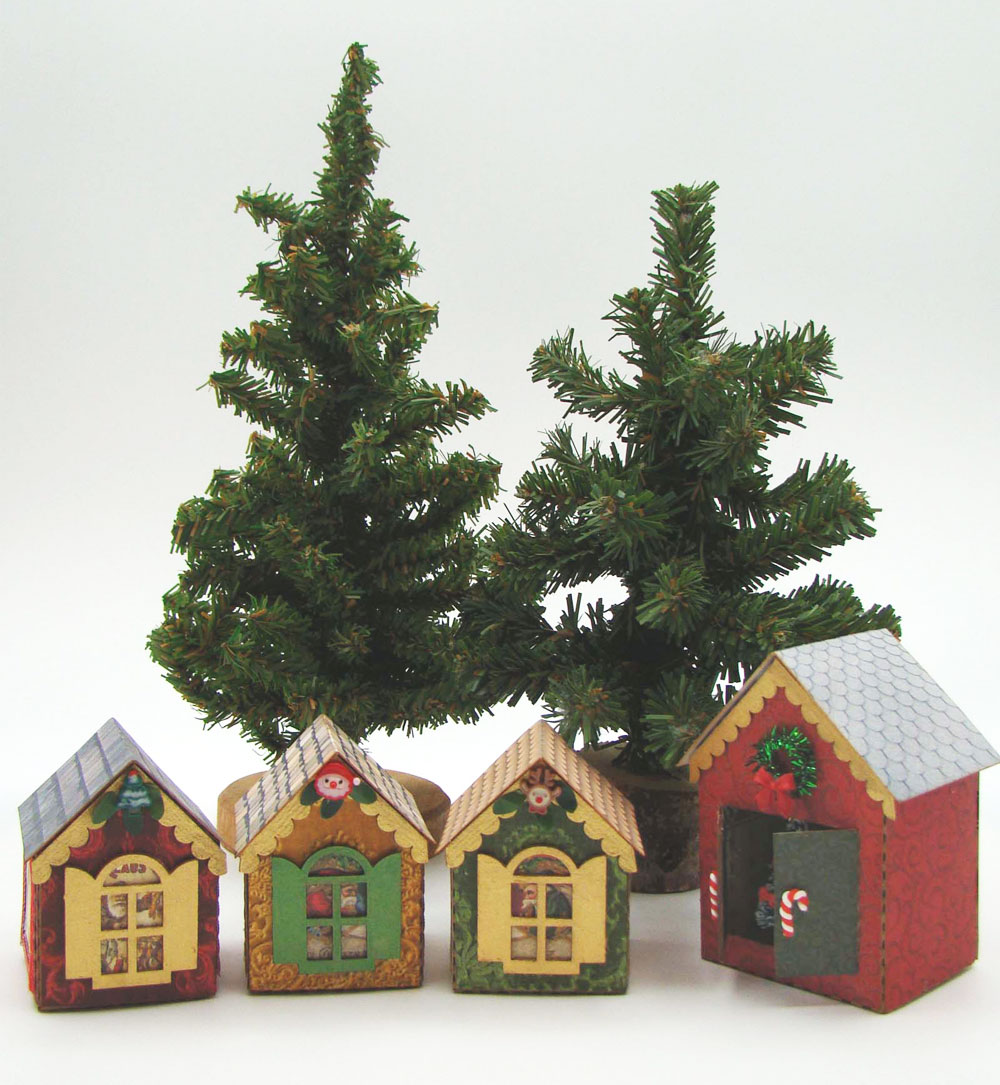
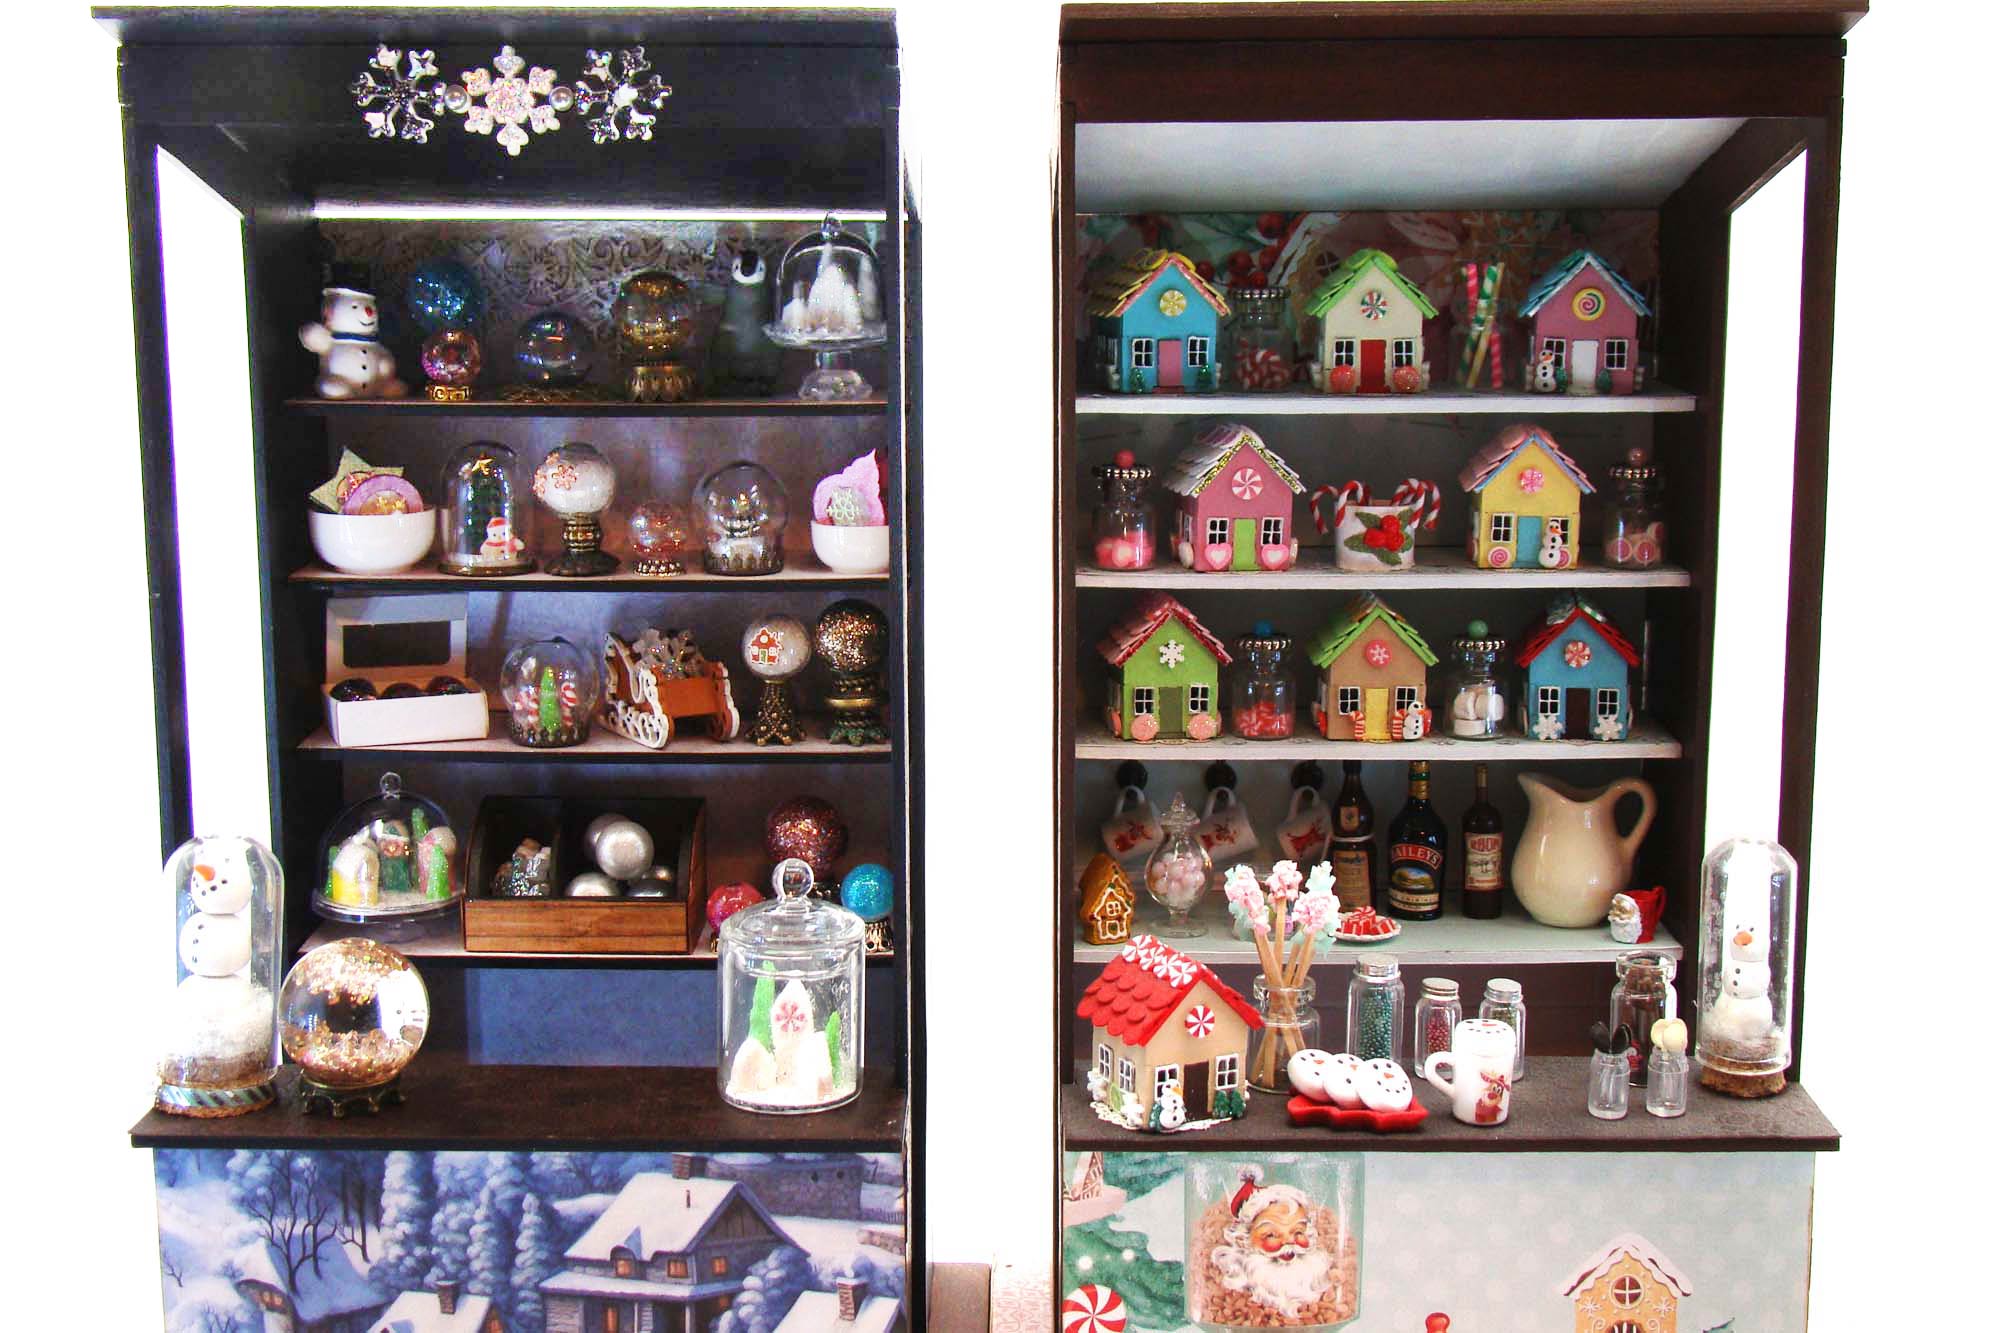
Here’s something brand new from Alpha Stamps – folding houses that have a compartment inside to hold treats or a small scene. They come in two sizes – a smaller 1.5 Inch Folding Houses – Set of 3 and a larger 2 Inch House – String Tie Doors. I decided to decorate a few for Christmas and stash some fun stuff within.
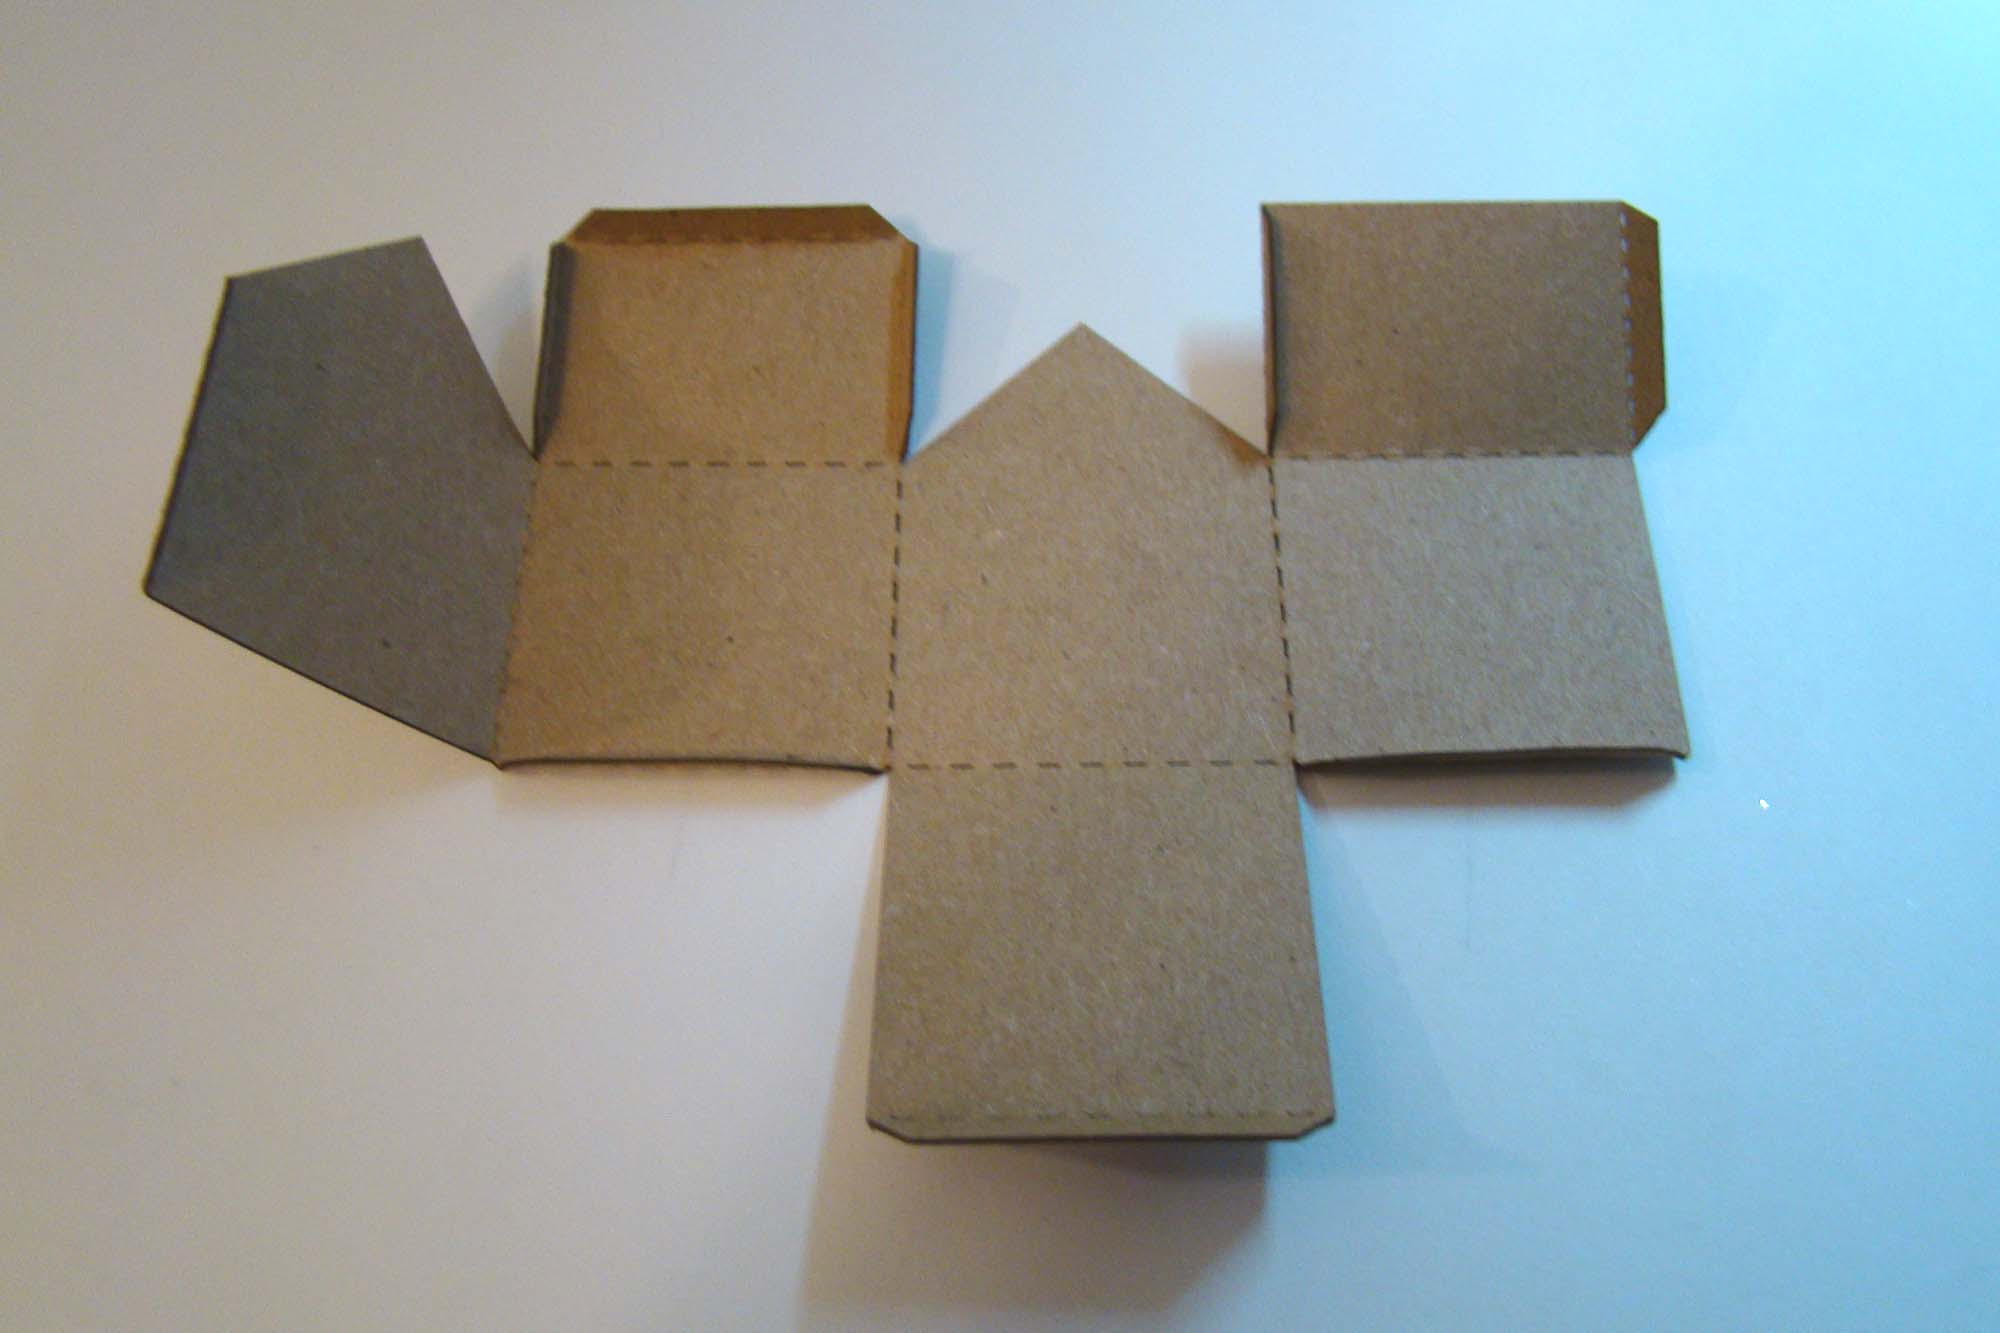
They ship flat and are easy to fold, assemble and secure with a bit of tacky glue. I started by lightly scribing the dotted score lines with a bone folder which made bending the tabs super easy.
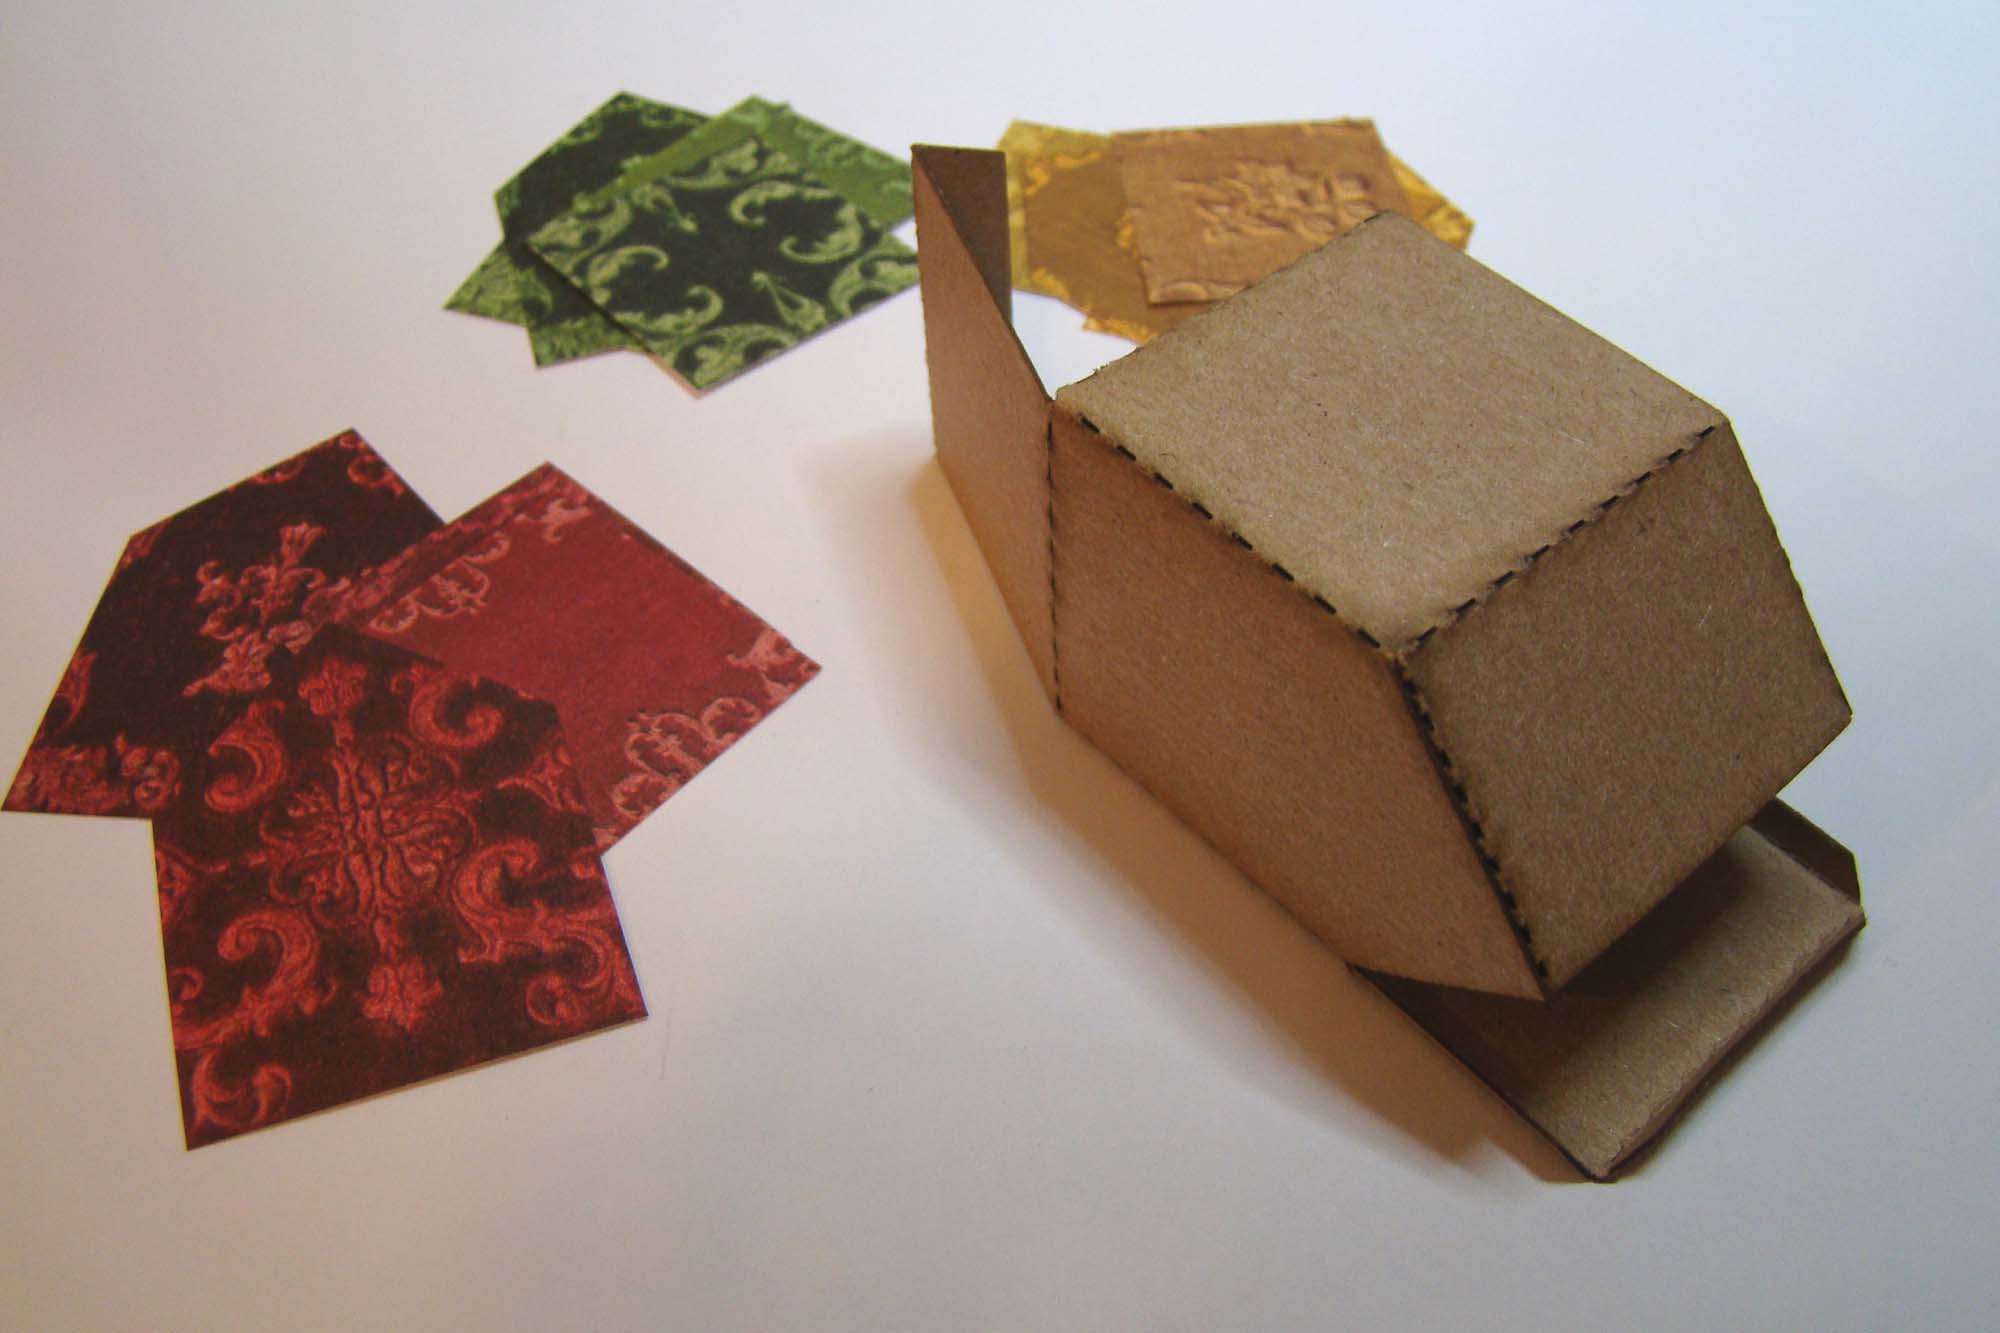
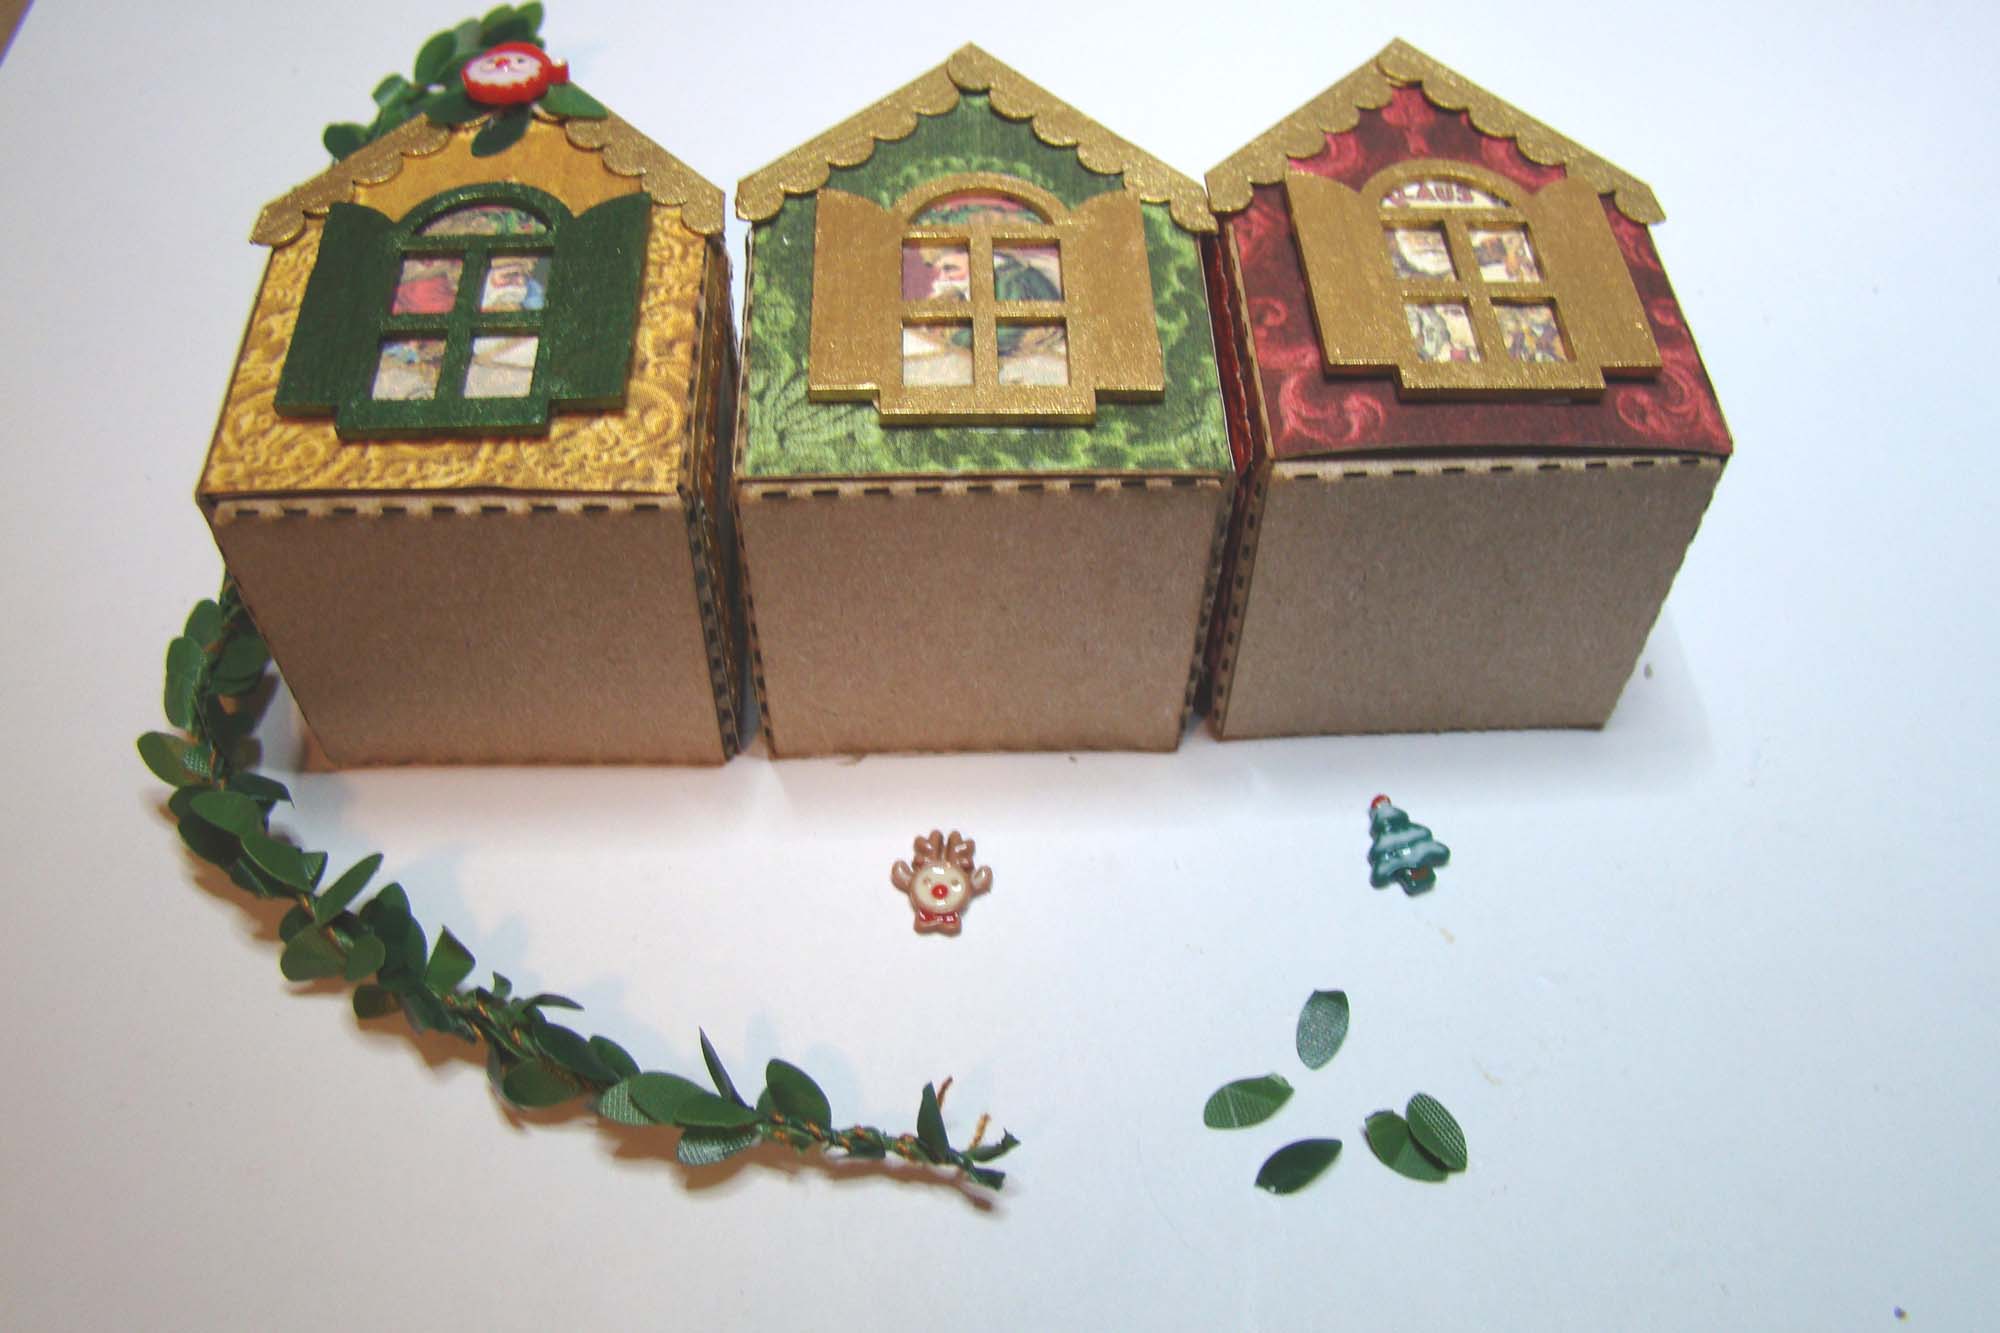
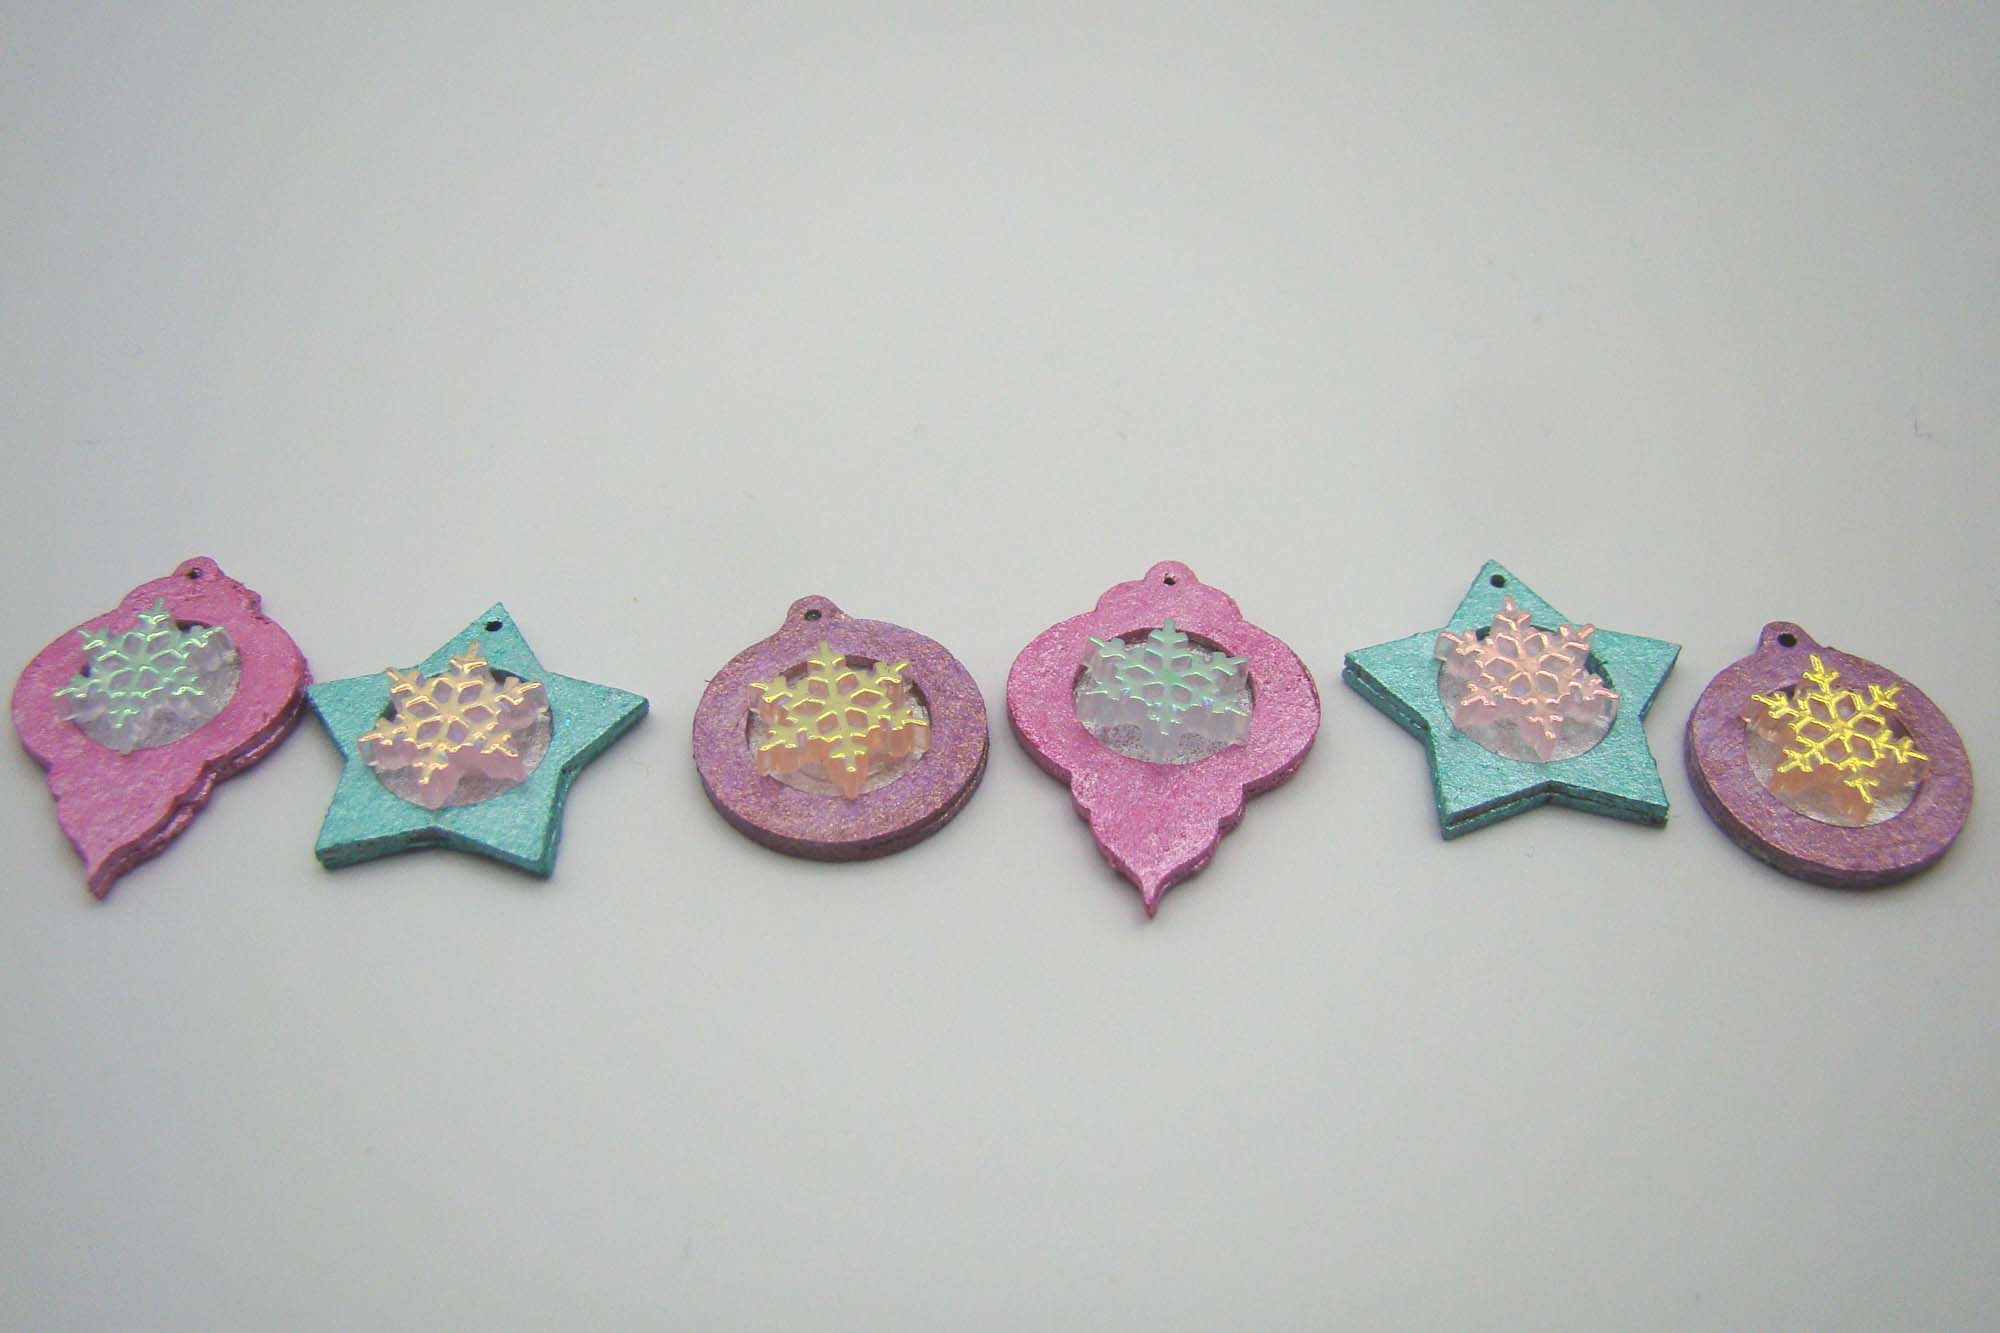
I used the Storage Chest Labels Half Sheet for St Nick images to go on the sides of the houses. Those images were framed using Dresden Christmas Borders trim. The Storage Labels sheet also had some tiny Santa images that fit nicely behind some of the smaller Mini House Doors & Windows which got a coat of metallic acrylic paint.
For the front of the houses I painted Tiny Scalloped Shingles in gold metallic and adhered them at the roof line. I wanted some teensy greenery and discovered the perfect solution by plucking leaves from a Tiny Green Leaf Garland and glued them in place. To finish the house facades I glued an 8mm Resin Christmas Cookies or Ornaments Mix (so cute!) at the peak of the roof.
They look darling together.
What’s great about these little houses is they can be used as tiny decorative gift boxes with a treat stashed inside. Truffles anyone?
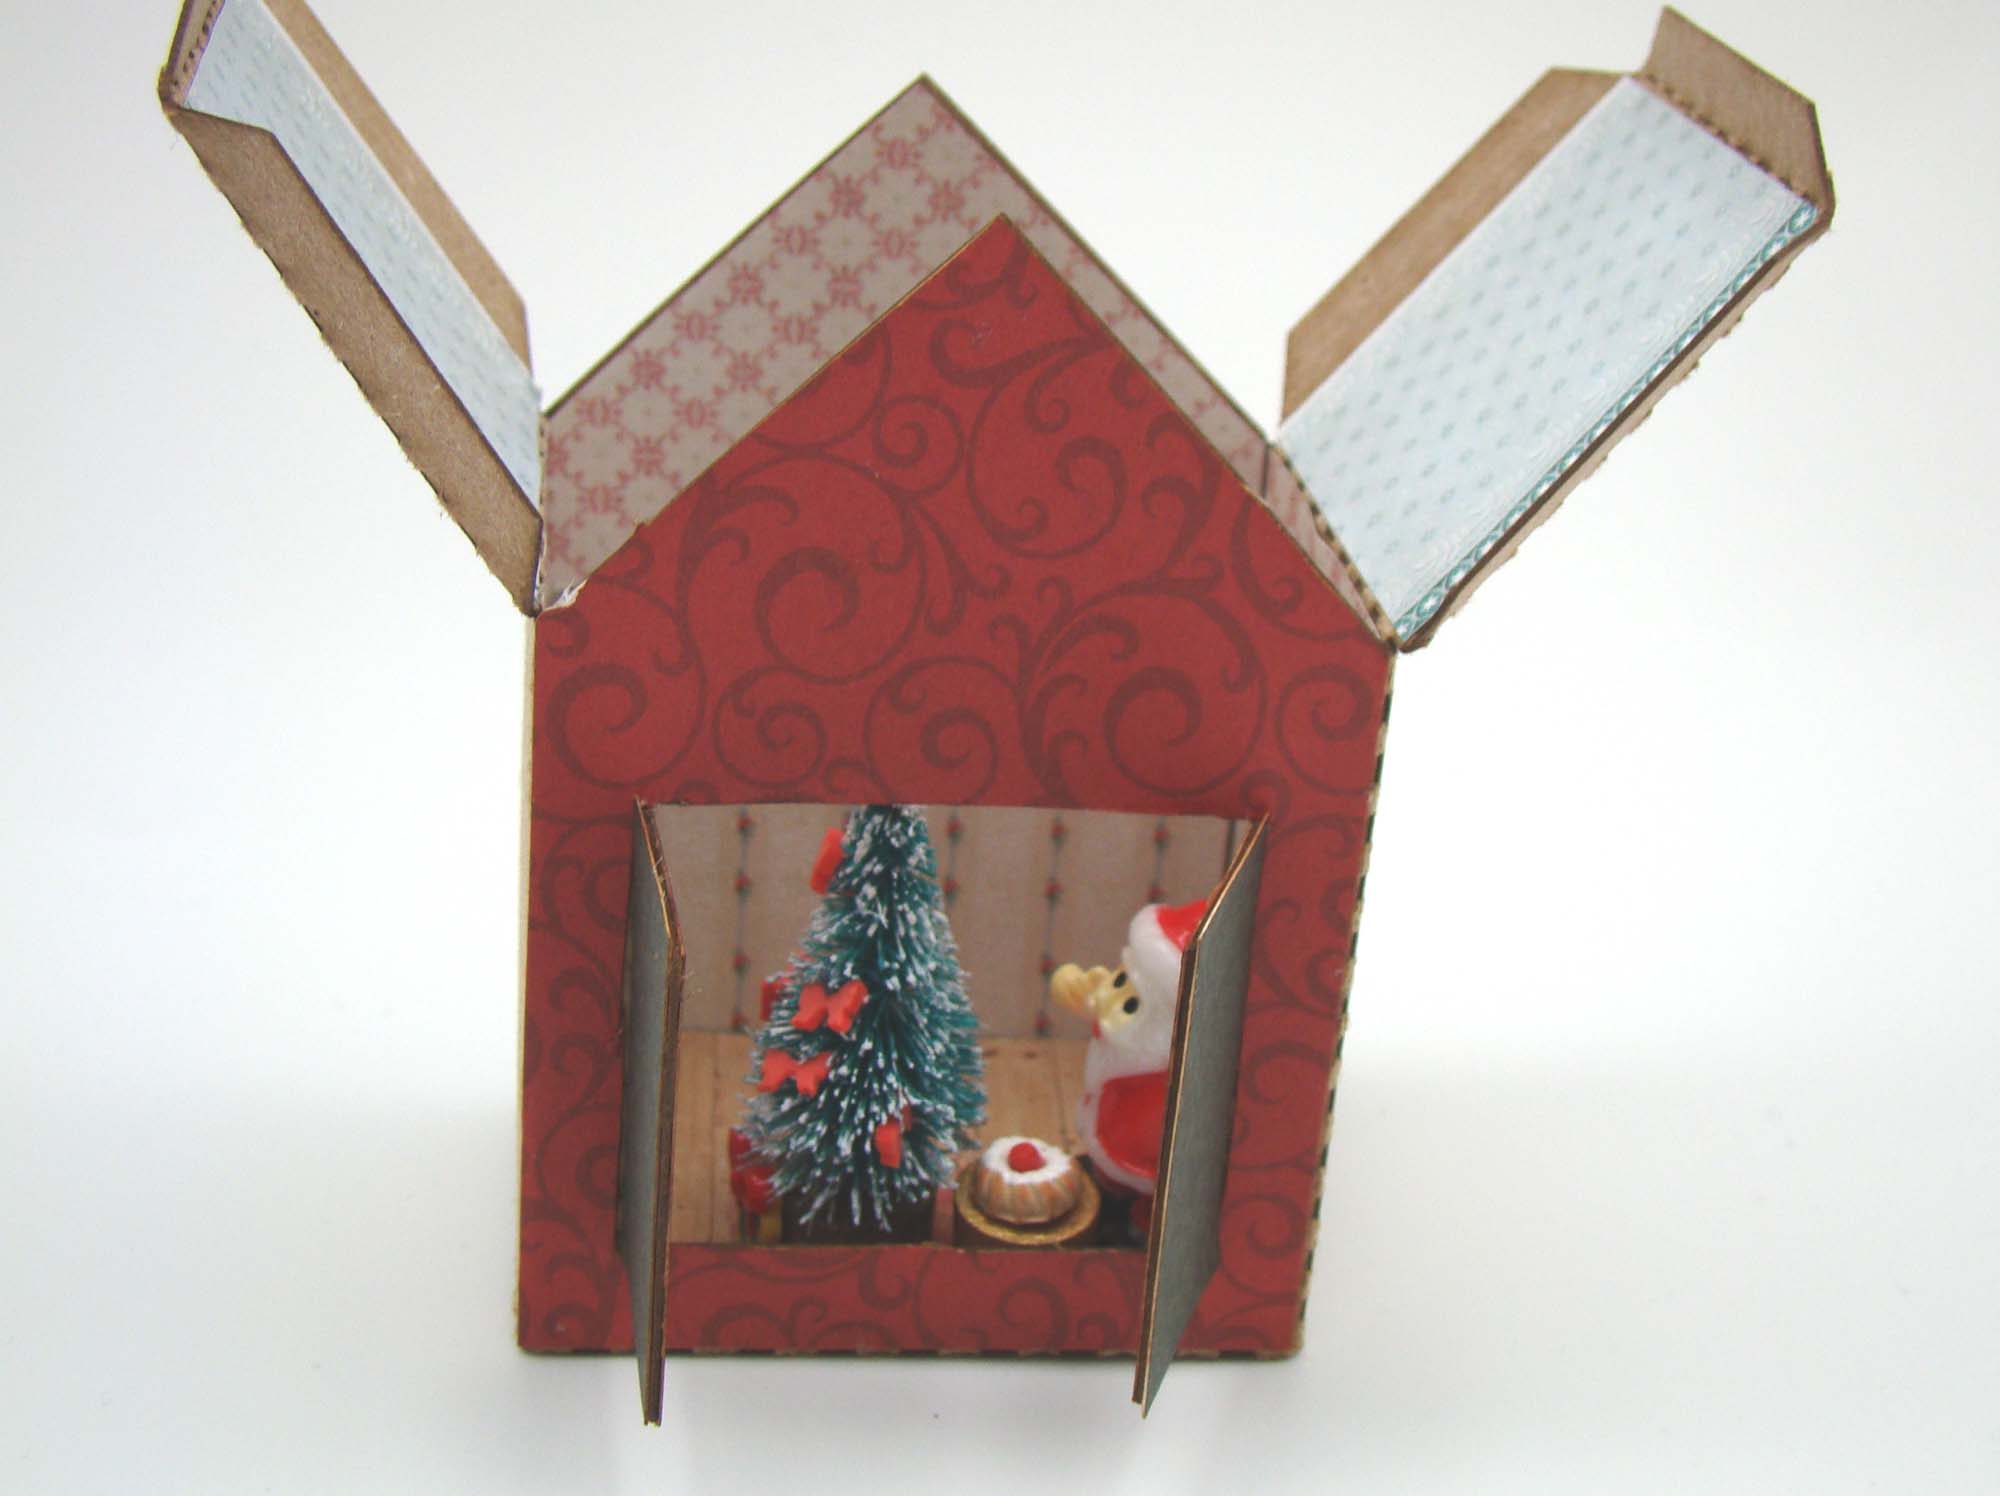
There are also new larger foldable 2 Inch House – String Tie Doors which open in the front. Behind those doors you can set a mini scene or just tuck in a couple of treats. For this one I wanted to set a Christmas eve scene inside so decorated the interior with wallpaper and flooring from the ¼ Scale Wallpaper Collage Sheet.
I secured the roof last which made placing the items inside from above very easy.
The exterior of the house was covered with A Vintage Christmas 6×6 Paper Pad, more of the Tiny Scalloped Shingles painted metallic gold. The final step was to secure the perfect roofing from the new Tiny House Roofs and Facades Collage Sheet. I added a wreath made from a sparkly green pipe cleaner decked with a Miniature Red Resin Bow. I added Tiny Polymer Clay Candy Cane door pulls.
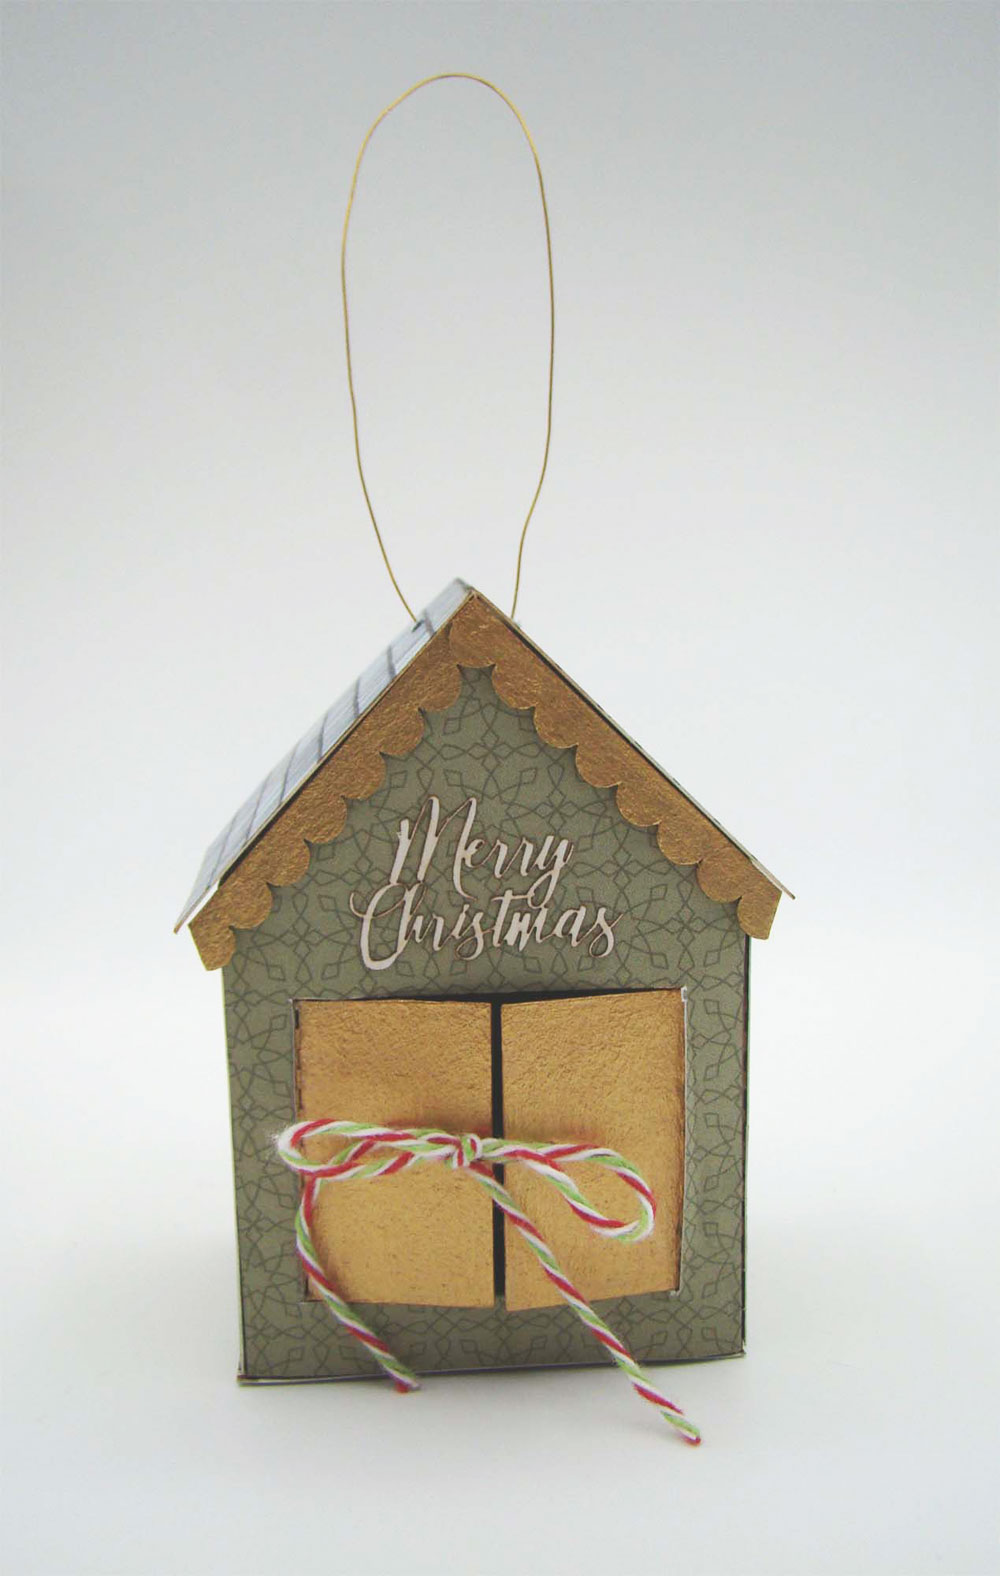
I turned one of the 2 inch houses into an ornament. The paper is from the Vintage Christmas paper pad. The doors were painted gold before adhering paper to the front. There is one of the Tiny Holiday Greetings above the doors along with more Tiny Scalloped Shingles. This house comes with holes in the roof for the addition of a bit of wire to hang the ornament and also holes in the doors to run some holiday baker’s twine through to tie the doors shut after tucking some treats inside.
The little windows on the side are cut from the Vintage Christmas 6×6 Paper Pad.
Thanks so much for your visit today! You can find all the wonderful Alpha Stamps supplies I’ve used right HERE.
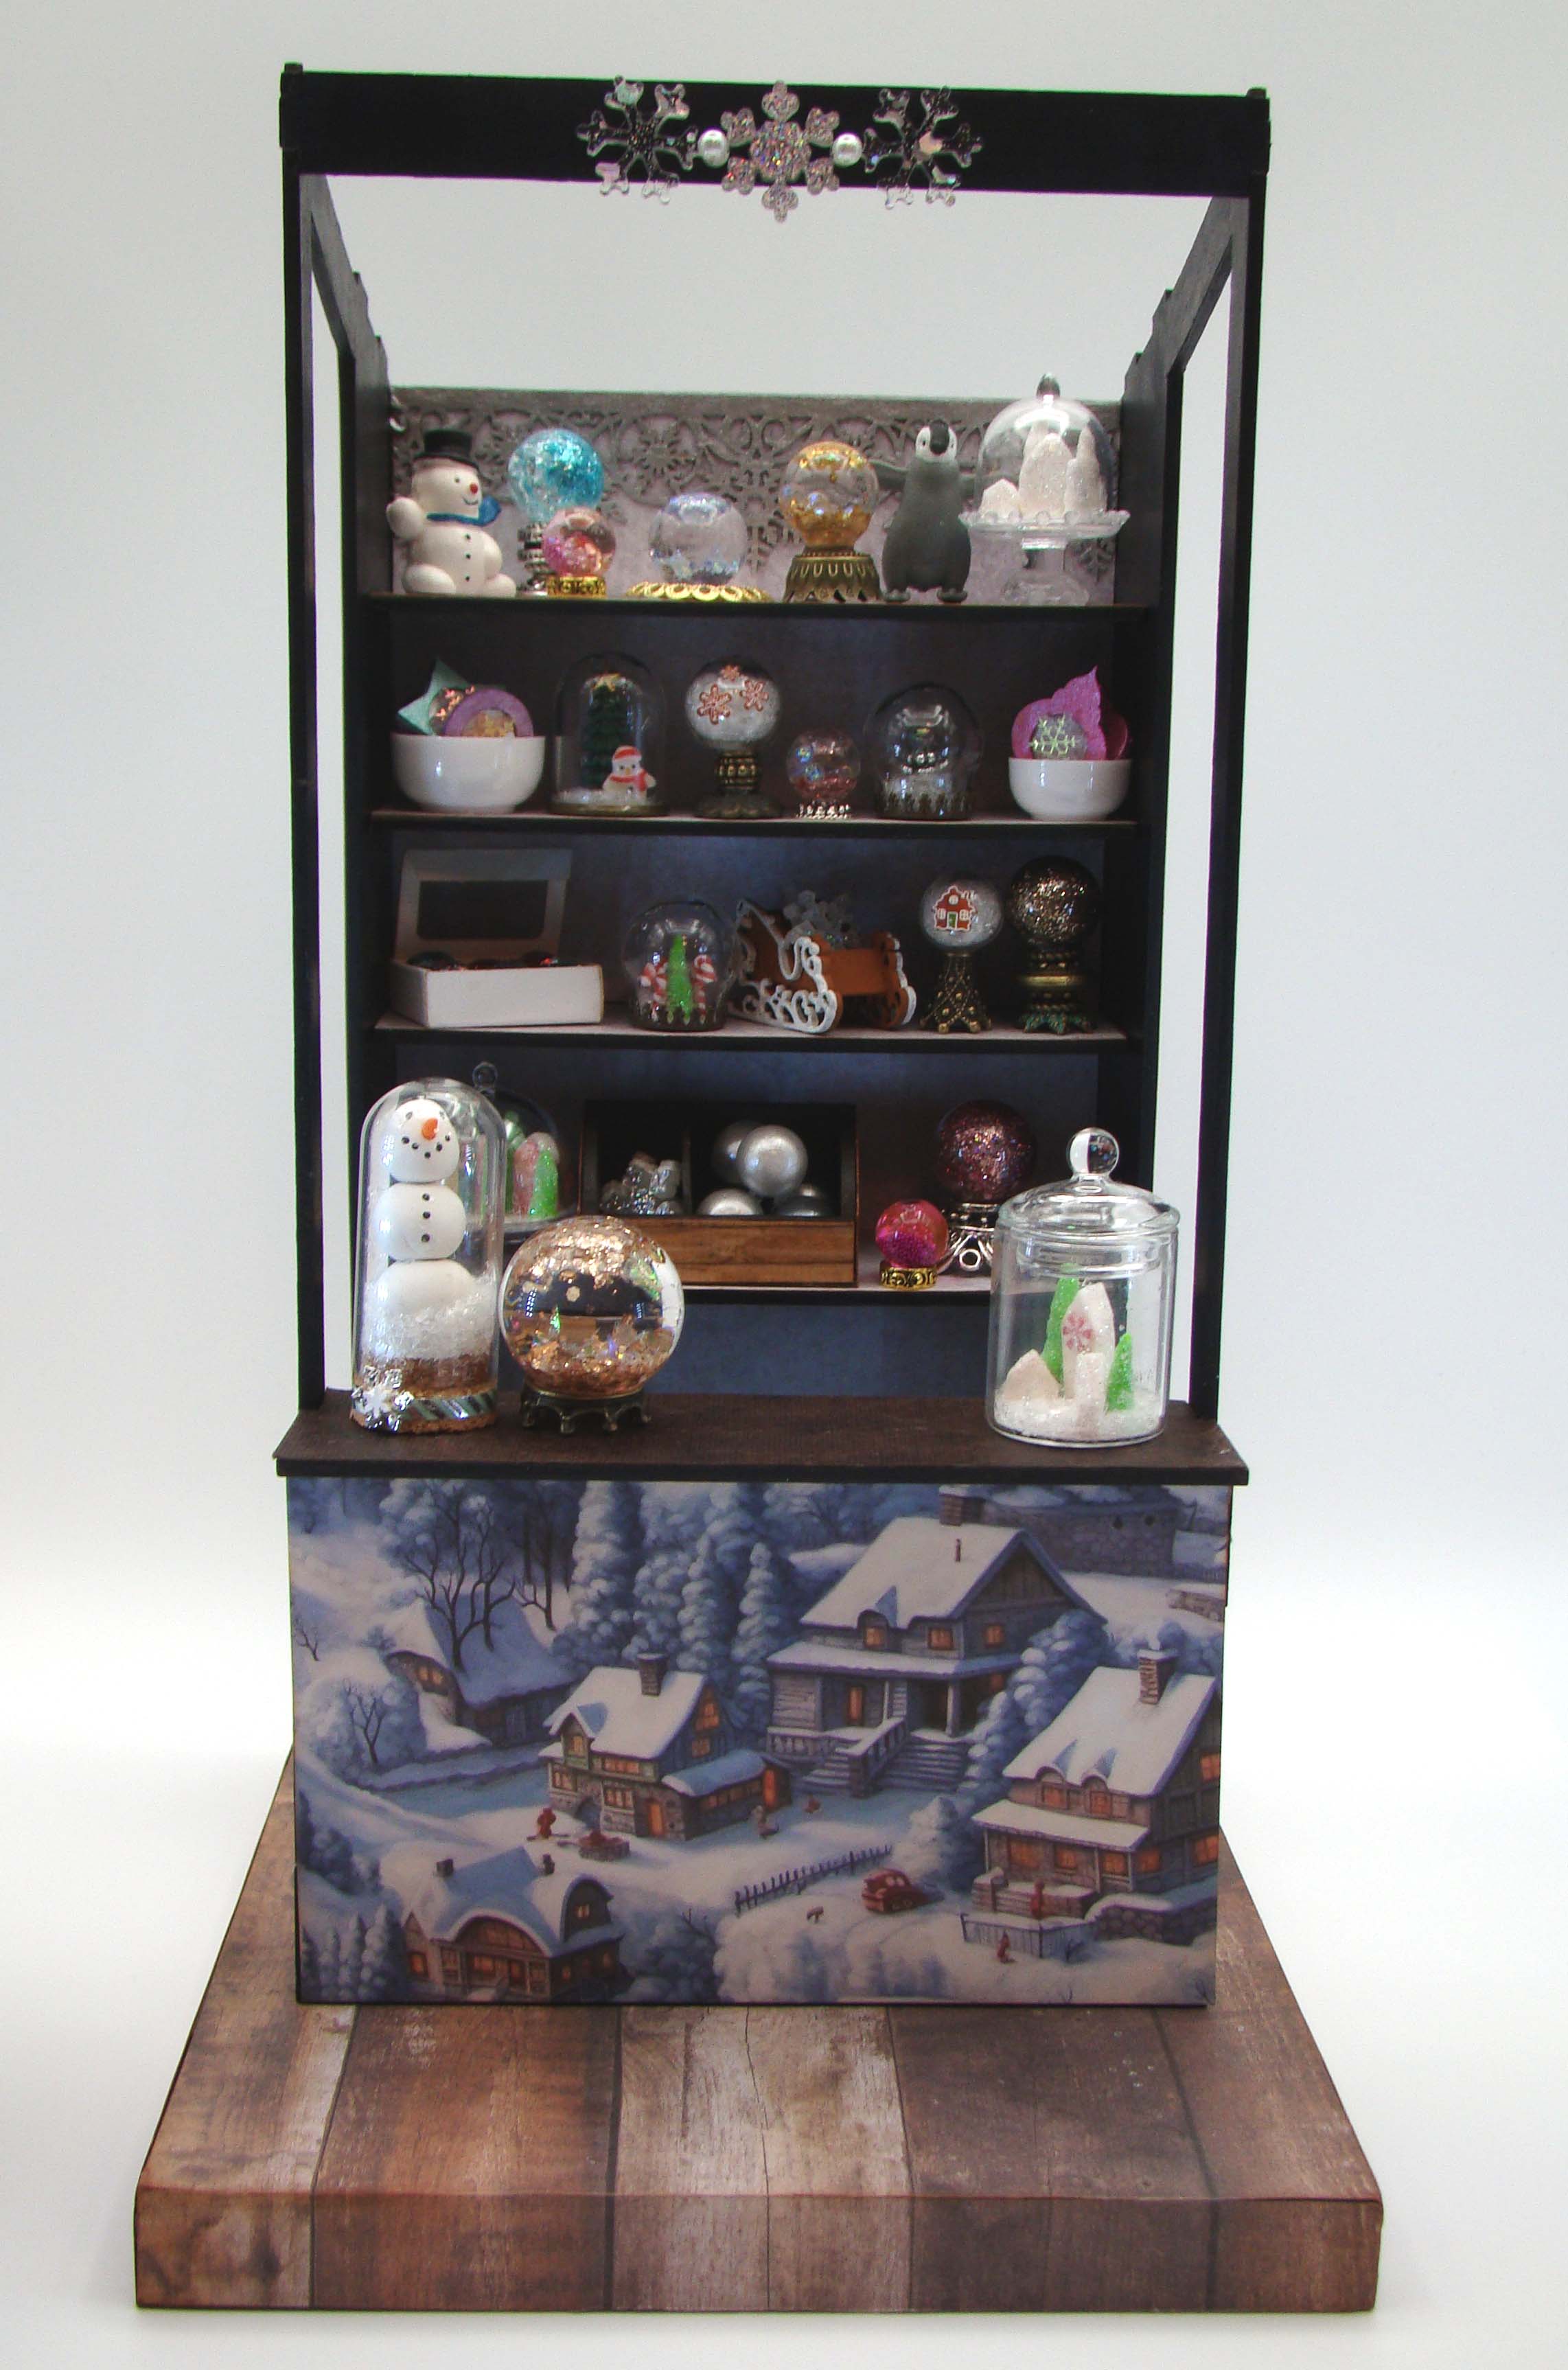
Here come the holidays! It won’t be long until snowy weather hits and we have our homes decked out for all the winter festivities. I’ve never been to any of the European holiday markets but can visualize a diverse mix of multicolored booths each one selling prettier things than the last to make your holidays bright. In that spirit I have a miniature holiday market project for Alpha Stamps to share with you today, one that features a 1:12 Scale Market Stall and a bunch of snow globes, ornaments and other tiny sparkly bits.
Let me start by saying the market stall is easy to put together using a bit of tacky glue. I always lay out a structure so I know which surfaces will need to be painted and which will be papered. I chose a dark blue acrylic paint for the roof, floor and supports and Craft Consortium Dark Grunge Tone papers for the shelves and exterior walls. To add a little bit of sparkly interest to the very top shelf, I painted a Snowflake Border with silver paint and adhered it to the rear wall.
For the base that the stall sits on I chose a wood tone paper from Craft Consortium. The floor of the stall will be glued onto the base and the side stall supports need be inserted into slots in the market base. Rather than papering the entire base and cutting little holes for the slots I just cut the paper to fit around the holes as in the photo below.
For the front counter assembly, I attached the small counter support painted blue in the photo below. It supports the actual countertop which is papered in a brown textured cardstock.
For the front of the stall I used one of the new Snowy Winter Village 6×6 Paper Set. This set features so many pretty little snowy scenes it was hard to choose.
With the stall ready to open for business, I set to making cute little wares and decorating little glass globes in as many ways as I could think of. The first thing I tried was coating the interior of some 12mm Round Glass Globes with metallic acrylic paint to make round pearly ornaments. I thinned the paint with a bit of water to make it flow easily and dripped enough inside the globe to coat the interior and set them aside to dry. The globes are secured to a plastic water bottle cap using double sided tape to keep them upright. Tacky wax is also great to use to secure globes in place while decorating.
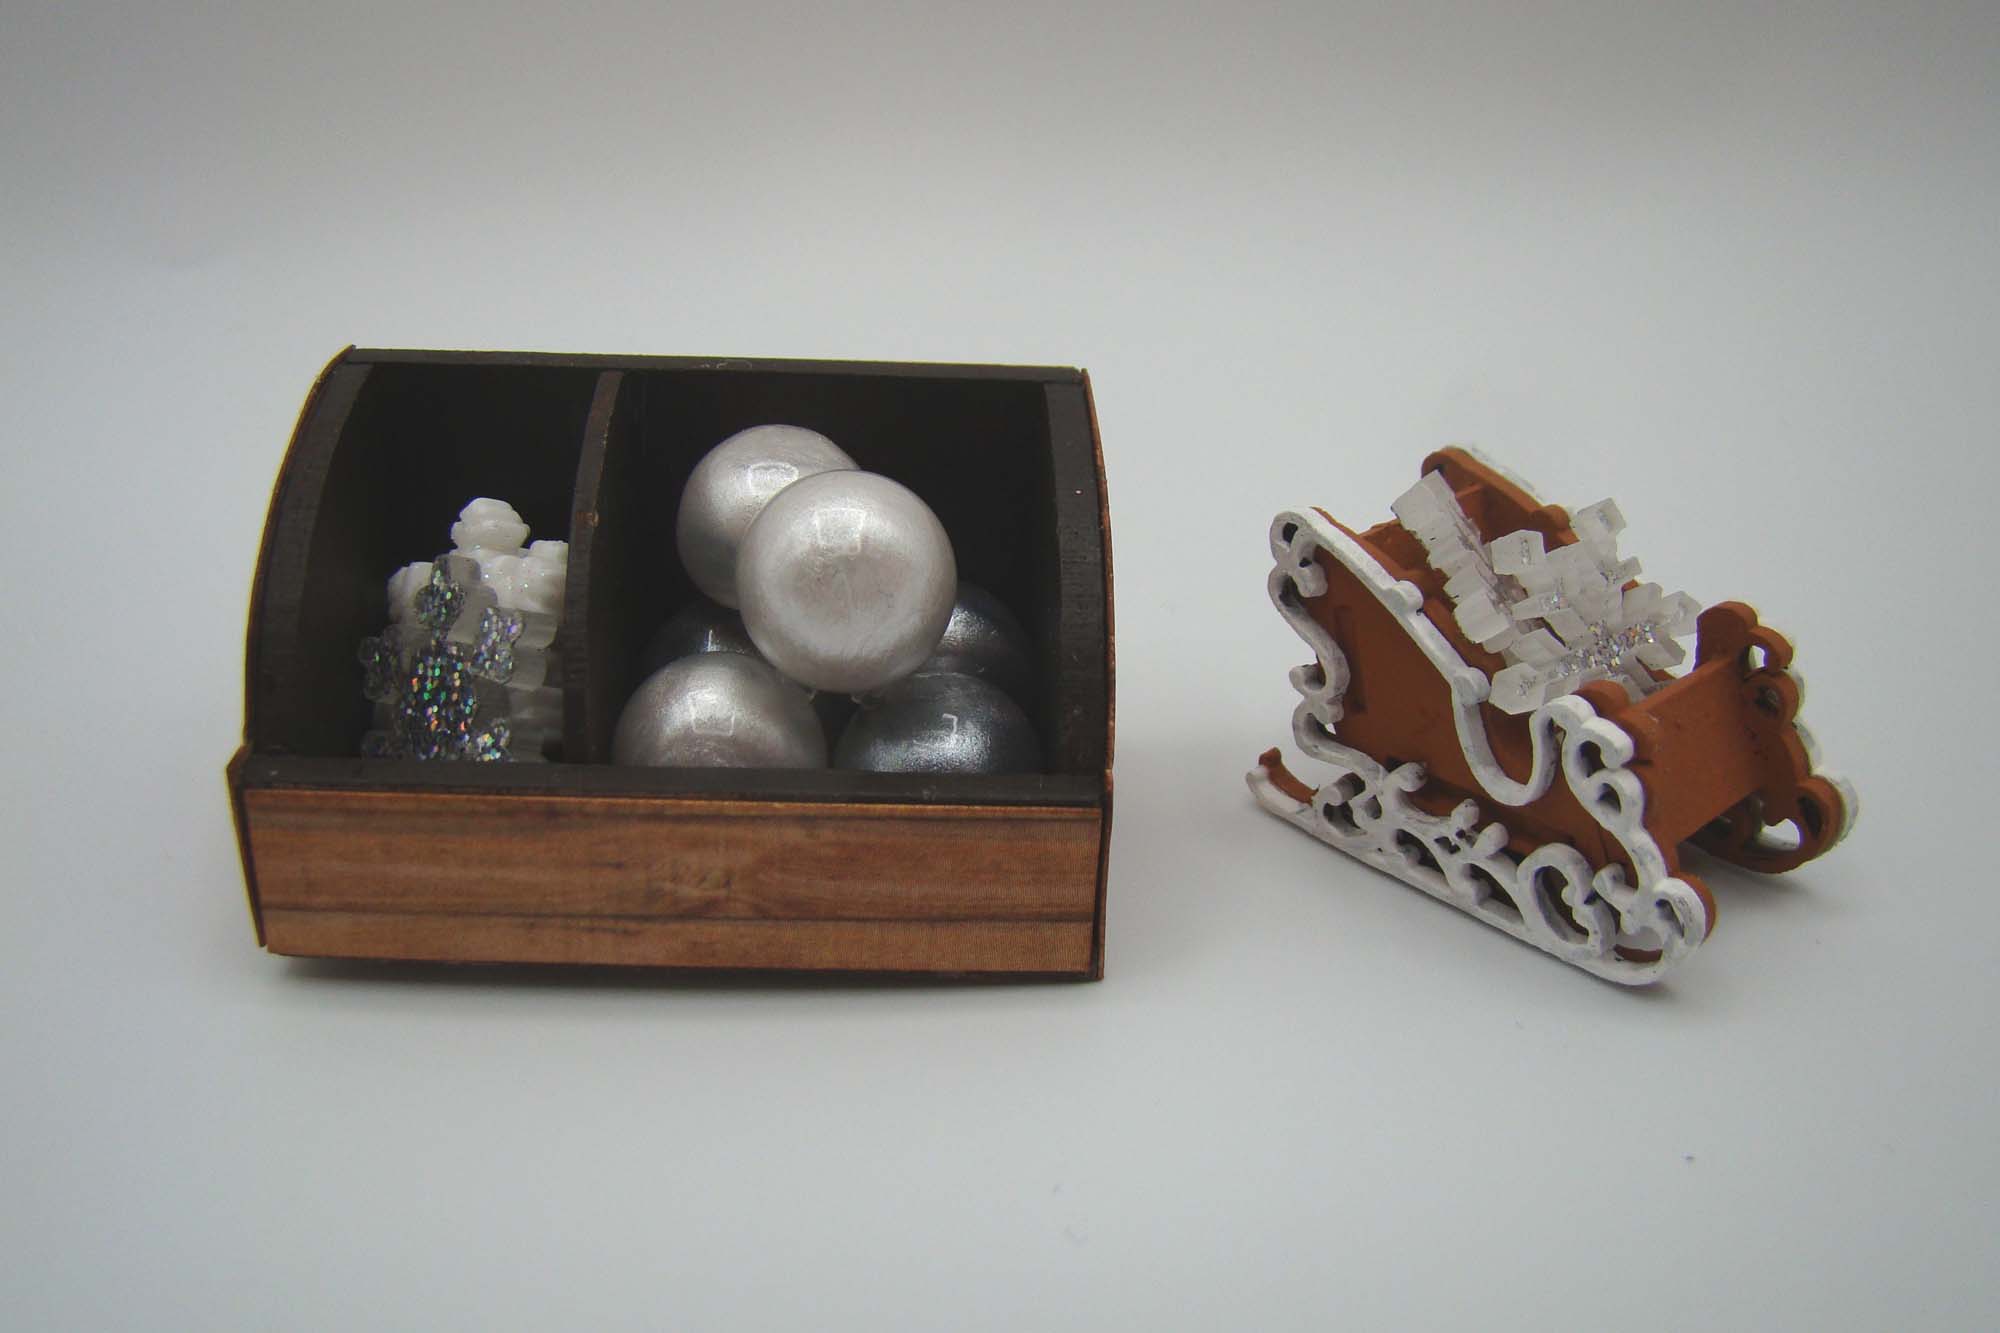
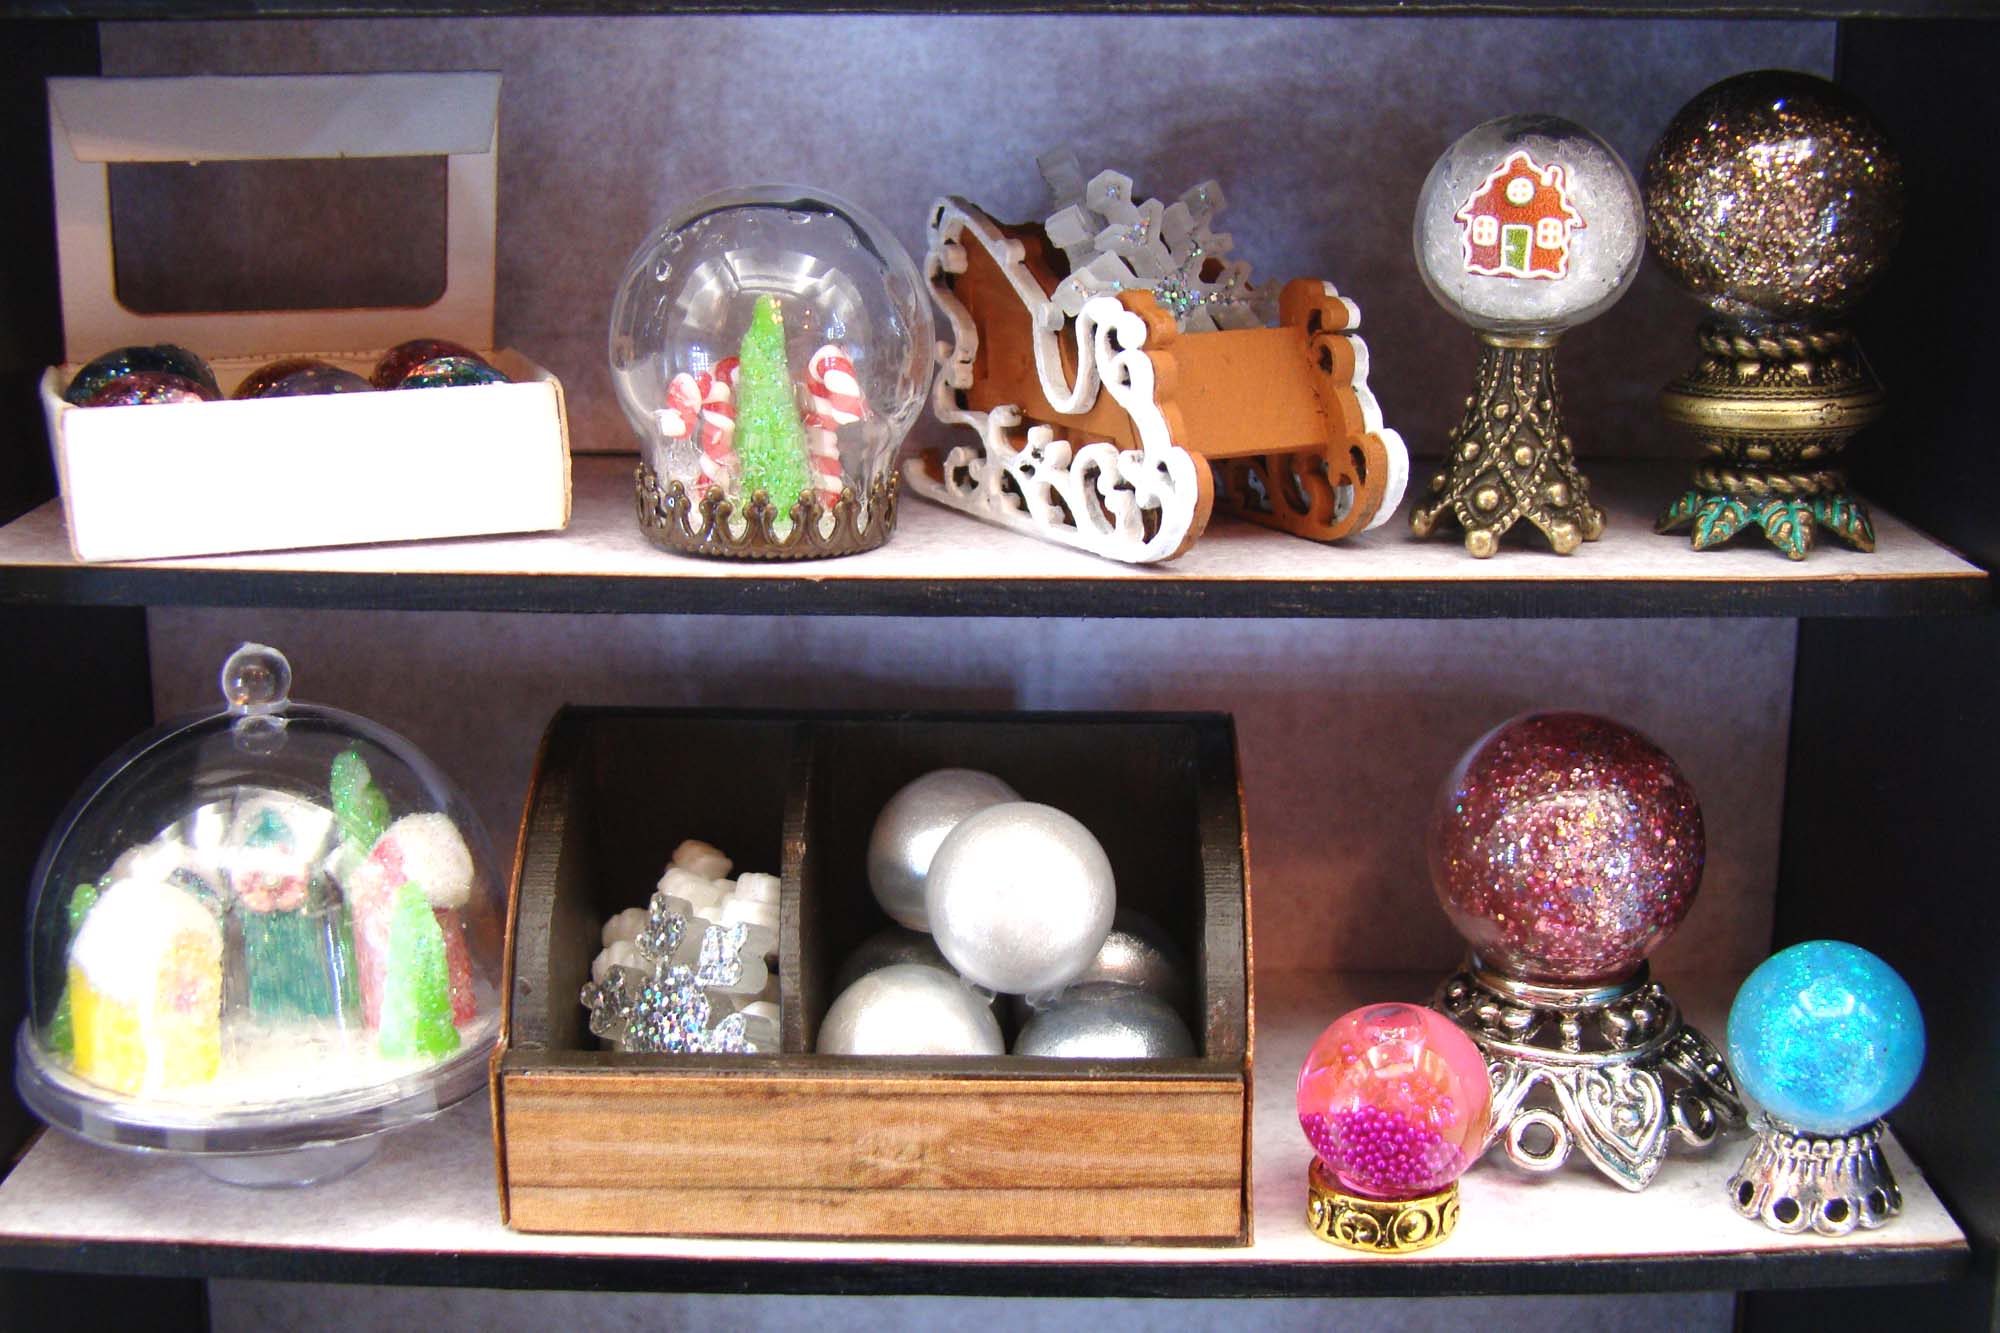
To display them I assembled the new 3 Sections Curved Display. The interior was painted brown and the exterior covered with a scrap of woodgrain paper. This piece comes with two dividers that can be glued in place wherever you want them. I elected to use just one of them. The pearly globes went on the right and a few of the 18mm Acrylic Snowflakes on the left all to be sold as ornaments.
Next I moved on to filling tiny clear containers with snowy scenes. Every one I made started the same way, with a base of white cardstock cut to fit the base.
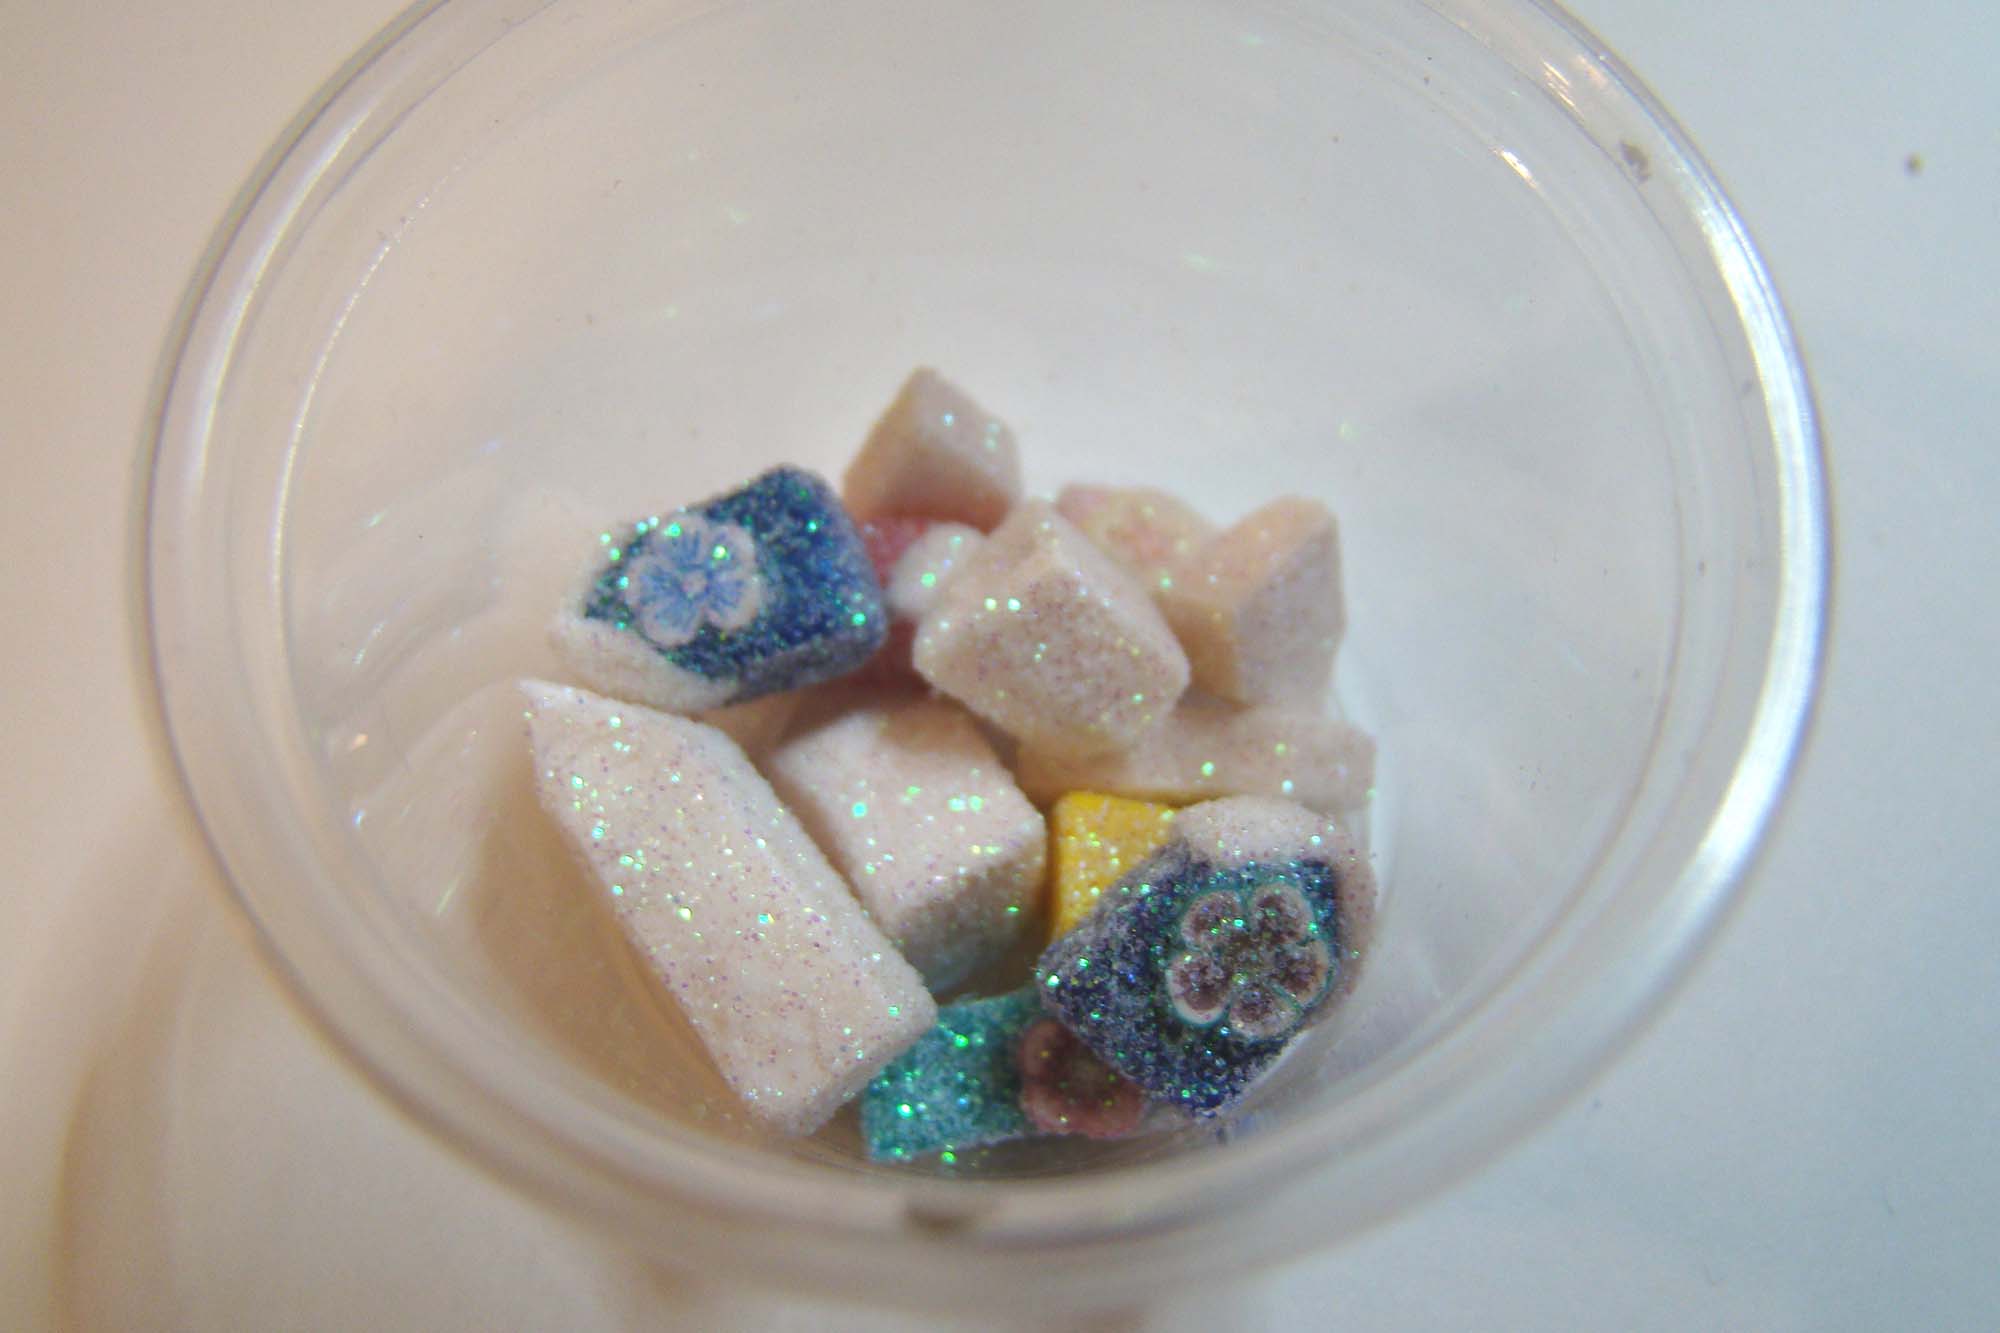
A few of these contain my version of a miniature glitter village, which started with house shapes cut from polymer clay using an x-Acto knife. I made some plain white and others different colors with a thin layer of white clay ‘snow’ on the roofline.
After baking, the colored houses were accented with a Bright Flowers Polymer Clay Slice Mix. To finish them all off they got a thin coating of tacky glue and were tossed into a container of extra fine glitter and left to dry. I also made some white and green polymer clay tree shapes to be included in these little scenes.
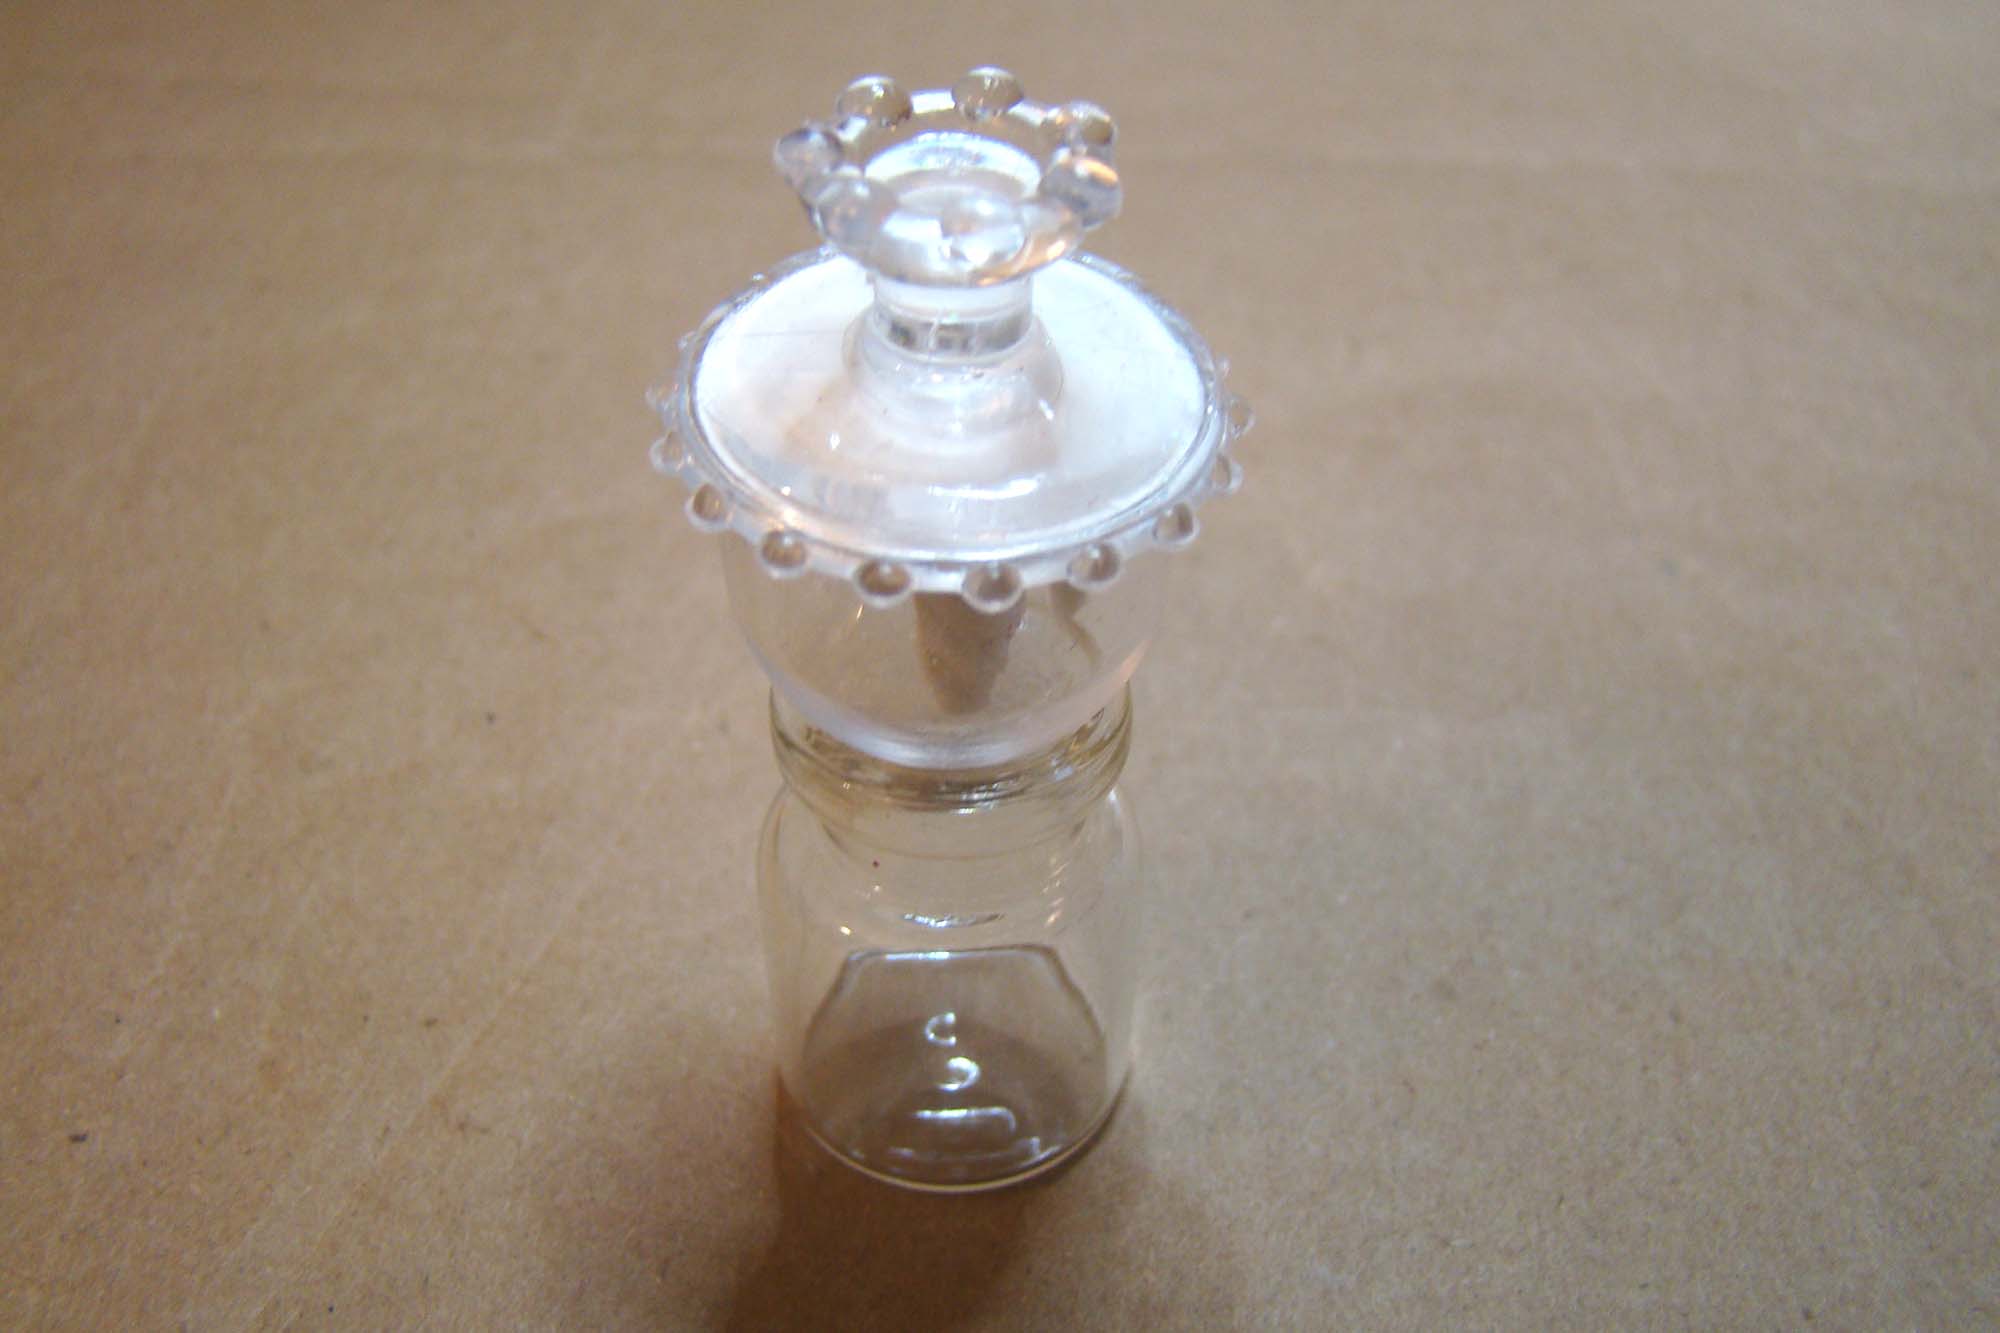
All of the ‘snow’ in these little scenes are just a sprinkling of diamond dust glitter. The trick to getting everything in place is to hold the lid upside down with the loose glitter inside and glue your decorated base to the inverted lid. Once the glue dries you turn the piece right side up and the glitter falls onto your scene like freshly fallen snow. For this one I used a small wide mouth jar I had on hand to stabilize the piece while the glue set.
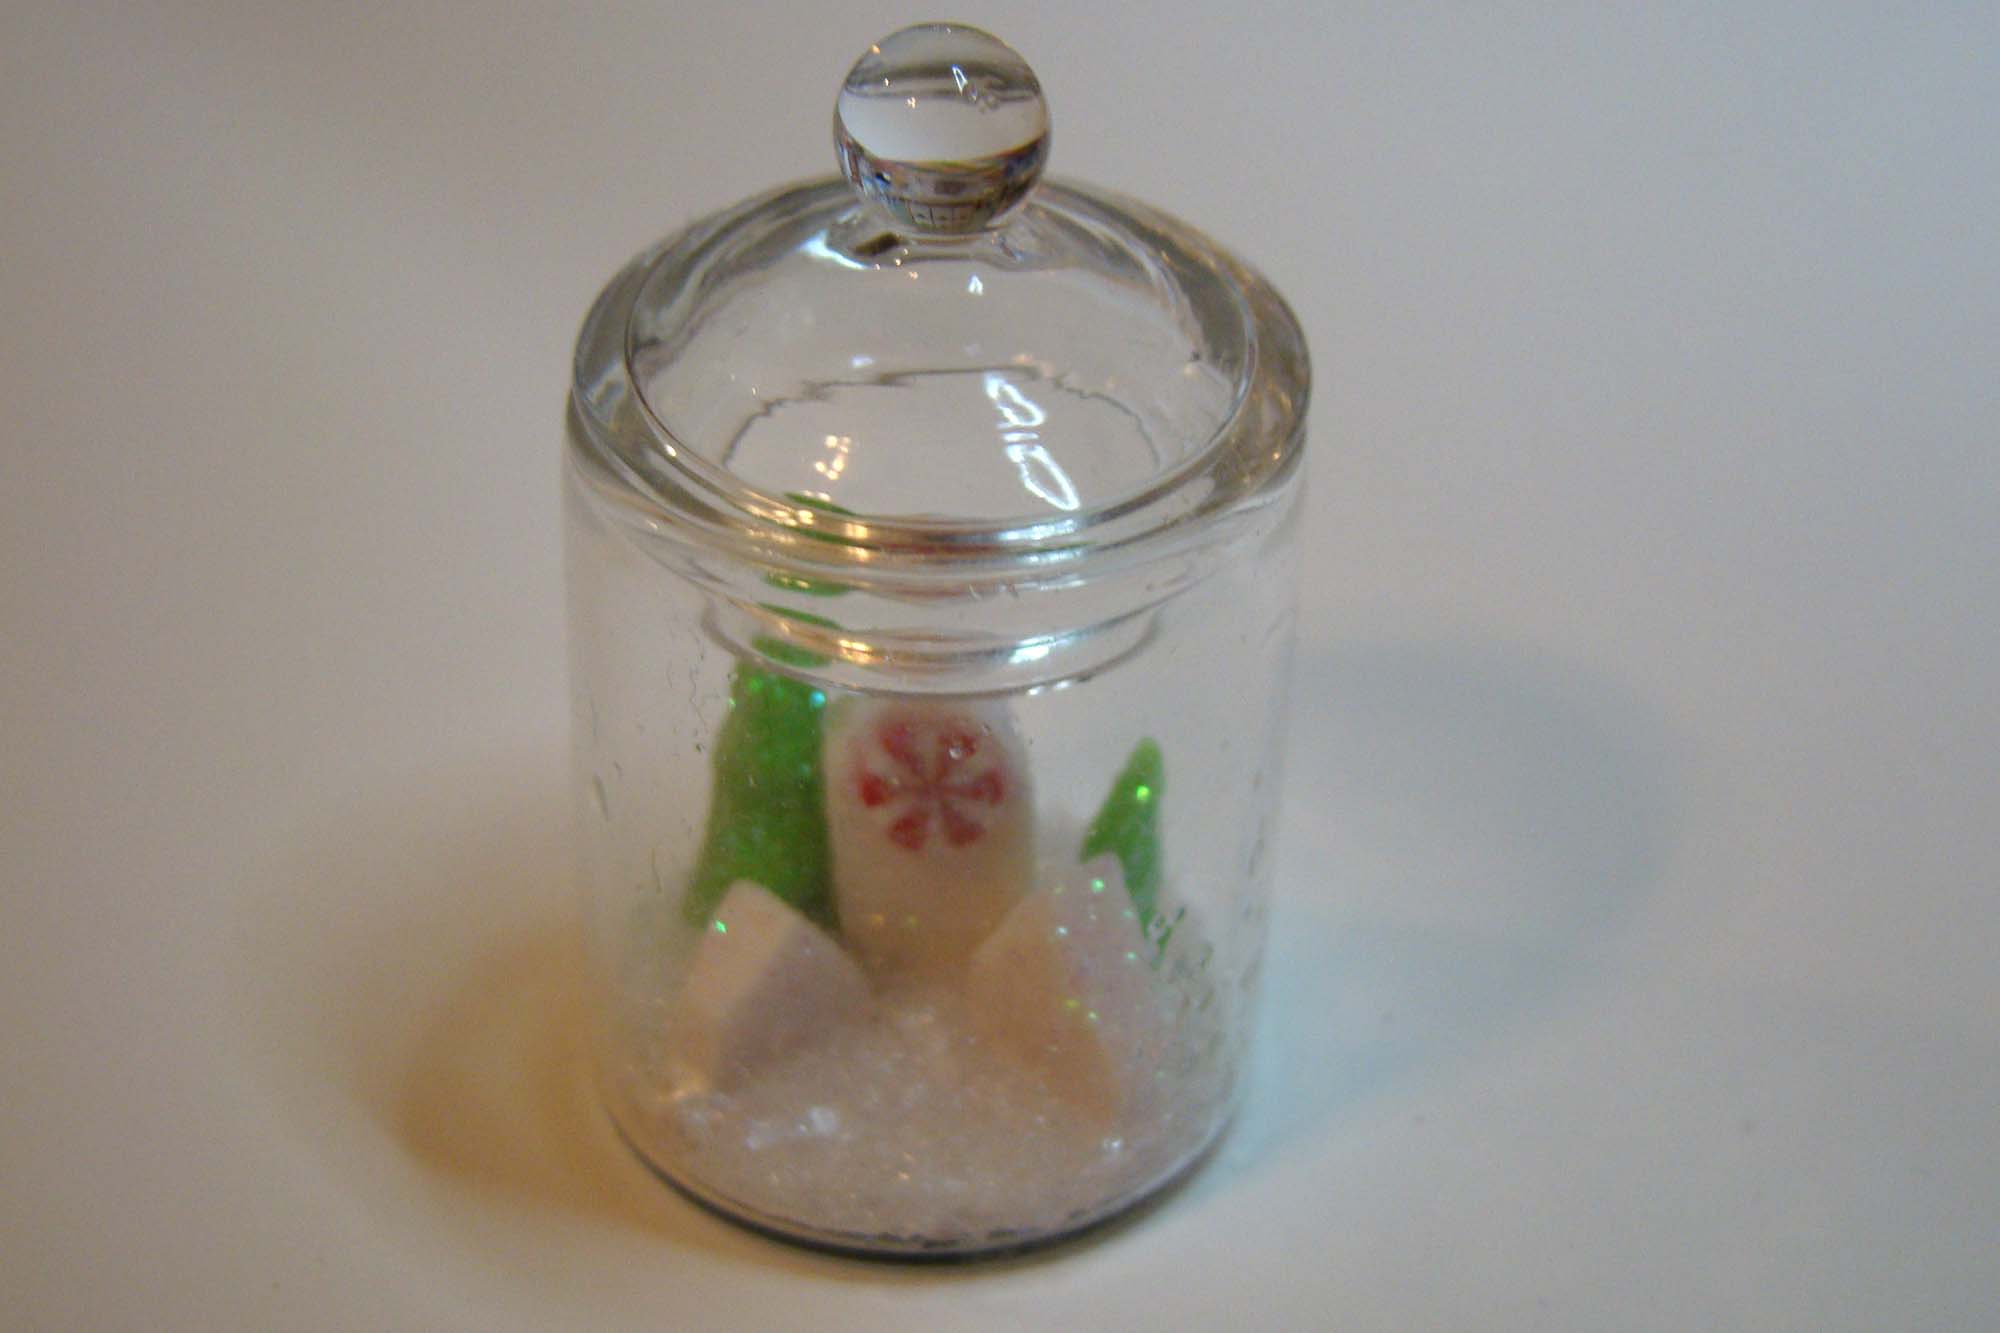
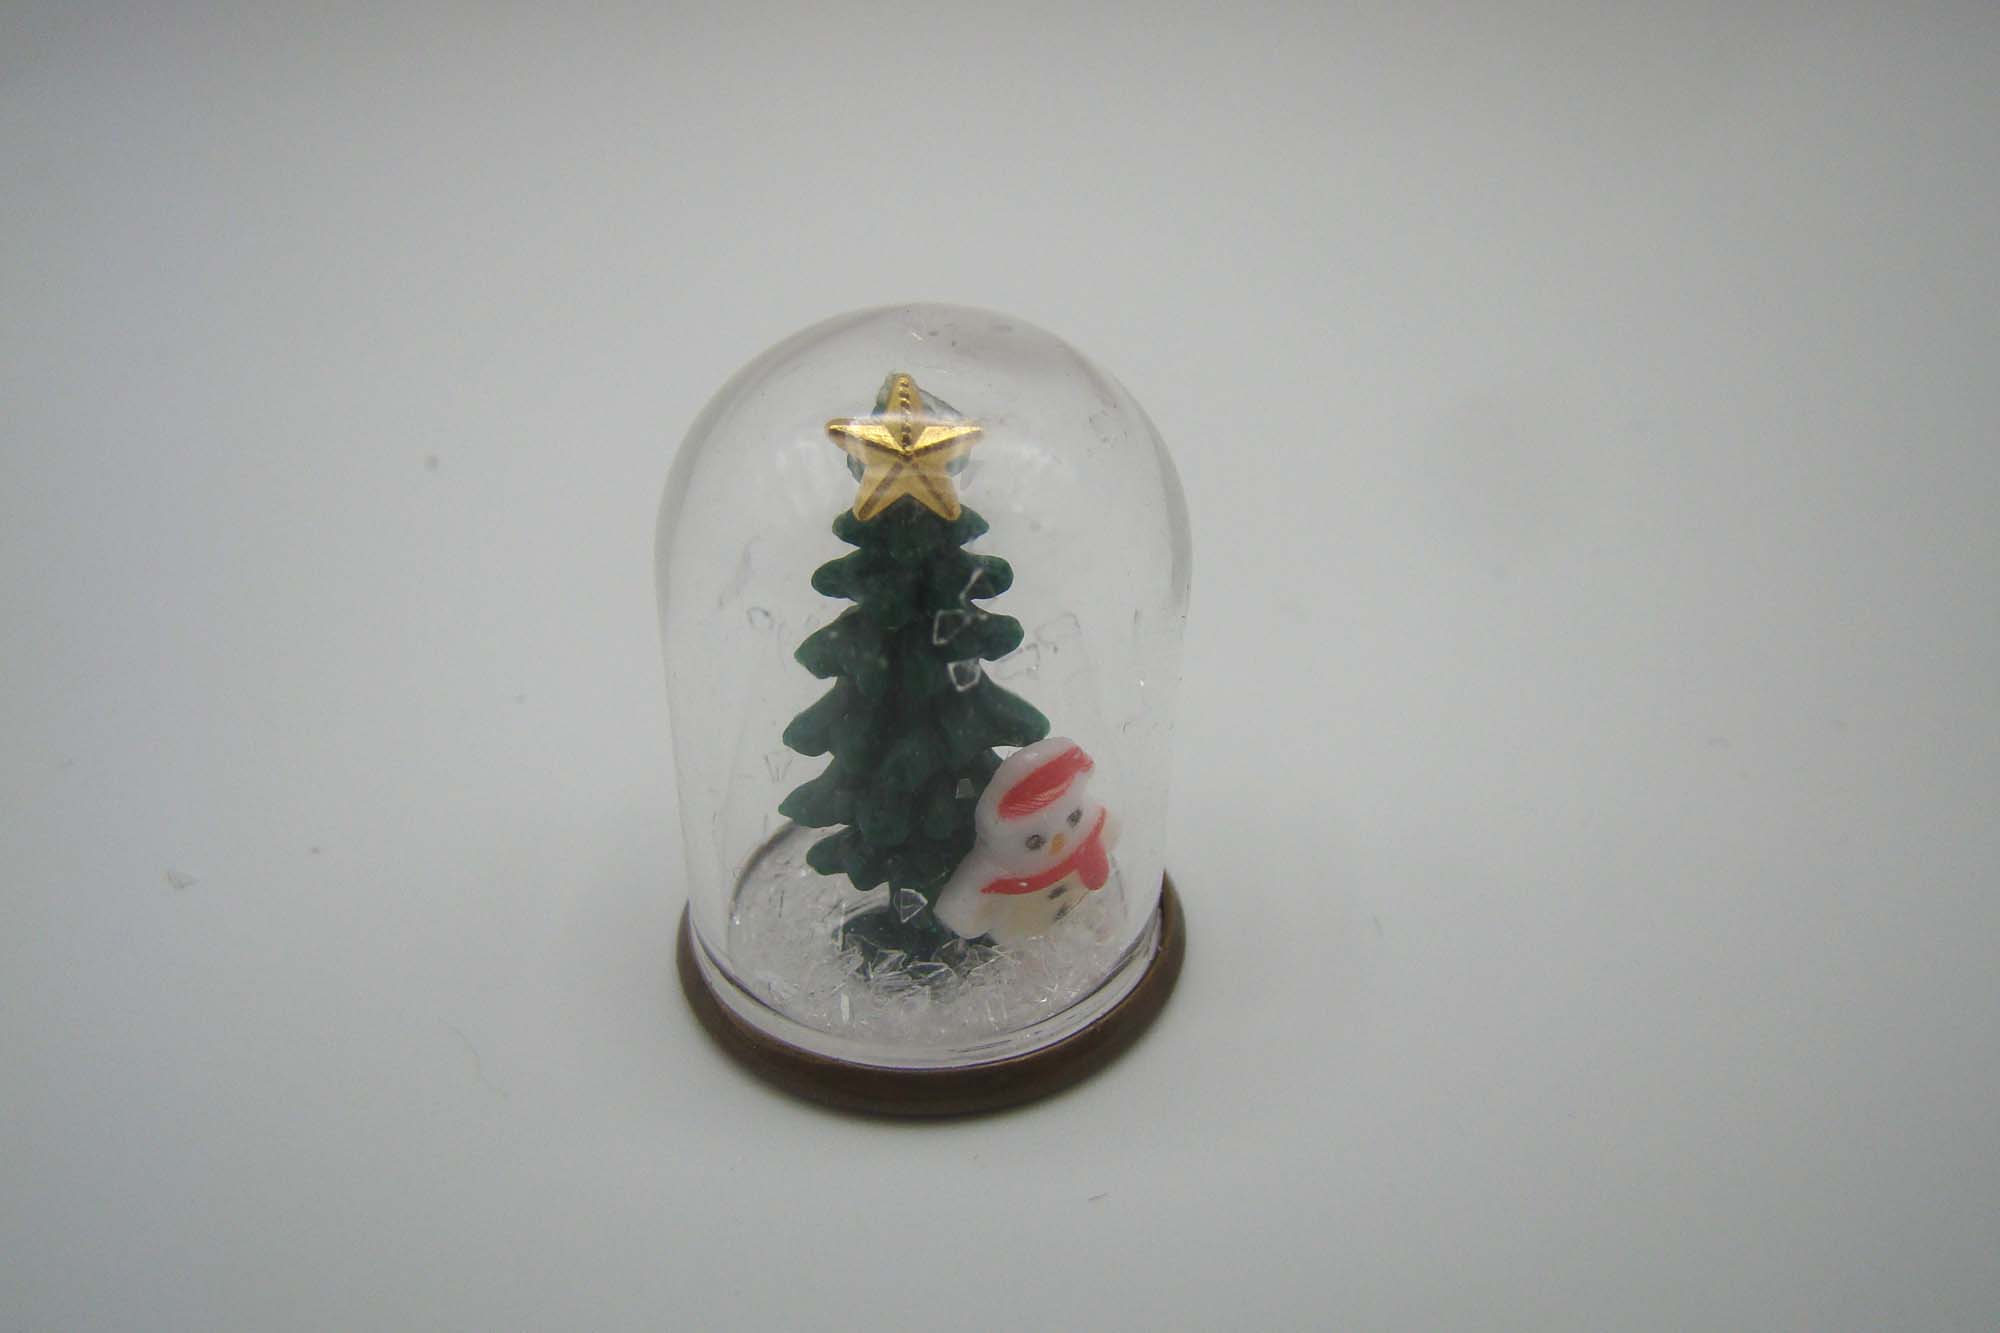
Here are two little scenes mid-assembly. The one on the left is a glitter tree surrounded by a couple of Tiny Polymer Clay Candy Canes that sit inside a 15mm Round Glass Globe Dome. On the right is a colorful glitter village in one of the new 3 cm Tall Clear Cake Stand or Domes.
This pretty little village sits inside a Large Glass Candy Jar. This is the one piece that didn’t need to be held upside down while the glue set. I assembled the village onto card stock, dropped it into the candy jar, added diamond dust glitter and popped the lid on.
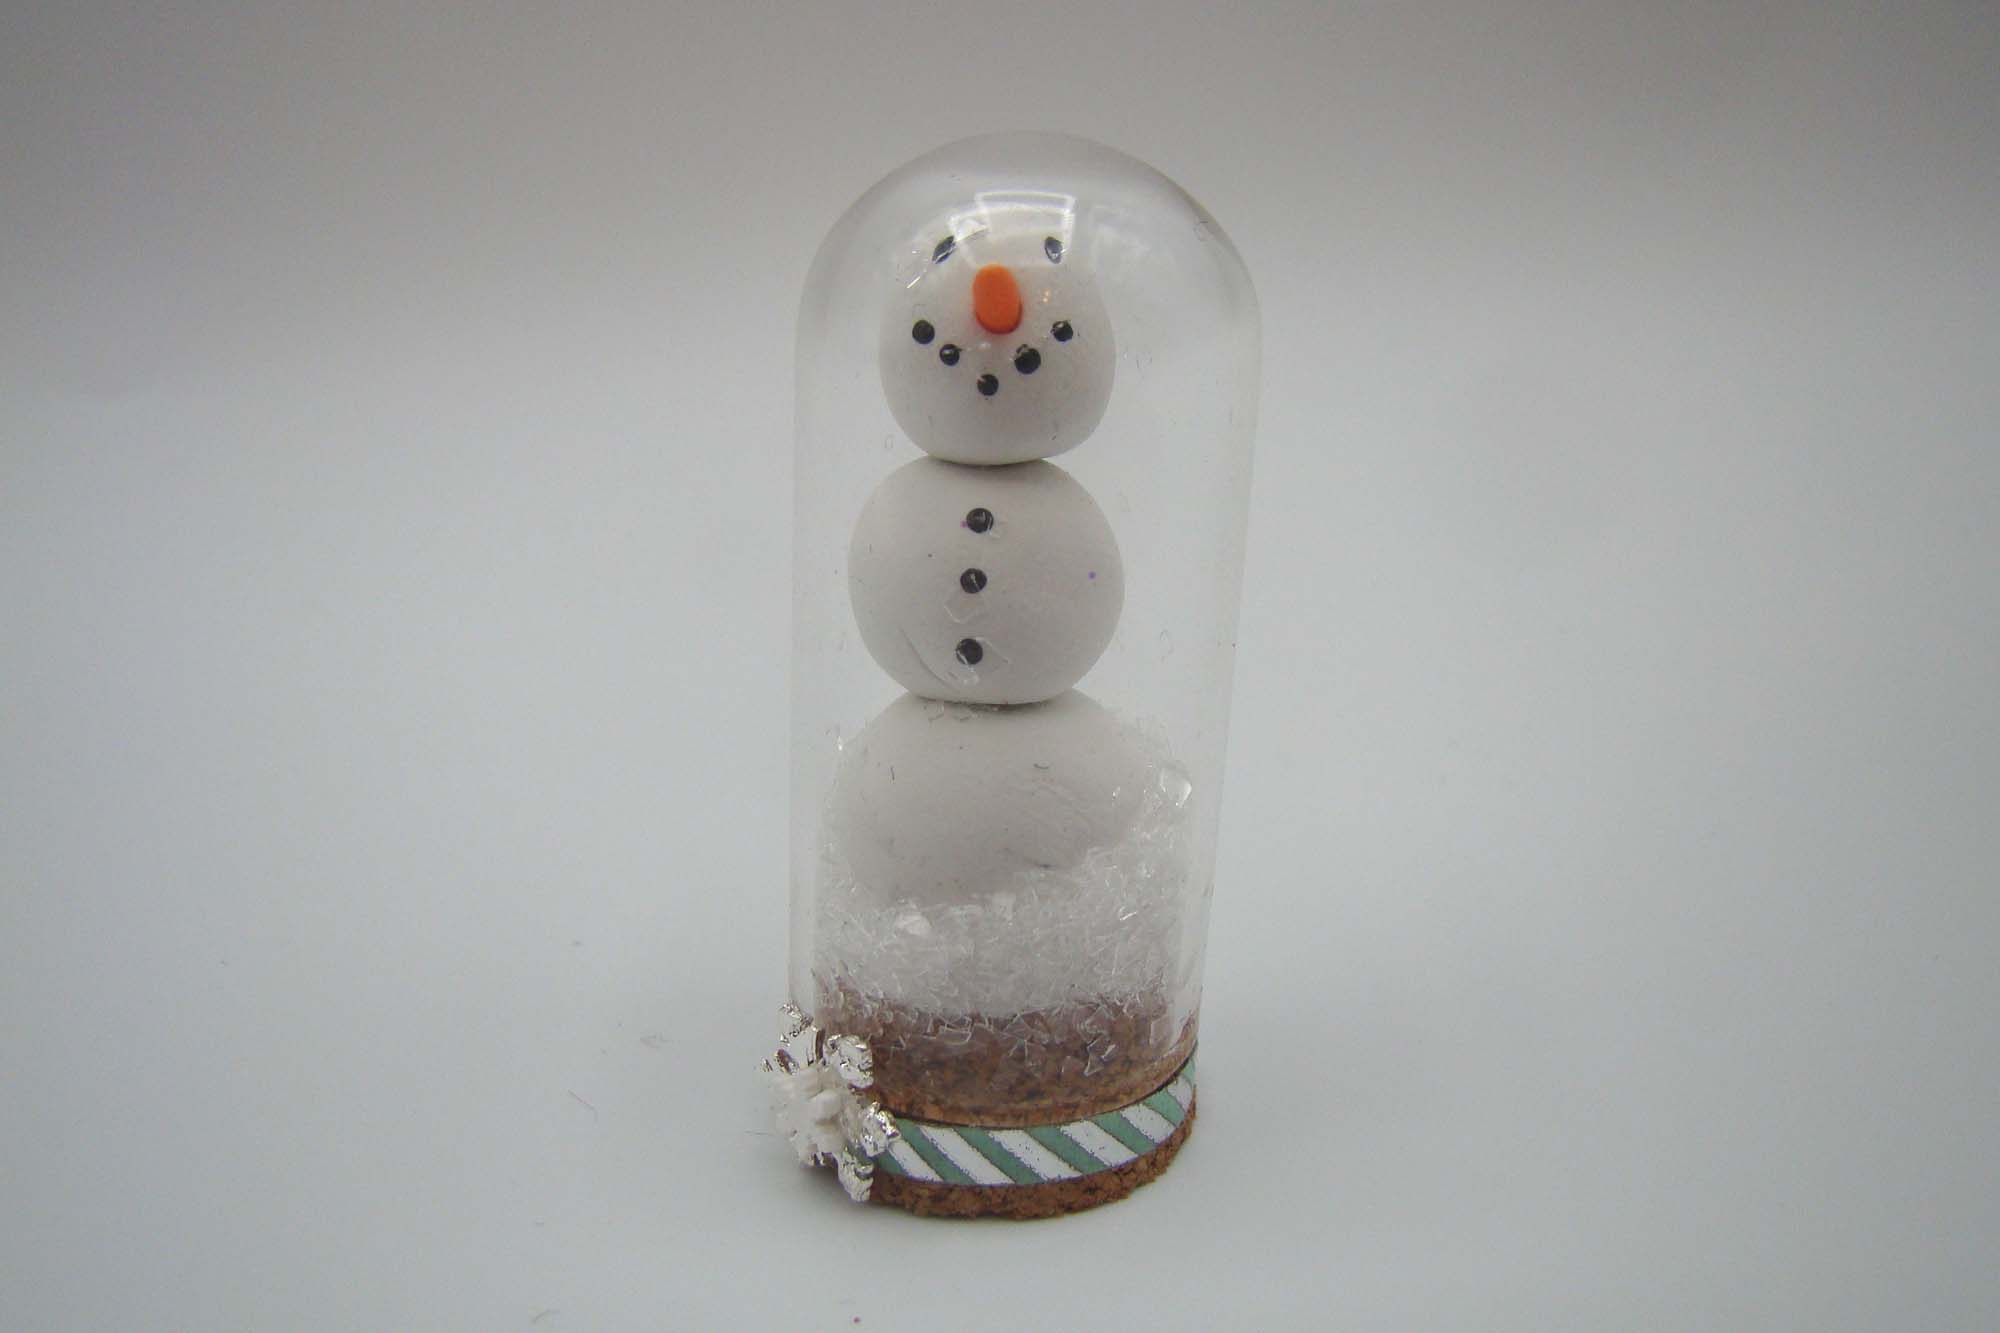
Here is a polymer clay snowman I made to fit inside a Tall Glass Cloche with Cork Base. The carrot nose was stiffened by baking it for 5 minutes before inserting it into the snowman’s head. The base has a bit of decorative trim and one of the Tiny Silver Snowflake Mix topped with a white snowflake from the Blue Penguin Polymer Clay Slice Mix. I love to use slice mixes in my crafting and find myself coming back to them project after project to use bits and pieces. This particular one also has tiny pearls and adorable penguins along with blue and white snowflakes.
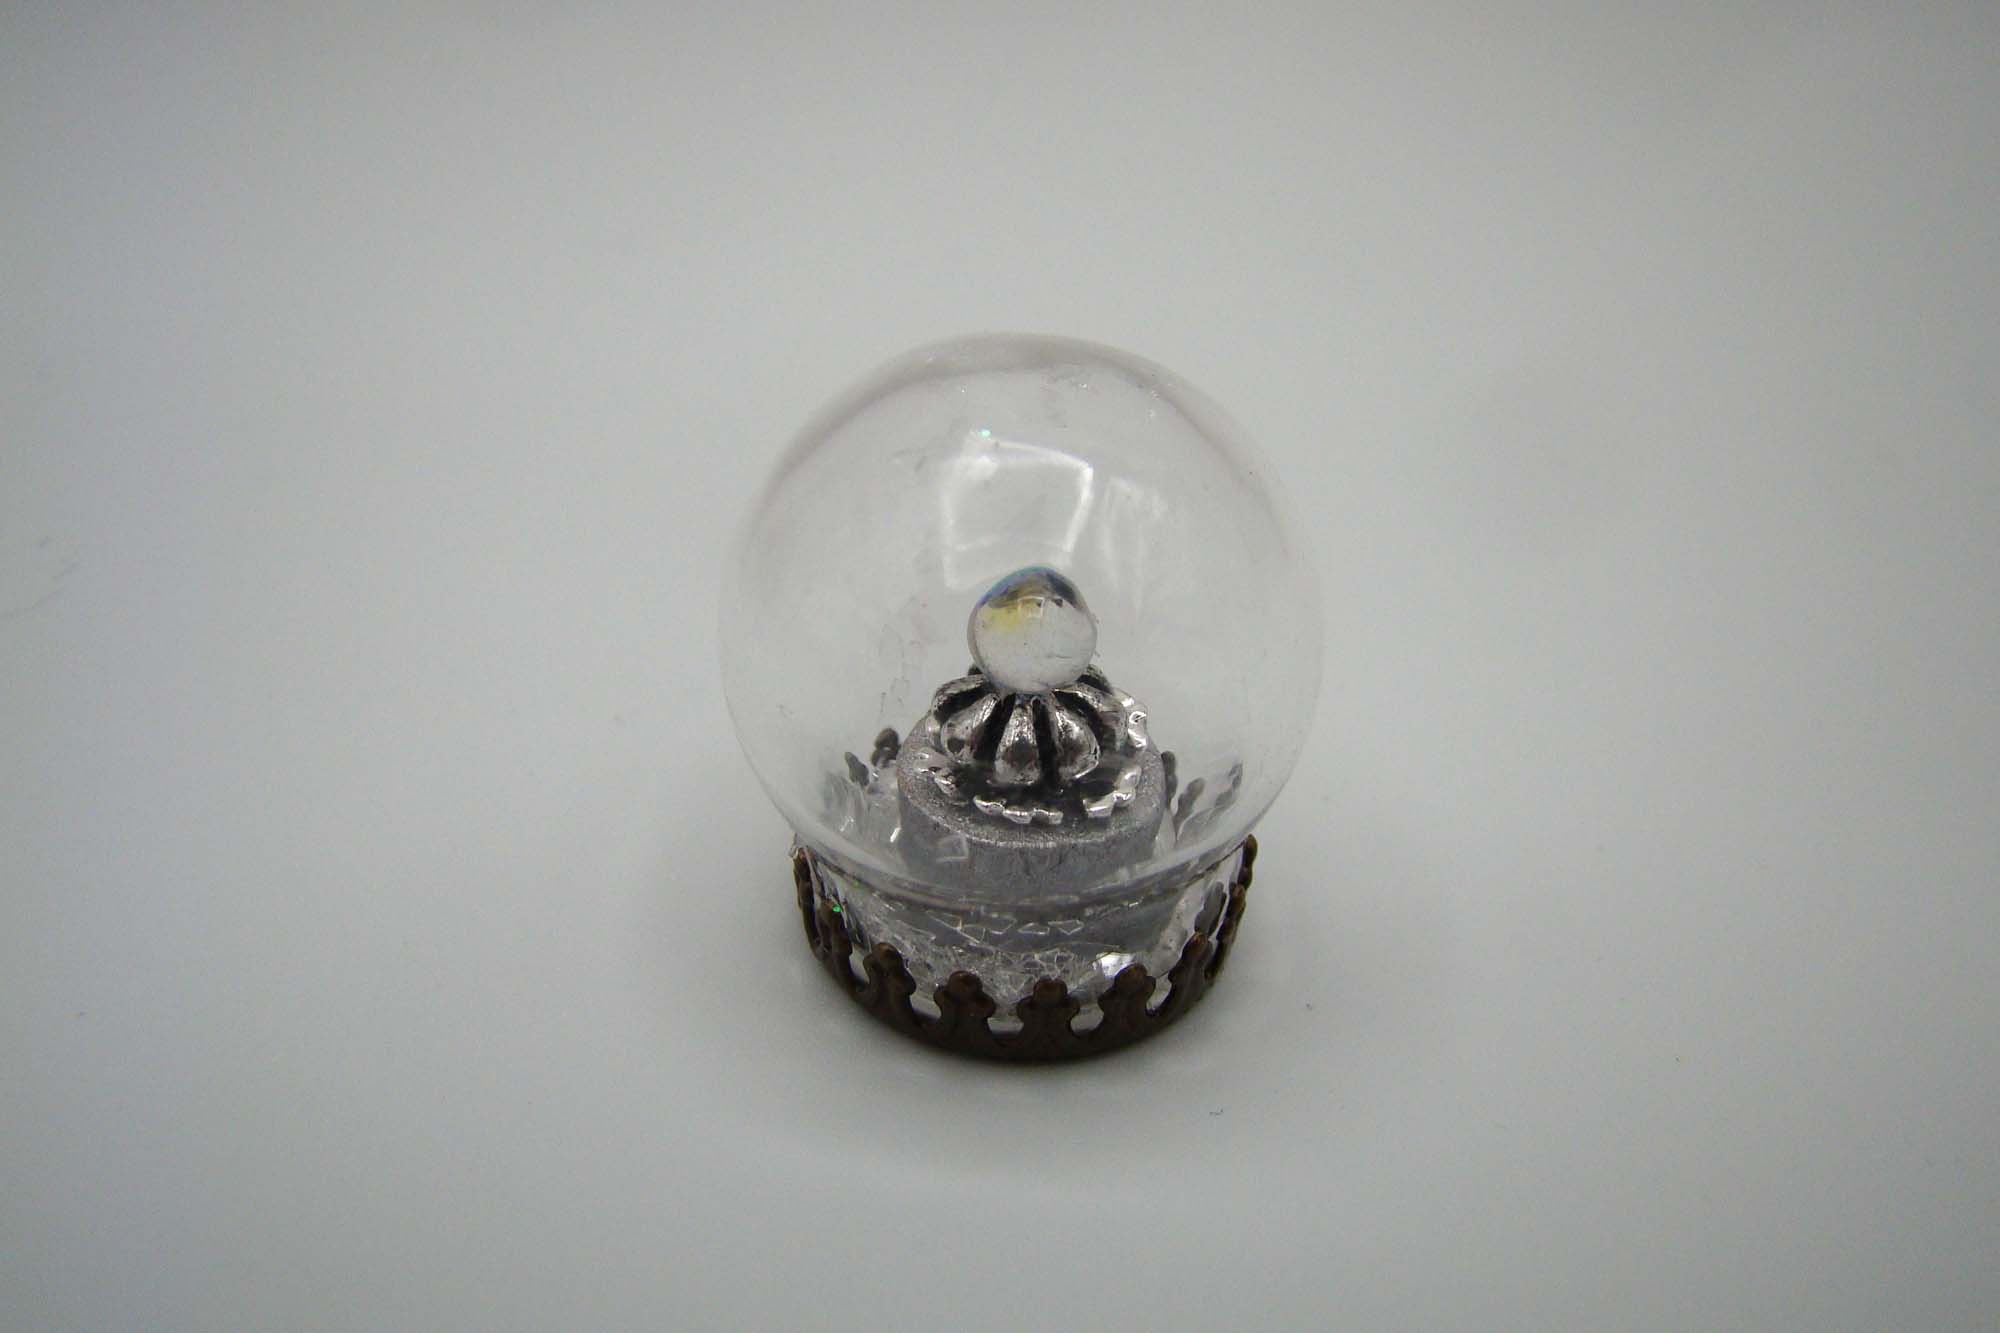
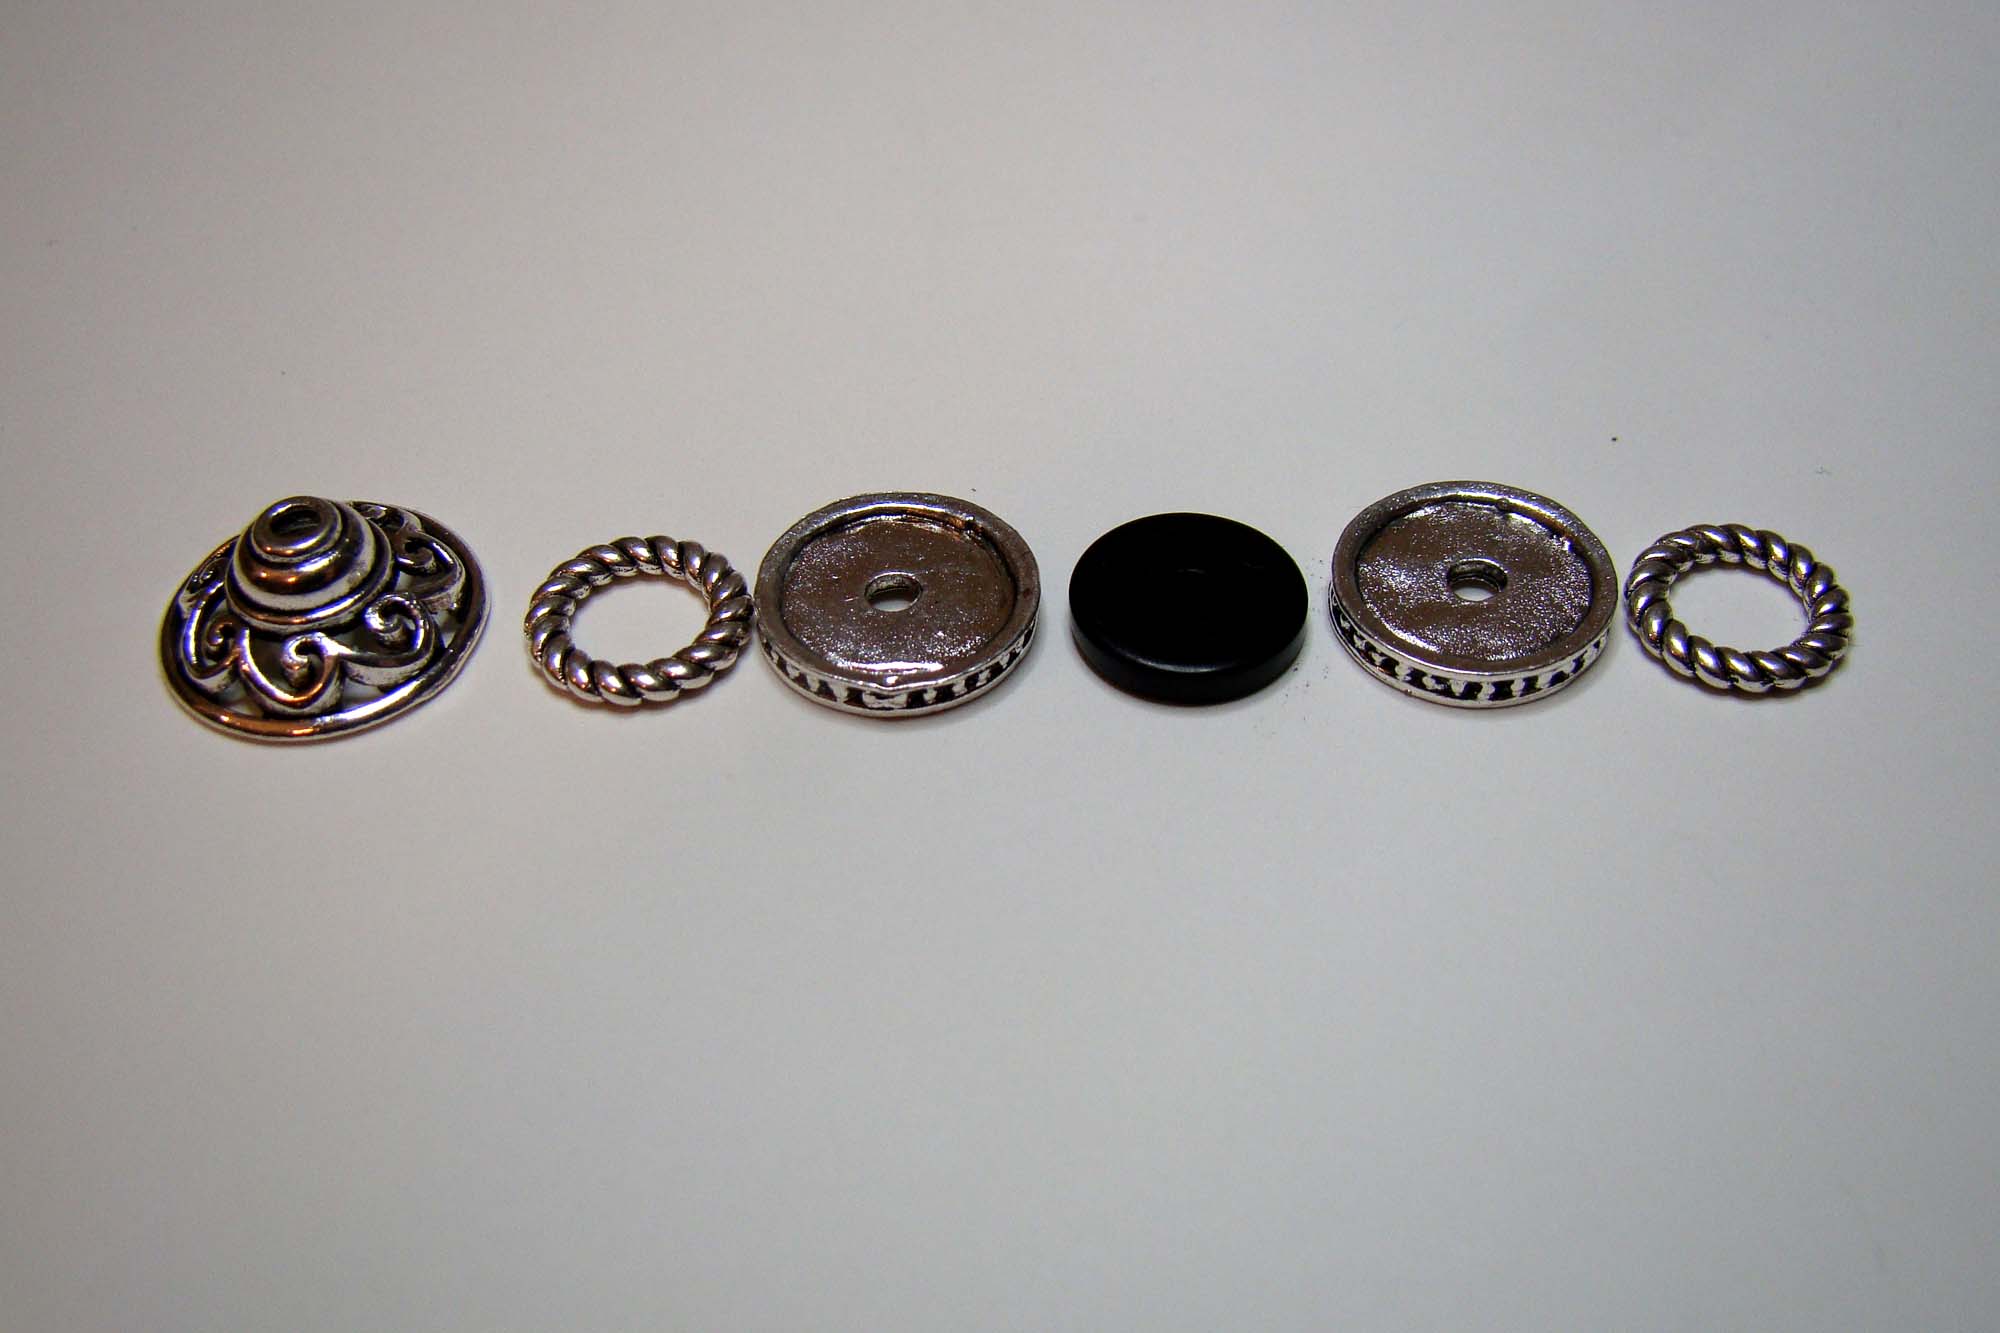
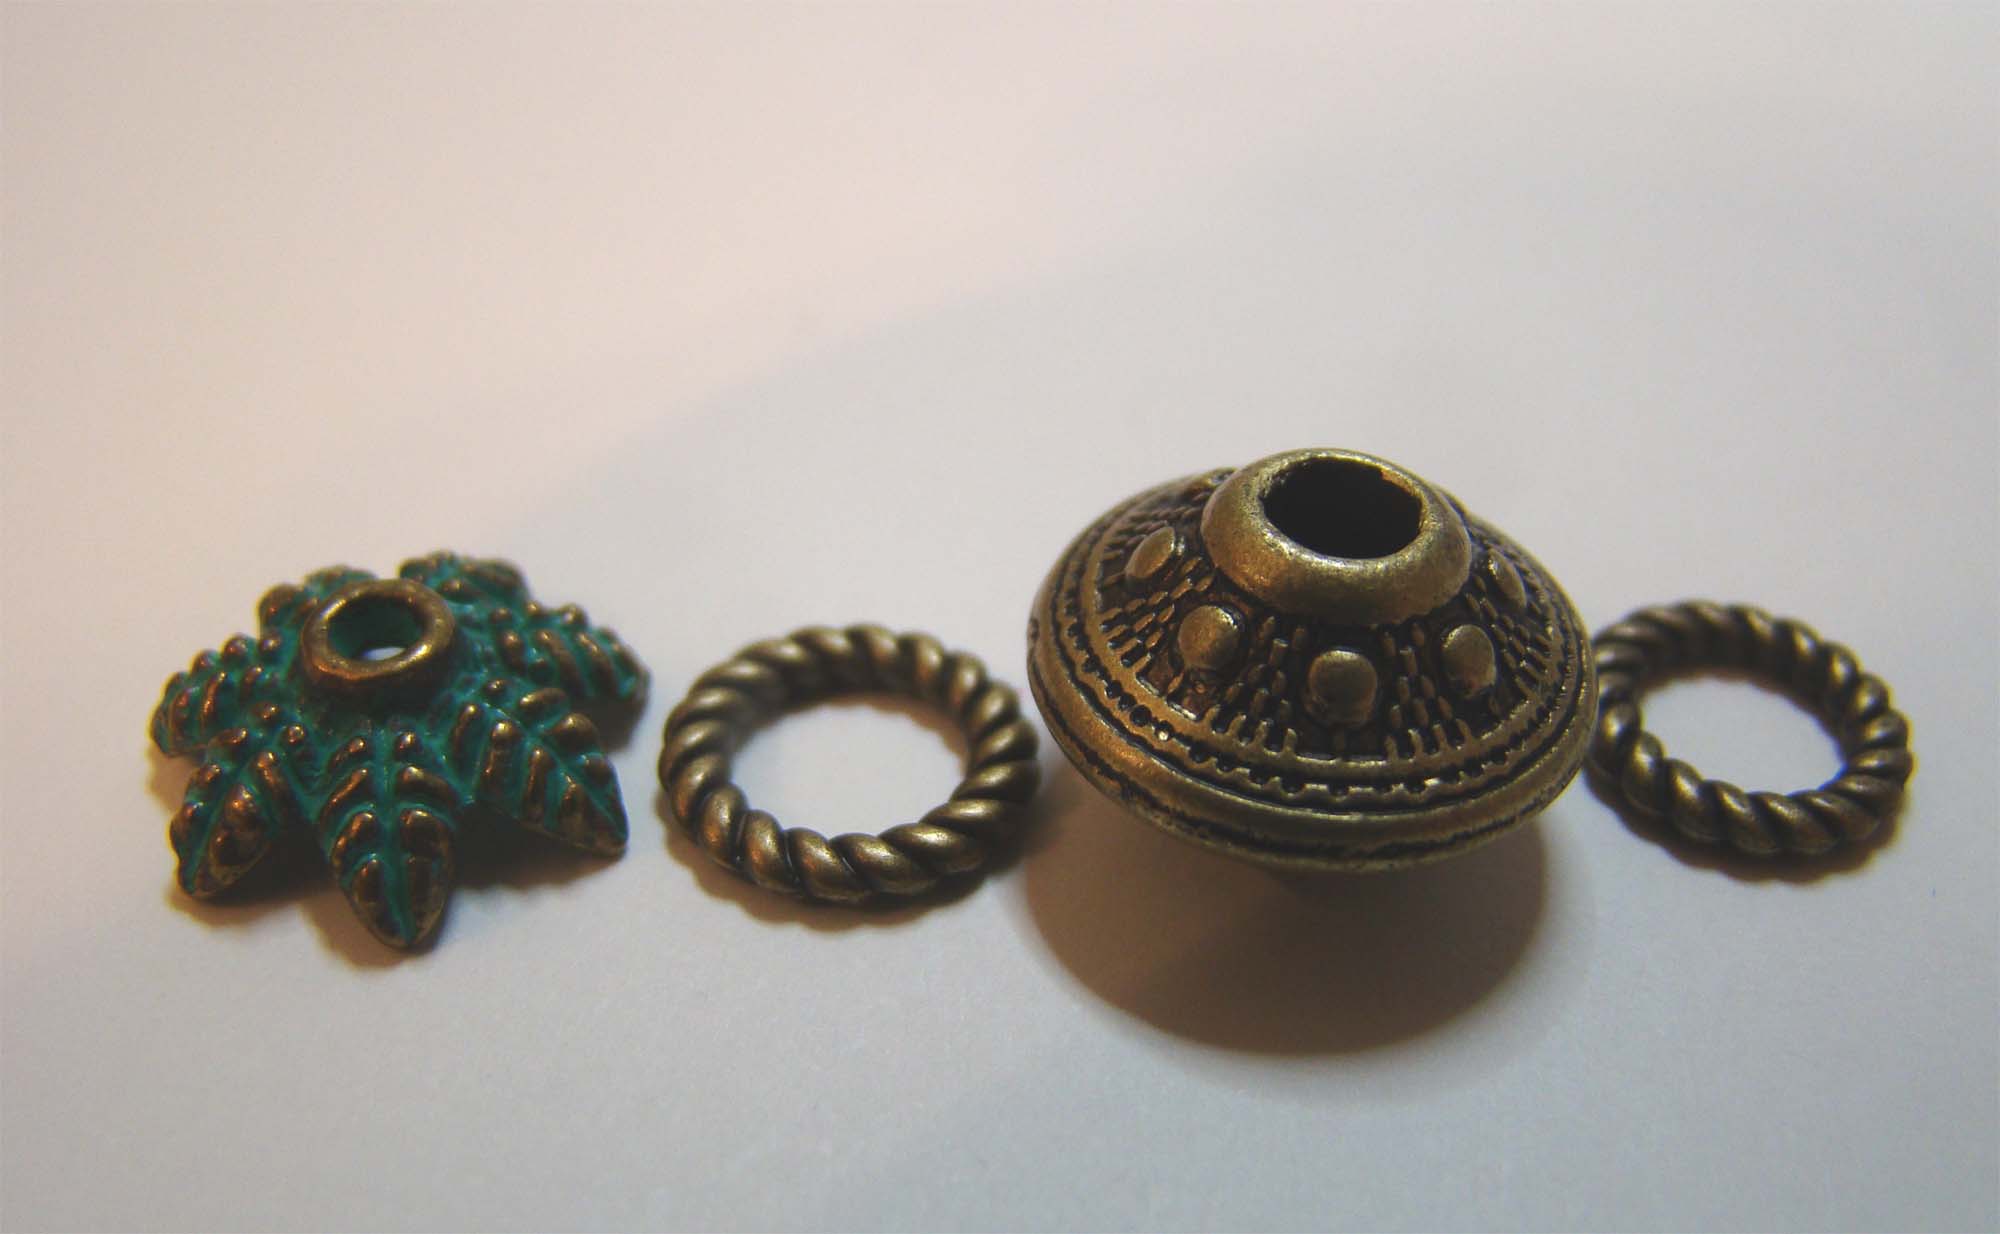
As I was playing around with these little wintery settings I thought it would be fun to put a tiny snowglobe inside a snowglobe. I glued an Iridescent Water Bubble Microbead onto a small silver bead. The stand is a tiny round wood block painted silver and topped with another Tiny Silver Snowflake.
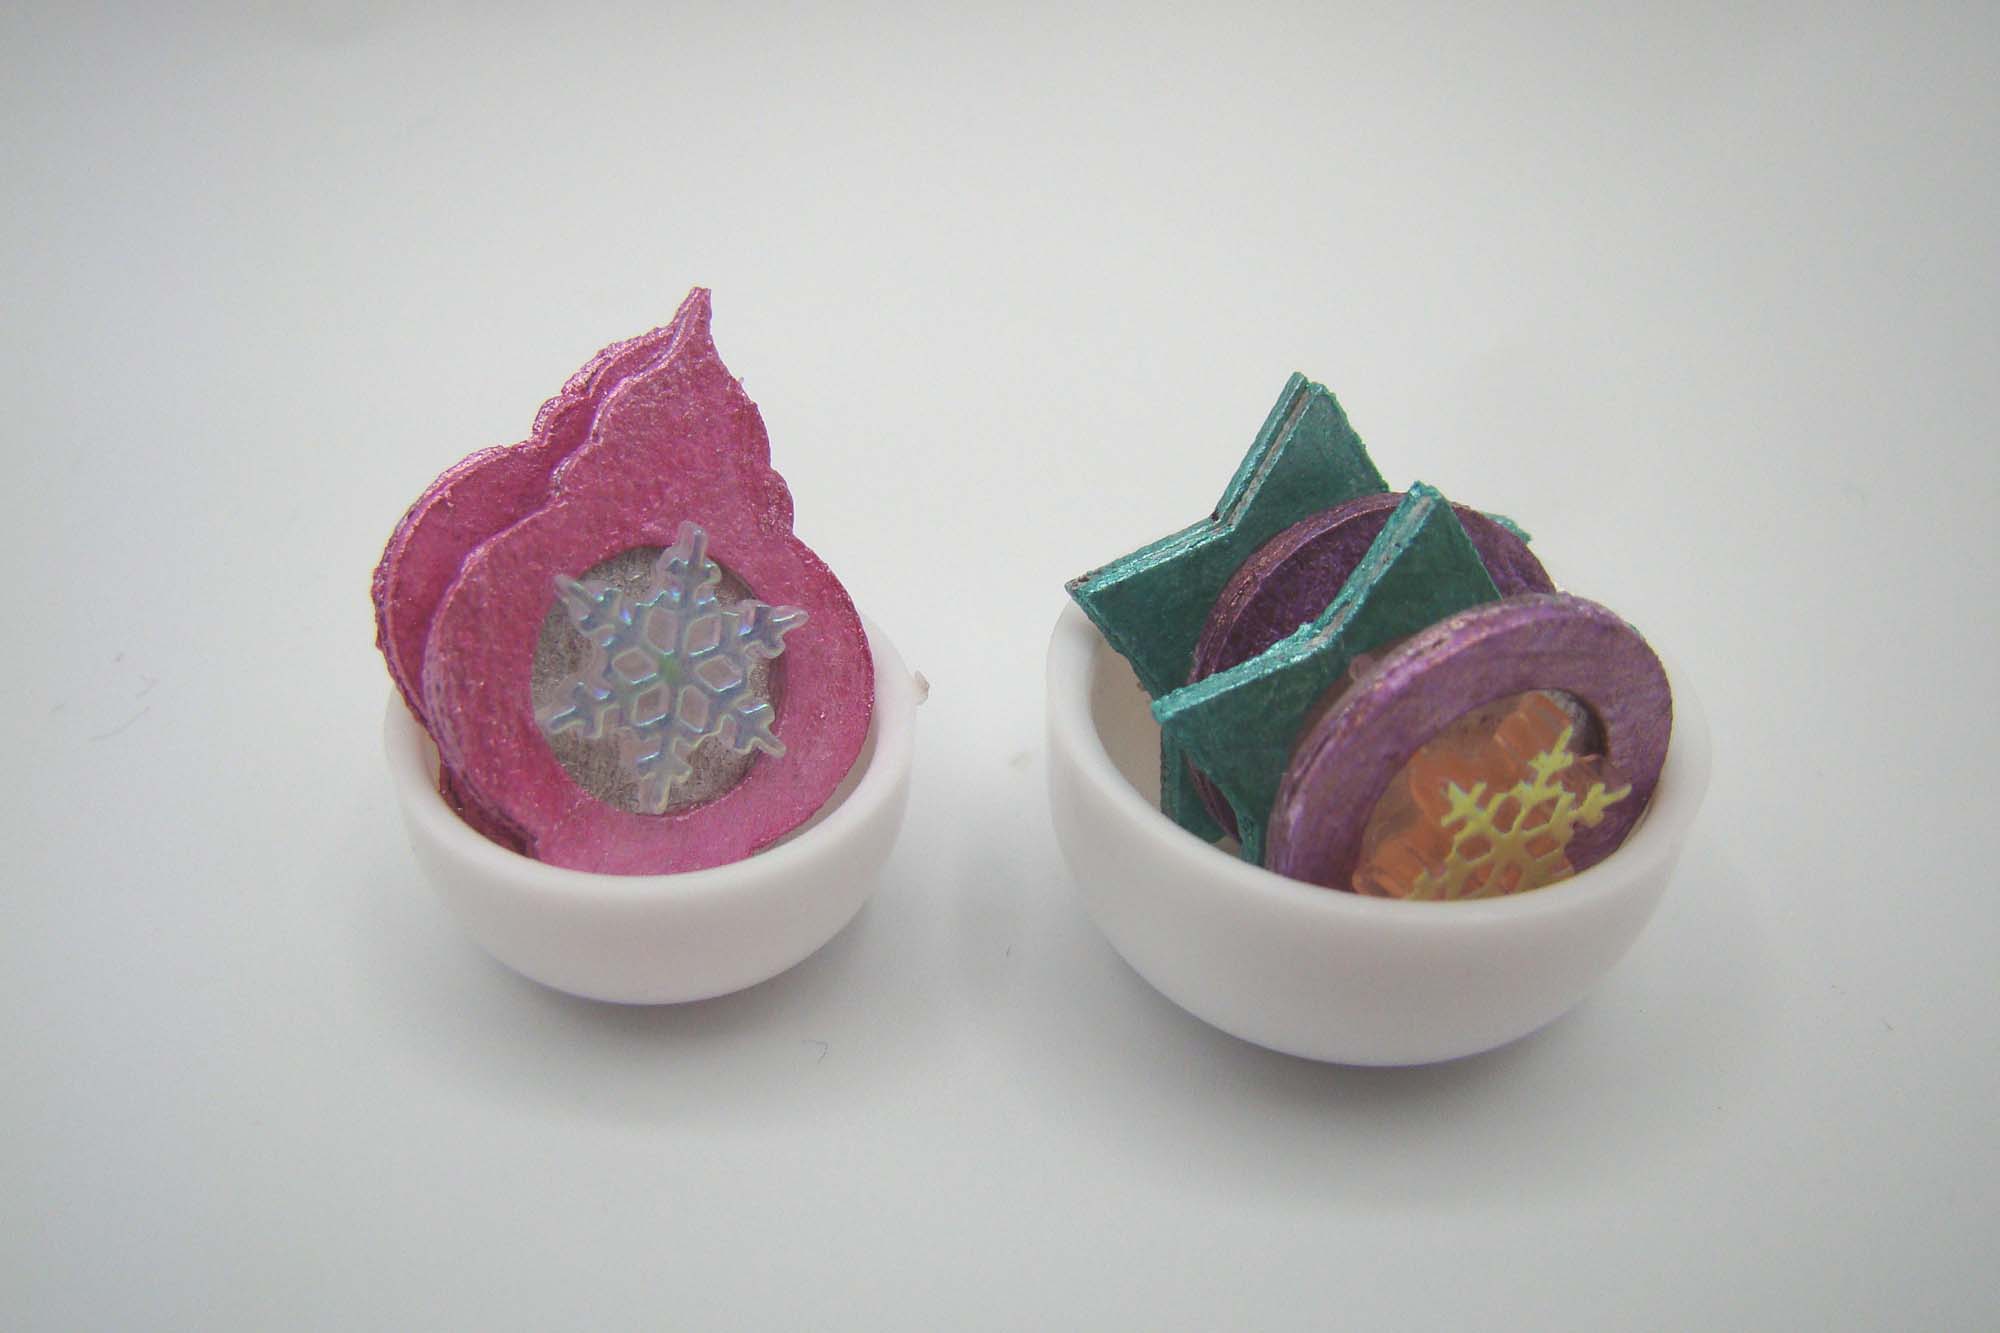
These colorful and sparkly Christmas ornaments are nestled inside a Mini Ornament Box.
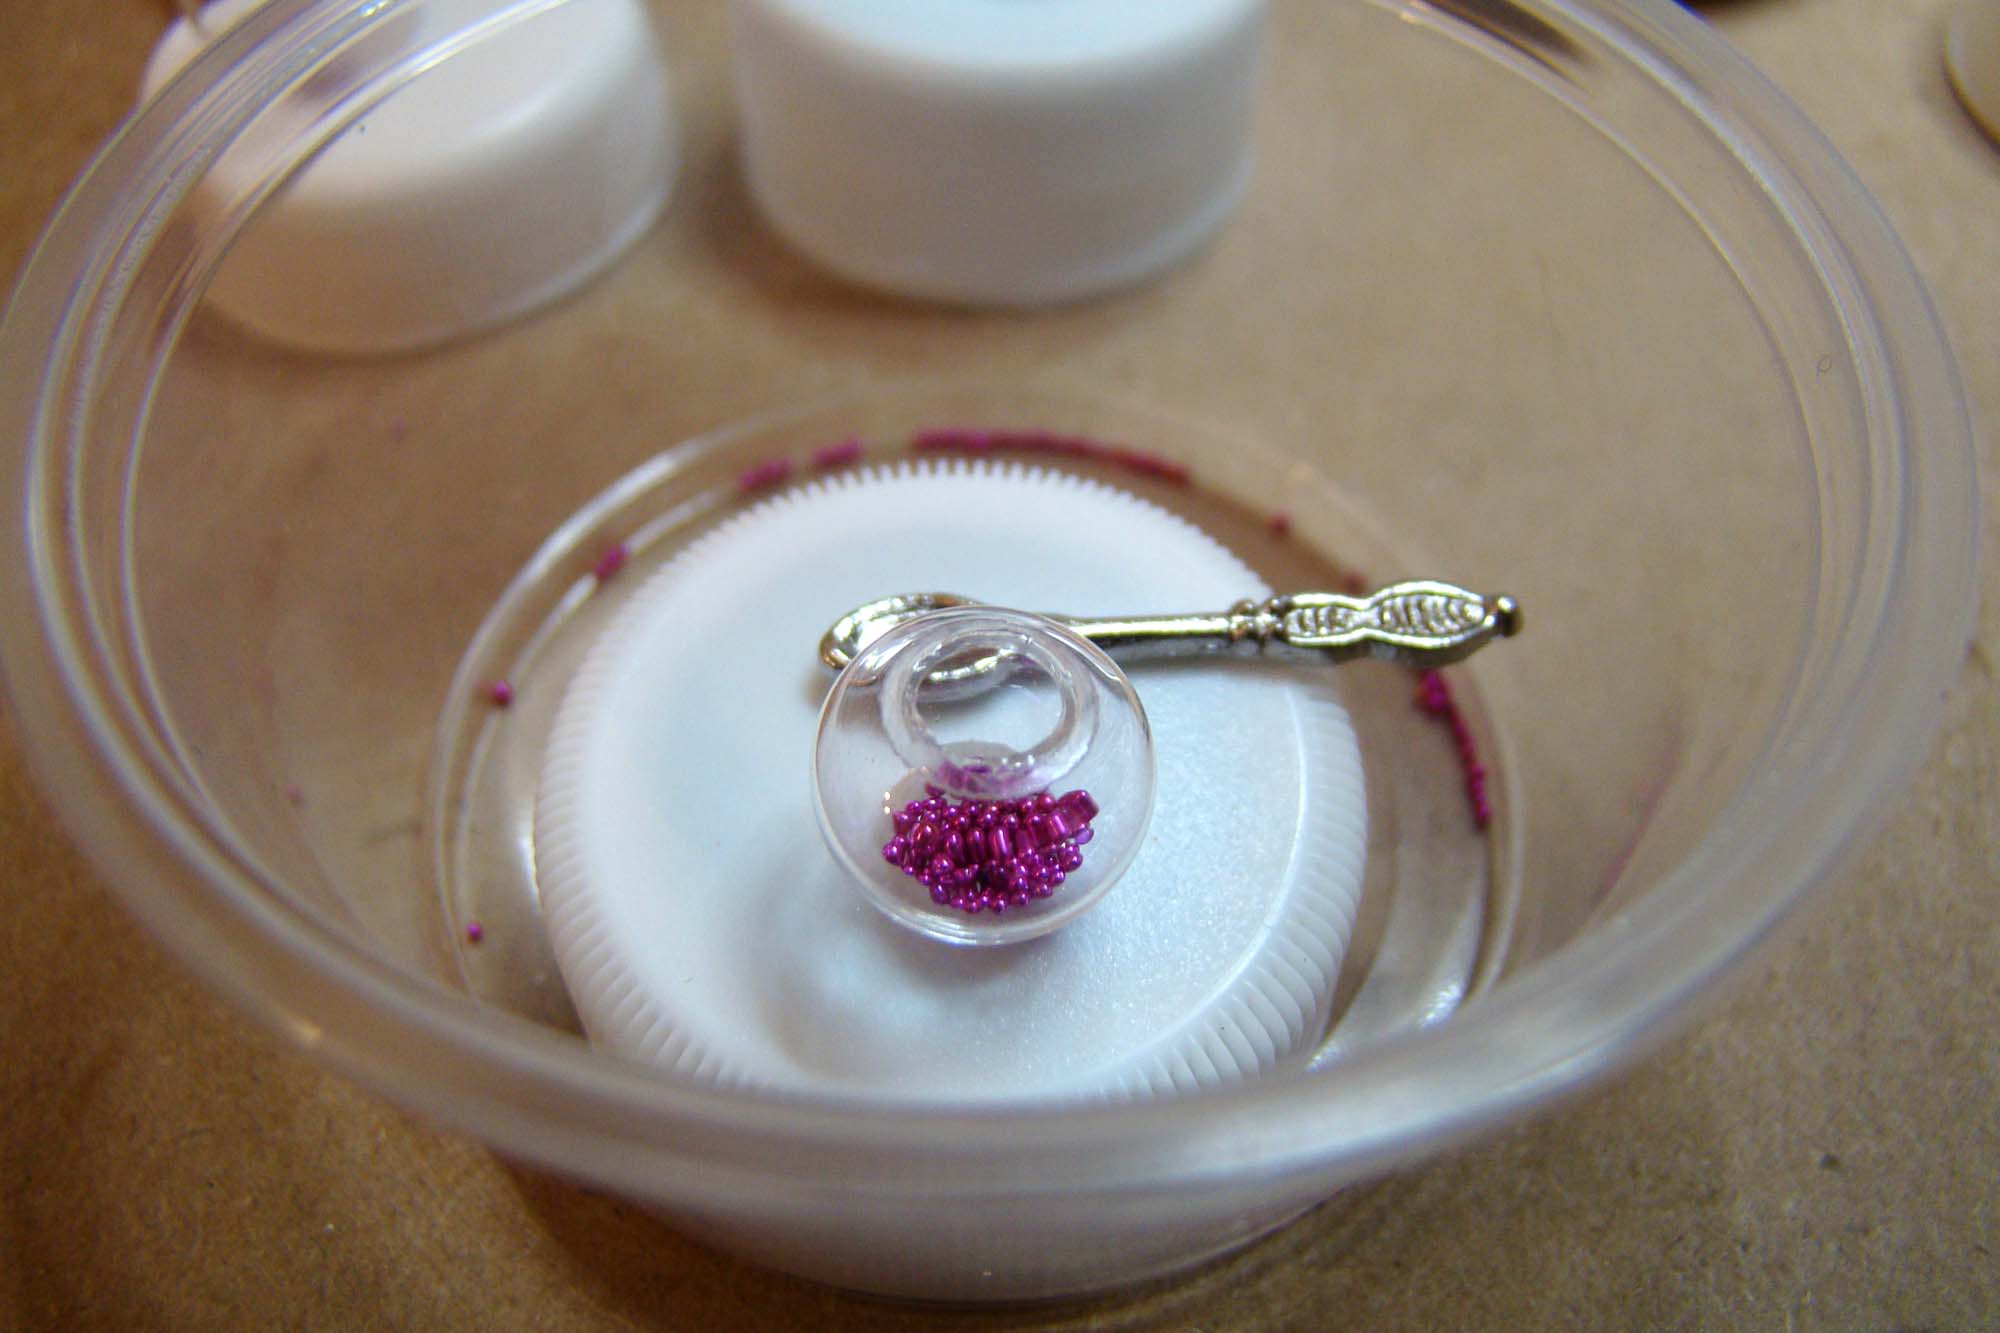
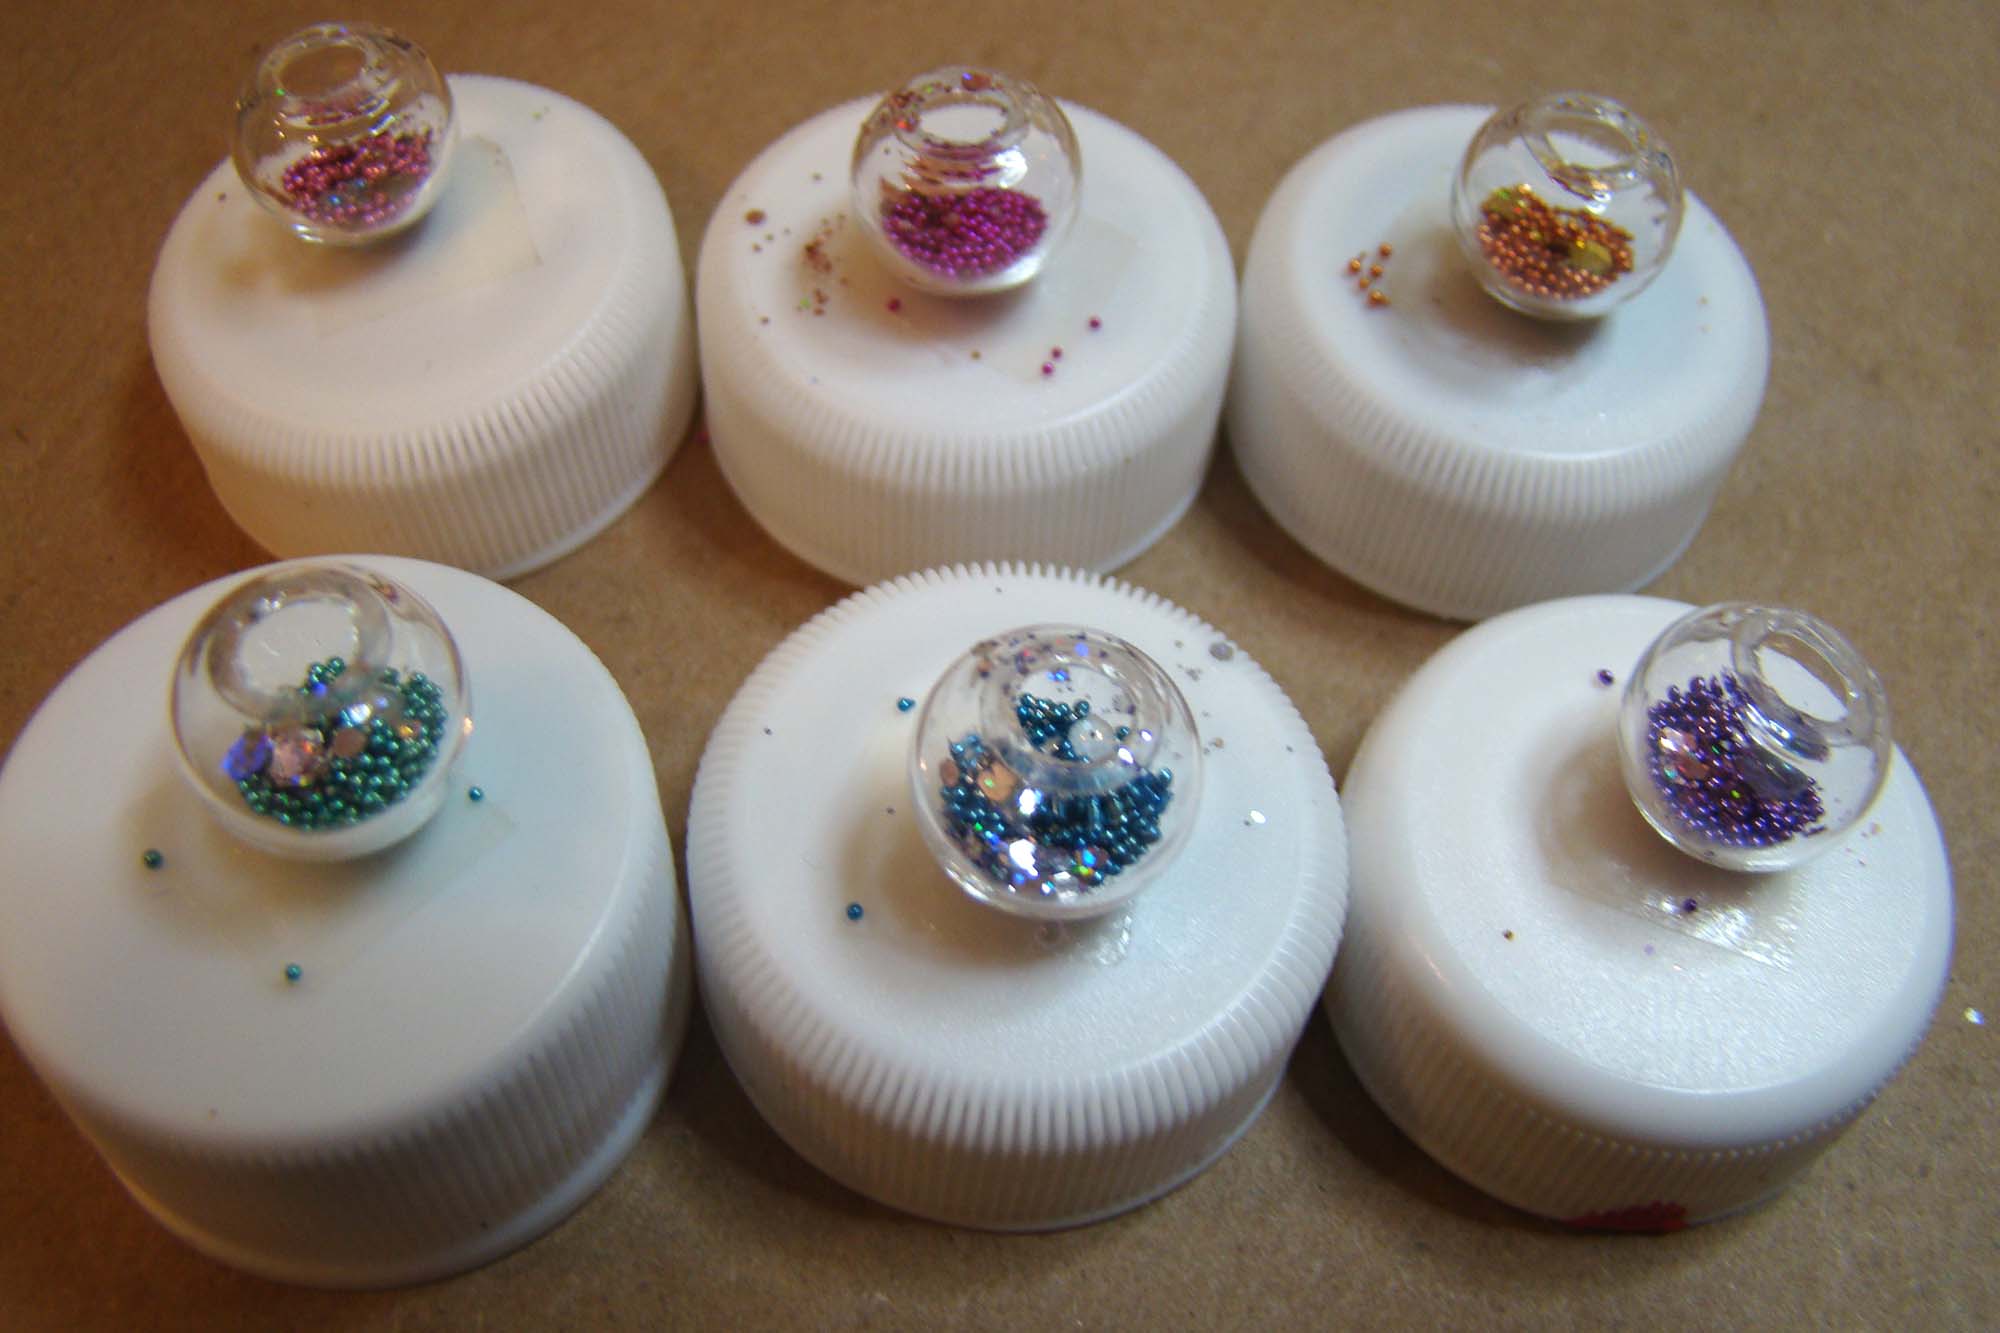
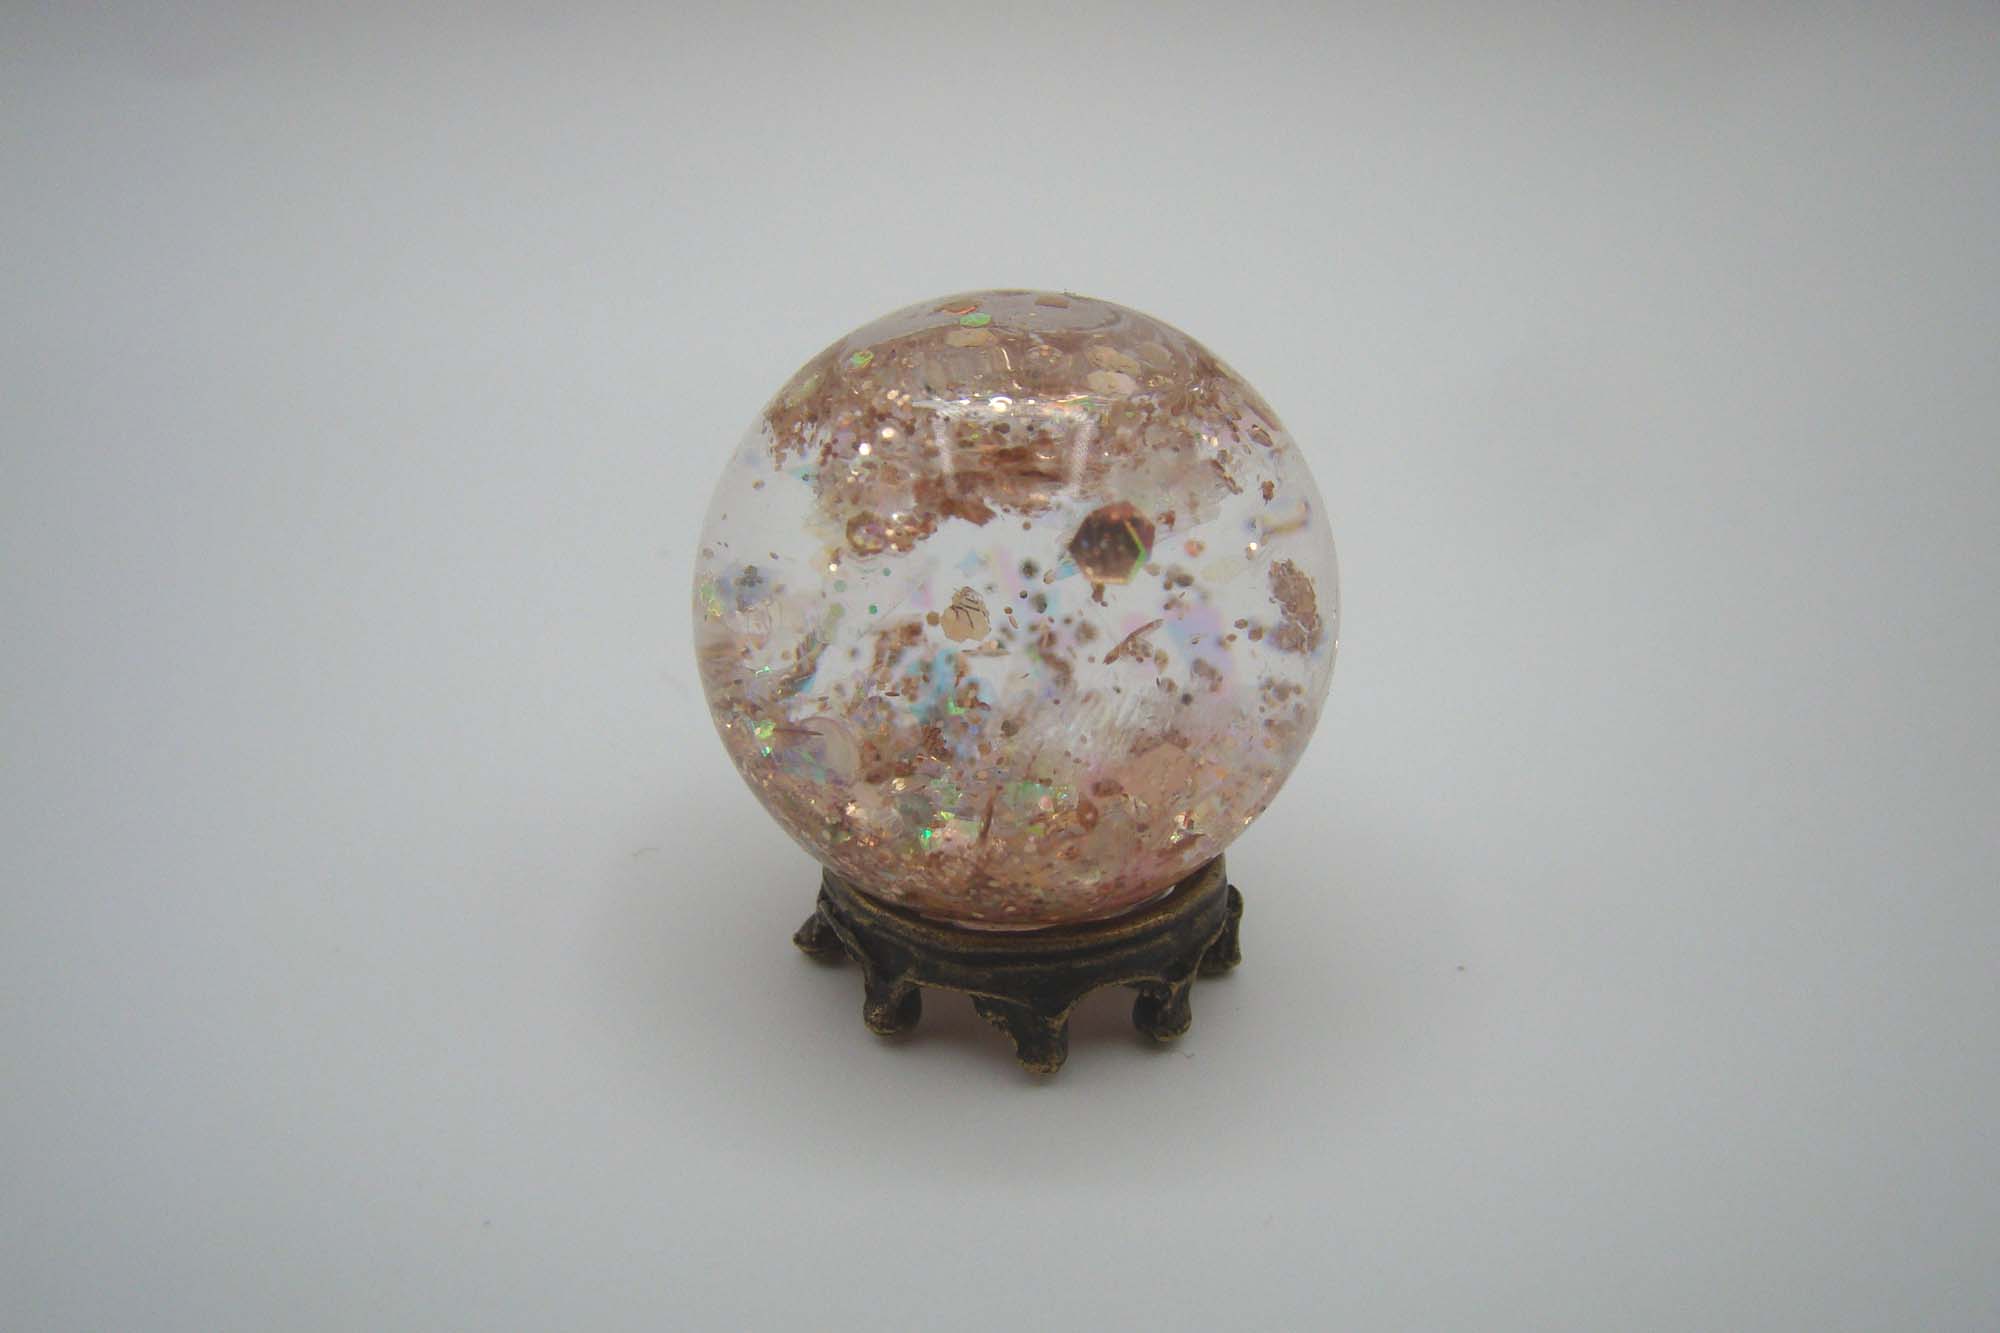
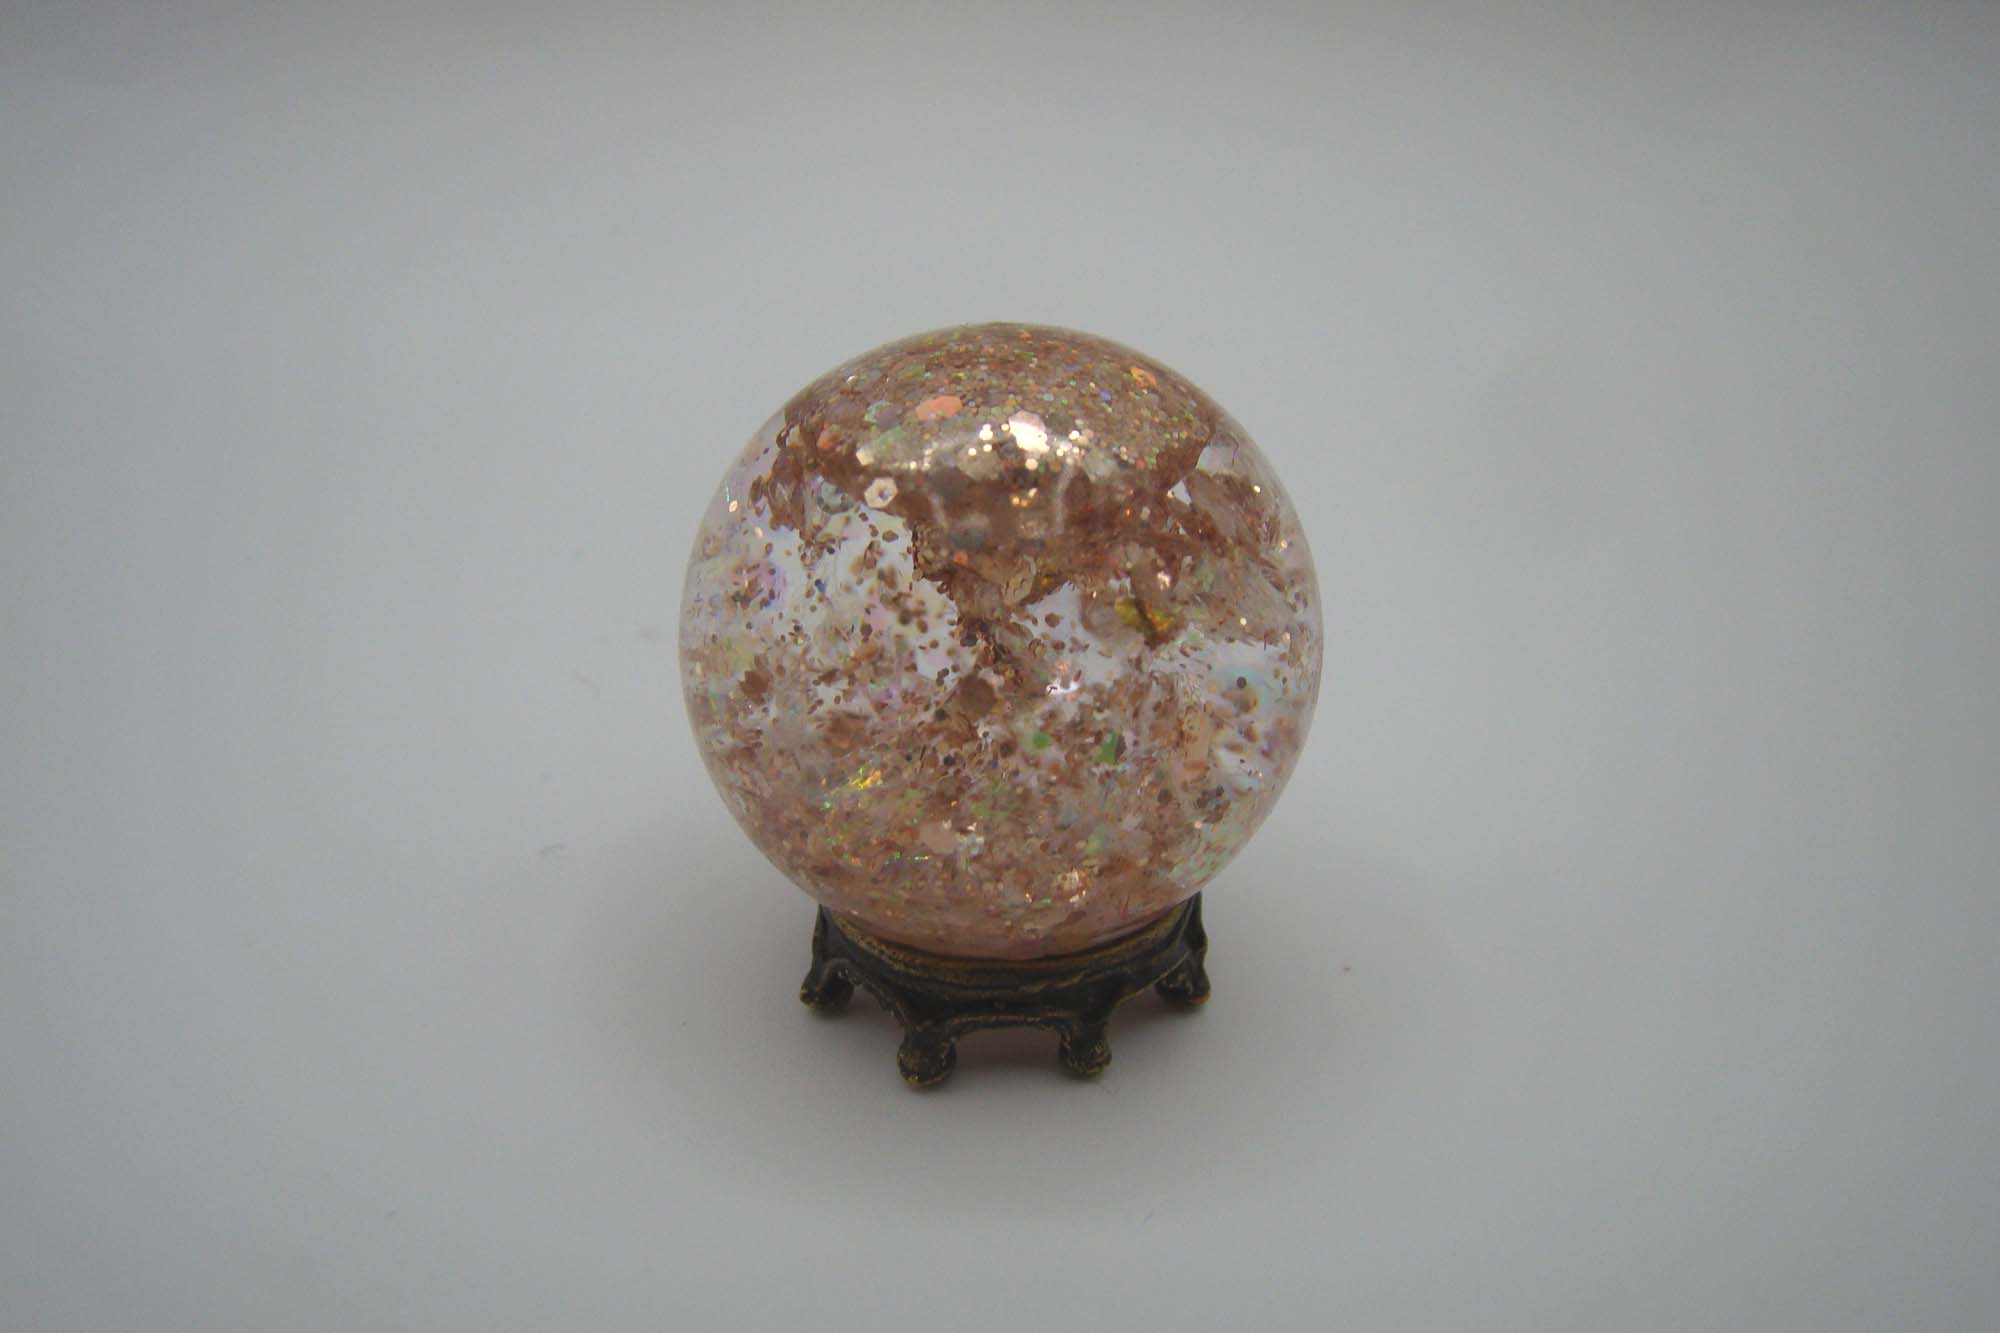
They’re made from 1cm Clear Glass Globes that were embedded with microbeads, colorful glitter, Iridescent Water Bubbles and Iridescent Mylar Flakes set in resin. Here is the set-up I used to keep the mess down while working with the globes. The small plastic cup helps catch any spillage from the fillers. A dollhouse spoon actually helped the process of filling the globes.
These next steps involve working with UV resin. Before getting started, make sure you are familiar with all of the safety precautions recommended when using resin. Here is a good primer.
Once I had enough mix-ins I added UV resin until the globe was full, stirred everything well with a straight pin and cured them under UV light per the resin’s instructions. I got the idea for making mini liquid filled snow globes from my daughter who makes dice sets for tabletop gaming. She told me about liquid core dice which my miniature-addled brain immediately thought hey, those might make awesome teeny snow globes. I googled liquid core dice tutorials and found there are a lot of instructional postings and videos available. Here is an example.
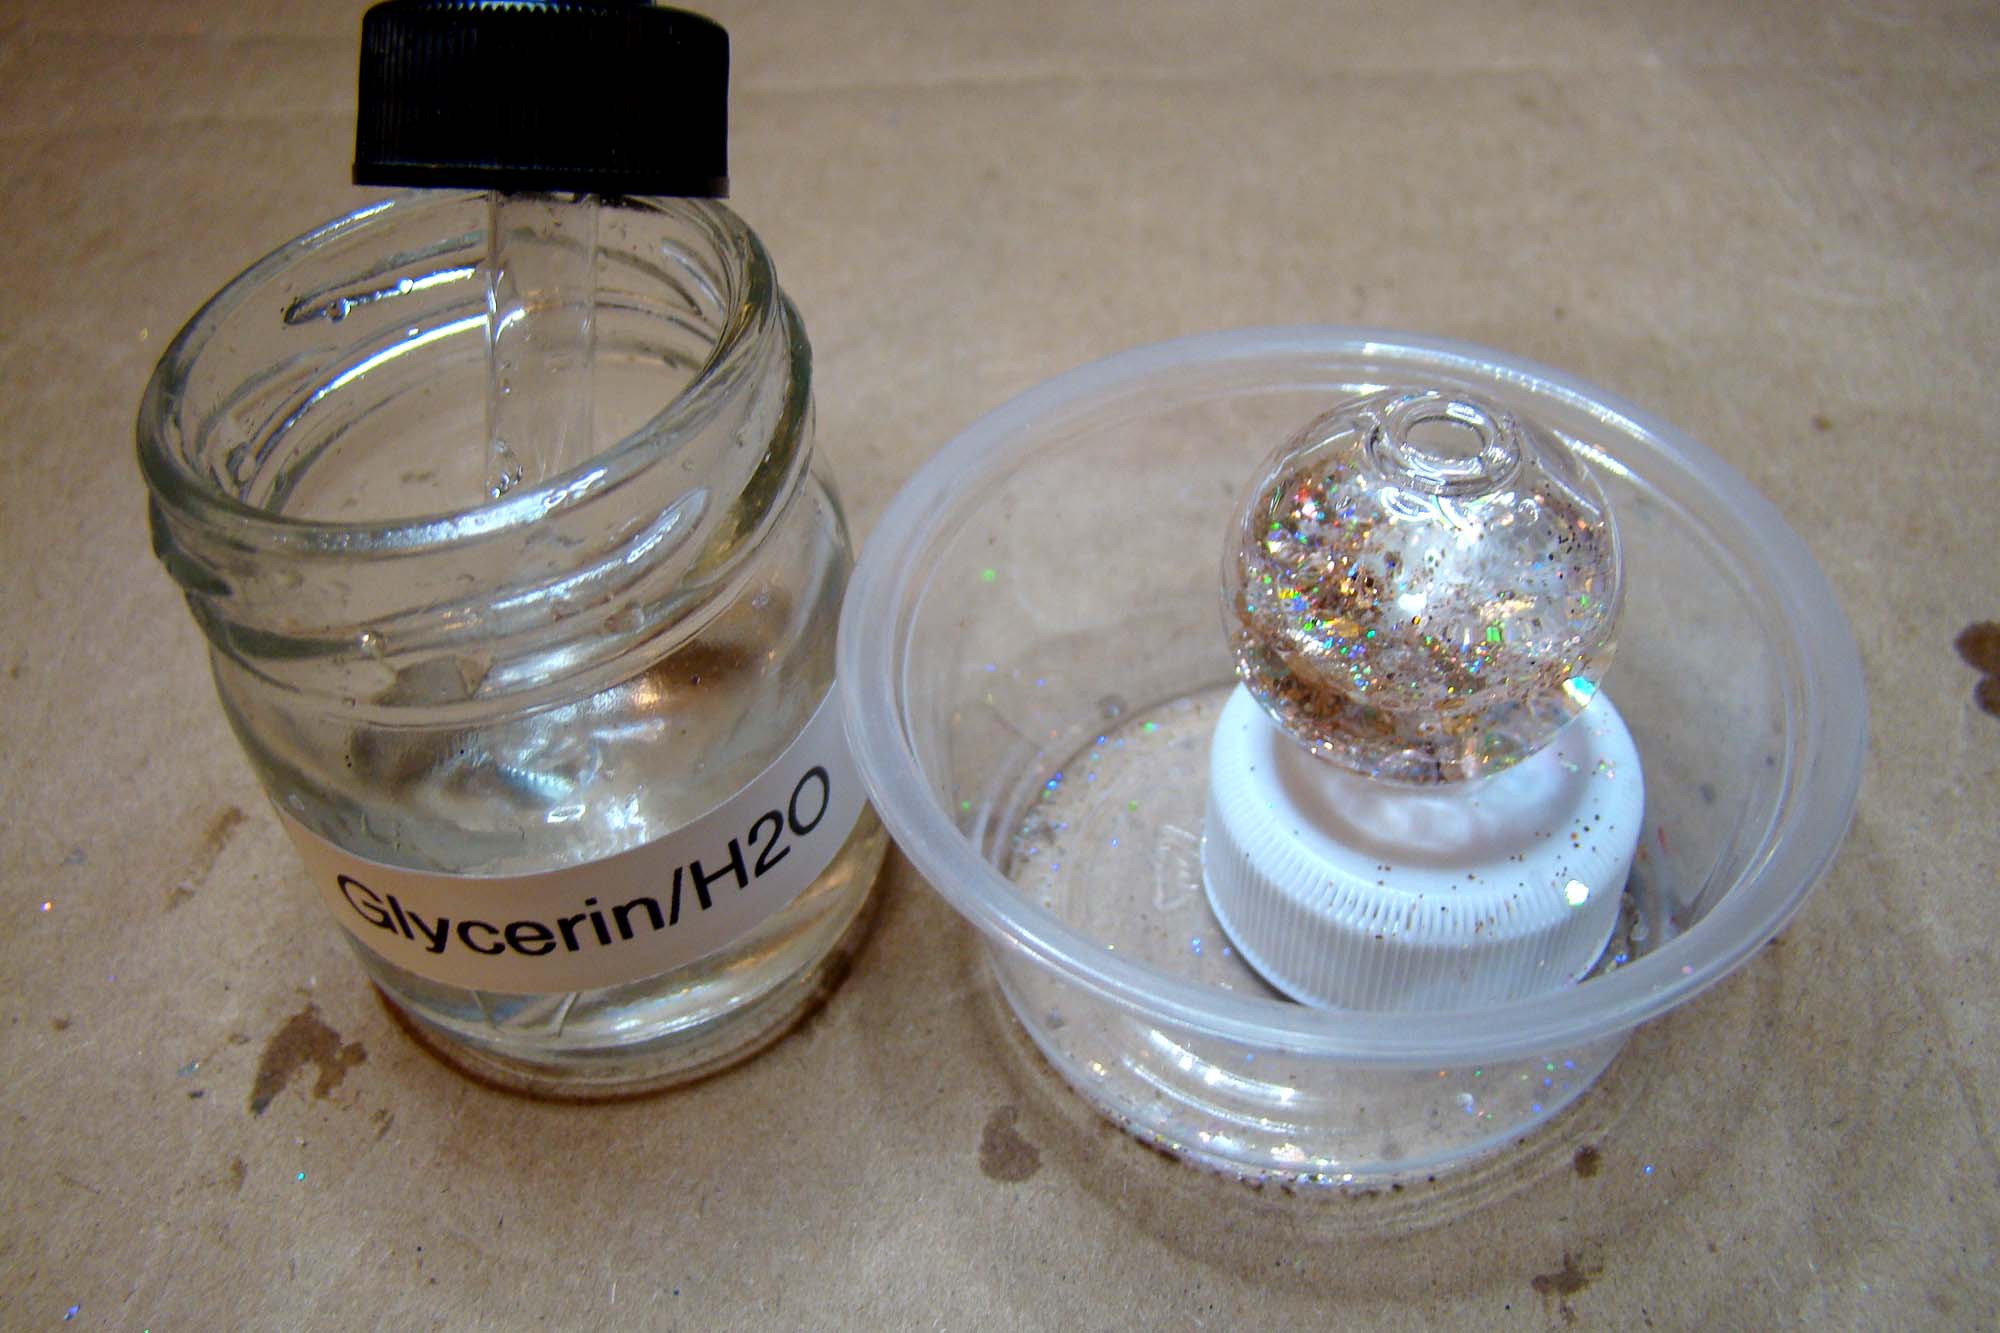
The basic idea is to mix glycerine and water in a 1:1 ratio, add a bit of rubbing alcohol and use an eyedropper to suspend whatever sparkly mix-ins you want before sealing your globe container with resin and curing under UV.
There are two ways to seal the globes. The first is to add a drop or two of UV resin inside the globe and cure under UV light for a minute or two. This is followed by applying UV resin all around the top of the globe and curing it again.
The second method is to make a ‘lid’ by dropping a small of resin onto plastic and curing it under UV light as shown below. This hard resin lid gets attached by applying liquid resin around the globe’s opening (I use a toothpick for this), setting the lid on top then curing under UV. I always go back to add another coating of liquid resin or two over the entire lid and cure again to make sure there are no leaks.
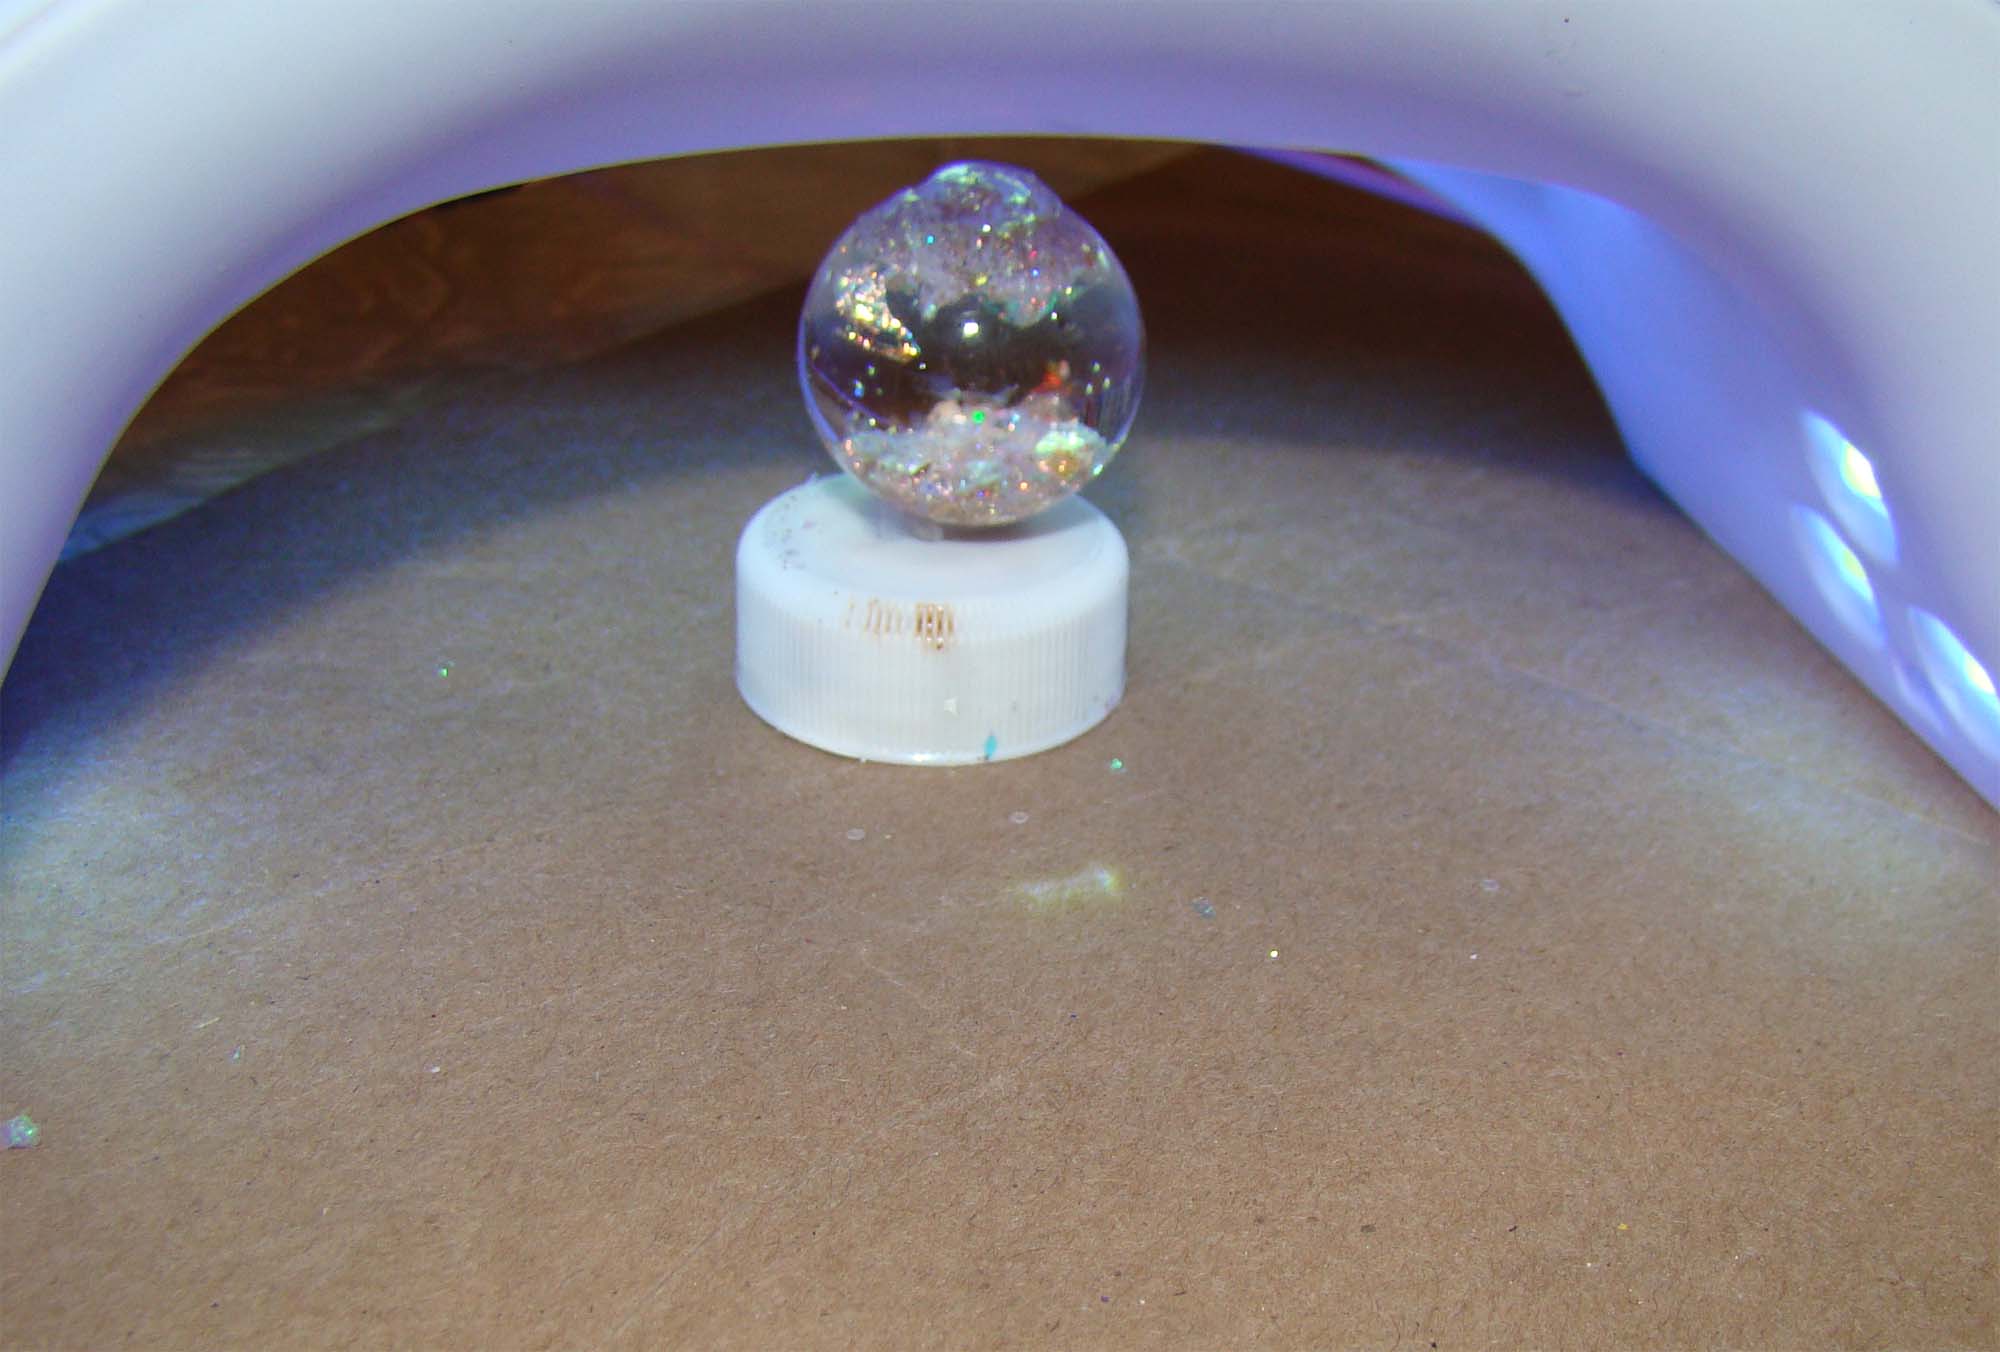
The light source I use for curing is a UV Nail Lamp.
Not interested in dealing with liquids? Just use resin without them. The final project won’t swirl when you shake it but if you just want something sparkly to sit on a shelf it probably doesn’t mater. Add your mix-ins, fill the globe with resin, give it all a good stir with a straight pin and pop it under your UV light.
Not interested at all in adding resin to your craft supplies? Here are two versions I made just by squeezing some Stickles glitter glue into a globe, using a toothpick to coat the inside and leaving to dry. So sparkly!
Here are a few close ups of each shelf with everything assembled. There is a Waving Snowman in Top Hat on the top shelf along with a Mini Baby Penguin. The market is open for business!
Sitting alongside my Cookie Houses and Hot Cocoa market stall I’d say my version of a European holiday marketplace is coming along! Now to figure out which one to make next…
A great big thank you to Alpha Stamps for having me as a designer! You can find all of the wonderful supplies I’ve used right HERE